
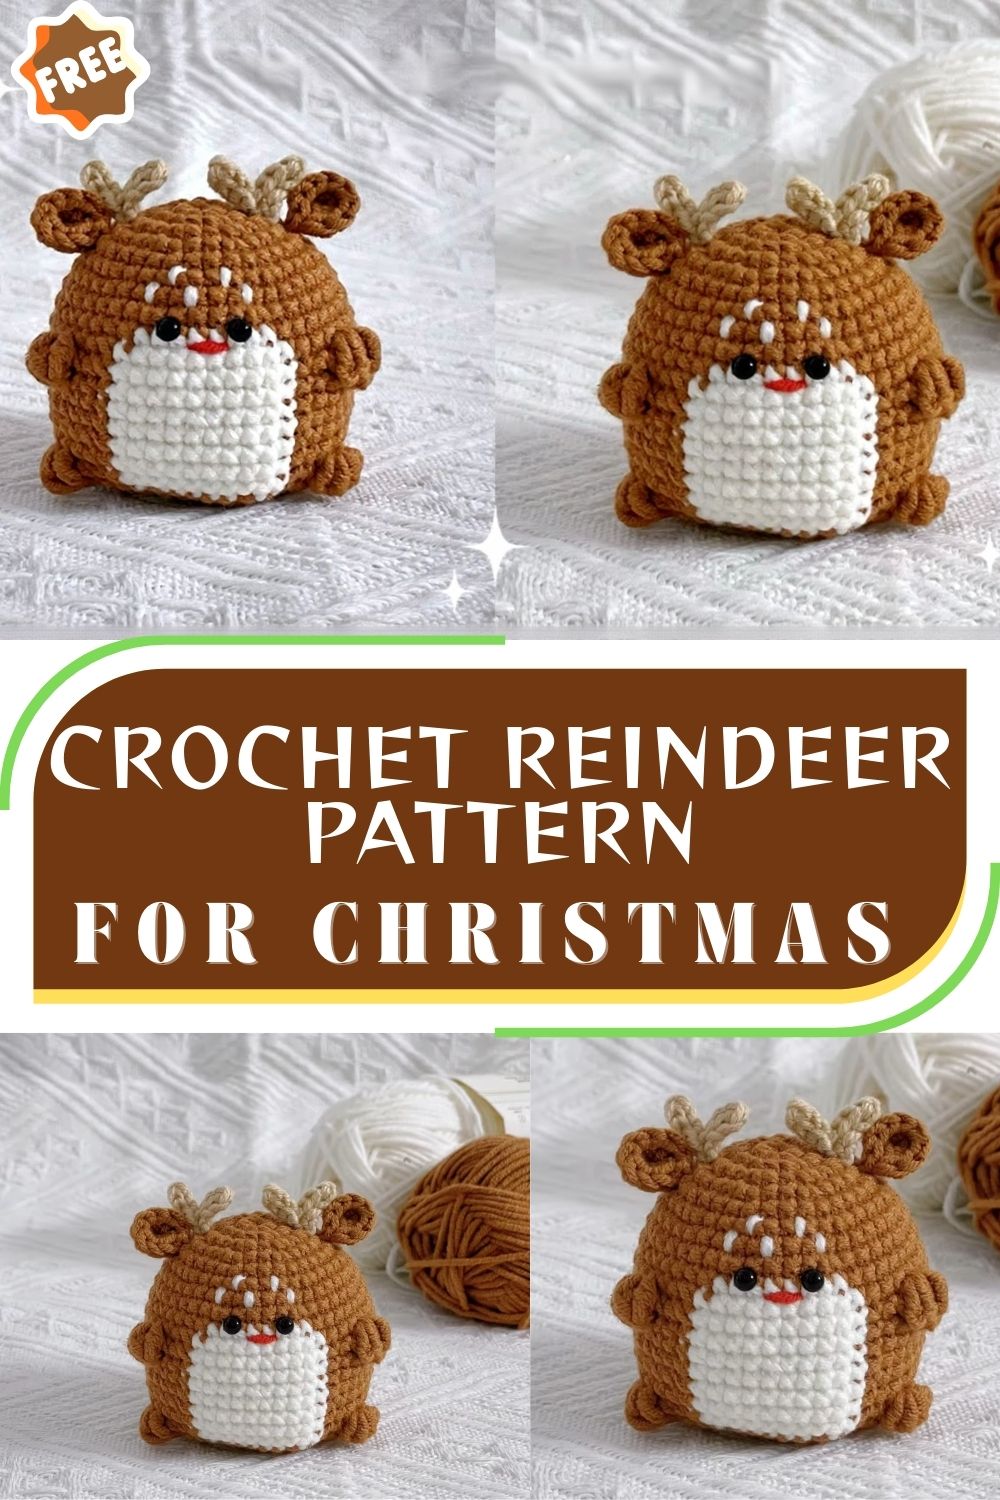
Crochet Reindeer Pattern Beginner Amigurumi for Christmas
A chubby little crochet reindeer for Christmas, with simple rounds, tiny antlers, a white belly patch, and a red nose. Beginner-friendly and perfect for gifts or ornaments.
Every year when the holidays roll around, I get the urge to crochet something small, sweet, and festive, something that feels like hot cocoa and Christmas music in yarn form. If you’re the same way, this Crochet Reindeer Pattern is going to make you very happy. It’s beginner-friendly, works up quickly, and has that classic reindeer charm: a round, chubby body, a soft white belly patch, tiny little arms and legs, simple ears, and easy chain antlers that don’t require tricky shaping.
This is the kind of project you can make while you’re watching a holiday movie, and by the end, you’ll have a Cute Crochet Reindeer Plush that’s perfect as a gift topper, stocking stuffer, shelf decor, or even a tree ornament. It’s also a great Beginner Crochet Reindeer because the main body is just single crochet with increases and decreases, simple, relaxing, and very doable.
Along the way,y I’ll walk you through each piece (body, belly patch, ears, antlers, arms, legs), how to assemble everything neatly, and how to embroider the face so your reindeer looks friendly instead of surprised. At the end, I’ll also show you how to add a hanging loop if you want it as a Christmas Crochet Reindeer ornament.
Skill Level
Beginner
If you can single crochet and count stitches, you can make this.
Finished Size
About 5–6 in (13–15 cm) tall sitting (depends on yarn and how firmly you stuff)
Gauge (Optional)
Gauge isn’t important for amigurumi, but your stitches should be tight enough that stuffing won’t show. If your fabric looks holey, go down a hook size.
Materials List
- DK or light worsted yarn:
- Brown (main body)
- Cream/white (belly patch)
- Small amount of red yarn (nose)
- 3.0 mm crochet hook
- 8 mm safety eyes
- Fiberfill stuffing
- Yarn needle
- Scissors
- Optional:
- Stitch marker (recommended)
- Ribbon/yarn for ornament hanger
Safety note: If this is for a child under 3, skip safety eyes and embroider eyes instead.
Abbreviations (US Crochet Terms)
- MR = magic ring
- sc = single crochet
- inc = increase (2 sc in 1 stitch)
- dec = decrease (sc2tog)
- ch = chain
- sl st = slip stitch
- FO = fasten off
Crochet Pattern Instructions
Body (Brown)
This reindeer body is one simple bouncy shape worked in continuous rounds—no joining, no turning.
Round 1: MR 6 sc (6)
Round 2: inc in each st (12)
Round 3: (sc, inc) x6 (18)
Round 4: (2 sc, inc) x6 (24)
Round 5: (3 sc, inc) x6 (30)
Now you’ll have a nice circle—this is where it starts getting satisfying.
Rounds 6–12: sc around (30)
(That’s 7 rounds of plain single crochet.)
Now we shape it back in:
Round 13: (3 sc, dec) x6 (24)
Round 14: (2 sc, dec) x6 (18)
This is a good moment to pause and do two things:
- Add safety eyes
- Start stuffing
Eye placement (simple and cute)
Place eyes between rounds 9 and 10, about 6 stitches apart.
Before you snap the backs on, hold them in place and step back. If your reindeer looks too wide-eyed, bring them closer. If it looks sleepy, movitem slightly higher.
Now stuff firmly—think “plush and round,” not “stuffed so hard the stitches stretch.”
Back to crocheting:
Round 15: (sc, dec) x6 (12)
Add a little more stuffing if needed.
Round 16: dec around (6)
FO and close the opening by threading the tail through the front loops and pulling tight. Weave in the end.
Belly Patch (Cream/White)
This is a simple oval sewn to the front. It adds contrast and immediately reads “reindeer.”
Ch 6
Round 1: sc in 2nd ch from hook, sc in next 3 ch, 3 sc in last ch.
Continue on the other side: sc in next 3 ch, 2 sc in last ch. (12)
Round 2: inc, sc in next 3, inc x3, sc in next 3, inc x2 (18)
Round 3: sc, inc, sc in next 3, (sc, inc) x3, sc in next 3, (sc, inc) x2 (24)
FO leaving a long tail for sewing.
Where it goes
Place it centered on the front, under the face. Usually, the top of the patch looks good around rounds 8–9.
Pin it first. Always pin first.
Ears (Make 2)
Small semicircle ears keep this Amigurumi Reindeer Pattern beginner-friendly and fast.
Round 1: MR 6 sc (6)
Round 2: (sc, inc) x3 (9)
Round 3: sc around (9)
sl st to finish, FO leaving a tail.
Flatten gently into a half-moon shape.
Antlers (Make 2)
These are my favorite parts because they look adorable, le but they’re basically just chains and slip stitches.
Ch 9
- sl st in 2nd ch from hook
- sl st in next 2 ch
- ch 3, sl st back down those 3 chains (first little tine)
- sl st in next 2 ch on the main chain
- ch 2, sl st back down those 2 chains (second tine)
- sl st along any remaining chains back to the base
FO leaving a long sewing tail.
Tip: Don’t worry if they curl slightly—once sewn down, that little curve actually looks natural.
Arms (Make 2)
Tiny arms, nice and simple.
Round 1: MR 6 sc (6)
Round 2: sc around (6)
Round 3: sc around (6)
FO leaving a tail.
No need to stuff unless you really want them puffy. Flat arms look extra cute on this design.
Legs (Make 2)
These help your reindeer sit nicely.
Round 1: MR 6 sc (6)
Round 2: (sc, inc) x3 (9)
Round 3: sc around (9)
FO leaving a tail.
Lightly stuffed if you want a bit of dimension; leave it unstuffed if you want a flatter base.
Assembly Instructions (Make It Look Polished)
This is where your reindeer becomes a reindeer. Take your time here—assembly is half the magic.
1) Sew the belly patch
Use the long tail and whip stitch around the edge. Keep stitches small and even. Try not to pull too tight, or the patch will pucker.
2) Attach legs
Place legs toward the bottom front/sides, around rounds 14–16.
Set the body down on a table and adjust until it sits without tipping.
3) Attach arms
Sew arms on the sides around rounds 10–12.
4) Attach ears
Ears look best around rounds 6–8, slightly angled outward.
5) Attach antlers
Sew antlers on top around rounds 4–6.
Use extra stitches at the base so they stand up and don’t flop backward.
Facial Embroidery (Eyes, Nose, Smile)
Nose (Red)
Center the nose between the eyes, slightly lower, around 10–11.
Use satin stitch to make a small oval or circle (about 2–3 stitches wide).
Smile
Use brown or black yarn.
- Bring the needle up one round below the nose
- Stitch a short line
- Add two tiny angled stitches at the ends for a gentle smile
Tip: Smaller is cuter at this scale. Big embroidered mouths can overpower the face.
Optional: Make It a Christmas Ornament
If you want to hang your Christmas Crochet Reindeer on the tree:
- Cut a piece of yarn or ribbon (10–12 inches).
- Tie into a loop.
- Stitch the knot area into the top of the head between the antlers.
- Weave ends inside so it’s secure.
For ornaments, you can stuff a little more firmly so it keeps its shape on a branch.
Customization Ideas (Easy and Fun)
This is where you can make your reindeer feel truly yours.
- Add a scarf: ch 45–55, sc across, wrap and stitch in place.
- Santa hat: quick cone in red with a white brim.
- Different nose colors: red for Rudolph, brown for classic, pink for a baby reindeer vibe.
- Add tiny blush: a couple of small stitches in pale pink under the eyes.
- Make a whole set: vary scarf colors and expressions to create a family of reindeer.
Tips for Beginners
- Count stitches every round (especially on the increase rounds).
- Use a stitch marker so you don’t lose your place.
- Stuff slowly and shape as you go—don’t wait until the end.
- If you see gaps, tighten tension or use a smaller hook.
- Pin everything before sewing. It’s the easiest way to get symmetry.
Common Mistakes to Avoid
- Putting the eyes too low: it can make the face look off. Keep them around rounds 9–10.
- Loose stitches: stuffing will show through; go tighter or smaller hook.
- Belly patch puckering: caused by pulling the sewing yarn too tight.
- Antlers flopping: add extra stitches at the base when sewing.
- Not enough stuffing: your reindeer will look lumpy instead of chubby.
Care Instructions
- Spot clean with mild soap and a damp cloth.
- If needed, hand-wash gently in cool water.
- Press in a towel and reshape while damp.
- Air dry completely before storing.
FAQ (5 Questions)
1) Can I embroider the eyes instead of using safety eyes?
Yes, and it’s best for toddlers. Stitch small black ovals between rounds 9–10.
2) Can I use worsted-weight yarn?
Yes. It will just come out bigger. Keep stitches tight and consider a slightly smaller hook if needed.
3) Why does my body look like an egg instead of round?
Usually, it’s stuffing distribution. Add stuffing evenly around the side,s and don’t leave the top under-stuffed.
4) How do I make it look more “Rudolph”?
Use a brighter red nose, add a scarf, and place the smile a touch wider.
5) Can I sell finished reindeer made from this pattern?
You can sell finished items you make, but don’t repost or redistribute the written pattern as your own.
Conclusion
This little reindeer is one of those holiday projects that feels instantly rewarding: simple stitches, a sweet face, and a finished plush that looks charming no matter what color scarf you add. If you’ve been looking for a Beginner Crochet Reindeer that’s festive but not fussy, I hope this becomes one of your go-to Christmas makes.
If you try this Crochet Reindeer Pattern, save it so you can come back each holiday season. And if you make one, I’d love to hear what you changed—scarf color, nose style, ornament vs plush, anything.


