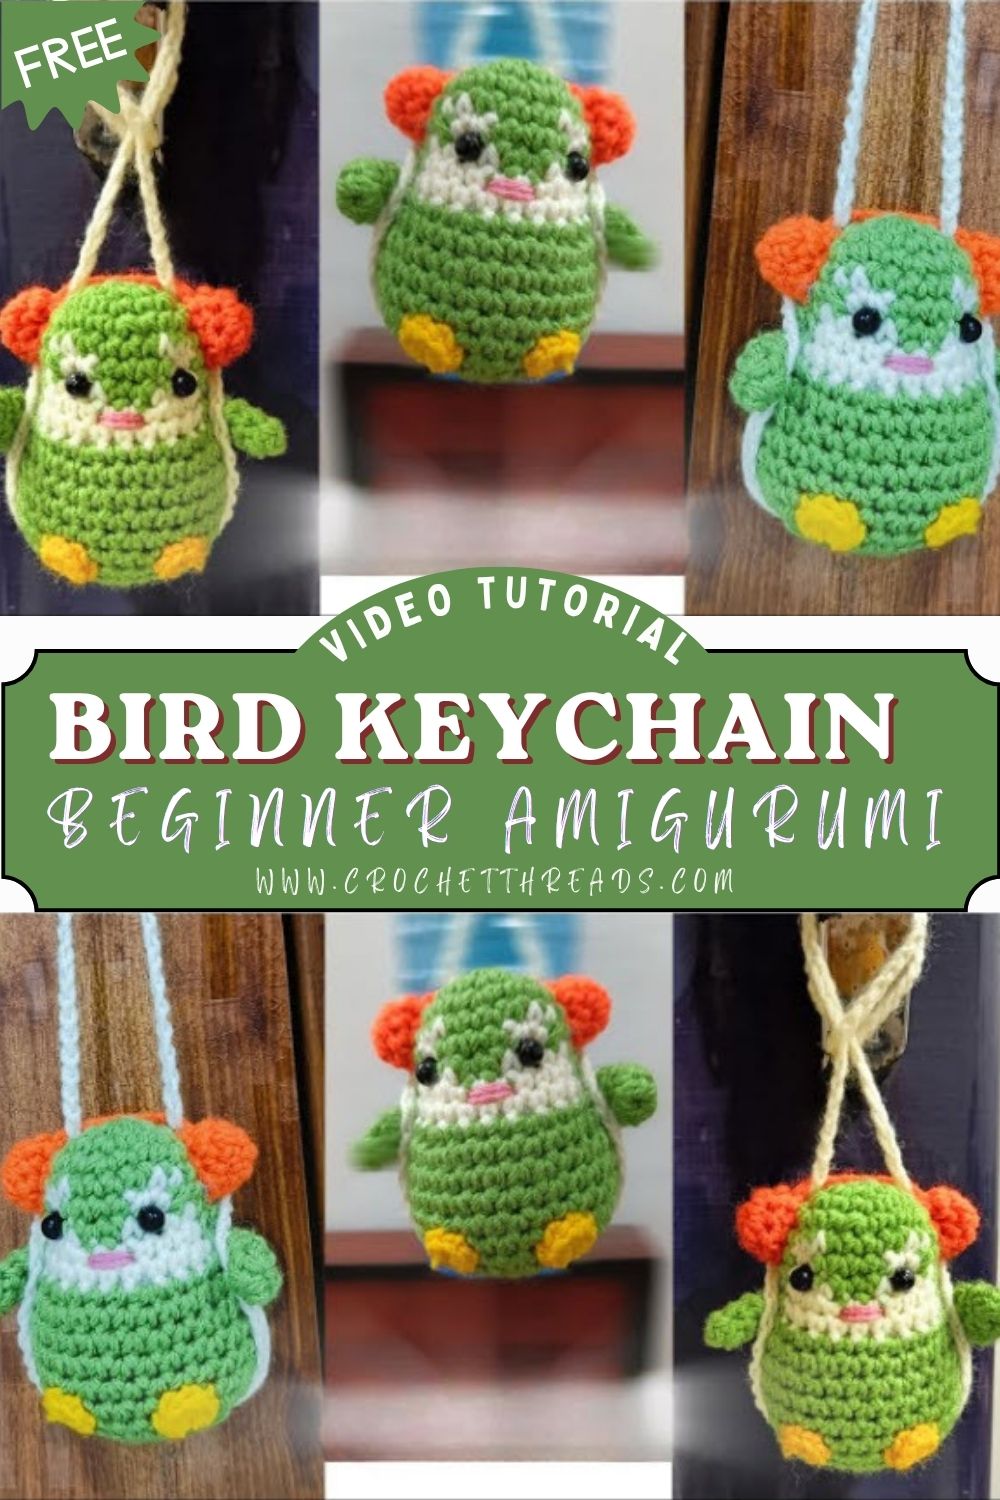
Adorable Crochet Bear Keychain Bird Beginner Amigurumi Easy Pattern
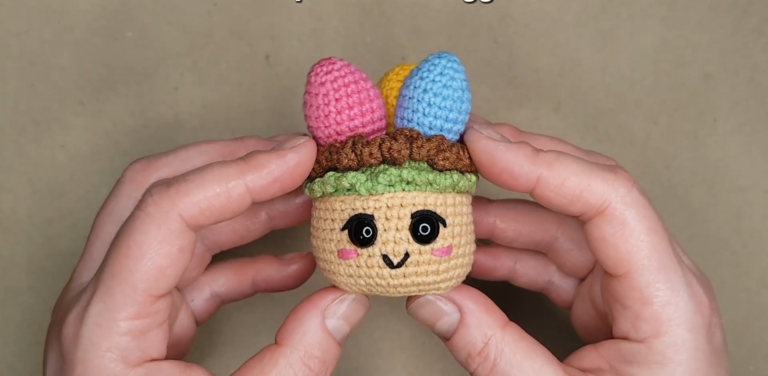
There’s something incredibly satisfying about turning simple yarn into a charming handmade creation, and this Crochet Bear Keychain design captures that feeling beautifully. Every stitch adds character, slowly shaping a piece that feels both creative and personal.
More than just a crochet project, this design offers a relaxing and enjoyable making experience. Whether you’re crafting for yourself or preparing a thoughtful handmade gift, it brings a sense of warmth and creativity that makes the final result truly special.
Amigurumi is the Japanese-inspired style of crocheting small stuffed figures using tight, neat stitches usually single crochet in rounds. Even though the technique looks impressive, most designs rely on the same building blocks: increasing to form curves, decreasing to shape, and a bit of patient stuffing to keep everything smooth.
Small animal keychains are trending for a good reason: they’re fast, giftable, and endlessly customizable. One bear can become a classic teddy, a pastel “kawaii” charm, or a woodland friend with a scarf. This pattern uses basic stitches (sc, inc, dec, sl st, ch) and simple sewing, making it approachable for beginners while still giving that polished amigurumi look. Use it as a crochet keychain, a tiny decor piece for a desk, a party favor, or a quick handmade gift that feels surprisingly special.
Materials Needed
- Yarn: DK or light worsted (Category 3) acrylic or cotton
- Main color (bear): 25 g (about 55–60 m)
- Contrast color (muzzle): 5 g (about 10–12 m)
- Optional accent (bow/scarf): 3 g (about 6–8 m)
- Crochet hook: 2.75 mm (or 3.0 mm if you crochet very tightly)
- Safety eyes: 6 mm (1 pair)
- Alternative: black embroidery thread for sewn eyes
- Stuffing: 10–15 g polyester fiberfill
- Stitch marker (or a scrap of yarn)
- Yarn needle (blunt tip)
- Scissors
- Optional: 2 cm (0.8″) keychain split ring + small jump ring
- Optional: pink embroidery thread or blush for cheeks
Abbreviations
- sc = single crochet
- inc = increase (2 sc in the same stitch)
- dec = decrease (single crochet 2 together)
- sl st = slip stitch
- ch = chain
- st = stitch
Skill Level
Beginner-friendly. You’ll crochet in continuous rounds and do a little basic sewing to attach the parts. If you can single crochet and count stitches, you can make this bear.
Step-by-Step Pattern
Notes:
- Work in continuous rounds unless stated otherwise.
- Use a stitch marker to track the start of each round.
- Stuff firmly but gently as you go to keep the shape smooth.
- Finished size: about 7–9 cm (3–3.5″) tall with DK yarn and a 2.75 mm hook.
Head (Main color)
R1: 6 sc in a magic ring (6)
R2: inc around (12)
R3: (sc, inc) around (18)
R4: (2 sc, inc) around (24)
R5: (3 sc, inc) around (30)
R6–R9: sc around (30)
R10: (3 sc, dec) around (24)
R11: (2 sc, dec) around (18)
At this stage, place safety eyes between R7 and R8, about 6–7 stitches apart. If you’re embroidering eyes, you can wait until finishing.
R12: (sc, dec) around (12)
Begin stuffing the head, smoothing the curve with your fingers.
R13: dec around (6)
Fasten off, leaving a long tail for sewing.
Muzzle (Contrast color)
R1: 6 sc in a magic ring (6)
R2: inc around (12)
R3: (sc, inc) around (18)
R4: sc around (18)
Fasten off, leaving a tail for sewing.
Optional nose: With black embroidery thread, stitch a small triangle or oval nose centered on the muzzle, then add a short vertical line down and a tiny smile.
Body (Main color)
R1: 6 sc in a magic ring (6)
R2: inc around (12)
R3: (sc, inc) around (18)
R4: (2 sc, inc) around (24)
R5–R7: sc around (24)
R8: (2 sc, dec) around (18)
R9: (sc, dec) around (12)
Add stuffing now. For a keychain, a slightly firmer body helps it keep its shape.
R10: dec around (6)
Fasten off, leaving a long tail for sewing.
Ears (Make 2, Main color)
R1: 6 sc in a magic ring (6)
R2: (sc, inc) around (9)
R3: sc around (9)
Flatten the ear gently; do not stuff.
Fasten off, leaving a tail for sewing.
Arms (Make 2, Main color)
R1: 6 sc in a magic ring (6)
R2: (sc, inc) around (9)
R3–R5: sc around (9)
Lightly stuff just the hand area if you’d like a rounded look; leaving them unstuffed also works and keeps the keychain flatter.
R6: (sc, dec) around (6)
R7: sc around (6)
Fasten off, leaving a tail for sewing.
Legs (Make 2, Main color)
R1: 6 sc in a magic ring (6)
R2: inc around (12)
R3–R4: sc around (12)
R5: (2 sc, dec) around (9)
R6: sc around (9)
Stuff lightly so the feet keep shape without bulging.
Fasten off, leaving a tail for sewing.
Keychain Loop (Main color)
You can add the loop on the head or centered on the back of the head.
Option A (crochet chain loop):
- Insert hook at the top of the head, pull up a loop, ch 12–15 (depending on ring size and how long you want it).
- Sl st back into the same spot to form a loop.
- Fasten off and weave in ends securely.
Option B (yarn loop for extra strength):
- Thread a long strand through the top of the head, tie tightly, and attach a jump ring.
Optional Bow (Accent color)
Ch 18.
Row 1: sc in 2nd ch from hook and across (17)
Row 2–3: ch 1, turn, sc across (17)
Fasten off, wrap a small strand around the middle to cinch, then tie to secure. Leave tails for sewing.
Assembly
- Sew the muzzle to the lower center of the head, just below the eyes. Add a tiny bit of stuffing under the muzzle before closing the last stitches if you want a slightly raised snout.
- Attach the ears to the top sides of the head. I like placing them between R3 and R5 of the head, with a small angle outward so the bear looks curious rather than flat.
- Sew the head to the body, aligning the centers so it sits neatly and doesn’t tilt. Use the long head tail and stitch in a circle, pulling snugly as you go.
- Place the legs on the front lower part of the body. Position them so the feet point forward, then sew securely.
- Attach the arms on the sides of the body, slightly below where the head meets the body. A few strong stitches are enough, especially for a keychain that may get tugged.
- Add the keychain loop at the crown of the head (or the back). If you’re using a split ring, connect it now and test the strength with a gentle pull.
Finishing Touch
- Shape the bear with your hands: press the head lightly, nudge stuffing into any empty spots, and pinch the muzzle area so it looks rounded and even.
- Add facial details: embroider brows, a tiny smile, or a couple of straight stitches for sleepy eyes if you skipped safety eyes. A dab of blush (or a few pink thread stitches) on the cheeks can make the expression feel extra warm.
- Weave in all yarn ends carefully, running the tails through the inside of the body and trimming so nothing pokes out.
- Give the bear a final “fluff check”—if it feels lumpy, use the back of your hook to gently push stuffing where it’s needed.
Tips for Beginners
- Use a smaller hook than you would for normal crochet so stuffing doesn’t show through the stitches.
- Count stitches every round; a quick recount saves a lot of time later.
- If safety eyes feel tricky, embroider eyes instead you can adjust the expression until it feels right.
- Don’t overstuff small pieces like arms; too much stuffing makes sewing harder and can stretch stitches.
- Pin parts in place (or use scrap yarn as ties) before sewing so everything looks even from the front.
Conclusion
Once you’ve made one crochet amigurumi bear keychain, it’s hard to stop at just one. Try a caramel bear with a cream muzzle, a pastel version for spring, or add a tiny scarf for winter. You can even swap the face style to make it sleepy, surprised, or extra cheerful.
If you make your own pocket teddy, let it reflect your favorite colors and little details. That’s the sweetest part of amigurumi every finished piece carries a bit of your mood, your time, and your cozy creativity.