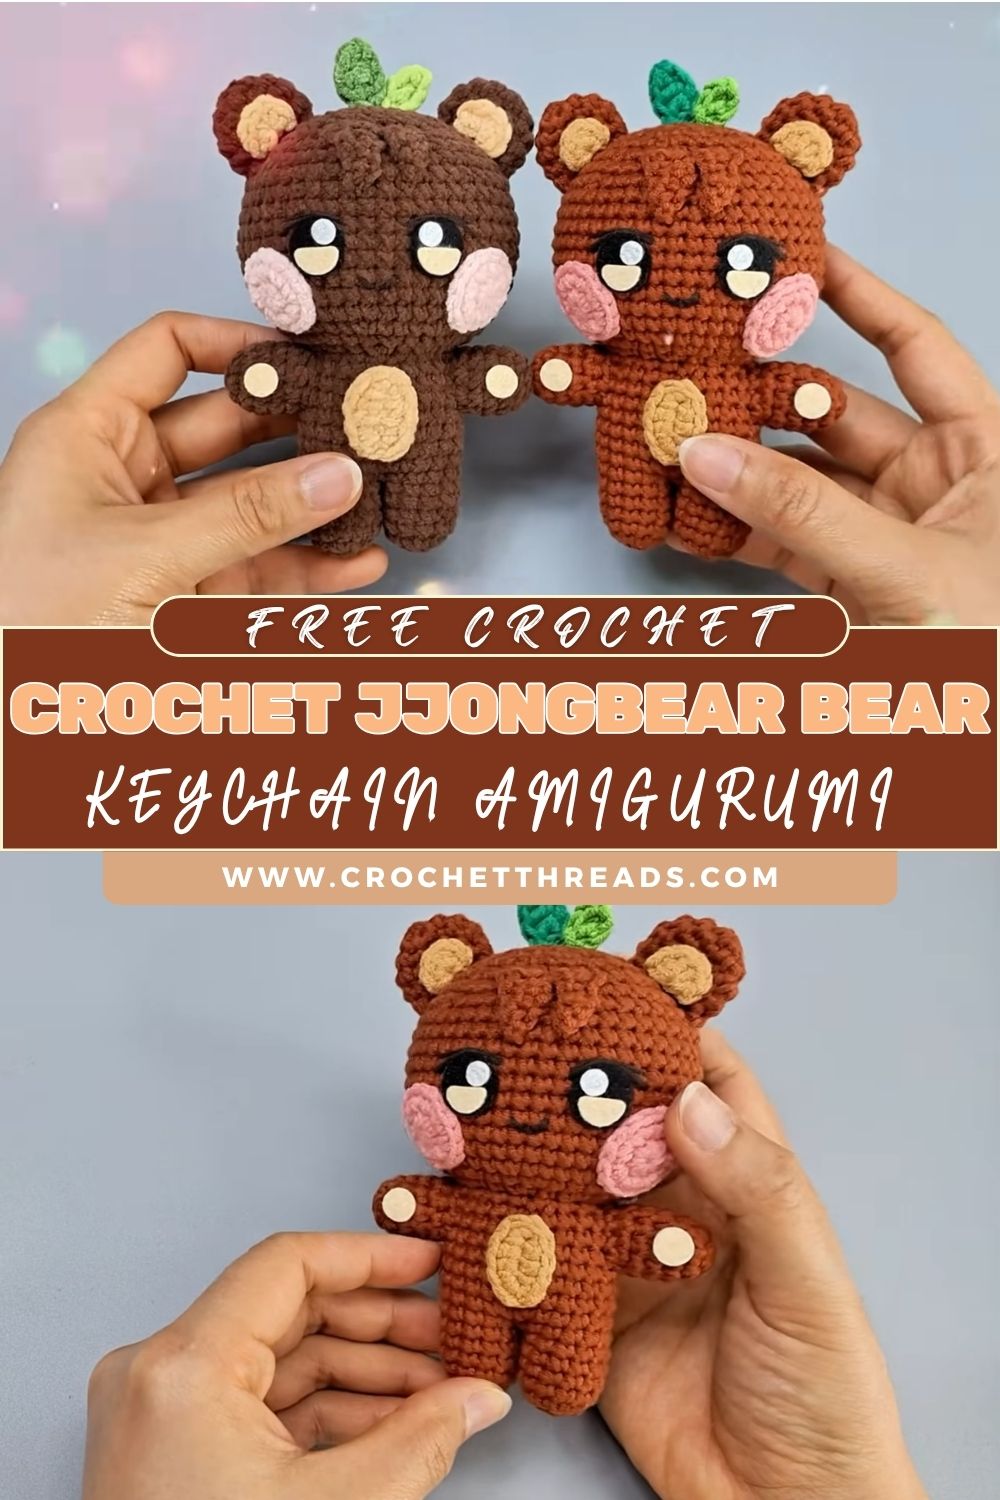
Outstanding Crochet JJONGbear Bear Keychain Amigurumi Beginners Pattern
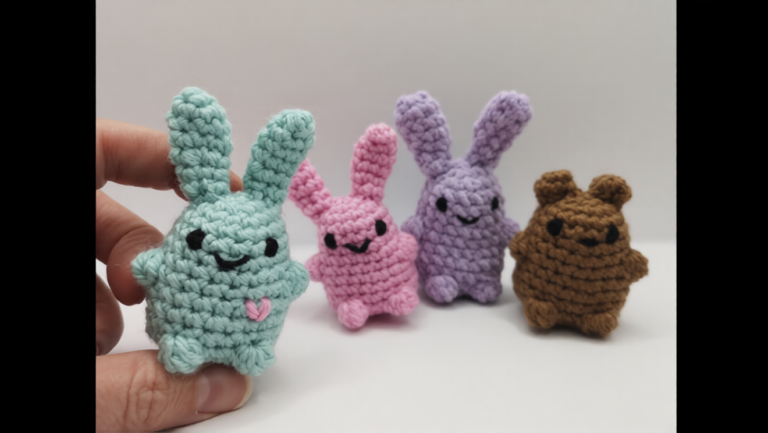
Crochet JJONGbear projects have a special kind of charm: round, squishy, and full of personality in just a few inches of yarn. This JJONGbear amigurumi is designed as a small, giftable buddy that looks adorable on bags, backpacks, and, of course, as a crochet JJONGbear keychain.
Even better, this crochet JJONGbear keychain pattern keeps shapes simple and beginner-friendly. With clear rounds, basic stitches, and small add-on pieces (ears, tail, and an optional leaf), it’s the kind of tiny amigurumi that feels relaxing to make and satisfying to finish.
Amigurumi is the art of crocheting small stuffed toys using simple stitches, usually single crochet, worked in rounds. The magic comes from shaping: a few increases and decreases turn a flat circle into a chubby head, tiny arms, and little legs that can make any character feel alive.
JJONGbear-style characters are popular because they lean into the cutest features: a rounded body, a sweet face, and small details (like cheeks or a leaf) that make the expression feel warm and friendly. This style looks great even with minimal embroidery, which is perfect for crocheters who feel nervous about “drawing” a face with yarn.
This crochet JJONGbear pattern suits beginners especially well because it’s quick, uses easy stitch counts, and doesn’t require complicated color changes. Plus, it’s a practical project,ct small enough to finish in an evening, cute enough to gift, and sturdy enough to turn into a keychain.
Materials Needed (Exact Measurements)
Yarn (DK / Light Worsted #3 recommended):
- Brown yarn (main body): ~15 g (about 30–35 m)
- Tan or cream yarn (accent: cheeks/muzzle if desired): ~5 g (10–12 m)
- Black yarn (embroidery for nose/mouth): ~1–2 g
- Green yarn (leaf): ~2 g
Hook:
- 2.5 mm crochet hook (use 3.0 mm for a slightly larger, softer plush)
Notions:
- Safety eyes: 6 mm (small size)
- Stuffing: polyfill, ~10–15 g
- Yarn needle
- Stitch marker (or a scrap of contrasting yarn)
- Keychain ring + small jump ring (or a lobster clasp)
- Optional: blush or pink embroidery thread for extra cheek color
Skill Level
Beginner (must know: magic ring, single crochet, increase, decrease, slip stitch, chain)
Making Time (Overview)
Total estimated time for one crochet JJONGbear keychain: 2.5 to 4 hours
(Time varies by speed, sewing confidence, and whether extra details like bangs/cheeks/leaves are added.)
Abbreviations (Quick Guide)
- MR = magic ring
- sc = single crochet
- inc = increase (2 sc the in same stitch)
- dec = decrease (invisible decrease recommended)
- sl st = slip stitch
- ch = chain
- hdc = half double crochet
- dc = double crochet
- Numbers in brackets [ ] = stitch count at the end of the round
Step-by-Step Instructions
1) Body (Main Shape) – Legs, Body, and Head
Estimated time: 60–90 minutes
This JJONGbear is built in a classic amigurumi way: start with two legs, join them, then continue upward into the body and head in one continuous piece.
A. Legs (make 2)
Leg – Round 1: 6 sc in MR [6]
Round 2: 6 in [12]
Round 3–6: sc around (4 rounds) [12]
Fasten off the first leg. Make the second leg the same, but do not fasten off yet.
Extra joining stitches: After finishing the second leg, add 6 sc (this helps position the join cleanly).
B. Join Legs + Crochet the Body
Now the legs are connected into one round.
Body – Round 7: sc around leg 1 (12) + sc around leg 2 (12) [24]
Round 8: (11 sc, inc) x2 [26]
Round 9–13: sc around (5 rounds) [26]
Round 14: 5 sc, dec, 12 sc, dec, 5 sc [24]
Round 15: (2 sc, dec) x6 [18]
At this point, start stuffing the lower half firmly so the bear stands nicely and doesn’t wobble.
C. Head (worked above the body)
The head expands above the body for that classic “big head, small body” look.
Round 16: Front loops only (sc, inc) x9 [27]
Round 17: (sc, inc, sc) x9 [36]
Round 18: (3 sc, inc) x9 [45]
Round 19: (14 sc, inc) x3 [48]
Round 20–27: sc around (8 rounds) [48]
Stuff the head gradually during these rounds. The best finish happens when the stuffing is firm but not stretched. The stitches should stay smooth, not gappy.
Round 28: (6 sc, dec) x6 [42]
Round 29: sc around [42]
Round 30: (5 sc, dec) x6 [36]
Round 31: (2 sc, dec, 2 sc) x6 [30]
Round 32: (3 sc, dec) x6 [24]
Round 33: (sc, dec, sc) x6 [18]
Round 34: (sc, dec) x6 [12]
Round 35: 6 Dec [6]
Fasten off. Close the opening neatly and weave in the end.
Additional Parts
A. Arms (make 2)
Estimated time: 15–20 minutes
Round 1: 5 sc in MR [5]
Round 2: 5 inc [10]
Round 3–5: sc around (3 rounds) [10]
Round 6: 4 sc, 3 hdc, 3 sc [10]
Lightly stuff the arms (or leave unstuffed for a flatter “plush keychain” look). Flatten the top and sew it closed.
B. Tail (make 1)
Estimated time: 5–8 minutes
Round 1: 5 sc in MR [5]
Round 2: 5 inc [10]
Round 3–4: sc around (2 rounds) [10]
Round 5: 5 dec [5]
Stuff lightly, then sew to the body’s lower back.
C. Ears (make 2)
Estimated time: 15–20 minutes
Round 1: 6 sc in MR [6]
Round 2: 6 in [12]
Round 3: (2 sc, inc) x4 [16]
Round 4: sc around [16]
Round 5: (sc, dec) x5, sc [11]
Flatten each ear and sew it to the head. For a balanced look, place them symmetrically near the upper head area.
Placement tip: Ears look especially cute when attached roughly spanning Rounds 28–32 of the head area (adjust slightly depending on eye placement and personal preference).
D. Leaves (Optional)
Estimated time: 5–10 minutes
A tiny leaf adds a playful “fresh” detail on top of the head. Use green yarn and keep stitches snug.
A simple leaf can be crocheted as a small oval/teardrop shape (any preferred leaf motif works). After crocheting, secure the stitch near the crown of the head, slightly off-center for extra charm.
E. Cheeks (Optional)
Estimated time: 8–12 minutes
Round 1: 8 sc in MR [8]
sl st + ch 1
Round 2: 8 iin[16]
sl st, fasten off
Sew cheeks below the eyes, one on each side. Alternatively, skip sewing and use blush for a quicker finish.
Face & Assembly
Estimated time: 30–50 minutes
A. Safety Eyes
- Place markers between Rounds 24 and 25 on the head section.
- Insert 6 mm safety eyes with about 6–8 stitches between them (adjust to taste).
- Before locking the backs, double-check the expression: closer eyes look extra sweet; wider eyes look more curious.
B. Nose and Mouth (Embroidery)
Using black yarn or embroidery thread:
- Stitch a small nose c, entered between the eyes, and land slightly below eye level.
- Add a short vertical stitch under the nose.
- Curve a simple smile to one or both sides.
Beginner-friendly tip: embroider lightly first, then reinforce with a second pass once the face looks right.
Joining the Prts Neatly (Beginner Tips)
- Pin first, sew second. Use stitch markers or sewing pins to hold ears/arms in place before stitching.
- Use the same yarn color as the body for sewing (brown blends best).
- Sew through stitches, not gaps. Catch both the piece edge and a full stitch on the body to avoid wobbly parts.
- Check symmetry often. After a few sewing stitches, pause and look from the front before continuing.
- Reinforce keychain stress points. If adding a keychain loop, stitch through the top of the head several times so it can handle daily use.
Special Features (What Makes This JJONGbear Stand Out)
- Texture: A soft, plush single-crochet fabric with clean shaping from simple increases and decreases.
- Expression: A bright, happy face that looks cute even with minimal embroidery.
- Size: Keychain-friendly sm, small enough to carry, noticeable enough to show off.
Sizing Tips (Yarn + Hook Changes)
- Smaller bear: Use sport/fingering yarn with a 2.0–2.25 mm hook. The stitches tighten, and the keychain becomes mini-sized.
- Bigger bear: Use worsted (#4) with a 3.5–4.0 mm hook. The bear becomes more plush-like and less “keychain tiny.”
- Golden rule: Choose a hook slightly smaller than the yarn label suggests to keep stuffing from showing through.
Finishing Tips (For a Clean, Professional Look)
- Neat stitching: Use invisible decreases and keep tension steady.
- Secure knots: Weave ends in a zigzag path inside the piece, then trim.
- Balanced stuffing: Add small pinches of polyfill, especially around the cheeks and forehead, to avoid lumps.
- Clean edges: When closing the head, pull tight slowly and stitch the final opening shut for a smooth top.
Common Mistakes to Avoid
- Loose stitches: Stuffing will peek through, tighten the tension, or switch to a smaller hook.
- Uneven ears or limbs: Skipping pinning often causes one ear to sit higher than the other. Mark placement first.
- Inconsistent facial features: Eyes too high/low can change the whole mood. Test with pins/markers before locking.
- Skipping stitch markers: Rounds drift easily in amigurumi; always mark the first stitch of each round.
Variations & Customization Ideas
- Color swaps: Try pastel pink, buttery yellow, or creamy white for a playful JJONGbear look.
- Leaf changes: Use mint, olive, or even a tiny flower instead of a leaf.
- Size changes: Use thicker yarn for a desk plush, or thinner yarn for a mini zipper pull.
- Accessories: Add a tiny bow, scarf, or a little embroidered letter on the belly.
Tutor Suggestions (Confidence Boost for Beginners)
- Keep stitch tension even by relaxing the grip and letting the hook do the work. Tight stitches are good; painful hands are not.
- Practice an invisible decrease on a small swatch first. It instantly makes the shaping look smoother.
- Make it personal. This JJONGbear amigurumi is a perfect base character—changing face spacing, cheek size, or colors can create a unique bear.
Conclusion
This crochet JJONGbear keychain is the kind of project that turns a simple ball of yarn into something full of warmth. With beginner-friendly shaping, quick parts, and cute finishing details, the final bear becomes a sweet little companion for keys or bags. After this JJONGbear amigurumi, exploring other crochet animals becomes much less intimidating, and experimenting with colors, faces, and tiny accessories can make every creation feel one-of-a-kind.