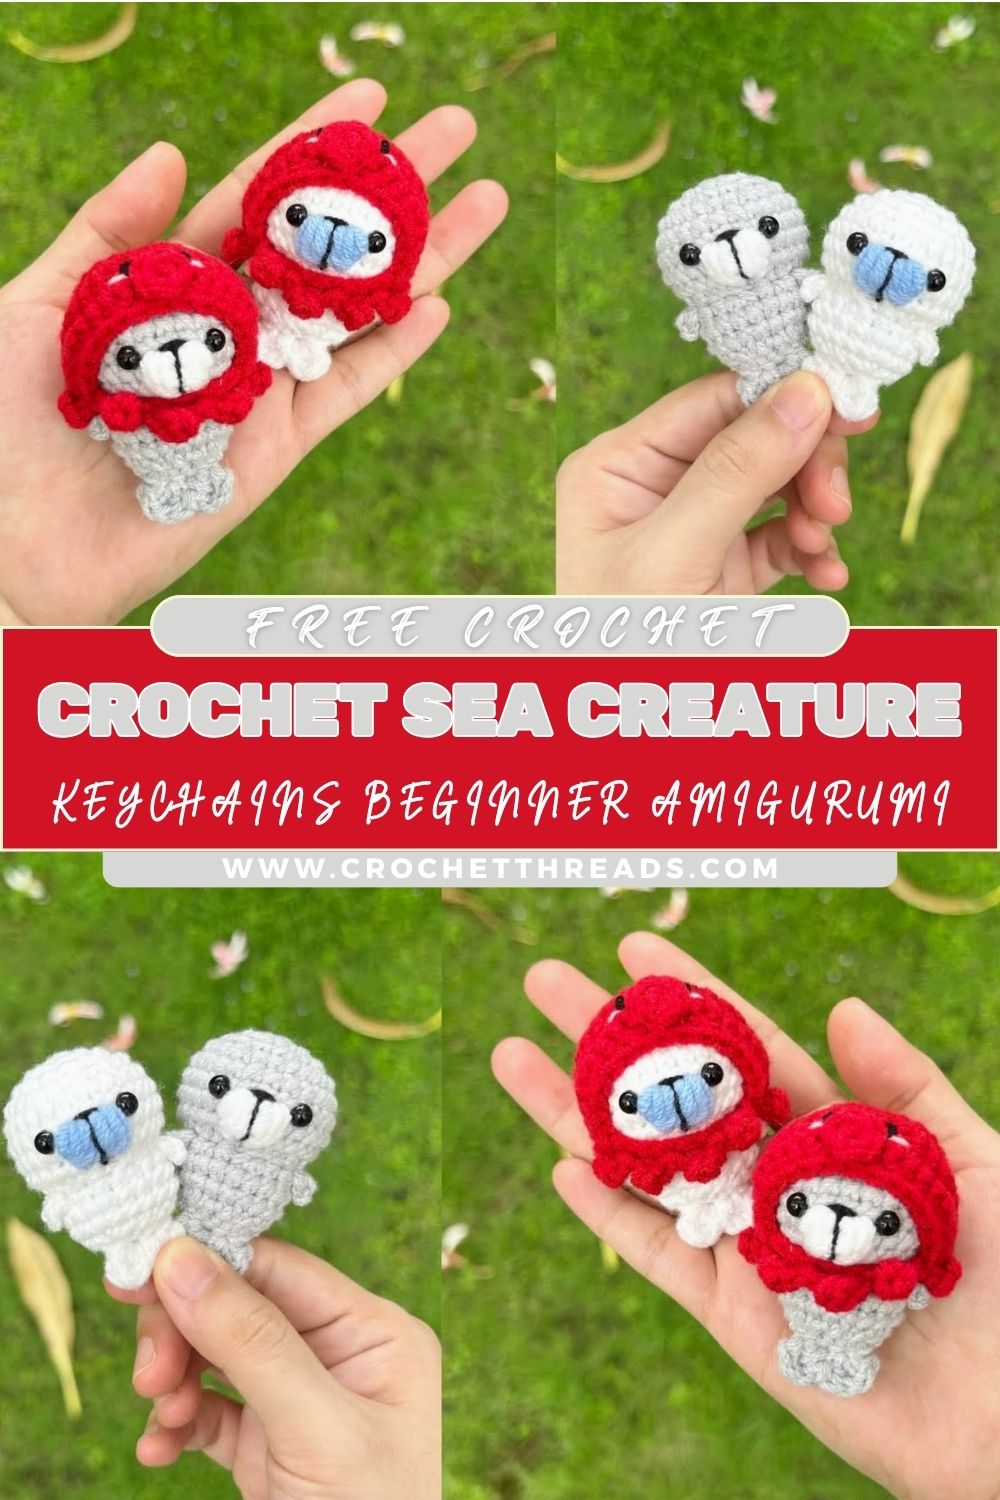
Exceptional Crochet Sea Creature Keychains Beginner Amigurumi Pattern Step‑by‑Step
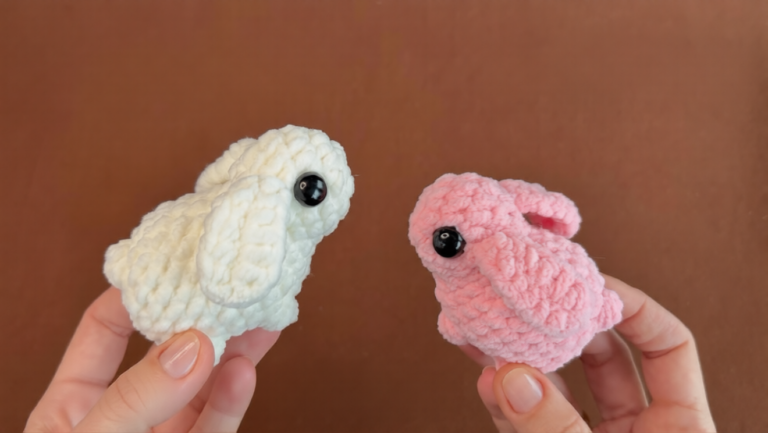
These crochet sea creature keychains are tiny, adorable ocean buddies you can take anywhere, perfect as amigurumi keychains, bag charms, zipper pulls, or small handmade gifts. Inspired by cute sea animals (like little fish, whales, seals, or octopus-style characters), they’re quick to crochet, easy to customize, and super beginner-friendly.
If you’re looking for a fun beginner amigurumi project that uses simple stitches and minimal sewing, these cute crochet keychain patterns are a great place to start!
In this post, you’ll learn how to make cute crochet sea creature keychains with a complete, beginner‑friendly amigurumi tutorial inspired by the YouTube video:
Materials List
Here’s what you’ll need for your crochet sea creature keychain pattern:
- Worsted weight yarn (#4) in several colors
Examples: gray, white, red, plus accent colors (blue, pink, black, yellow, etc.) - Crochet hook: 2.5 mm or 3.0 mm (smaller hook = tighter stitches, better for keychains)
- Safety eyes: 6 mm–8 mm
(or embroider eyes if preferred) - Fiberfill stuffing
- Keychain rings (split rings, lobster clasps, or keychain hardware)
- Yarn needle
- Scissors
- Stitch marker (recommended for counting rounds)
Abbreviations (beginner-friendly)
- sc = single crochet
- inc = increase (2 single crochets worked into the same stitch)
- dec = decrease (single crochet 2 stitches together; invisible decrease recommended)
- ch = chain
- sl st = slip stitch (used to join or finish neatly)
Pattern Overview (parts you’ll make)
This pattern is designed as a basic “sea creature body” that you can customize into different animals.
You’ll crochet:
- Body/Body (one piece, stuffed)
- Fins / Arms (small side pieces)
- Face pieces (safety eyes + embroidery details like a smile, blush, etc.)
- Keychain top loop (crocheted loop for attaching the keyring)
Finished size
Keychain size varies by yarn/hook, but typically 2–3 in (5–8 cm) tall.
Body/Body (worked in continuous rounds)
Using your main color (gray/white/red/blue—any sea creature base color):
Round 1: MR, 6 sc (6)
Round 2: inc x6 (12)
Round 3: (sc, inc) x6 (18)
Round 4: (2 sc, inc) x6 (24)
Rounds 5–7: sc around (24) for 3 rounds
Add eyes (before closing)
Place safety eyes between Rounds 6–7, about 5–7 stitches apart (adjust for your character’s look).
Round 8: (2 sc, dec) x6 (18)
Round 9: (sc, dec) x6 (12)
Start stuffing firmly, then shape into a smooth ball/oval.
Round 10: dec x6 (6)
Fasten off, close the hole, weave in ends.
Shape tip: If you want a longer “fish/whale” body, add 1–2 extra rounds of sc at 24 stitches before Round 8.
Face & Eyes (details)
Safety eyes
- Insert eyes after Round 7, before the decreases.
- Secure the backs tightly (hard to remove later).
Embroider facial details (optional but cute)
With black yarn or embroidery thread:
- Add a tiny smile (simple curve) under the eyes
- Add a tiny nose (one small stitch) if you want a seal/otter vibe
- Add blush cheeks with pink yarn (2 short stitches under each eye)
Fins / Arms / Accessories
Choose the style that matches your sea creature.
Option A: Simple side fins (make 2)
Using body color (or a contrasting accent):
Round 1: MR, 4 sc (4)
Round 2: (sc, inc) x2 (6)
Round 3: sc around (6)
Fasten off, leave a tail for sewing.
Sew one fin to each side of Bodybody around Rounds 6–8.
Option B: Tiny octopus arms (make 2–6, optional)
ch 8–12, then work 2 sc in each chain back down the chain to create a curl.
Fasten off and sew around the lower half of the body.
Option C: Little dorsal fin (fish/shark style)
Ch 4, sc in 2nd ch from hook and across (3 sc).
>Ch 1, turn, dec, sc (2 sts).
>Ch 1, turn, dec (1 st).
Fasten off; sew on top.
Keychain Loop (top hanger)
Attach yarn at the top of the head:
- Pull up a loop and ch 12–18 (fit depends on your keyring size).
- sl st back into the same stitch/area to form a loop.
- Pull snug, knot if needed, weave in ends securely.
- Slide your keychain ring onto the loop.
Extra-strong tip: Stitch the base of the loop down through multiple stitches so it can handle pulling.
Assembly (sew + stuff + finish)
- Place safety eyes (if using).
- Embroider face (smile/blush).
- Stuff evenly (small tufts, smooth it out).
- Sew fins/arms in place (pin first, then stitch).
- Attach keychain loop, add ring.
- Hide ends by weaving through Bodybody and trimming so tails disappear inside.
Tips for Beginners
- Keep stitches tight: A smaller hook (2.5–3 mm) helps prevent holes in amigurumi.
- Count every round: Use a stitch marker in the first stitch of each round.
- Avoid gaps on decreases: Use invisible decreases for a smoother finish.
- Stuff slowly: Add tiny pieces of fiberfill and shape as you go to avoid lumps.
- Safety eyes safety note: Safety eyes are not recommended for children under 3—embroider eyes instead.
Color & Customization Ideas
Turn the same base into lots of sea animals:
- Whale: gray/Body body + tiny side fins + white belly patch (felt or crochet oval)
- Seal: light gray + small nose + whisker stitches
- Fish: bright colors + dorsal fin + embroidered scales
- Octopus: pastel body + curly arms + rosy cheeks
- Crab: Body body + add two small “claws” (tiny pinched fins)
Extra details:
- Add felt circles for cheeks, spots, or belly pieces
- Stitch on stripes, polka dots, or a tiny starfish patch
- Make expressions: sleepy eyes, happy smile, surprised “O” mouth
Conclusion
These cute crochet sea creature keychains are an easy, beginner-friendly amigurumi project. They help you practice working in rounds, basic shaping, and adding small details like fins, tails, and facial features. Make one little ocean buddy or crochet a full collection in different colors and styles. They’re perfect for gifts, party favors, or a daily keyring charm.