Crochet Light Spirit Yellow Amigurumi Pattern for a Unique Look
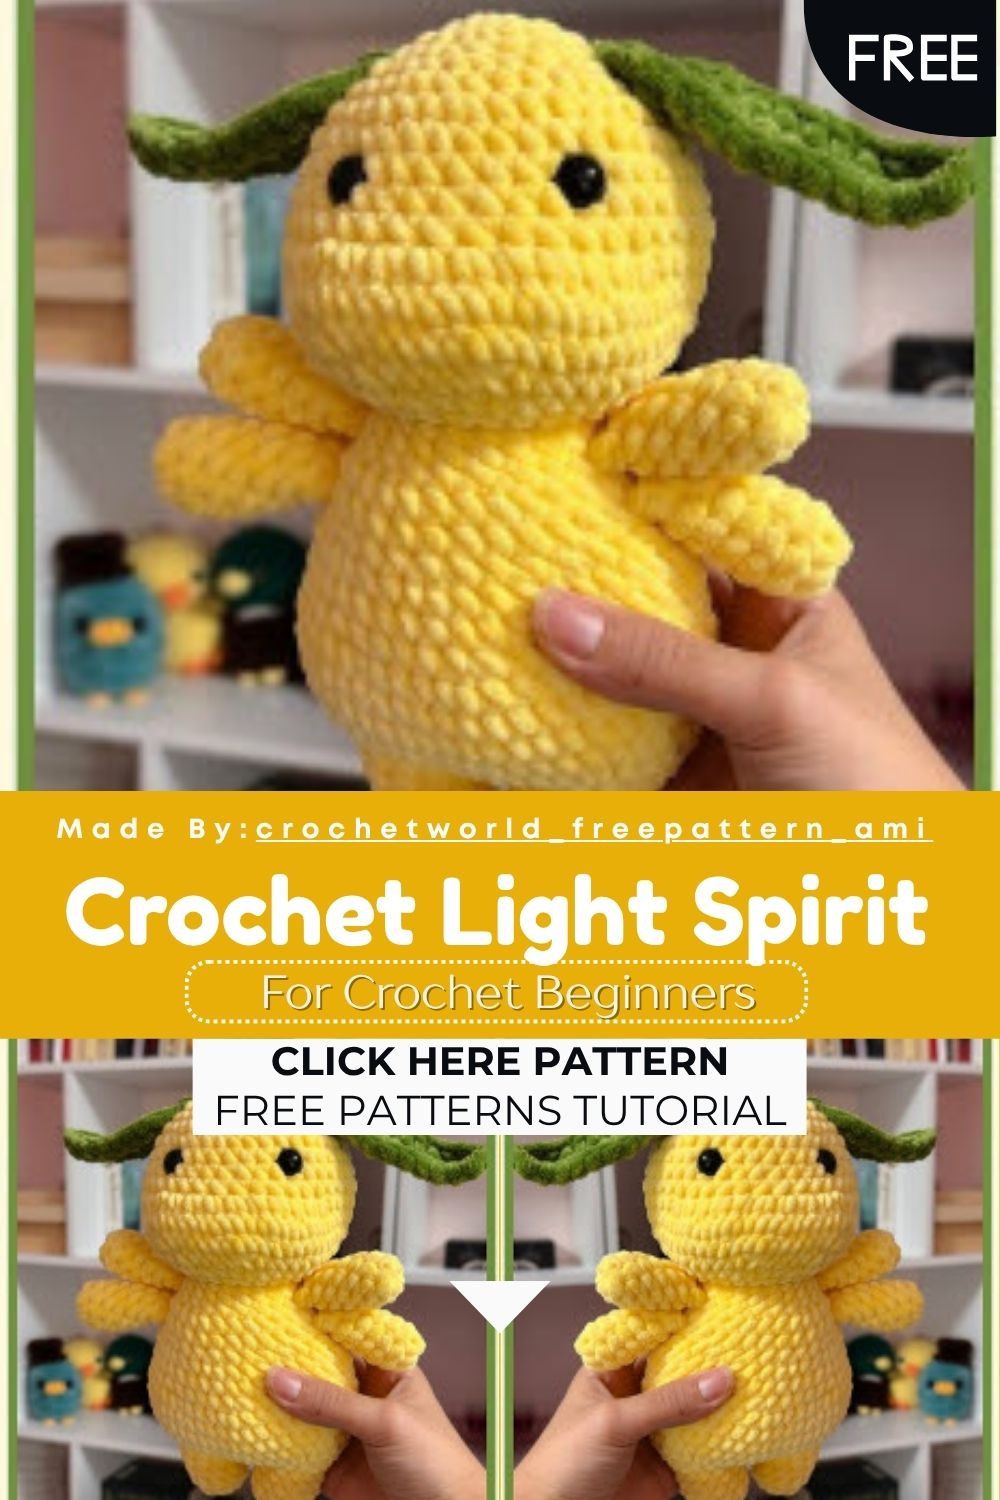
Pattern Overview
Before you grab your hook, let me walk you through how this little spirit comes together.
- The head is shaped first, with a clever front loop round that forms the snout.
- The legs start separately, then join into one body so there is almost no seaming.
- You stuff the body as you go, which keeps everything firm and rounded.
- Four small arms add movement and a playful pose.
- Two green leaves finish the look and give it that forest spirit feel.
- A bit of wire inside the leaves keeps them standing tall.
So while it has a few parts, none of them are hard. Each piece is quick, and the build feels satisfying from start to finish.
Special Techniques
This Crochet Light Spirit pattern leans on a couple of neat tricks. Once you see how they work, you will want to use them everywhere.
- Front loop only (FLO) round: This builds the raised snout right on the face.
- Joining two legs: A simple chain bridge turns two legs into one smooth body.
- Stuff as you go: Adding filling early keeps the shape from sagging later.
- Wired leaves: A thin wire inside each leaf lets you bend and pose them.
None of these needs fancy skills. They just take a little patience the first time around.
Materials You Will Need
Keep things simple. This is a low-fuss supply list, and you likely have most of it ready.
- Yarn in your chosen colors, mainly yellow and green
- Tapestry needle for assembly and weaving ends
- Safety eyes for that sweet expression
- Scissors
- Stuffing to fill the body and head
- Thin craft wire for the leaves, which is optional but handy
Abbreviations
Here is the full key, including the leaf stitches, so nothing trips you up later.
- MR magic ring
- SC single crochet
- HDC half double crochet
- DC double crochet
- INC increase
- DEC decrease
- SLST slip stitch
- FLO front loop only
- CH chain
The Head
Start in yellow and work in continuous rounds.
R1 MR 6 sc (6)
R2 (inc) x6 (12)
R3 (sc, inc) x6 (18)
R4 (2 sc, inc) x6 (24)
R5 (3 sc, inc) x6 (30)
R6 (4 sc, inc) x6 (36)
R7 (5 sc, inc) x6 (42)
R8 to 11 42 sc, worked for 4 rounds
R12 15 sc, then FLO 12 inc, then 15 sc (54)
R13 54 sc
R14 (9 sc, dec) x6 (48)
R15 (4 sc, dec) x8 (40)
R16 (3 sc, dec) x8 (32)
R17 (2 sc, dec) x8 (24)
Stuff the head firmly, then fasten off. Add the safety eyes on round 11, right above where the snout begins.
The Legs and Body
Make two legs first, then connect them into one body.
R1 MR 6 sc (6)
R2 (inc) x6 (12)
R3 to 5 12 sc
For leg 1, fasten off. For leg 2, ch 2 and join to leg 1 with a sc. That sc becomes the first stitch of R6.
R6 28 sc
R7 (6 sc, inc) x4 (32)
R8 (3 sc, inc) x8 (40)
R9 (4 sc, inc) x8 (48)
R10 to 13 48 sc
R14 (4 sc, dec) x8 (40)
R15 to 16 40 sc
R17 (3 sc, dec) x8 (32)
R18 to 19 32 sc
R20 (2 sc, dec) x8 (24), and start stuffing here
R21 to 22 24 sc, then finish stuffing and fasten off
The Arms
Make four of these little arms.
R1 MR 8 sc (8)
R2 to 7 8 sc
Stuff each one lightly, then seal the opening closed.
The Leaves
Make two leaves in green.
R1 ch 13. For extra stability, run a thin wire alongside the chain.
R2 2 sc, 1 hdc, 5 dc, 1 hdc, 2 sc, 3 sc in the same stitch, 2 sc, 1 hdc, 5 dc, 1 hdc, 2 sc, slst in first sc
Customization and Variation
Want to make this spirit feel like your own? Here are a few easy ways to switch things up.
- Try a soft cream or mint body for a gentler, dreamier version.
- Use sparkle or velvet yarn to give the spirit a magical glow.
- Add tiny blush cheeks with a touch of pink for extra cuteness.
- Make the leaves bigger or add a third for a fuller crown.
- Swap safety eyes for embroidered ones if you prefer a softer face.
- Pose the wired leaves differently to change the whole mood.
Little tweaks like these go a long way. You can make a whole forest of spirits, and no two need to match.
Skill Level
This Crochet Light Spirit sits at a comfortable beginner level. If you can manage a magic ring, single crochet, and the basic increase and decrease, you have everything needed to finish it.
Common Mistakes to Watch For
Even simple patterns have a few sneaky spots. Keep an eye on these, and you will avoid the usual headaches.
- Skipping the wire in the leaves: Without it, the leaves flop and lose their shape.
- Stuffing too lightly: A loose body looks droopy, so pack it gently but firmly.
- Misplacing the FLO round: That round shapes the snout, so count carefully.
- Joining legs unevenly: Line them up before the join so the body sits straight.
- Rushing the eye placement: Set them before closing, while you can still adjust.
A slow, steady pace here makes all the difference. Fixing these later is far more annoying than catching them early.
Finishing Tips
You are nearly there. These last touches turn a cute make into a clean, polished keepsake.
- Sew the head to the body firmly so it holds up to plenty of hugs.
- Position the arms evenly before stitching them in place.
- Tuck the leaves at the top and secure them well.
- Weave in every loose end so nothing unravels over time.
- Shape the snout and body gently with your fingers once stuffed.
These details are quick, but they matter. A neat finish is what makes handmade look truly special.
Gifting Ideas
This little spirit practically begs to be shared. It is cheerful, cozy, and the kind of gift people keep forever.
- Give one to a friend who loves cozy, nature-inspired decor.
- Pair it with a small potted plant for an adorable desk set.
- Pop it into a birthday box as a soft surprise.
- Make a matching pair for two friends who share everything.
- Use it as a shelf buddy in a kid’s reading nook.
- Tie a ribbon around it for a sweet handmade present.
Handmade gifts simply hit different. A tiny spirit like this carries warmth that store-bought things rarely match.
Assembly
Now for the fun part, bringing your spirit to life. Lay out all your finished pieces first.
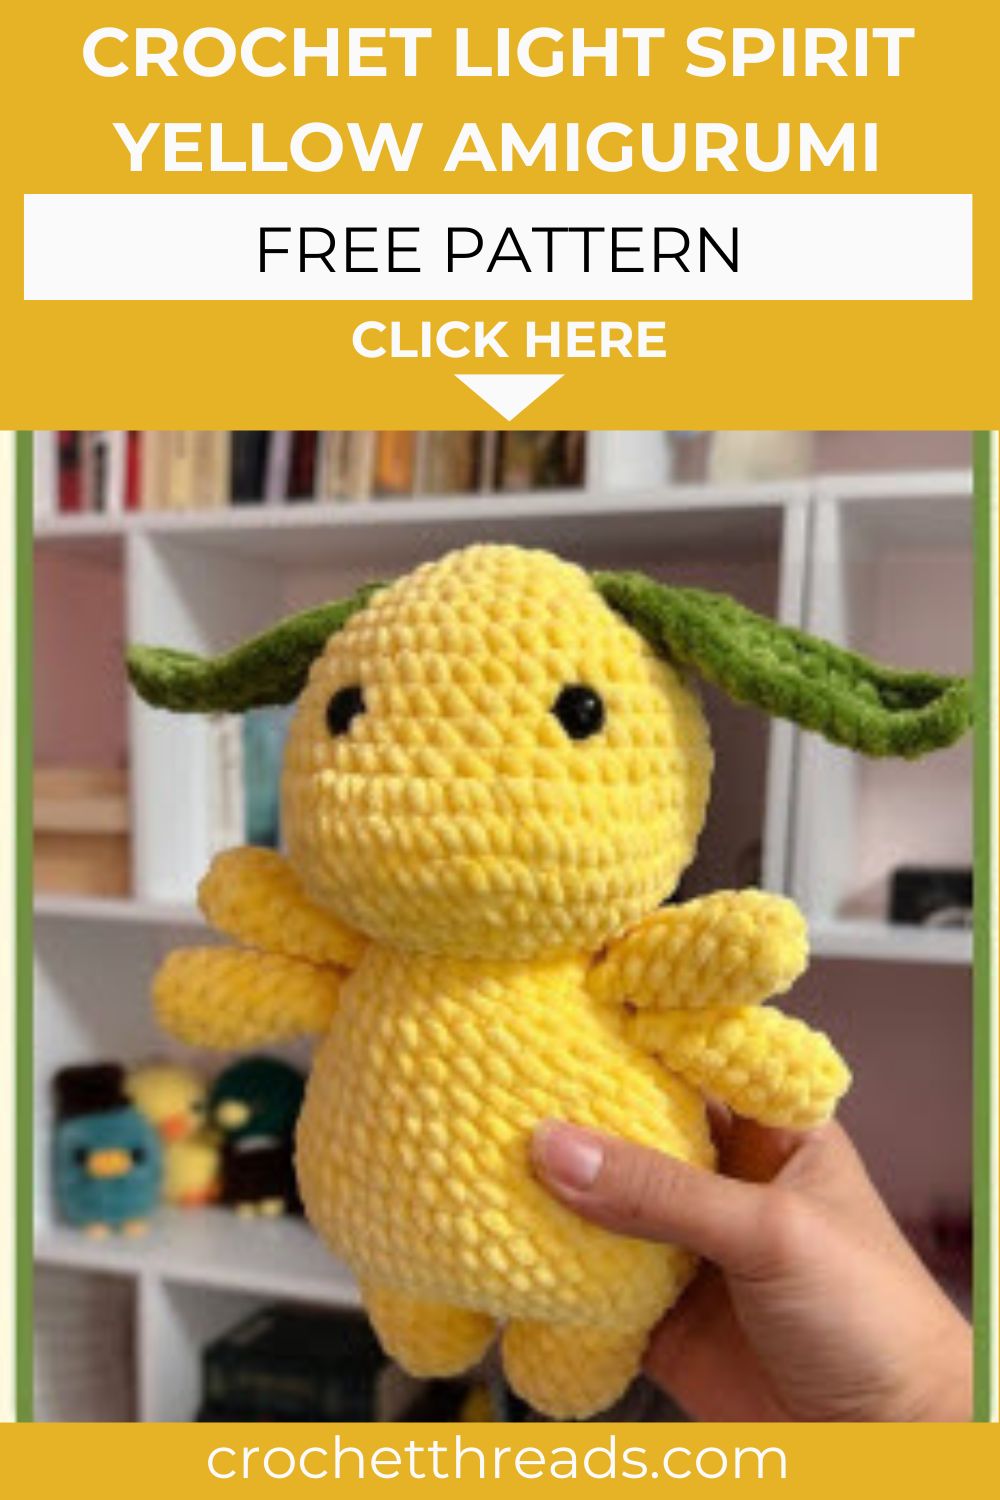
Begin by attaching the head to the body with firm, even stitches. Next, position the four arms and sew them so the pose feels balanced. Then tuck the two leaves at the top of the head and secure them tightly. Finally, give the wire a gentle bend, shape the body with your hands, and weave in any leftover ends. Your little spirit is complete.
Conclusion
That is your very own crochet light spirit, ready to brighten any shelf or windowsill. It is soft, sunny, and surprisingly simple once you get going. Best of all, every version turns out a little different, so it always feels personal. Pick your colors, take your time, and enjoy the process. Your new yarn friend is waiting.