
Free Crochet Cat Keychain Amigurumi Pattern for Bag Charms
Winning hearts at first glance with its simple shape and innocent style, the tiny Crochet Cat Keychain is an instant favorite. The Free Crochet Cat Keychain Pattern is a playful, quick-to-complete project, making it a perfect choice for anyone who loves small handmade amigurumi characters.
A cat’s famous “loaf” pose is instantly recognizable when she tucks her paws under her body and settles down quietly, and that same charming look shows up in this Crochet Cat Keychain. Its tiny round ears, short tail, and embroidered innocent face come together to create an adorable amigurumi character, while simple shaping and basic stitches keep this pattern easy and enjoyable for new and experienced crocheters alike.
Crocheters describe this project as low-key addictive once the rhythm of the rounds sets in. Working in continuous spirals keeps the surface smooth, and because the whole body forms from a single piece, there’s barely any sewing left once stuffing is finished.
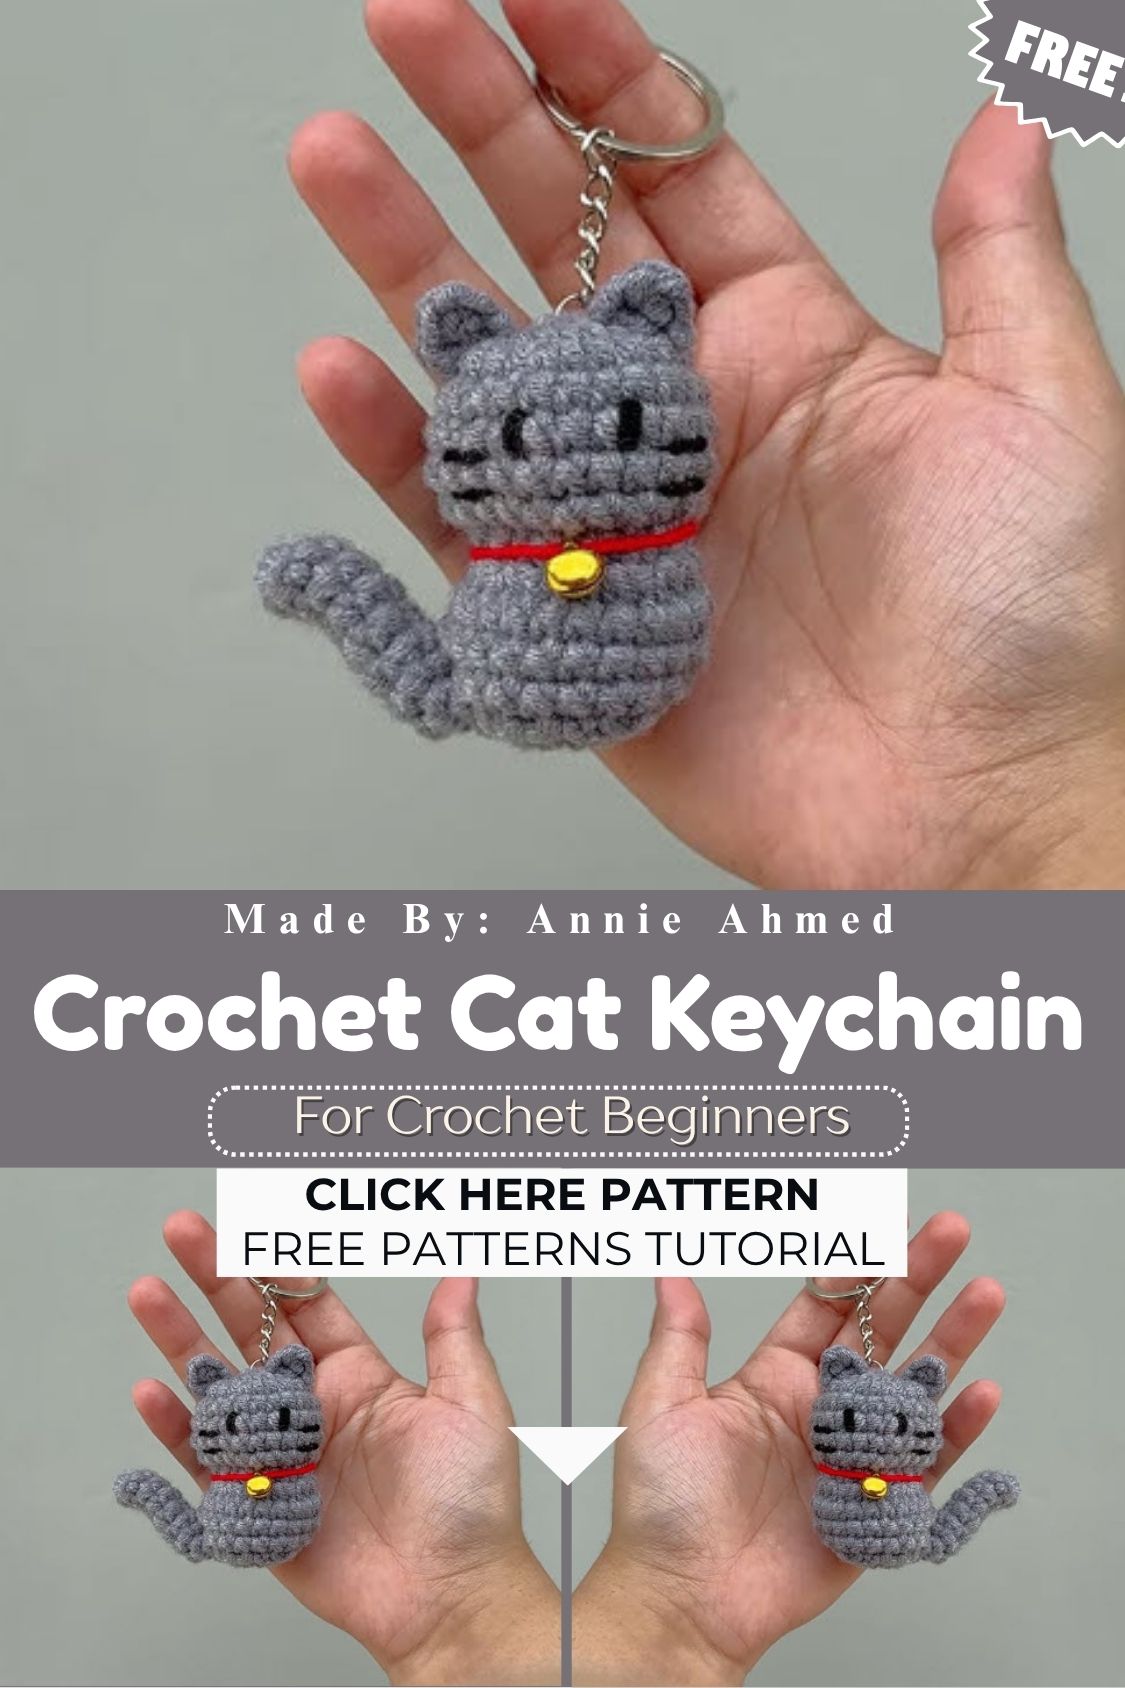
Project Details
- Skill Level: Beginner to Advanced Beginner
- Finished Size: Approximately 6-7 cm tall and 5 cm wide
- Estimated Time Required: 2-3 hours
- Recommended Yarn Weight: Sport or DK weight cotton-acrylic blend
- Crochet Hook Size: 3.0mm (US size C/2 or D/3)
Materials Needed
- Sport or DK weight yarn in your chosen main color (gray, orange, and cream all work beautifully)
- Small scraps of white yarn for the muzzle and paw details
- 6mm black safety eyes, or black embroidery thread for stitched eyes
- Pink embroidery thread for the nose and mouth
- Polyester fiberfill stuffing
- Tapestry needle
- Stitch marker
- Scissors
- Keyring hardware or a lobster clasp with a jump ring
Crochet Stitches & Techniques
This pattern relies on a handful of core amigurumi techniques, so newer crocheters won’t feel overwhelmed.
- Magic Ring (MR)
- Single Crochet (sc)
- Increase (inc)
- Invisible Decrease (dec)
- Slip Stitch (sl st)
- Fastening Off
- Sewing Pieces Together
Pattern Instructions
Abbreviations follow standard US crochet terms. Work in continuous rounds without joining unless stated, and place a stitch marker at the start of each round.
Creating the Body
Begin at the base of the loaf-shaped body, which forms the foundation for the whole charm.
- Round 1: MR, 6 sc (6)
- Round 2: inc in each st around (12)
- Round 3: (sc, inc) x6 (18)
- Round 4: (2 sc, inc) x6 (24)
- Round 5: (3 sc, inc) x6 (30)
- Rounds 6-11: sc around, 6 rounds total (30)
- Round 12: (3 sc, dec) x6 (24)
- Round 13: (2 sc, dec) x6 (18)
Stuff the body firmly at this point, adding small pinches of fiberfill as you continue rather than packing it all in at once.
- Round 14: (sc, dec) x6 (12)
- Round 15: dec x6 (6)
Fasten off, leaving a long tail, and cinch the remaining stitches closed.
Shaping the Head
Sport weight yarn keeps this section light, which matters since the head sits directly on the loaf body without a separate neck join.
- Round 1: MR, 6 sc (6)
- Round 2: inc in each st around (12)
- Round 3: (sc, inc) x6 (18)
- Round 4: (2 sc, inc) x6 (24)
- Rounds 5-9: sc around, 5 rounds total (24)
- Round 10: (2 sc, dec) x6 (18)
Add stuffing now, checking the shape stays rounded rather than lumpy.
- Round 11: (sc, dec) x6 (12)
- Round 12: dec x6 (6)
Fasten off and leave a long tail for sewing the head to the body.
Making the Ears
Two matching ears complete the kitten silhouette and take only a few minutes each.
- Round 1: MR, 5 sc (5)
- Round 2: inc in each st around (10)
Fasten off, leaving a long tail. Flatten the ear slightly and fold the bottom edge inward before sewing, which creates a natural curved shape.
Crocheting the Paws and Tail
Small front paws rest along the base of the loaf, while the tail curls gently along one side.
For the paws, chain 4 in white yarn, then sc into the second chain from the hook and each remaining chain. Fasten off, leaving tails for attaching.
For the tail, chain 12 in the main color. Sc into the second chain from the hook and across, leaving a short tail unworked at the tip so it curls naturally when sewn on.
Adding Facial Features
Position the safety eyes between rounds 5 and 6 of the head, spaced about 6-7 stitches apart, before stuffing is complete. Embroider a small triangular nose in pink thread just below and between the eyes, then add two short whisker-style stitches beneath it to suggest a gentle smile.
Attaching the Keychain Hardware
Thread a short loop of matching yarn or embroidery floss through the top of the head, securing it firmly with several backstitches. Slide the loop through your keyring or clasp hardware before knotting it off, then weave the ends into the stuffing so nothing shows.
Final Assembly
Pin the head to the top-front of the body before stitching, angling it slightly upward for that classic loaf-cat expression. Sew the ears just behind the top of the head, angled outward, then attach the paws along the front base and the tail curling along the back edge. Weave in every loose end and give the finished piece a gentle shape check before setting it aside.
Tips for Success
- Count stitches at the end of every round; a single missed increase throws off the whole shape.
- Keep tension consistent throughout so the fabric stays tight enough to hold stuffing without gaps.
- Stuff in small amounts as you go rather than cramming it all in at the final round.
- Use a stitch marker religiously, since continuous rounds get confusing fast without one.
- Hide yarn tails by weaving them through several stitches in different directions for a secure finish.
Personalization Ideas
Swap the main color for calico patches, tuxedo markings, or a solid black cat for a Halloween twist. Seasonal versions work wonderfully too, whether that means a tiny Santa hat for December or a flower crown for spring. Try embroidering closed, sleepy eyes instead of safety eyes for a different expression, or add a small bow and bell around the neck for extra charm. A mini version using thread-weight yarn makes an adorable earring pair, while a jumbo version stuffed with extra fiberfill turns into a soft desk companion instead of a keychain.
Common Mistakes to Avoid
Skipping stitch counts at the end of each round often leads to a lopsided body that’s hard to fix later. Overstuffing before the final rounds close can distort the loaf shape, so add fiberfill gradually instead. Placing the safety eyes too early, before the stuffing settles, sometimes results in a misaligned or cross-eyed look, so double-check spacing before locking them in. Loose tension around the increase rounds also creates visible gaps, so keep those stitches snug.
Frequently Asked Questions
How much yarn do I need for one cat keychain?
Roughly 15-20 grams of sport or DK weight yarn covers one full charm, including the ears and tail.
Can I make this pattern without safety eyes?
Embroidered eyes work just as well and keep the project safer for gifting to households with small children.
What size hook gives the tightest stitches?
A 3.0mm hook paired with sport weight yarn usually produces a tight enough gauge to prevent stuffing from showing through.
Is this Free Crochet Cat Keychain pattern suitable for complete beginners?
Yes, since it only uses single crochet, increases, and decreases throughout, making it a great first amigurumi project.
How do I keep the loaf shape from looking too round?
Flatten the base gently while stuffing and avoid overfilling the bottom rounds, which helps the classic loaf silhouette hold.
Can I turn this into an ornament instead of a Free Crochet Cat Keychain?
Simply swap the keyring hardware for a ribbon loop, and the same pattern works perfectly as a hanging ornament.
What’s the best way to attach the ears securely?
Pin them in place first with the folded edge facing forward, then use a whip stitch around the entire base for a lasting hold.
Conclusion
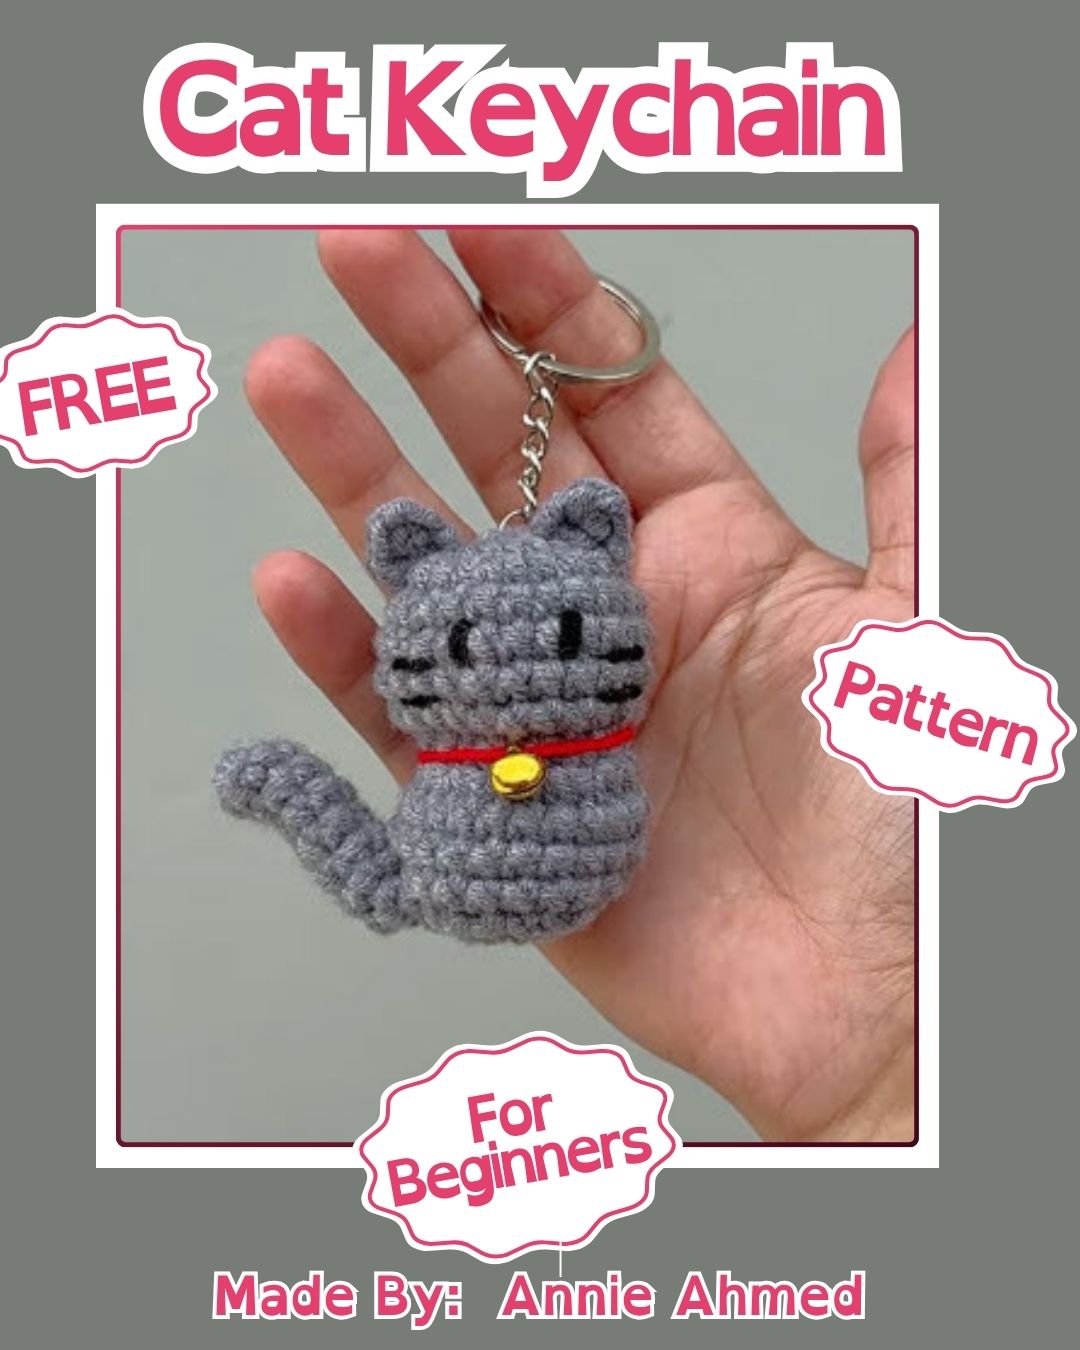
This little loaf-shaped Free Crochet Cat Keychain charm proves that big charm doesn’t need a big time investment. Grab a spare ball of yarn, work through the rounds at your own pace, and soon a cheerful kitten will be riding along on your bag or keys. Give it a try, snap a photo of your finished charm, and share it with fellow crafters who’ll appreciate every whisker stitch.


