Crochet Bluebird Amigurumi Pattern Nest Display Style
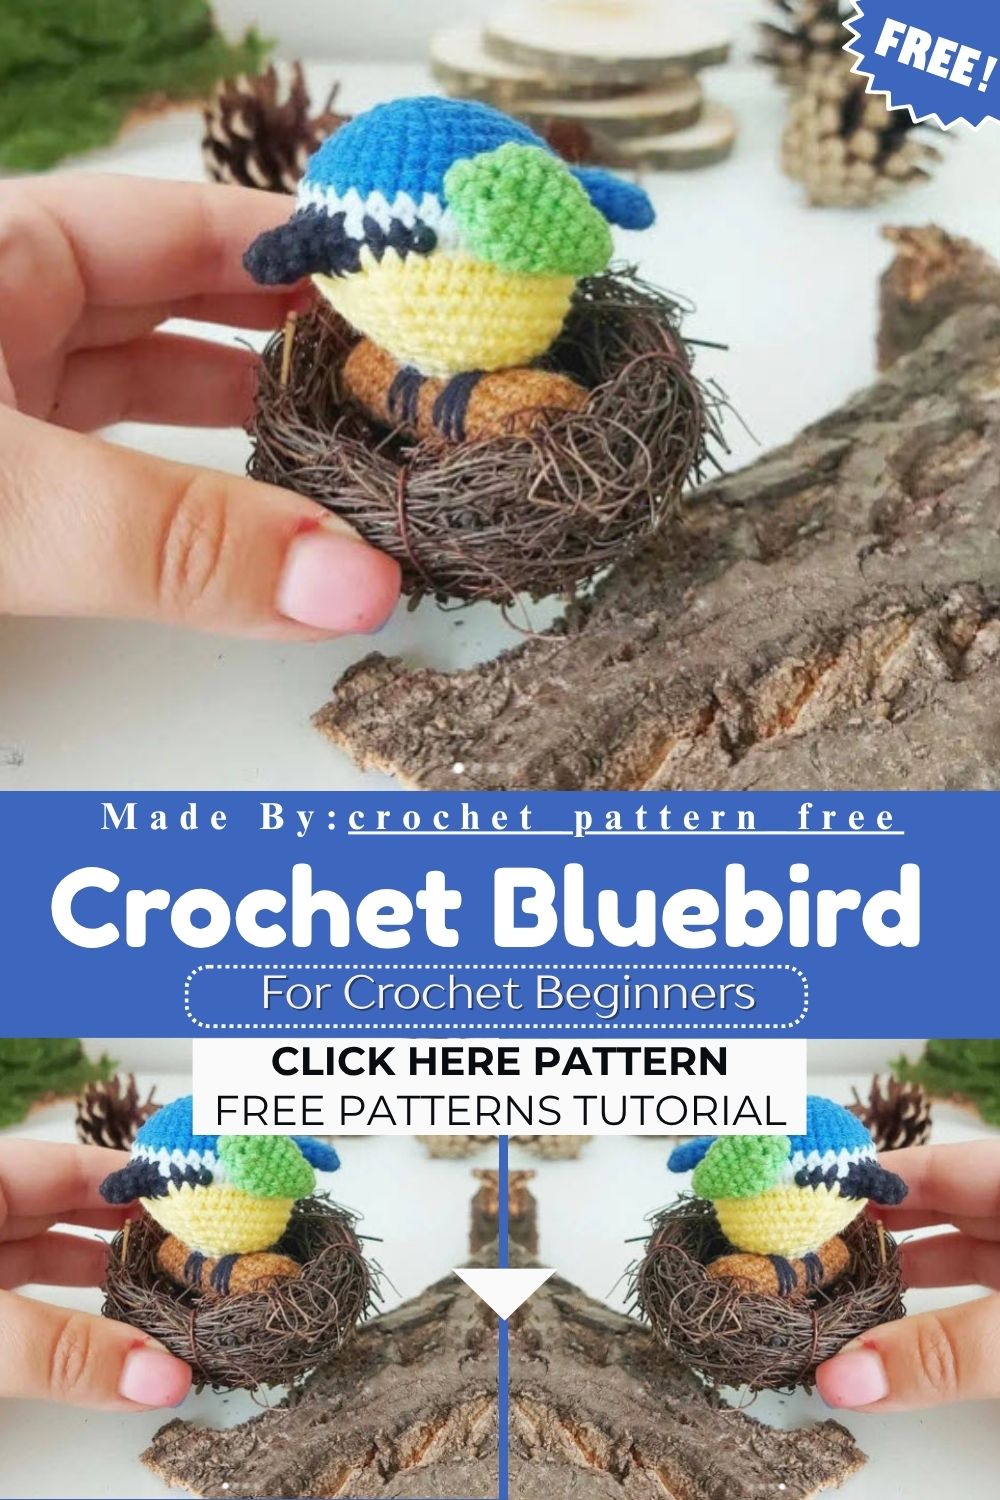
Always instantly loved for their charming look and soft colors, tiny bird-based amigurumi find another beautiful addition in the Crochet Bluebird Amigurumi Pattern. Its innocent style and simple construction offer a charming, heartwarming project that comes together into a beautiful handmade creation even in a short amount of time.
A little Bluebird resting in its nest always brings a feeling of peace and beauty, and that same charm shines through in this Crochet Bluebird Amigurumi Pattern. A beautiful blend of blue and white yarn, innocent round eyes, a delicate beak, and fine wings come together to create a heart-melting amigurumi character. Simple shaping and clear step-by-step instructions make it easy to complete for new and experienced crocheters alike. Once finished, this charming Bluebird makes a beautiful addition to nursery decor, handmade gifts, seasonal decorations, gift baskets, or any amigurumi collection, its sturdy base keeping it perfectly balanced for display.
Skill Level
Intermediate crocheters will find this Crochet Bluebird Amigurumi Pattern manageable thanks to clear round counts and simple stitches. Basic amigurumi skills like single crochet, increases, decreases, and eye placement are generally required.
Materials Needed
- Your favorite yarn and hook
- Stuffing for toys
- Safety eyes 4mm
- Yarn needle
Pattern Instructions
Beak
Work in a spiral with black yarn. 1 – 4sc in mr 2 – (sc, Inc)*2 (6) 3 – 6sc 4 – (2sc, inc)*2 (8) Cut the yarn, leaving a short tail.
Tail
Using blue yarn. 1 – 5ch, from the second loop from the hook: inc, 2sc, in last stitch – 4sc, from the opposite side of the chain – 2sc, inc (12) Work in a spiral 2 – 12sc 3 – (dec, 4sc)*2 (10) 4 – (dec, 3sc)*2 (8) 5 – 8sc 6 – (dec, 2sc)*2 (6) Cut the yarn, leaving a long tail for sewing.
Wings
Make two, work in a spiral with green colour. 1 – 6sc in mr 2 – 6sc 3 – (2sc, inc)*2 (8) 4 – (3sc, inc)*2 (10) 5 – (4sc, inc)*2 (12) 6, 7 – 12sc 8 – 6dec (6) 7 – (sc, dec)*2 (4) Cut the yarn, leaving a long tail for sewing.
Body
Using blue colour. 1 – 9ch, from the second loop from the hook – inc, 6sc, in last stitch of the chain – 4sc, from the opposite side of the chain – 6sc, inc (20) 2 – inc, 7sc, (inc, sc)*2, 7sc, inc (24) 3 – inc, 8sc, (inc, 2sc)*2, 8sc, inc (28) 4 – inc, 9sc, (inc, 3sc)*2, 9sc, inc (32) 5 – Inc, 10sc, (inc, 4sc)*2, 10sc, inc (36) 6 – 36sc
White colour 7 – 36sc 8 – 14sc (white), 3sc (black), crochet together the loops from the inside of the beak and the loops of the body – 4sc (black), 3sc (black), 12sc (white)
Yellow colour 9 – 17sc, 4sc insert the hook into the outside loops of beak, 15sc
Attach the safety eyes on round 8. First eye between 1st and 2nd black st, second eye between 9th and 10th black st.
10 – 15sc, dec, 4sc, dec, 13sc (34) 11 – 14sc, dec, 4sc, dec, 12sc (32) 12 – 13sc, dec, 4sc, dec, 11sc (30) 13 – 12sc, dec, 4sc, dec, 10sc (28) 14 – (2sc, dec)*7 (21) 15 – (sc, dec)*7 (14) To stuff 16 – 7dec Tie off and sew closed securely. Cut the yarn, weave in the end.
Sew wings between rounds 4 and 8. Tail sew on round 6.
Stick Work in a spiral with brown colour 1 – 5sc in mr 2 – 5inc (10) 3 – BLO 10sc 4-17 (14 rounds) – 10sc To stuff 18 – BLO 5dec Tie off and sew closed securely. Cut the yarn, weave in the end.
Customization and Variation
- Swap the classic blue and white palette for red, orange, or pastel yarn to design a completely different bird species.
- Add a tiny crochet flower or leaf to the stick base for a spring-themed nest look.
- Use fuzzy or bouclé yarn for the wings to give the bird a fluffier, more textured finish.
- Attach a small keychain ring under the stick base to turn the amigurumi into a wearable accessory.
- Try embroidered eyes instead of safety eyes for a softer, baby-safe version.
- Adjust the stick height by adding or removing rounds for a taller or shorter display perch.
Common Mistakes to Avoid
- Skipping stitch markers often leads to losing track of rounds, especially during the increase and decrease sections of the body.
- Attaching the safety eyes before finishing the beak placement can misalign the face, so always follow the round order given.
- Under-stuffing the stick base makes the bird wobble instead of standing upright on display.
- Uneven tension between the black beak rounds and the blue body rounds can create a visible gap at the seam.
- Forgetting to leave a long tail on the wings and tail piece makes sewing them onto the body much harder later.
Finishing Tips
- Securely weave in every yarn end before attaching the wings and tail to prevent unraveling over time.
- Use a straight pin to test wing and tail placement before sewing for a balanced, symmetrical look.
- Lightly steam-block the finished piece to smooth out any uneven stitches around the body.
- Trim stray fibers around the beak and eyes for a cleaner, more polished face.
- Check that the stick sits flat on a surface so the bird stands without tipping.
Where Can You Use This Bluebird?
- As a standalone shelf decoration paired with faux greenery or a mini nest.
- Displayed on a windowsill alongside other seasonal amigurumi pieces.
- Used as a centerpiece for spring or Easter table decor.
- Placed in a nursery or kid’s room for a soft, nature-themed accent.
- Sold as a handmade piece on Etsy or at craft fairs for bird lovers.
Care Instructions
- Spot clean gently with a damp cloth and mild soap instead of full submersion.
- Avoid direct sunlight for long periods, as bright light can fade the blue and white yarn colors.
- Store in a dry, dust-free area when not on display to keep the stitches looking fresh.
- Reshape the wings and tail by hand if they become flattened during storage or shipping.
Gifting Ideas
- Pair the bluebird with a small potted plant for a charming housewarming gift.
- Wrap it in tissue paper and place it inside a decorative box for a birthday surprise.
- Give it as a baby shower gift alongside soft blankets or nursery decor.
- Combine it with a handwritten card for a thoughtful Mother’s Day or spring holiday gift.
- Offer it as a teacher or coworker appreciation gift during the spring season.
Conclusion
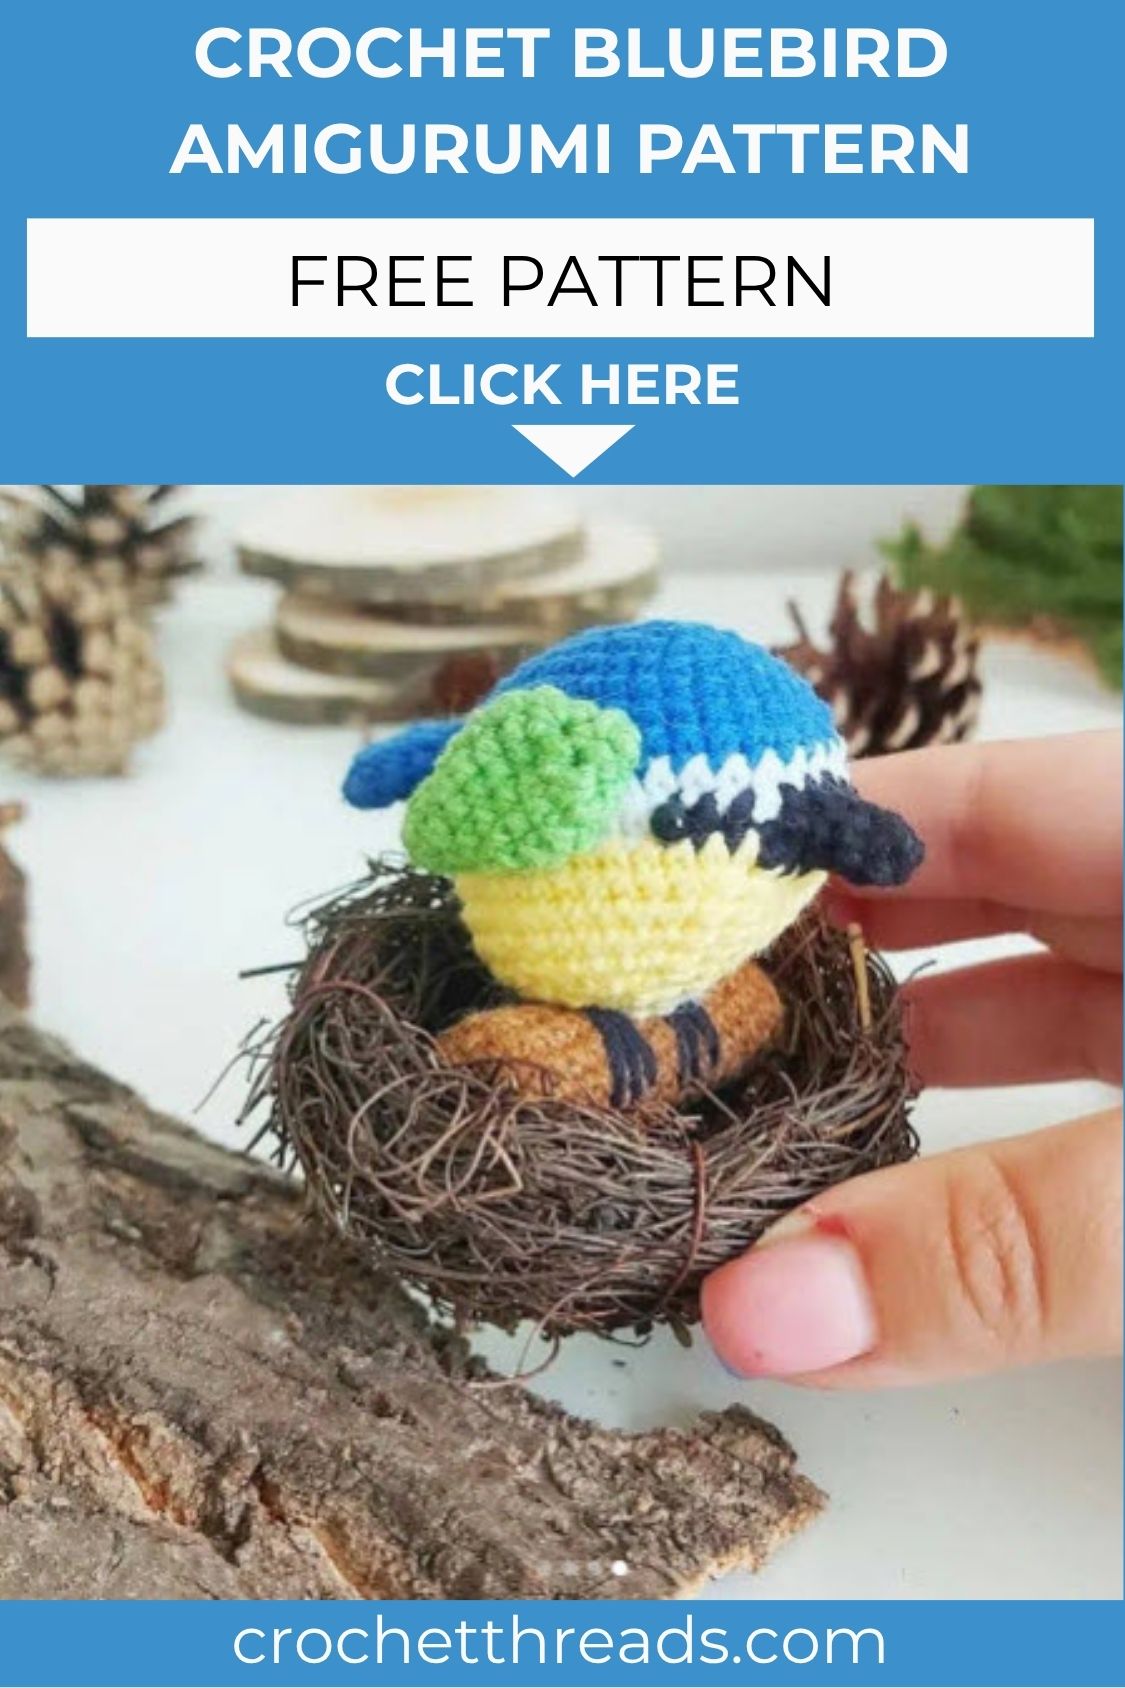
This Crochet Bluebird Amigurumi Pattern proves that a few simple stitches can turn into a display piece full of personality and charm. From the crisp black beak to the sturdy stick perch, every detail works together to create a bird that feels ready to sing. Whether displayed on a shelf, gifted to a loved one, or customized in new colors, this pattern offers a rewarding project for crocheters looking to add a touch of nature to their handmade collection.