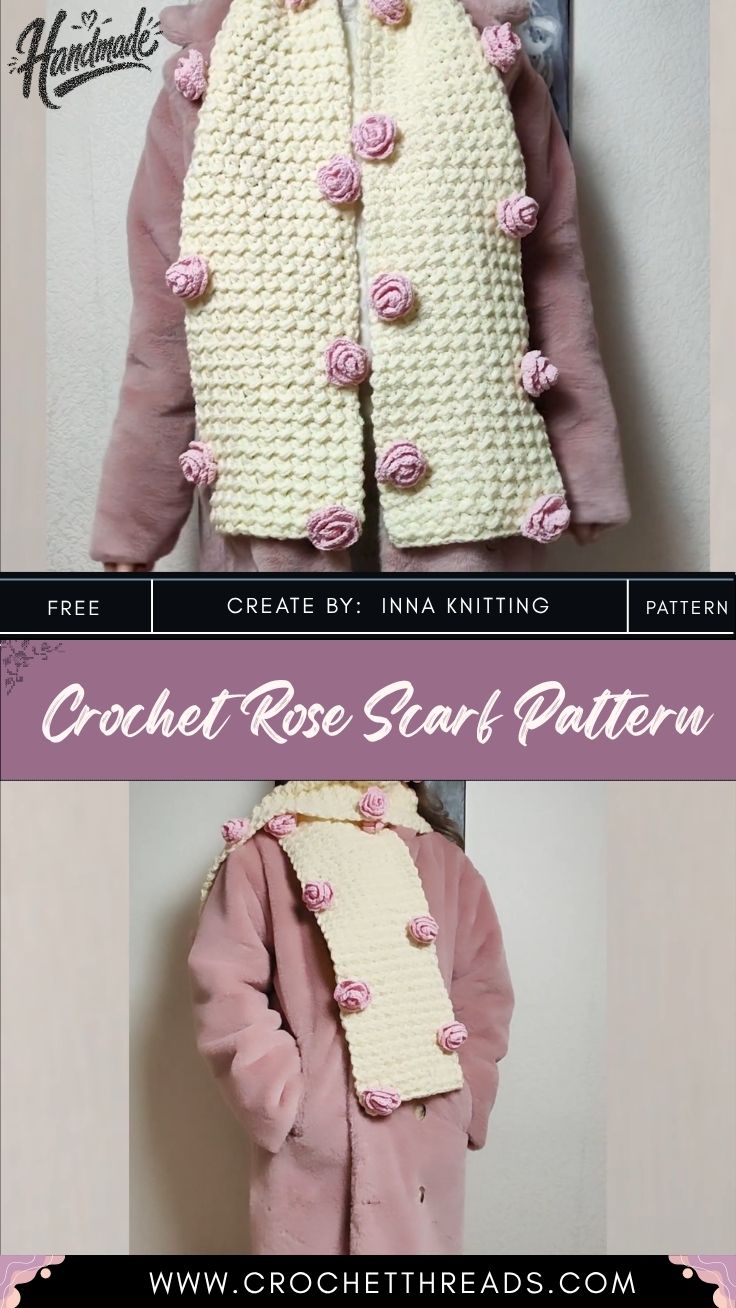
Crochet Rose Scarf Pattern with draped and styled
Roses never go out of style, and neither does a soft handmade scarf. A Crochet Rose Scarf Pattern brings garden charm into a cozy winter accessory, blending delicate floral details with warm, huggable yarn texture that feels romantic and handmade.
This crochet rose scarf pairs a simple textured base with hand-crocheted rose appliques, giving a plain scarf a boutique-style upgrade. Soft pink roses sit against a creamy ivory background, creating a look that feels feminine, cozy, and completely one of a kind.
Every rose is made separately, then rolled and stitched onto the scarf body for a raised, dimensional finish.
Skill Level
Beginner to Intermediate. Someone new to crochet can manage the scarf base easily, while the rose shaping needs a little patience and basic sewing skills.
Materials and Supplies List
Gather these simple supplies before starting:
- Yarn colors: Ivory or cream (main scarf body), soft pink (rose petals)
- Crochet hook: Size H/8 (5.0mm) for the scarf; a smaller G/6 (4.0mm) hook works well for tighter rose petals
- Yarn needle for weaving in ends and sewing roses in place
- Scissors for trimming yarn tails
- Stitch markers (optional, helpful for keeping row counts accurate)
Crochet Techniques Used
- Foundation chain
- Single crochet stitch
- Increase stitches (for petal shaping)
- Rolling and coiling technique (to form the rose shape)
- Whip stitch sewing (to attach the rose onto the scarf)
Detailed Pattern Instructions
Step 1 – Foundation Loop
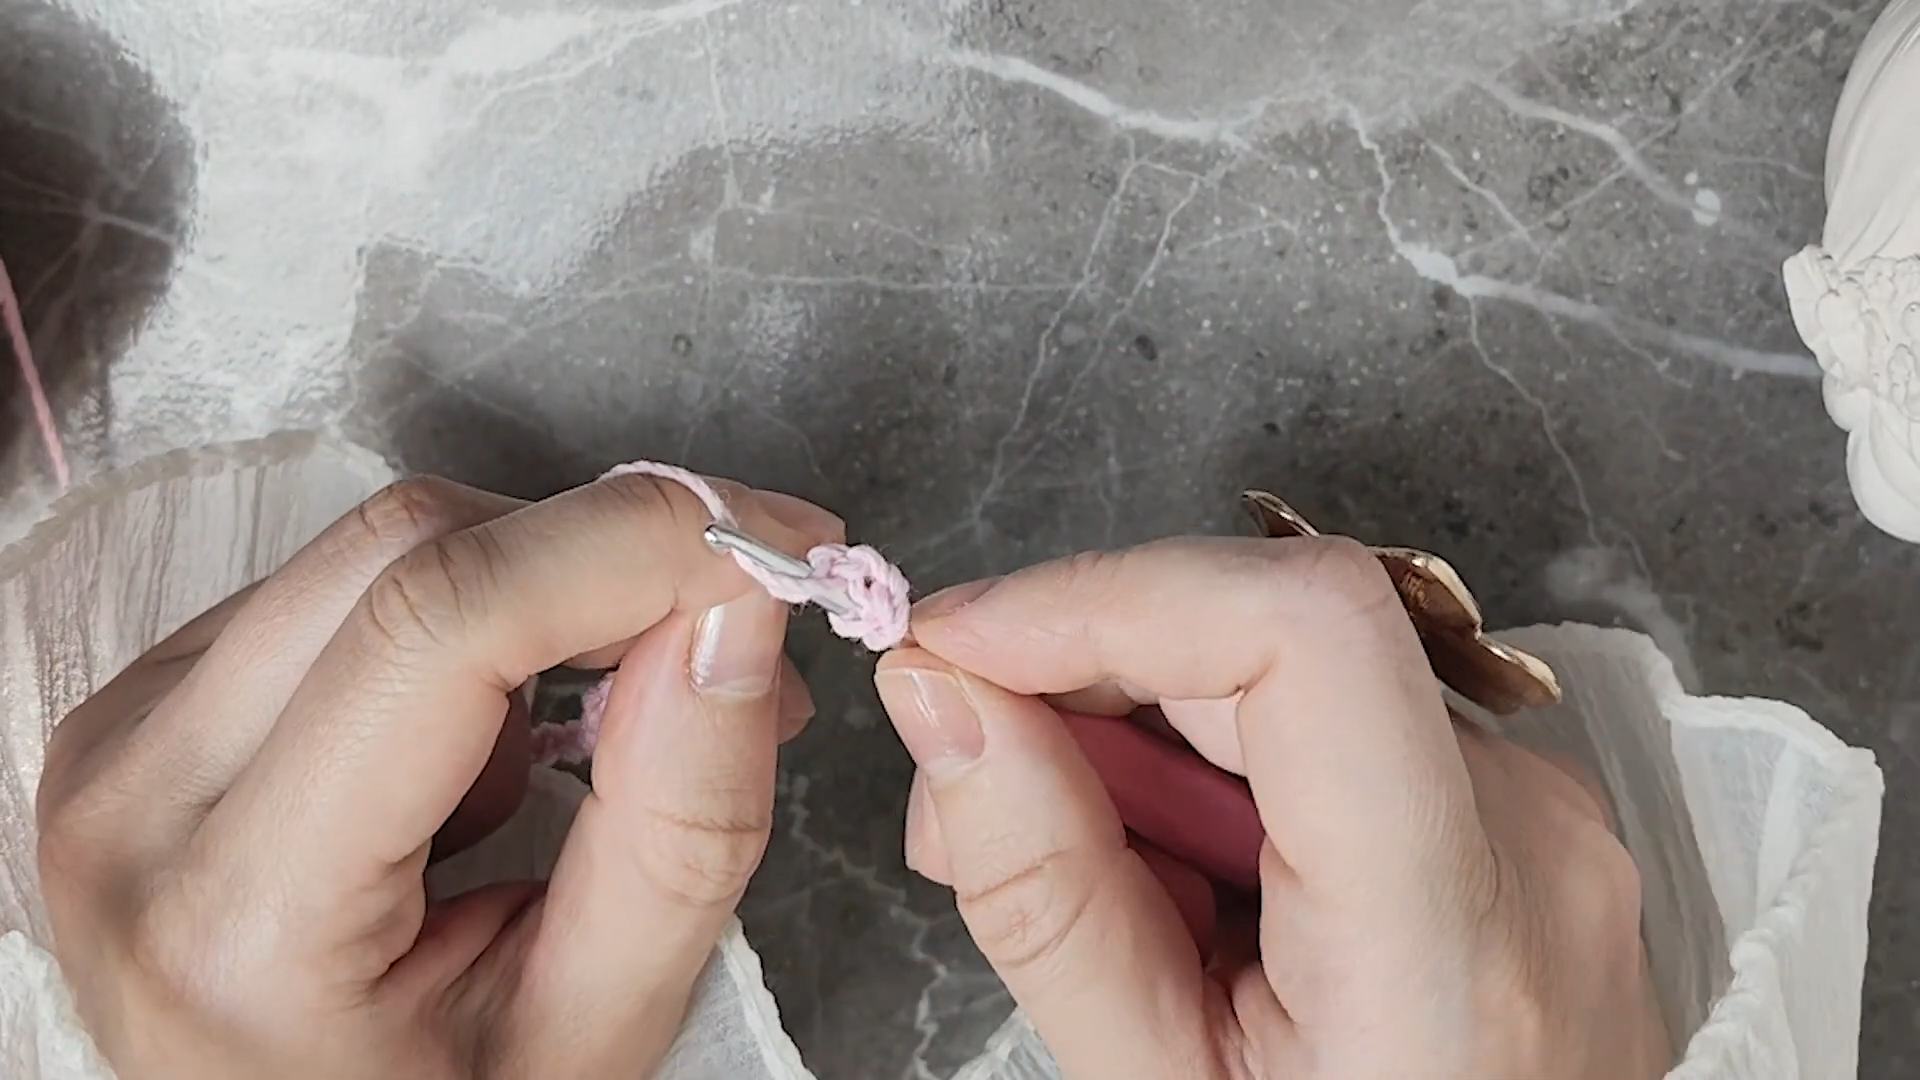
Make a slip knot on your hook with pink yarn. Chain 2. Insert the hook into the second chain from the hook and pull up a loop, yarn over, and draw through both loops to complete your first single crochet. This tiny anchor stitch is the base your whole petal strip will grow from. Keep the loop snug on the hook, not tight enough to choke the yarn, but firm enough that it won’t slip loose.
Step 2 – Starting the Petal Strip
Chain 8 to begin the strip. Working back into the second chain from the hook:
- Sc 1, hdc 1, dc 2 into the next chain (this creates your first small “bump”)
- Sc into the next chain
- Repeat the bump pattern (hdc 1, dc 2) into the following chain
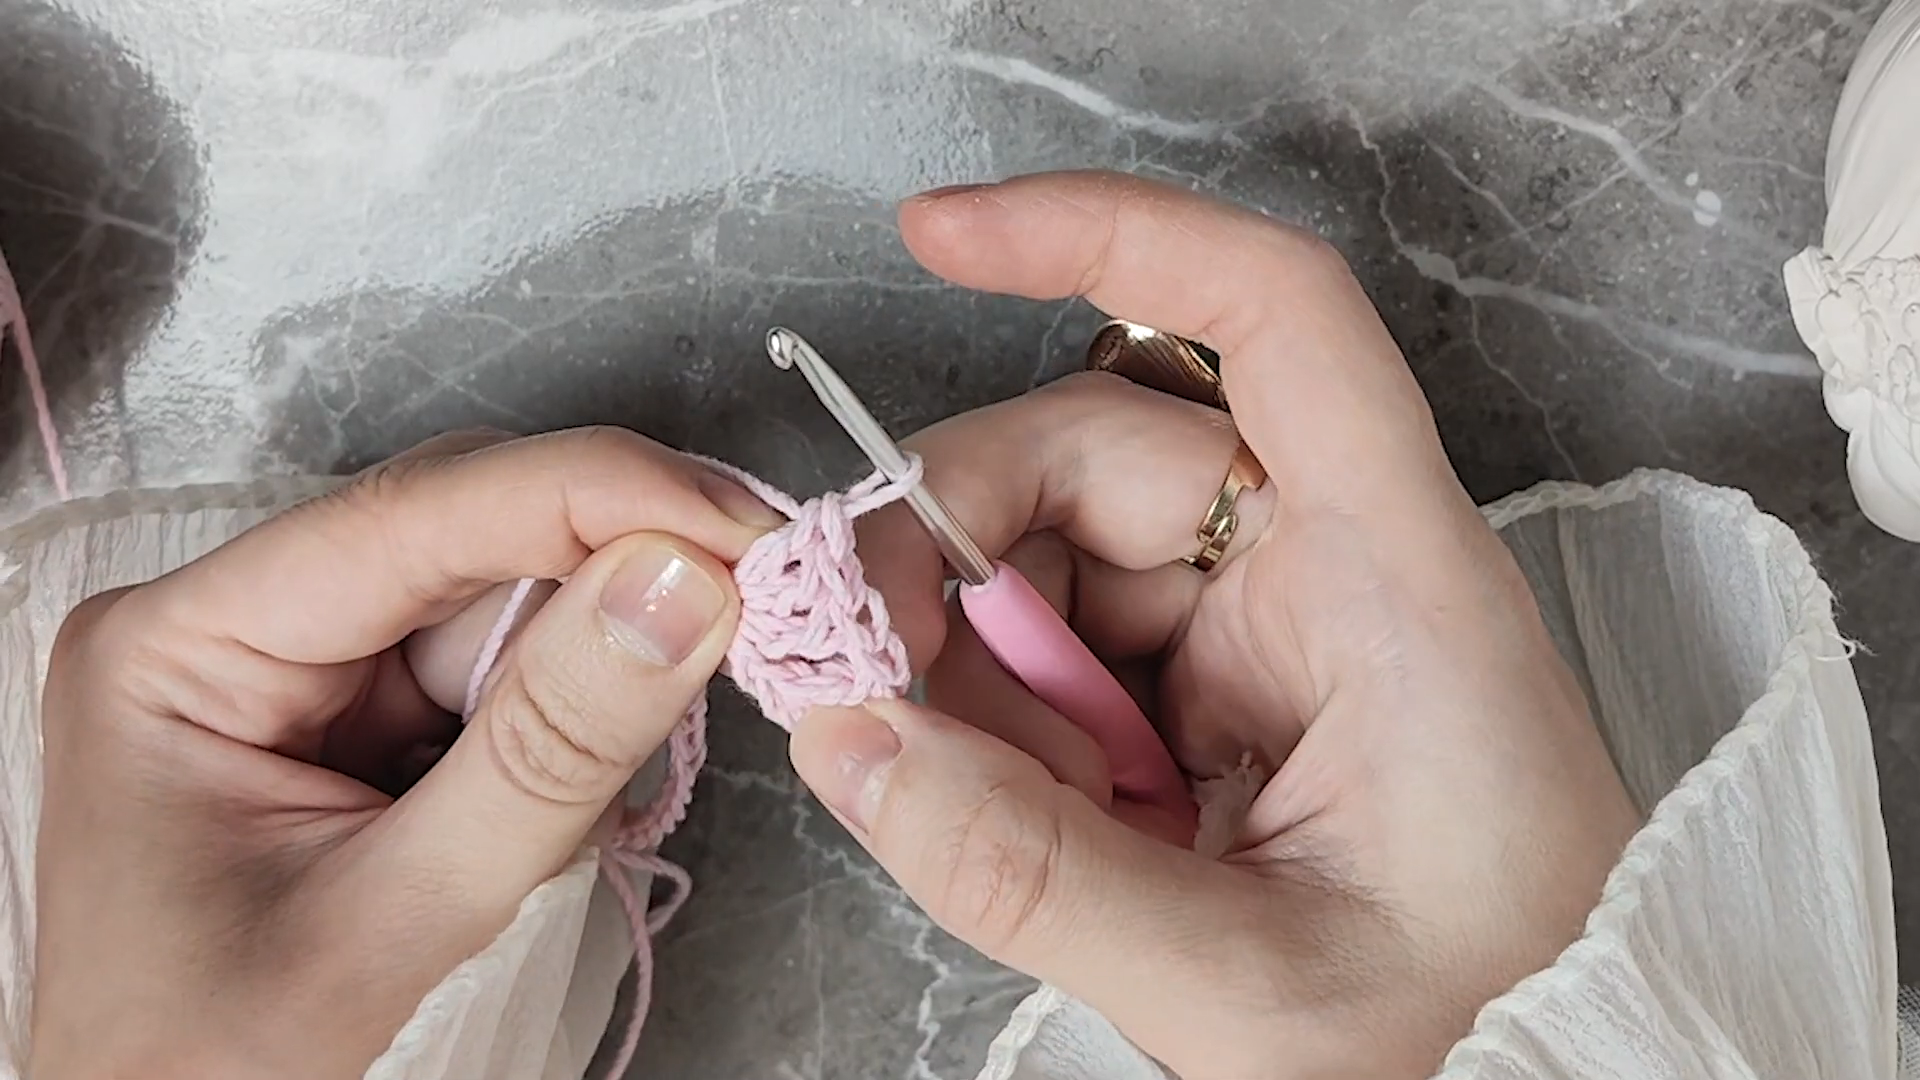
Continue down the chain, alternating flat single crochets with these little raised clusters. Each cluster is what becomes a petal once the strip is rolled, so don’t skip the increase stitches; they’re what give the rose its ruffled edge.
Step 3 – Shaping Two to Three Petals
Keep repeating: sc 1, then (hdc 1, dc 2, hdc 1) into the next stitch, sc 1, and repeat. After 2–3 repeats, you should see distinct scalloped bumps along one long edge of the strip. Fold the strip in half lengthwise to check that the bumpy edge curls outward while the flat edge stays straight. This flat edge is what you’ll roll and sew through.
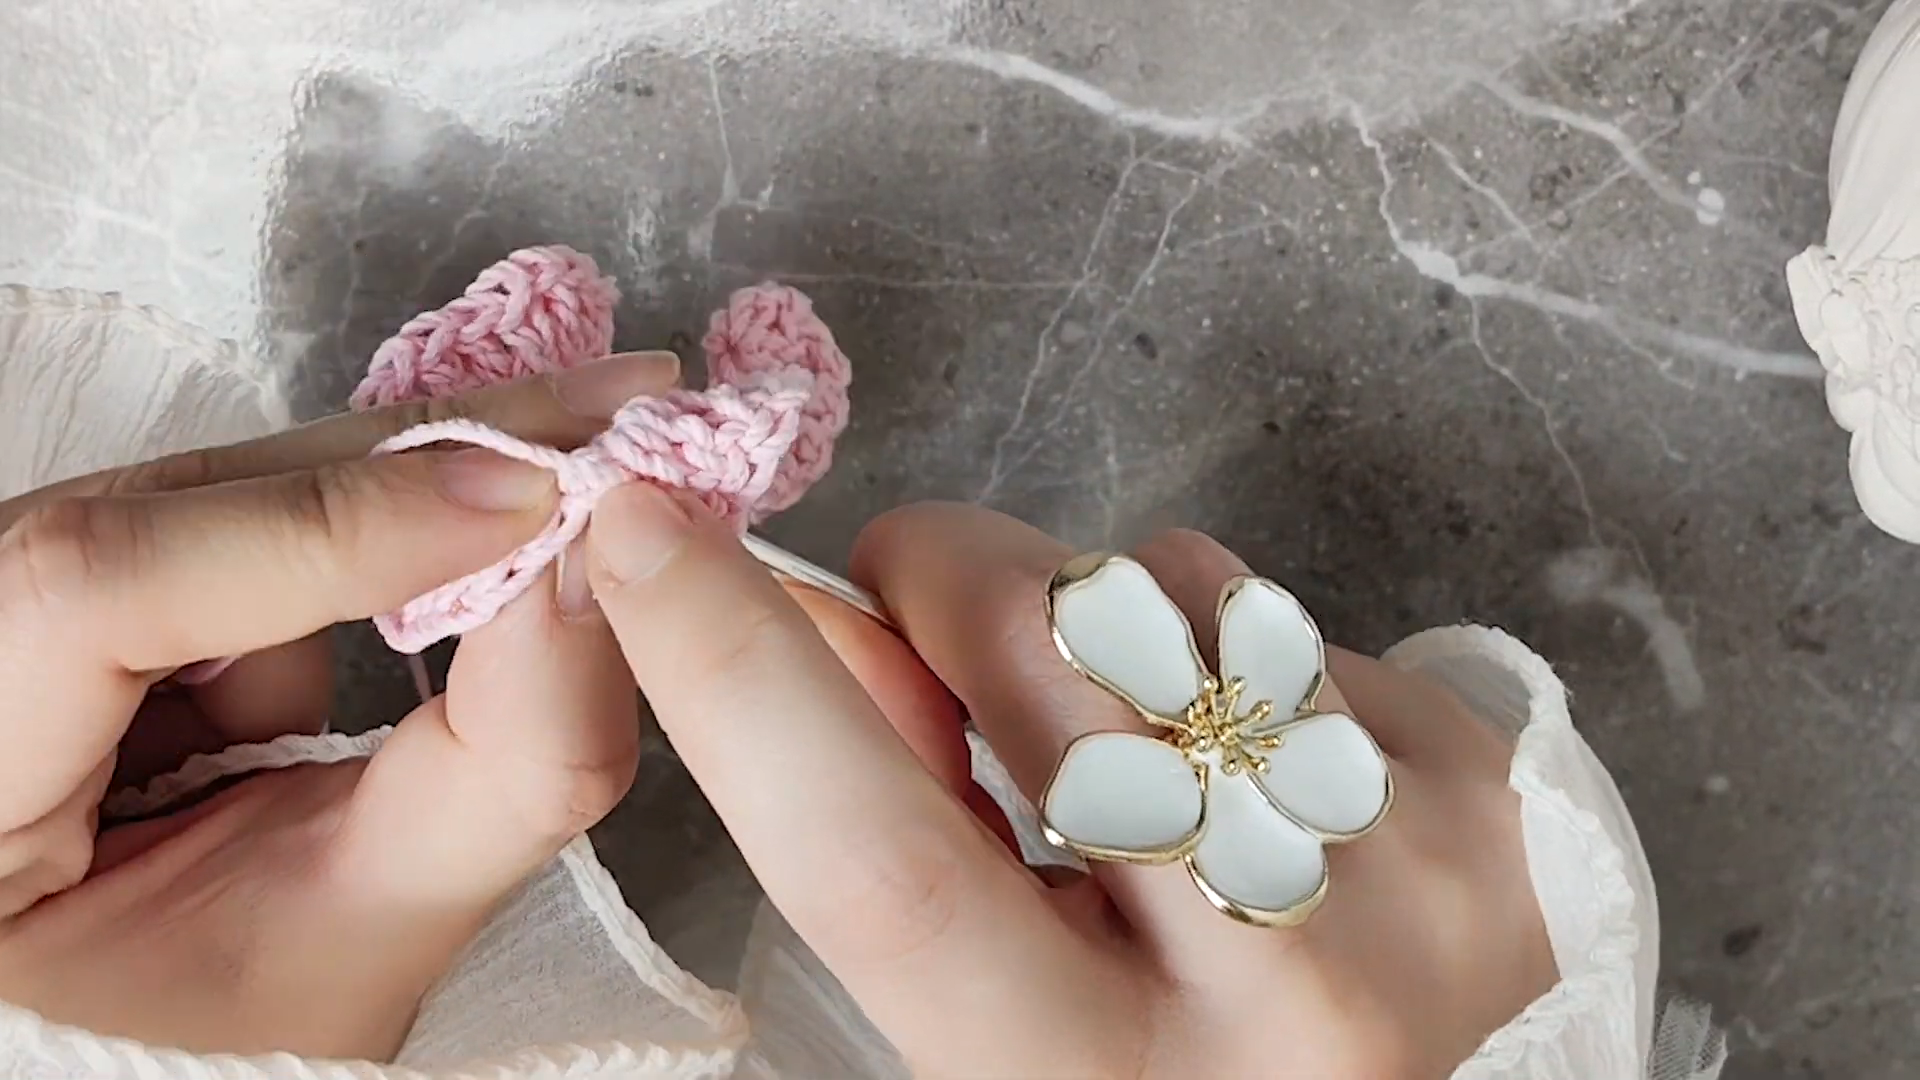
Step 4 – Rolling the Rose
Fasten off, leaving a long tail (at least 12 inches;s you’ll need it for sewing). Starting at one end of the strip, begin rolling it tightly along the flat (non-bumpy) edge, keeping the petal bumps facing outward at the top of the roll. Roll it like a cinnamon bun, snug at the center, slightly looser toward the outer petals so they fan open naturally.
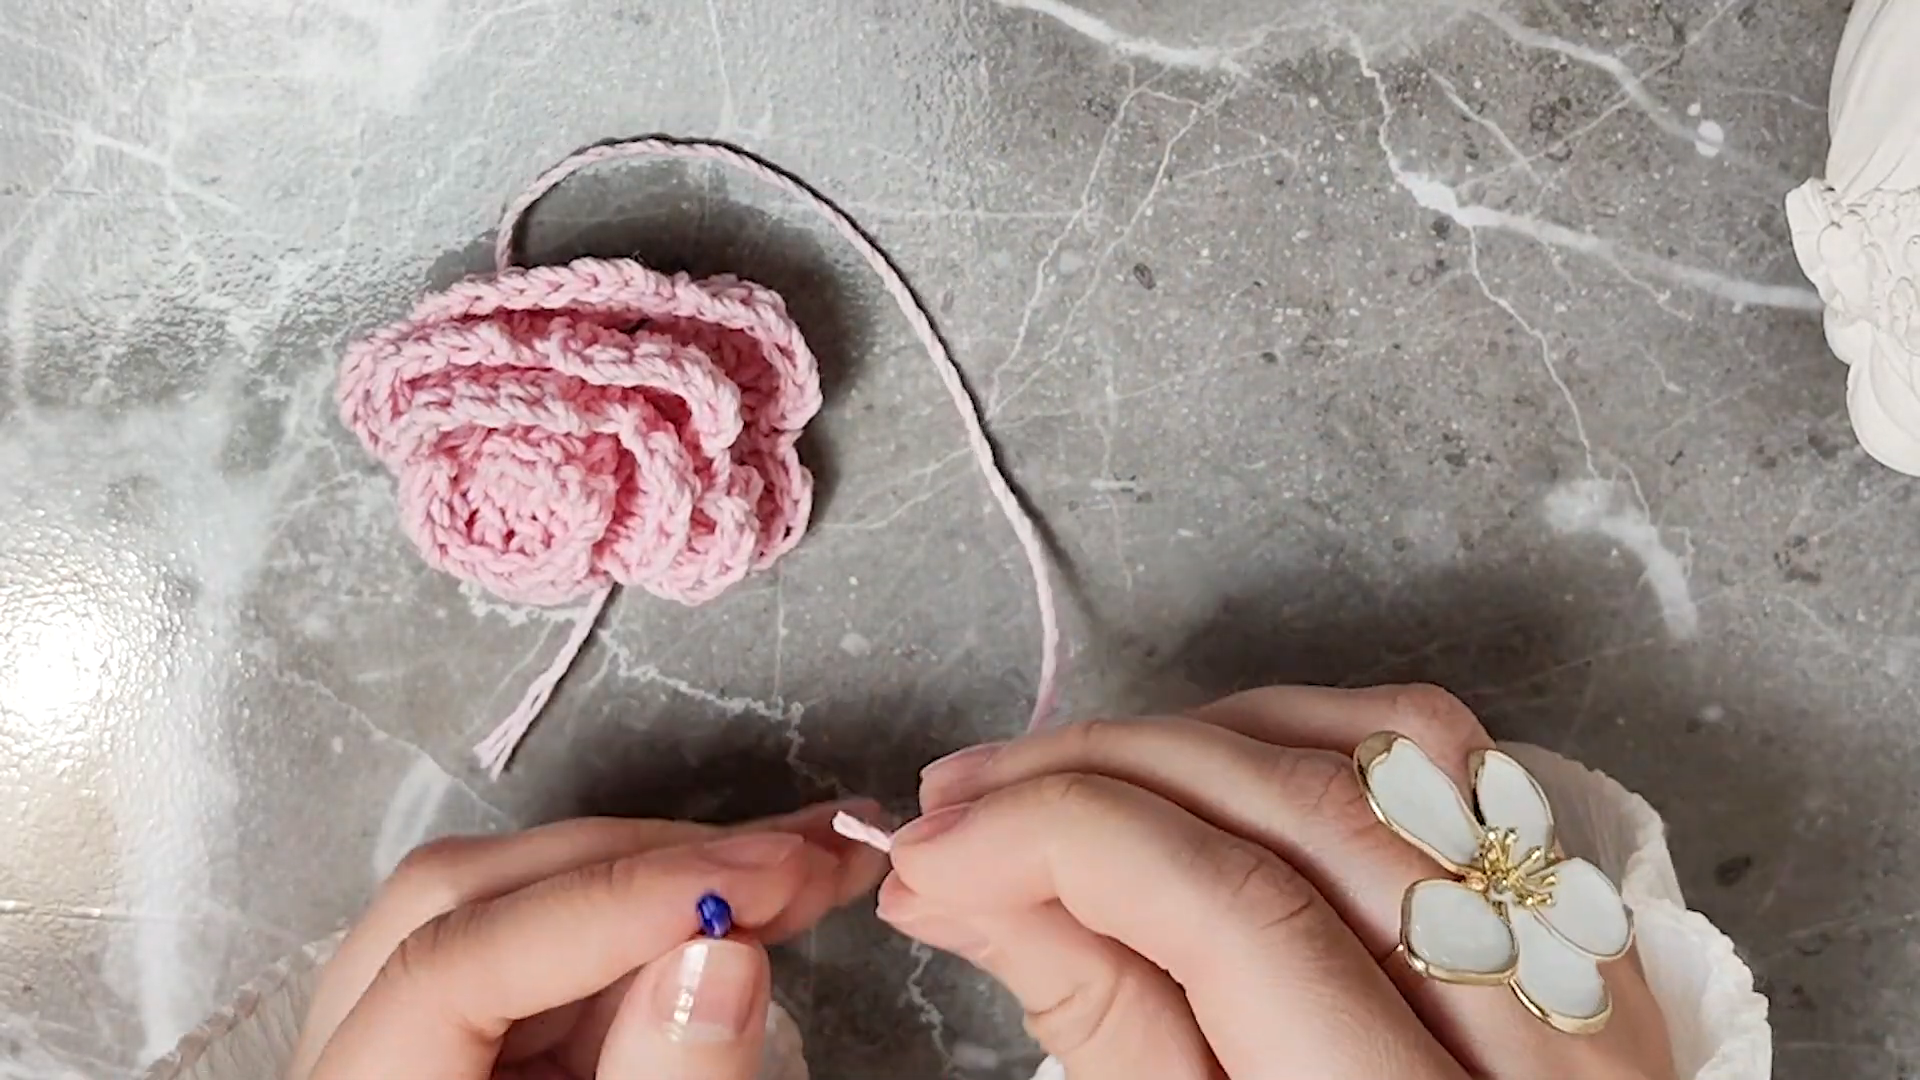
Step 5– Securing the Base
Thread your yarn needle with the long tail. Pass the needle straight through the base of the rolled coil from one side to the other, 3–4 times, pulling snug each time. This locks all the layers of the roll together at the bottom so the rose won’t unravel or spin loose later. Tie off with a small knot at the base if needed, then trim the excess yarn, leaving a short tail to attach to the scarf later.
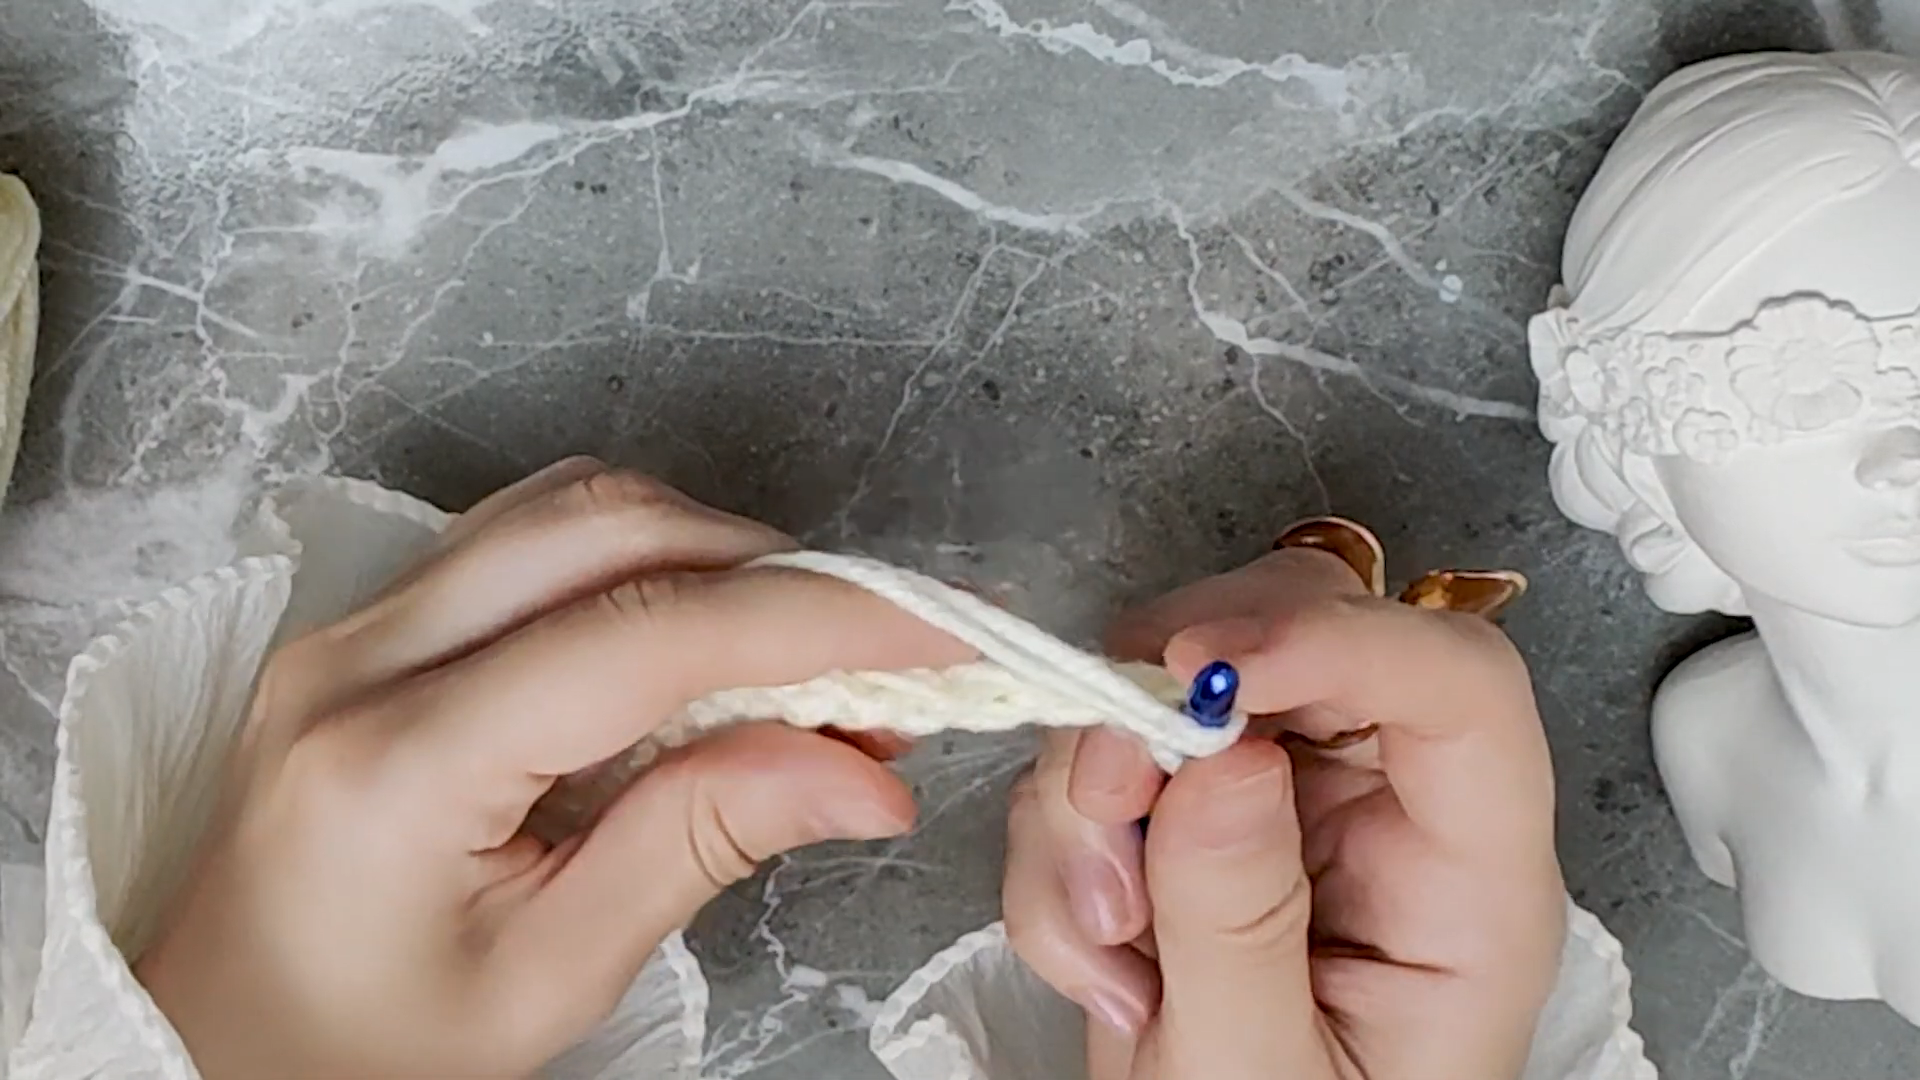
Step 6 – Making the Scarf Base
Using your main hook and ivory yarn, chain to your desired scarf width (a good beginner width is a chain of 20–24). Row 1: sc into 2nd chain from hook and across. Turn.
Rows 2 onward: chain 1, sc into each stitch across, turn. Repeat until the scarf reaches your desired length (roughly 50–60 inches for a wrap-style drape, shorter for a neck scarf).
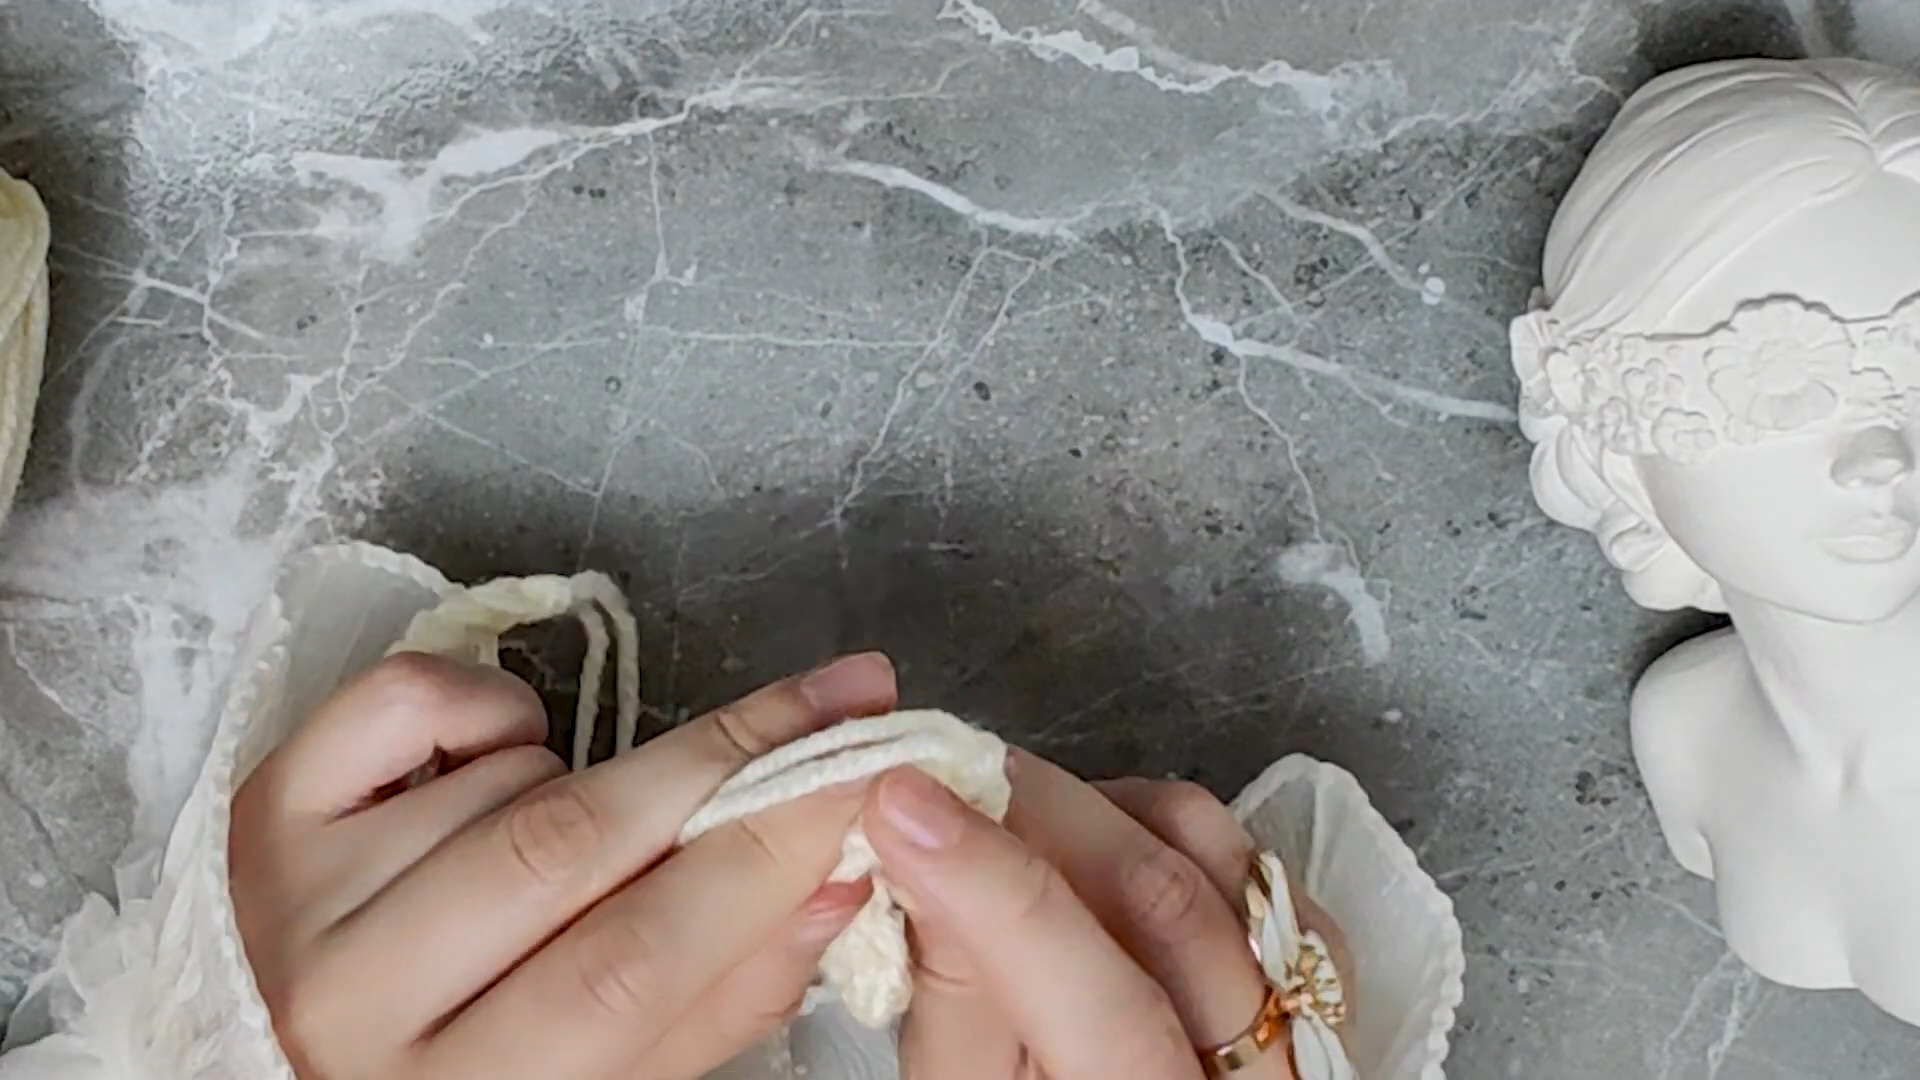
Step 7 – Attaching the First Rose
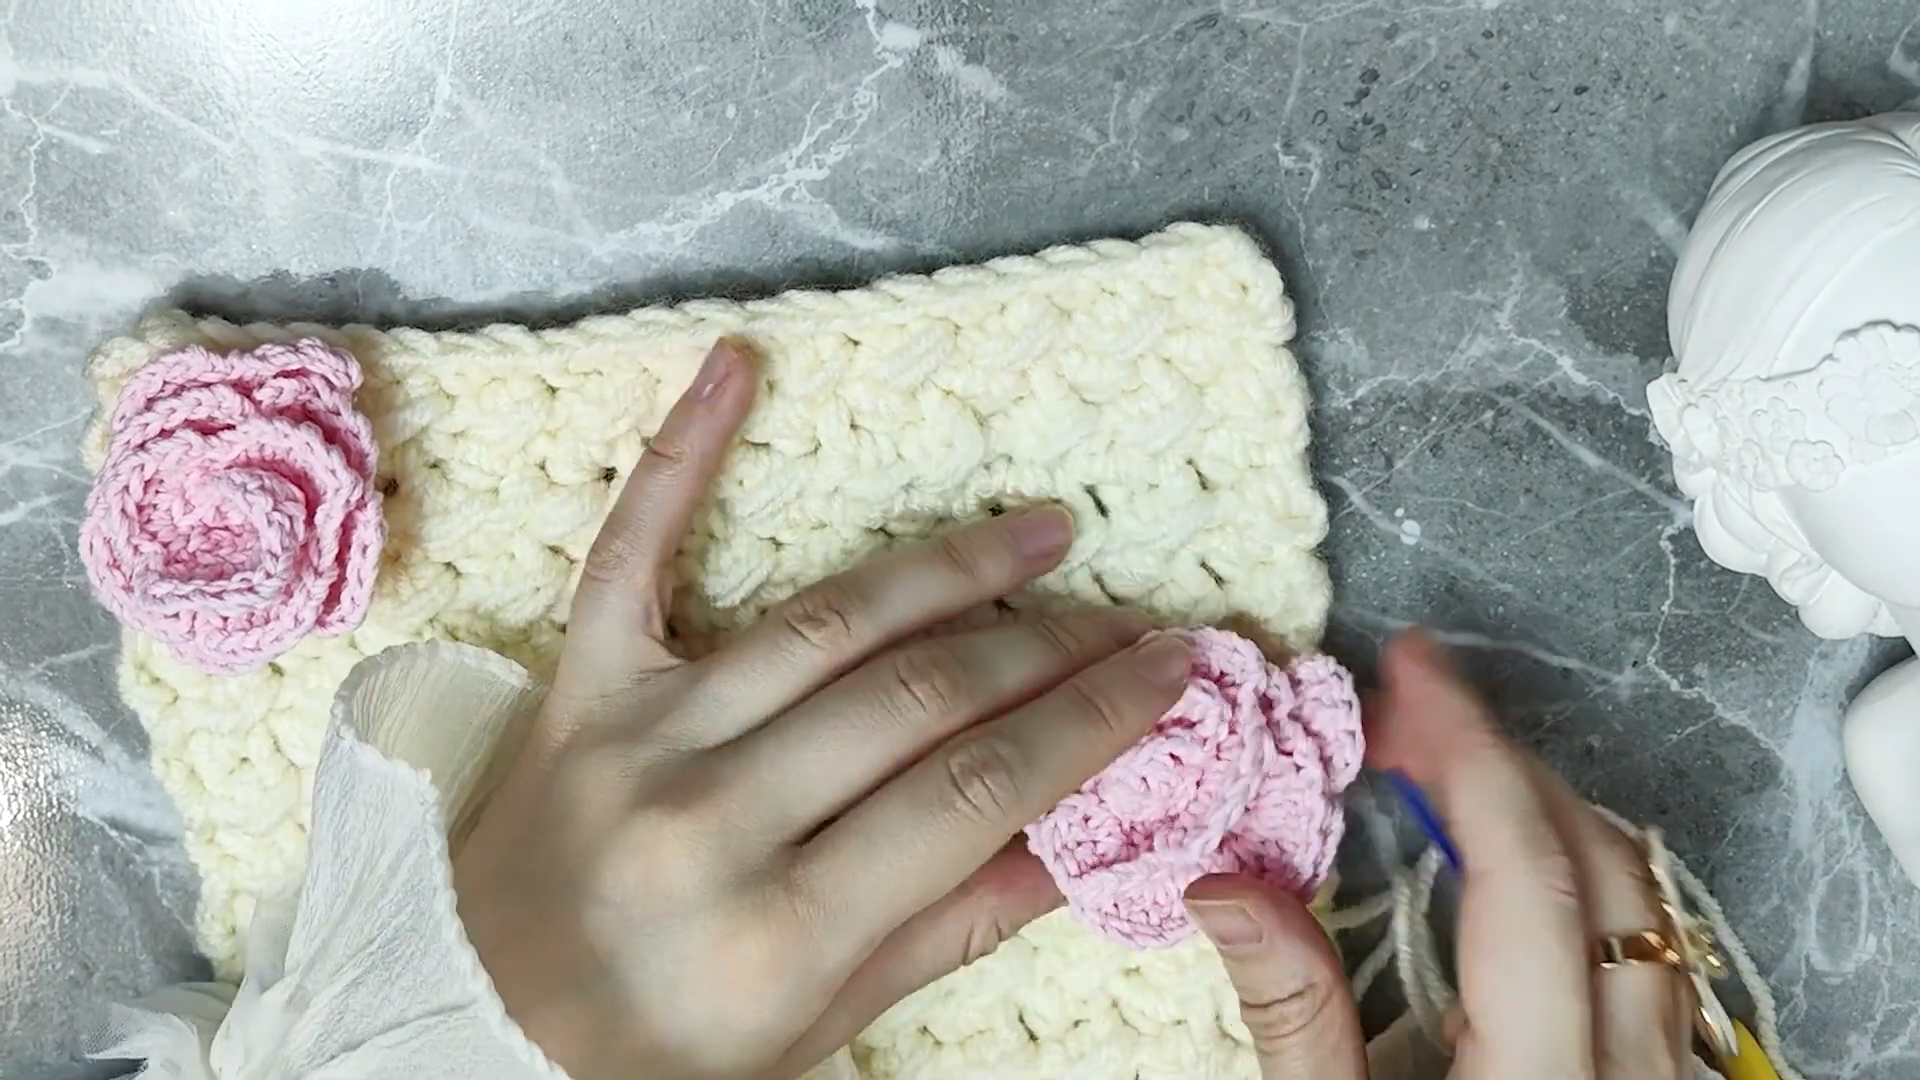
Position the finished rose where you want it on the scarf. A corner or centered end works best for a draped style. Thread the leftover tail from the rose onto your needle. Whip stitch around the entire base of the rose, catching a few strands of the scarf fabric with each stitch. Go around the base twice for extra hold. Keep the stitches close together so the scarf does not show through underneath the rose.
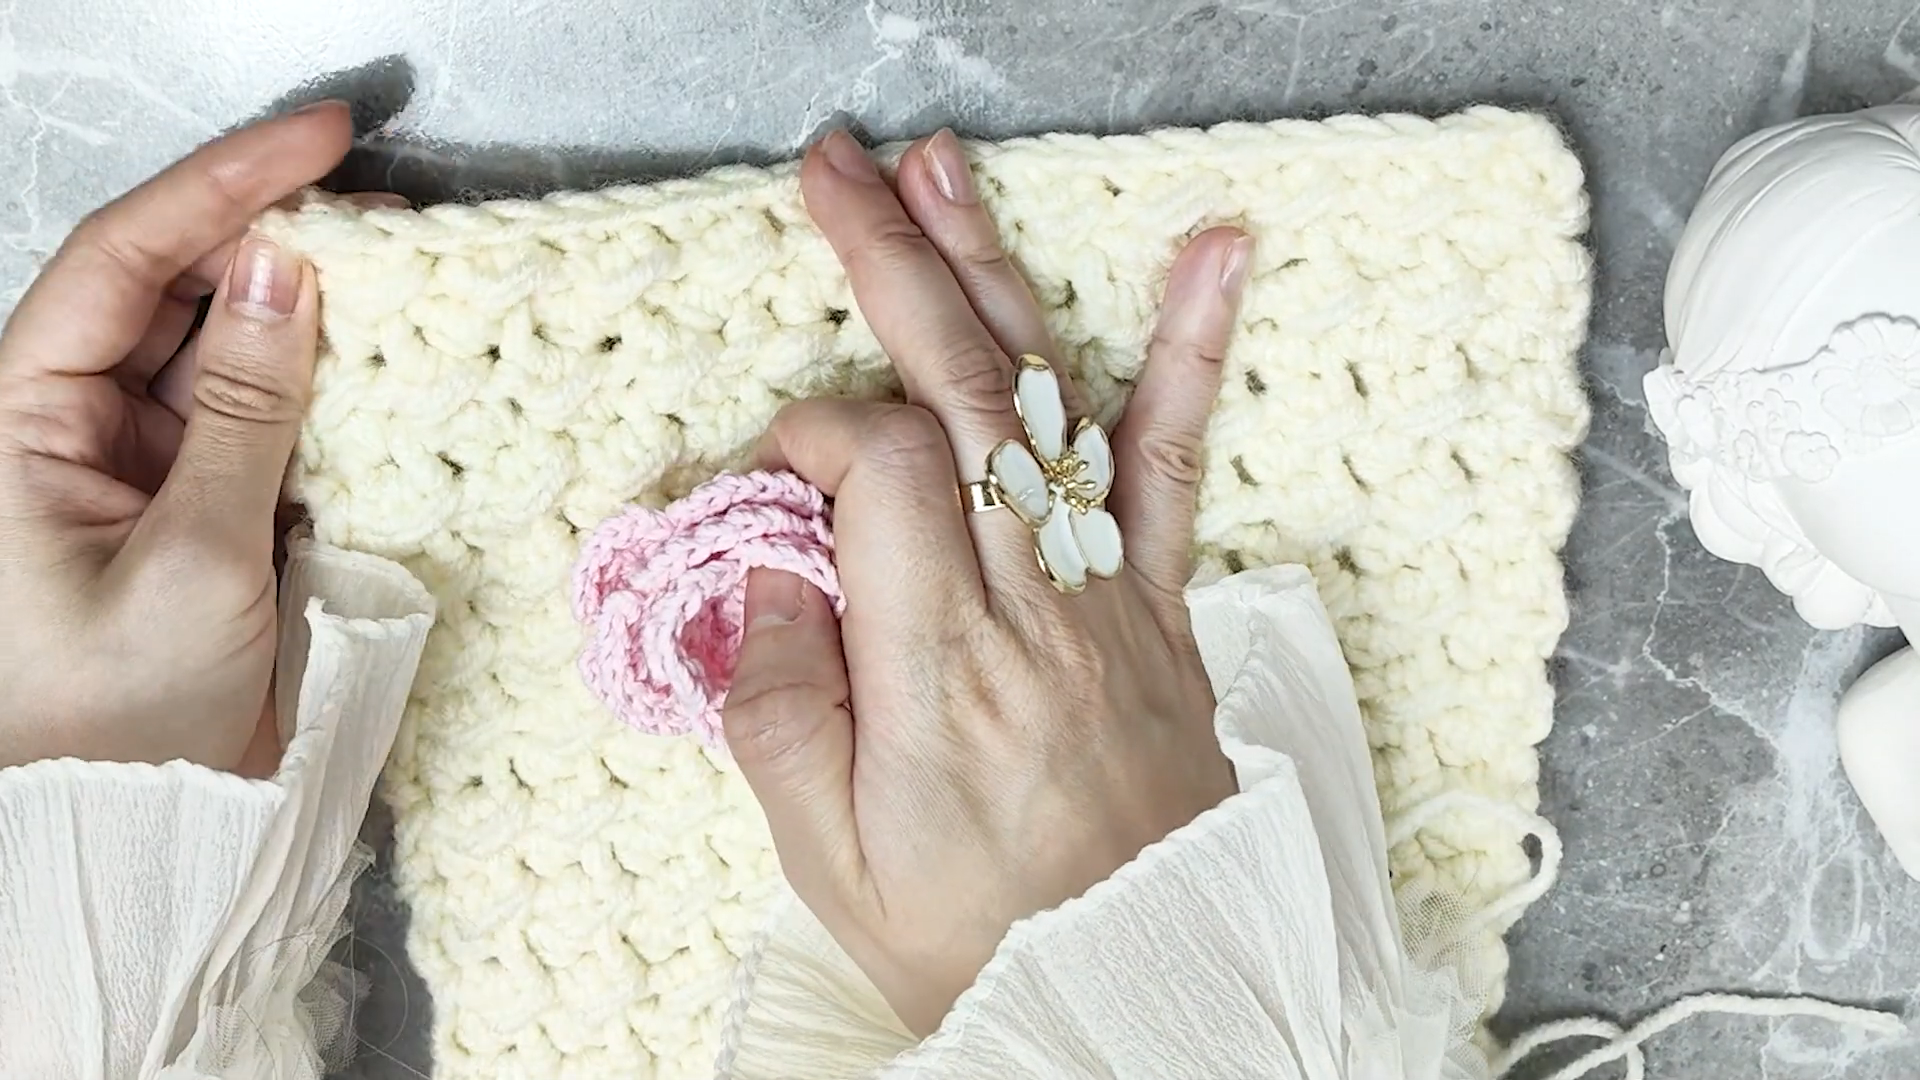
Step 8 – Adding a Second Rose/Bud
Make a second, smaller rose using the same method but with a shorter starting chain (chain 5–6 instead of 8) for a compact bud. Attach it beside the first rose using the same whip stitch method, angling it slightly so the two blooms overlap a little at the edge;s this creates a fuller, clustered look rather than two separate flowers floating apart.