Crochet Dog Bone Placemat Pattern for Pet Feeding Spots
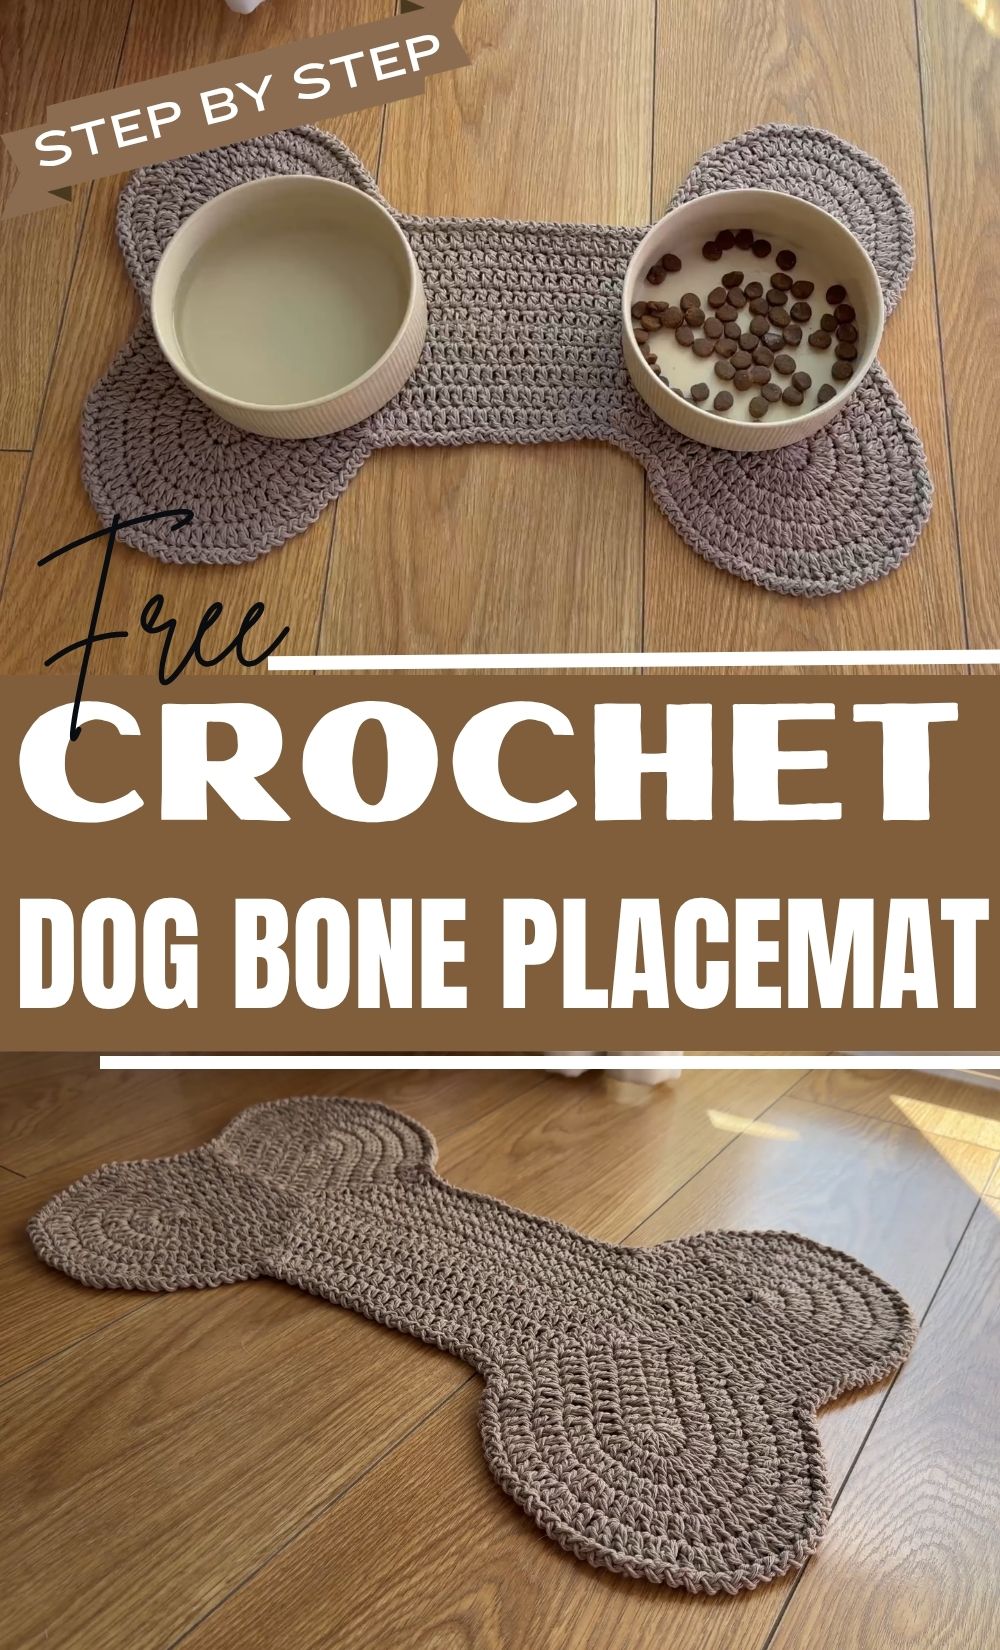
Keep bowls steady with this crochet dog bone placemat pattern made for pet feeding spots. Beginners can stitch it in cozy cotton yarn. It also fits crochet pet gift ideas and Christmas gifts for dog lovers with a handmade touch.
This crochet dog bone placemat pattern is a beginner friendly project that keeps pet bowls from sliding and protects your floors from messy spills. Thick cotton yarn worked in oval rounds creates a sturdy mat that looks charming in any cozy kitchen. Stitch it for crochet pet gift ideas or a handmade dog mom gift. It also becomes cheerful holiday pet decor and a thoughtful Christmas gift for dog lovers.
About This Crochet Dog Bone Placemat Pattern
Instead of a magic ring, this design starts with a row of chains. First, two short chains form the rounded ends of the bone. Then, one long chain forms the bar between them. After that, stitches travel around both sides of this skeleton, so the piece grows outward as a single flat mat.
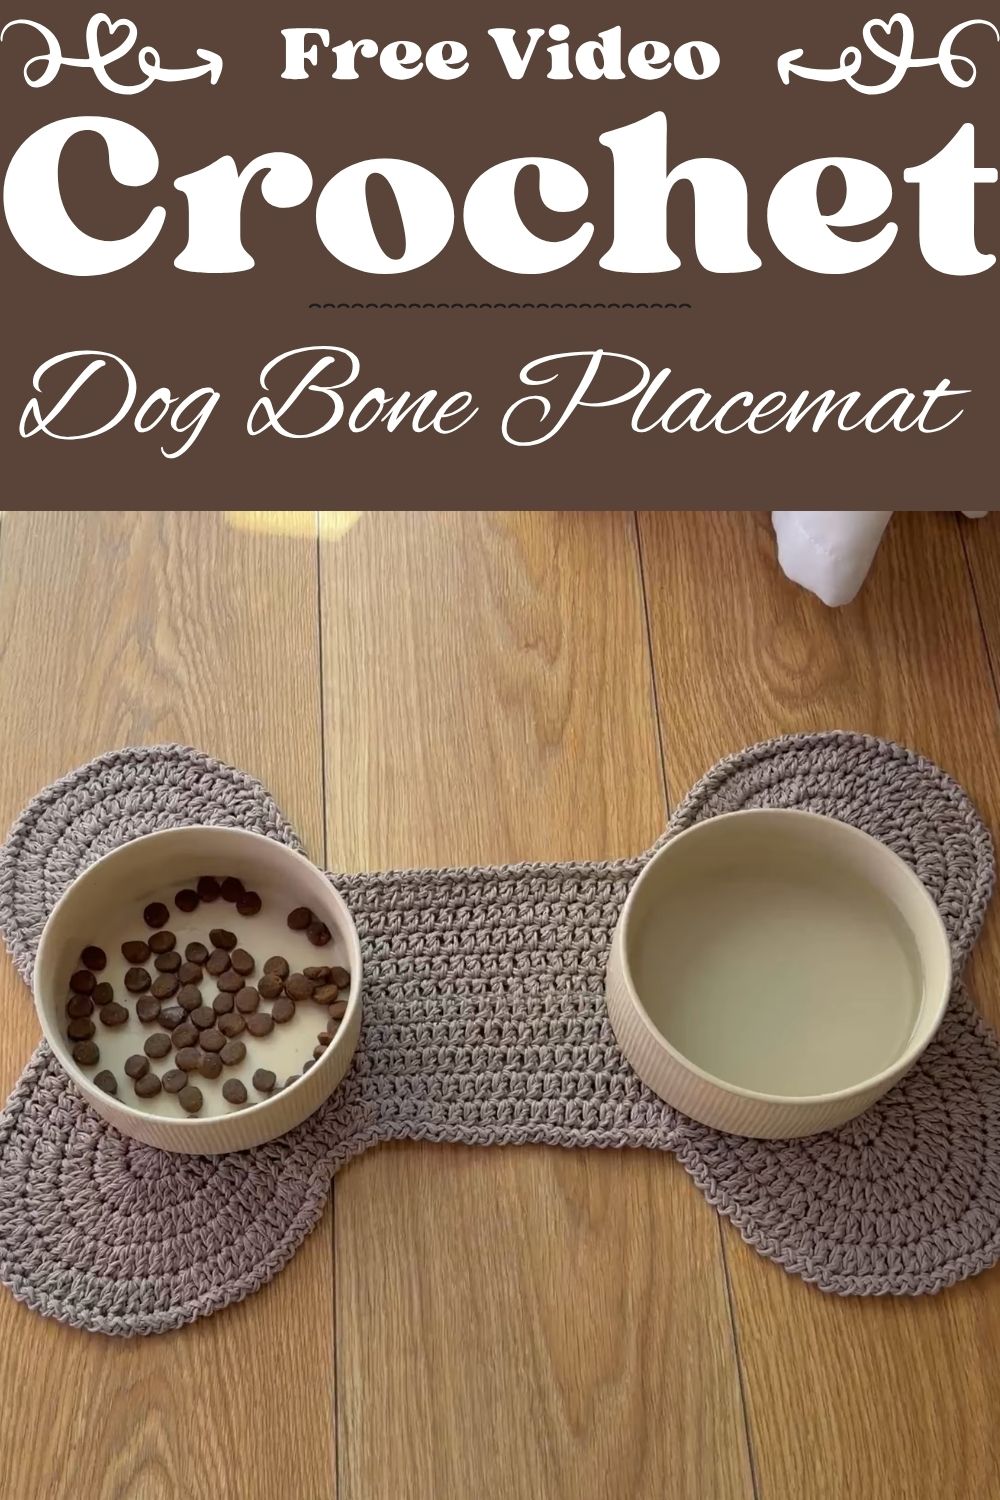
The finished mat suits dog bowls, cat dishes, and water stations. In addition, it makes a thoughtful gift for new pet owners who appreciate handmade touches. Likewise, the bold shape works as a cheerful accent in a mudroom, laundry nook, or kitchen corner.
Features of the Crochet Dog Bone Placemat Pattern
- Rounded lobes at both ends for a classic bone silhouette
- Triple decreases where each lobe meets the center bar
- Five oval rounds that keep the mat flat and even
- A slip stitch and chain border that resists curling
- Dense double-strand cotton that handles daily use
- One-piece construction with nothing to join
- The same stitch counts work with different yarn and hook sizes, and only the final size changes
Skill Level for This Crochet Dog Bone Placemat
No official level is listed. Even so, chains, slip stitches, and double crochet are all beginner stitches. However, the shaping demands patient counting, because the inner corners use triple decreases and the lobes follow changing increase sequences. Round 1 is the hardest round, and later rounds are easier. Therefore, confident beginners and anyone comfortable with oval shaping will feel right at home.
Materials for the Crochet Dog Bone Placemat Pattern
- Yarn: 2 balls of cotton or near-cotton yarn, held double (the designer used Oxford Ecootton, nearly 100% cotton, 150 g per ball)
- Crochet hook: 6 mm for the large version (a 4 mm hook with a single strand was used for the small sample)
- Scissors
- Thick tapestry needle
- Measuring tape
- Several stitch markers
Yarn Information
Hold two strands together, one from each ball. As a result, the fabric turns dense and sits firmly on the floor. Cotton keeps the mat flat instead of wavy, and it holds its shape under a full bowl. To keep tangles away, pull each strand from the center of its ball so the balls never need turning.
The designer says Oxford Ecootton can be hard to find, and any near-100% cotton works as a substitute. Hold it double and swatch first, since a different thickness changes the finished size. Meanwhile, brushed or fluffy yarns are best avoided because they trap pet hair and crumbs.
Finished Size of the Crochet Dog Bone Placemat
Two sizes are given, and they use the same stitch counts.
- Large version (2 strands held together, 6 mm hook): about 46 cm long and 32 cm wide at the widest part. This is the version in the tutorial.
- Small sample (1 strand, 4 mm hook): 32 cm long, 21 cm wide at the widest parts, and 10 cm wide at the narrow part. It suits small bowls but was too small for the designer’s dog bowls and stand.
The foundation chain is about 22 cm in the middle section, with each end piece around 7.5 to 8 cm. After Round 1 the piece is about 28 cm wide, which is not the final size. Before you start, measure your pet bowls. Then hold the growing mat against them to confirm a comfortable fit.
Stitches and Abbreviations
This pattern uses US crochet terms.
- ch: chain
- sl st: slip stitch
- dc: double crochet
- dc2tog / dc3tog: unfinished double crochets closed together (the triple decrease is a dc3tog)
- Increase: extra double crochets worked into one stitch along the outer curves
Increase spacing on the curves appears as number sequences, where each number is how many double crochets go into one stitch. Notably, the sequence changes from round to round.
Gauge for the Crochet Dog Bone Placemat Pattern
No gauge is published, so a stitch count per inch cannot be given. Nevertheless, tension still matters because a placemat must lie flat. For instance, tight stitches make the lobes cup, while loose ones create ruffles. Consequently, a small swatch in double-strand cotton with a 6 mm hook reveals tension problems early. Aim for dense stitches without visible gaps, since bowls and kibble need a solid surface.
Tips Before You Start the Crochet Dog Bone Placemat Pattern
- Hold both strands as one and avoid splitting either strand.
- Leave stitch markers in the marked chains so the lobes stay easy to find.
- Mark the middle (joint) stitch of each decrease, and the point where the curve increases start.
- Count the center chain of 30 twice before moving on.
- Keep slip stitches loose when working back along a chain.
- Lay the piece flat after every round to check the shape.
- Place a marker at the start of each round to avoid losing your spot.
Step-by-Step Crochet Dog Bone Placemat Pattern
Step 1: Foundation Chain Setup (the Skeleton)
- Make a slip knot and chain 11. Mark the last chain with a stitch marker.
- Chain 11 more, and count from the marker to check.
- Going back, skip the first chain from the hook and work 10 sl st into the next 10 chains.
- Work 1 more sl st into the marked chain and leave the marker in. You are now at the middle of the first end piece.
- Chain 30 for the length. You can use any number here to change the mat’s length.
- Mark the last chain. Chain 11, skip the first chain from the hook, and work 10 sl st back along it.
- Work 1 sl st into the marked chain.
- Chain 11, then 2 extra chains (13 in total). The skeleton is complete.
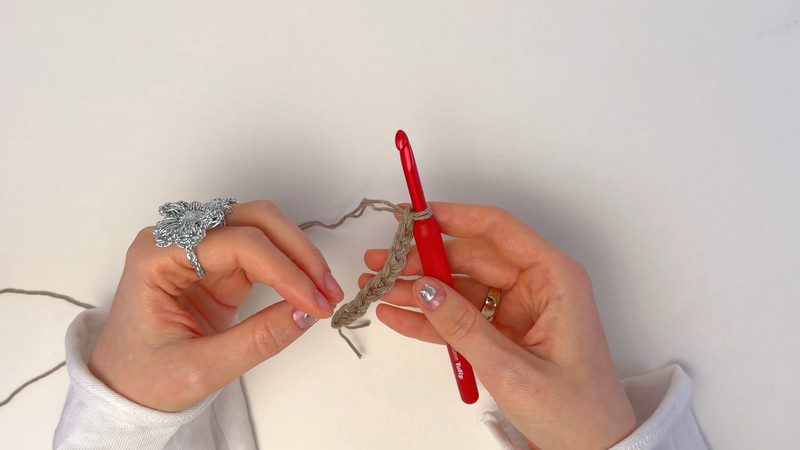
The slim chain takes shape while the hook rests near the top, with both strands held together as one.
Step 2: Round 1 with Double Crochet and Decreases
Take your time here, because later rounds are easier.
- Work the first dc into the 5th chain from the hook. The skipped chains count as the first dc.
- Work 8 more dc, which makes 9 dc in total counting the chain one. Stop one stitch before the marker.
- Triple decrease: work three unfinished dc and close them together. Work the first into the next stitch, the second into the marker or joint point (go under the side bar of the stitch and into the hole beside it, so the stitch sits straight), and the third into the first chain of the long chain. Close all loops at once.
- Work 1 dc in each chain along the long side, stopping one stitch before the last.
- Work another triple decrease at the next joint, then work the next end piece: 8 dc along it, then 7 dc into the last stitch to turn the corner.
- Come back along the opposite side with 8 dc directly across from the first side, then repeat the triple decrease at the joint.
- Work 27 dc along the long side. Both long sides should match, one directly opposite the other.
- Repeat the same sequence on the final end piece. At the end, work 6 dc into the last extra chain. The turning chain counts as the 7th stitch. Sl st into the 3rd chain to close.
The first round hugs the chain base, and the lobes begin to curve around the junction.
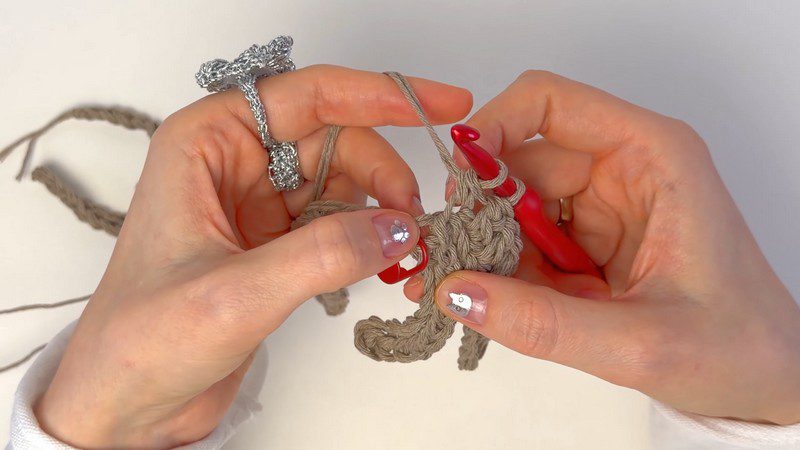
Step 3: Rounds 2 to 5 with Increases and Shaping
Continue in oval rounds for four more rows, five rounds in total. Chain 3 at the start of each round, and keep using triple decreases at each joint so the inner corners stay smooth. In Round 2, work into the top two loops of each stitch.
- Round 2: Ch 3 (counts as the first dc). Before each joint, stop one stitch early and work the triple decrease over the last stitch, the middle joint stitch, and the first stitch of the next section. Each long side now has 25 dc. On each end curve, work 7 straight dc, then the increase sequence 1, 2, 2, 4, 2, 2, 1 (each number is how many dc go in one stitch). That gives 14 stitches on the curve, repeated on every curve. Finish with the turning chain stitch and sl st into the 3rd chain.
- Round 3: Ch 3. Work 6 straight dc on each end piece and a triple decrease at each joint. Long sides: 23 dc. On the curves, alternate 2 dc in one stitch and 1 dc in the next, repeated 7 times (21 stitches). Close with a sl st into the 3rd chain.
- Round 4: Ch 3. Work 5 straight dc on each end piece and a triple decrease at each joint. Long sides: about 21 dc. On the curves, repeat 2 dc, 1 dc, 1 dc seven times (28 stitches). Close with a sl st.
- Round 5: Ch 3. Work 4 straight dc on each end piece and a triple decrease at each joint. The long-side count is not stated in the source. On the curves, repeat 2 dc, 1 dc, 1 dc, 1 dc seven times (35 stitches). Close with a sl st.
Thanks to this balance of decreases and increases, the mat stays flat and even. The designer stopped at 5 rounds. For a bigger mat, add another round: increase 2 dc in one stitch, then work 1 dc in each of the next 4 stitches, and widen the curves slightly.
One lobe has grown thicker, and the hook starts the next round along the long side of the bar.
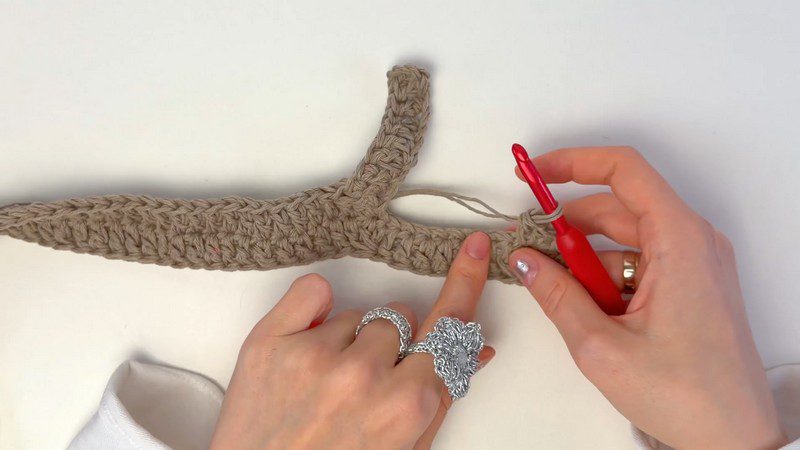
Step 4: Final Border and Fastening Off
Start the border with no chain. Sl st into the next stitch through the top two loops, then chain 1 and sl st into the next stitch. Repeat all the way around. This makes a zigzag edge that does not pull the border tight, so the mat stays flat instead of curling. At the end, work a sl st only, with no chain.
Both lobes now stand out around the middle bar, with the working yarn trailing across the top.
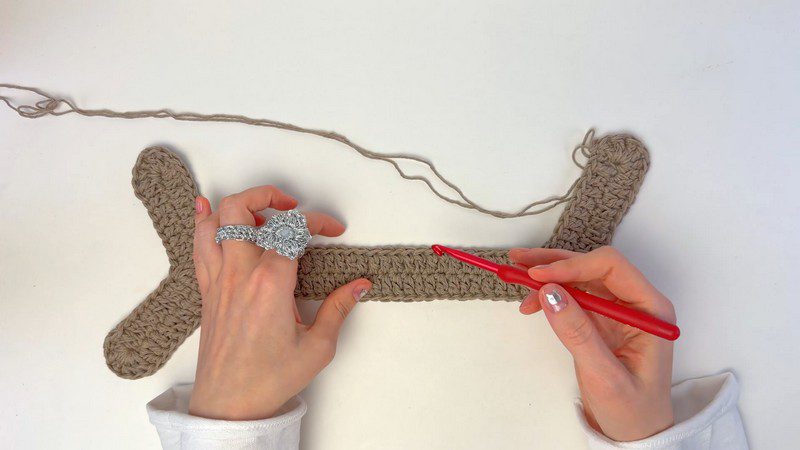
The bone is nearly complete, and the hook travels along the outer edge to place the border. Finally, fasten off with an invisible join and weave in the ends.
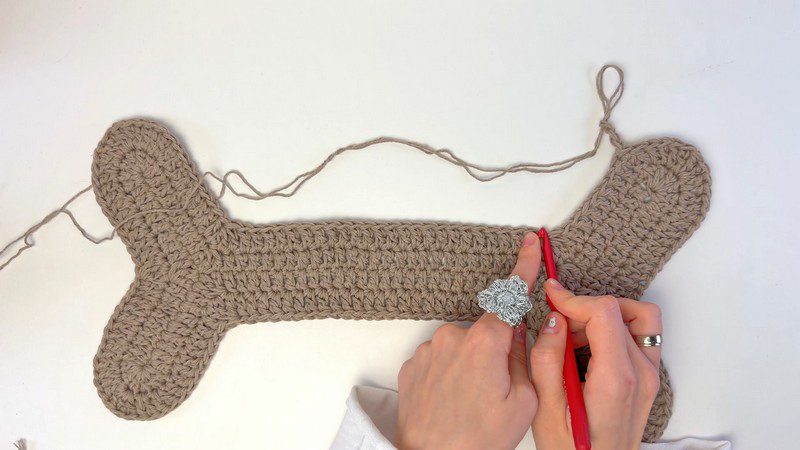
How the Crochet Dog Bone Placemat Pattern Is Built
Everything is worked as one piece, so no seaming is needed. First, the chain skeleton defines the shape. Next, round 1 locks it in, and rounds 2 to 5 expand it. Decreases tighten the inner corners where lobes meet the bar, whereas increases open the outer curves. Together, this tightening and spreading keeps the bone flat.
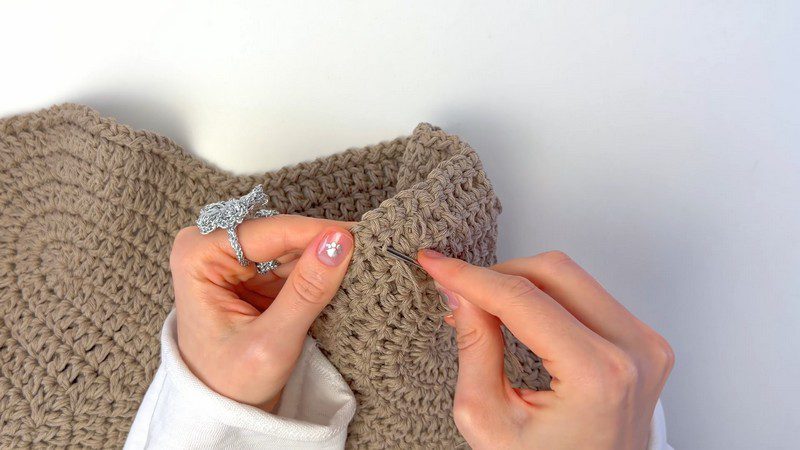
A tapestry needle slips through the stitches in a close view of the ends being hidden.
Ways to Customize the Dog Bone Placemat Pattern
- Change the length by using a different number than 30 for the center chain
- Work a smaller version with a single strand and a 4 mm hook
- Add a sixth round for a bigger mat
- Choose darker shades that hide food stains
- Swap in a contrasting color for the final border round
- Make a matching pair for two pets
After any change, check the size against the bowls.
Crochet Dog Bone Placemat Pattern Troubleshooting
- Cupping edges: Tension is probably too tight, or increases were skipped. Loosen your hold and recheck the increase spacing.
- Ruffled lobes: Too many increases crept in. Therefore, undo the round and recount.
- Gaps at inner corners: The decreases were not fully closed. Close all three loops of each triple decrease at once, and go under the side bar at the joint so the stitch sits straight.
- Uneven ends: The lobe chains may differ. So, verify both chains of 11 before starting round 1.
- Mismatched long sides: Make sure each long side sits directly opposite the other with the same stitch count.
- Curling edge: The mat can curl a little at first. Steam or wash it, then spread it flat by hand, and confirm that a slip stitch and a chain 1 alternate all around the border.
Finishing Instructions
Fasten off with an invisible join so the last round looks continuous.
- Cut the yarn and pull the tail through the last loop.
- Insert the hook from the wrong side through the stitch after the chain loop, grab the tail, and pull it to the back. This forms the first bar.
- Turn the work, find the stitch where the tail came from, and pass the hook under its side bars.
- Pull the tail through to form the second bar.
- Hide the tail with a needle or hook and secure it with a knot.
Afterward, weave any other tails through nearby stitches with a thick tapestry needle, switching direction once or twice to lock them in, and trim close. Then steam or wash the mat so it flattens out, lay it flat, shape the lobes, and let it dry fully before use.
Care Instructions
Follow the yarn label first. After meals, shake off crumbs, and spot clean spills quickly. If the label allows washing, choose a gentle cycle and dry the mat flat. Lastly, store it completely dry to avoid musty smells.
Bonus: Setting Up a Tidy Feeding Station
Place the mat on a hard floor beside a wall so bowls stay in a predictable spot. Then set the food bowl on one lobe and the water bowl on the opposite end, leaving the center bar to catch stray kibble. In addition, keep a second mat on hand to rotate on laundry days.
FAQs About the Crochet Dog Bone Placemat Pattern
Can one strand of yarn be used?
Yes, the small sample used one strand with a 4 mm hook. The large version holds two strands together with a 6 mm hook. The stitch counts stay the same, and only the final size changes.
Does the mat work for cats?
Yes. The bone shape suits cat dishes just as well as dog bowls.
Can the mat be made smaller or longer?
For a smaller mat, use a single strand and a 4 mm hook. To change only the length, use a different number than 30 for the center chain.
How should the ends be hidden?
Use the invisible join for the last tail. For other tails, use a thick tapestry needle and weave them through the stitches, changing direction to secure them.
Time to Give Your Pet a Cozy Mat
With this crochet dog bone placemat pattern, an ordinary feeding corner becomes useful and cheerful. A chain skeleton, five shaped rounds, and a tidy slip stitch border build a sturdy mat in one piece. So, gather the cotton, mark the lobes, and start that first chain. Since a spare mat also makes a lovely gift, consider making two.