Free Crochet Dumpling Bag Pattern with Simple Instructions
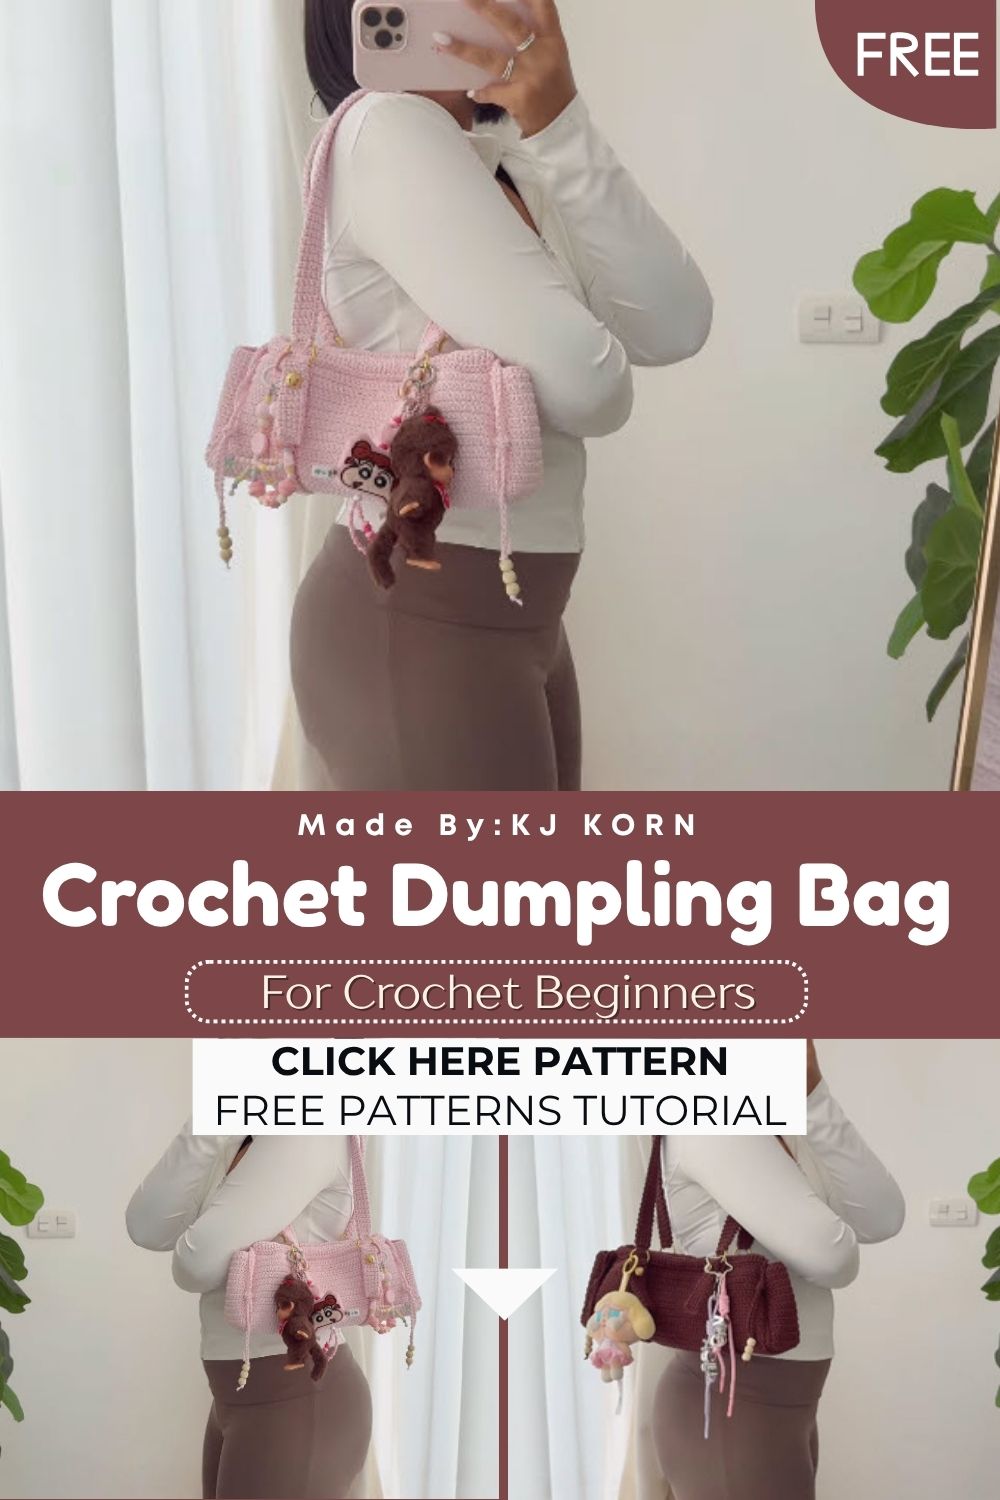
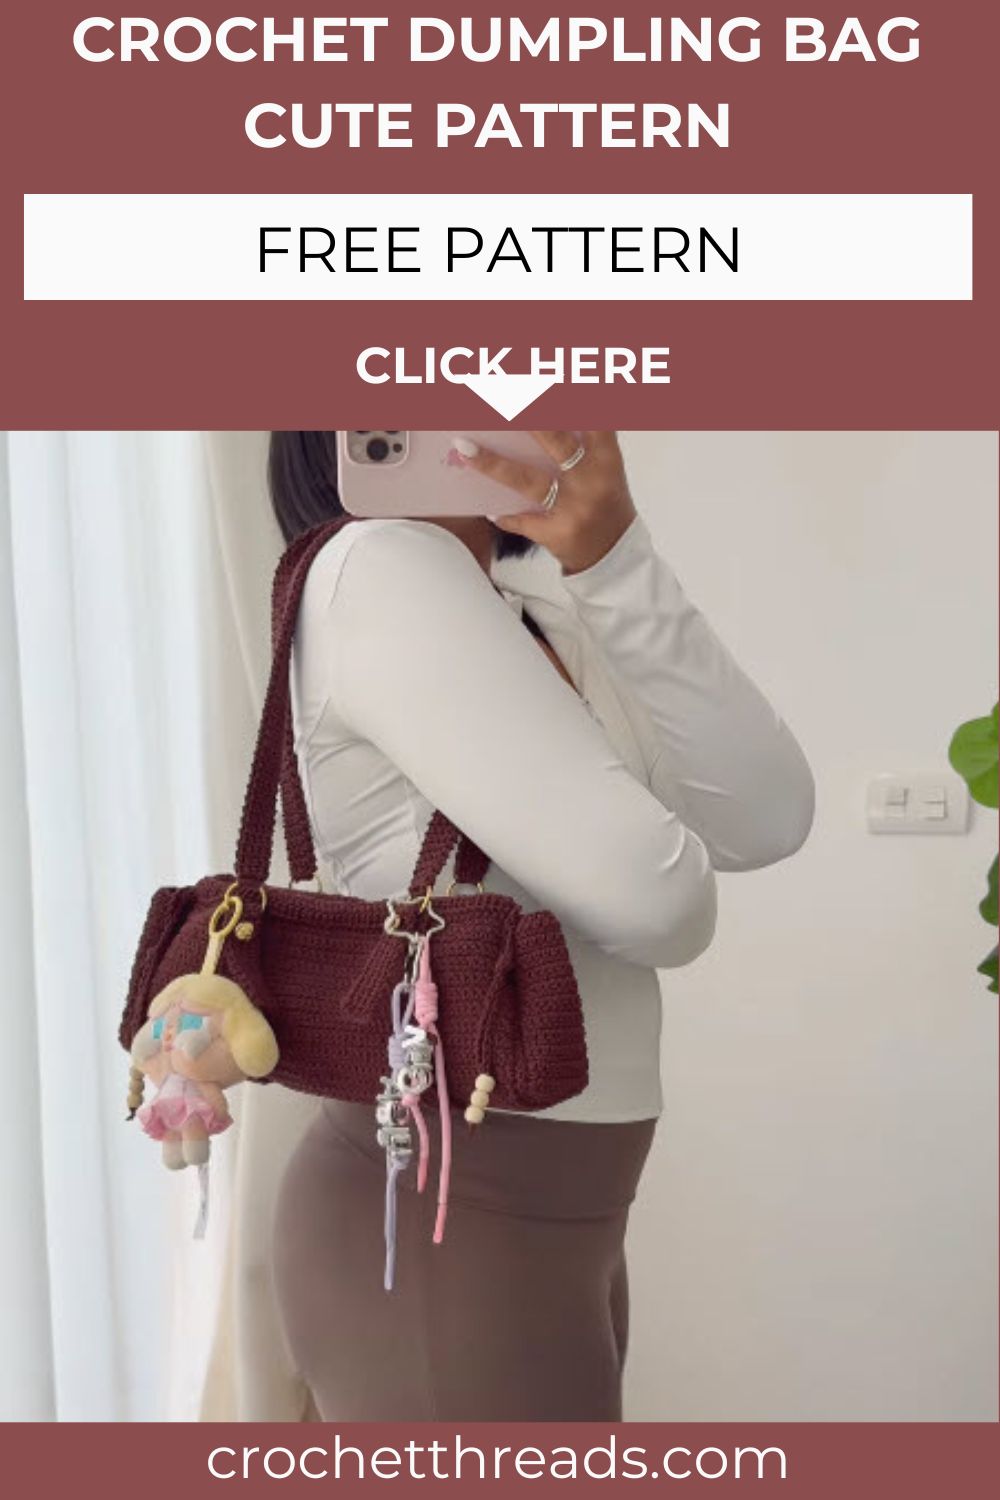
This Free Crochet Dumpling Bag isn’t just an ordinary purse; it’s a unique and charming crochet project. Its round, puffy shape and soft pleats give it a look just like a dumpling, while the drawstring closure on top shapes it into a beautiful little pouch. This distinctive design makes it the perfect blend of amigurumi’s charm and the practicality of an everyday bag. Thanks to its soft, plush-like texture, it feels more like an adorable handmade toy than a regular purse, which is exactly why it photographs so beautifully and is a favorite at craft fairs or as handmade gifts.
This pattern is beginner-friendly from start to finish. It only uses single crochet, increases, and decreases, so if you already know the basics, you can finish this project in a single sitting. There is no complicated shaping or tricky stitch pattern to memorize, just simple rounds worked from the bottom up.
Pattern Overview
- Finished size: Approximately 6 to 7 inches wide and 5 inches tall, perfect for holding a phone, cards, and small trinkets
- Difficulty level: Beginner
- Time required: 2 to 3 hours for an experienced beginner, longer if you are brand new to crochet
- Project type: Amigurumi-style crochet bag, sometimes called a plushie purse
Because the whole bag is worked in continuous rounds with basic stitches, it is a great confidence-building project if you have only made amigurumi animals before and want to try something wearable.
Materials Needed
- Chunky weight yarn in your main color, plus a small amount of a second color for contrast trim if desired
- 7mm crochet hook (adjust size based on your yarn weight)
- Polyester stuffing, for the pleated dumpling top
- Yarn needle, for weaving in ends and sewing pieces together
- Stitch markers, to track the start of each round
- Scissors
- Safety eyes, optional, if you want to give your bag a cute face
Crochet Abbreviations
- sc – single crochet, the basic stitch used throughout this pattern
- inc – increase, meaning two single crochets worked into the same stitch
- dec – decrease, meaning two stitches crocheted together as one
- ch – chain, a foundation stitch used to start certain rounds
- sl st – slip stitch, used to join rounds or close gaps
- FO – finish off, meaning to cut the yarn and pull it through the last loop to secure it
Step-by-Step Crochet Pattern
Bag Base
Round 1: Make a magic ring, then sc 6 into the ring. (6 stitches) Round 2: Inc in every stitch around. (12 stitches) Round 3: Sc 1, inc 1, repeat around. (18 stitches) Round 4: Sc 2, inc 1, repeat around. (24 stitches) Round 5: Sc 3, inc 1, repeat around. (30 stitches) Round 6: Sc 4, inc 1, repeat around. (36 stitches)
Continue increasing by 6 stitches per round in this pattern until your base measures about 6 inches across.
Bag Body
Once the base is complete, work several rounds of straight sc with no increases or decreases. This builds the height of the bag walls. Continue until the sides measure 4 to 5 inches tall.
Pleated Dumpling Top
This is what gives the bag its signature dumpling shape.
Round 1: Ch 2, skip 1 stitch, sl st in next stitch, repeat around. This creates small gaps all the way around the top edge. Round 2: Work 3 sc into each chain gap from the previous round, creating a frilly, pleated ruffle. Round 3: Sc evenly in every stitch to smooth the ruffle down slightly.
For a puffier, more rounded dumpling look, add stuffing loosely around the inner rim before closing the ruffle.
Handle or Strap
Chain a length that reaches comfortably over your shoulder, then sc back across the chain twice to reinforce it. Attach both ends securely to opposite sides of the bag opening.
Assembly Instructions
Sew the strap onto the bag using your yarn needle, making several small, tight stitches through both layers for strength. If you added safety eyes or a face, attach those before closing up any remaining gaps, since it is much easier to position facial details on a flat piece before the bag is fully closed. Weave in every loose end using your yarn needle so the inside stays neat and nothing unravels with use. Finally, fluff and shape the pleated top with your fingers so the folds sit evenly.
Beginner Tips
- Place a stitch marker at the start of every round so you never lose track of where you began
- Keep your tension tight and even, since loose stitches let stuffing show through
- Stuff evenly and in small amounts at a time rather than one large clump
- Count your stitches at the end of every round to catch mistakes early
- Avoid pulling your yarn too tight when working the pleated top, or the ruffle will flatten out
Customization Ideas
- Try a two-tone color scheme, like white and light brown, to mimic a real dumpling
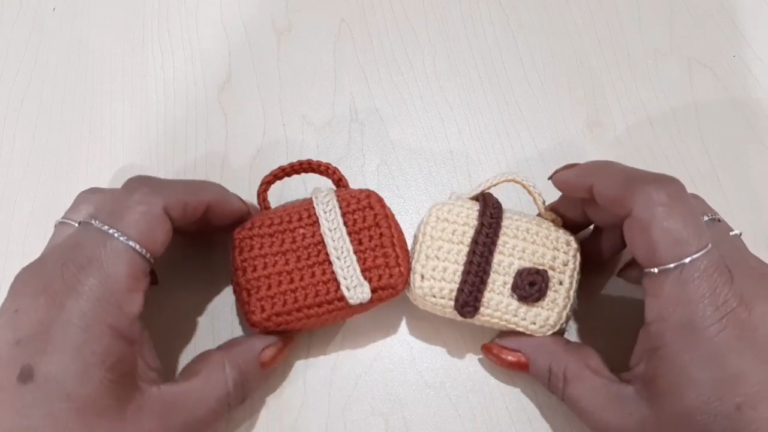
- Make a mini version and turn it into a keychain or bag charm
- Skip the strap entirely for a tiny plushie version to display on a shelf
- Crochet one as a handmade gift for a foodie friend
- Use a set of three in different sizes as cute home decor accents
Care Instructions
Hand wash your crochet dumpling bag in cool water with a mild detergent, gently squeezing rather than scrubbing the fibers. Lay it flat on a clean towel to air dry, reshaping the pleated top while it is still damp so it dries in its intended shape. Store the finished bag stuffed loosely with tissue paper in a cool, dry place to help it hold its round shape between uses.
FAQ Section
Which yarn is best for this pattern?
Chunky weight yarn gives the fastest results and the puffiest look, though worsted weight works well for a smaller, more compact bag.
Can beginners make this?
Yes. The pattern only uses single crochet, increases, and decreases, making it approachable for anyone who has finished at least one small amigurumi project before.
How long does it take to finish?
Most beginners can complete the bag in 2 to 3 hours, spread across one or two crochet sessions.
Can I sell finished products made from this Free Crochet Dumpling Bag pattern?
Many crocheters do sell finished items from patterns like this, but always check the specific pattern’s terms of use first, since policies vary by designer.
Personal Tip
I always stuff the pleated top a little fuller than feels necessary, since it settles over time and keeps that classic puffy dumpling shape looking rounded for years longer.
Conclusion
This free crochet dumpling bag pattern proves that a beginner-friendly project can still turn out impressively cute and completely giftable. Grab your hook and a skein of chunky yarn, and give this pattern a try this week. Once your bag is finished, share a photo of your finished creation; we would love to see your color choices and how your pleated top turned out.