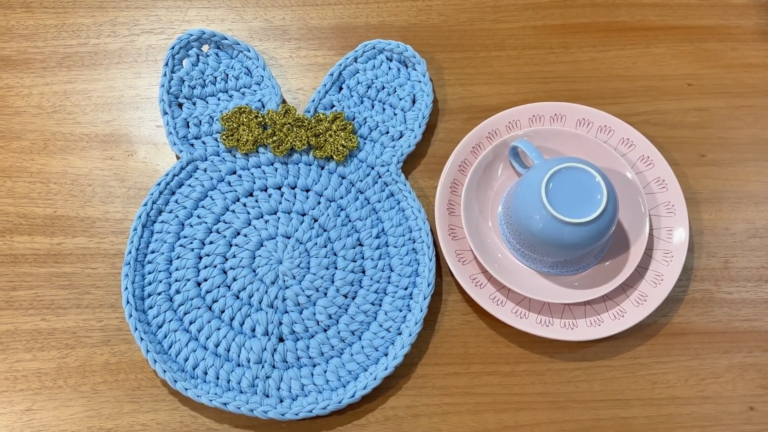
Free Crochet Off Shoulder Sweater Pattern for a Trendy
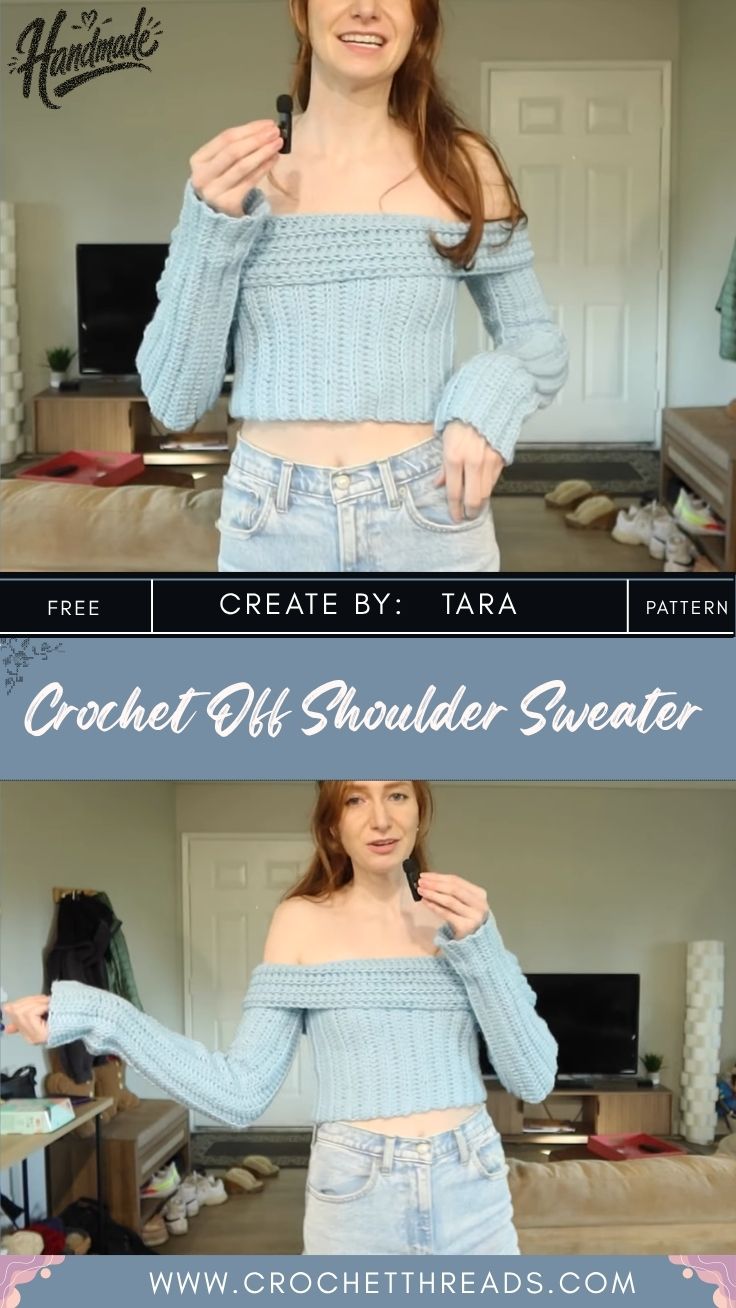
Slide a hook into a small ribbed cuff, and the whole Off-Shoulder Batwing Sweater unfolds from there no fiddly sleeve seams, no separate pieces fighting for attention, just a single panel growing wider row by row until it drapes off the shoulder exactly the way an oversized sweater should.
Two mirrored panels, each one a straight run from cuff to hem, seam together in a single afternoon of finishing work. The batwing shape hides small tension slips better than a fitted garment ever could, and the positive ease built into every measurement means a slightly loose row here or there never shows in the final drape.
Pattern Overview
- Worked flat, in one continuous panel per side, from cuff outward
- Ribbed cuff started in the round, then transitions to turned rows
- Two matching panels seamed at underarm, side, and shoulder
- Neckline trim worked last, directly onto the seamed body
- Beginner-friendly stitches throughout, with simple shaping increases
Special Techniques
- Back loop only (BLO) ribbing – worked at the cuff and hem to create a stacked, corduroy-like ridge that stretches gently around the wrist and hip
- Cuff-to-body shaping – even increases worked at the start and end of rows to widen the panel gradually from wrist to underarm
- Mattress stitch seaming – used along the side and underarm seams to keep the join flat and nearly invisible from the right side
Time Box
Beginner–Intermediate, roughly 6 to 8 hours total, including both panels and finishing.
Finished Measurements
- S/M: 42-inch bust, 22-inch length, 17-inch sleeve length
- L/XL: 50-inch bust, 24-inch length, 18-inch sleeve length
Sizes Available
S/M and L/XL, easily adjusted between the two by adding or removing a full stitch repeat at the widest point of the panel.
Materials
- Yarn Weight: Medium worsted weight (Category 4), a cotton-acrylic blend for structure with enough drape to fall softly off the shoulder
- Yarn Quantity: Approximately 1,050 yards for S/M, 1,300 yards for L/XL
- Hook Size: 5.5mm (US I-9)
- Other supplies: Yarn needle, stitch markers, scissors, measuring tape, blocking pins
Gauge
13 stitches and 9 rows = 4 inches in the pattern stitch, after light blocking. Swatching before starting the real panels keeps the finished size accurate and the fabric properly drapey.
Abbreviations
- sc – single crochet
- hdc – half double crochet
- dc – double crochet
- ch – chain
- sl st – slip stitch
- BLO – back loop only
- st(s) – stitch(es)
- inc – increase (2 hdc worked into one stitch)
Before You Start
Swatch first. The pattern relies on the fabric holding enough drape to fall correctly off the shoulder a tight, stiff swatch makes the whole sweater sit like a stiff poncho instead of a soft, slouchy top. A rigid-feeling swatch means sizing up a hook before starting the real panels.
How the Sweater Is Constructed
Each panel begins at the cuff with a small foundation ring, worked in rounds for a short ribbed section, then opens into flat, turned rows that widen gradually from wrist to underarm. Once both panels reach full width, they seam together along the underarm, side, and shoulder, and a simple trim finishes the neckline last.
Step-by-Step Pattern
Step 1: Start the Cuff Ring
Chain 4 and join with a slip stitch to the first chain, forming a small closed ring. Chain 1 (does not count as a stitch), then work 8 hdc into the center of the ring, and join with a slip stitch to the top of the first hdc. Eight stitches complete round 1.
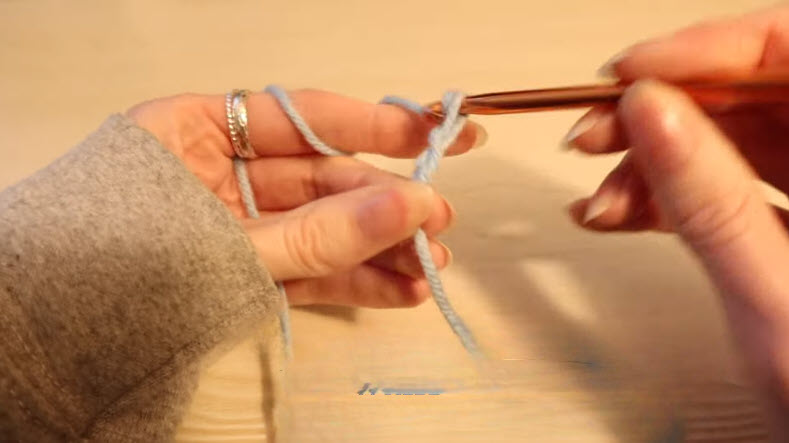
Step 1a – Slip Knot: Make a slip knot around the hook, leaving a short tail. Hold the working yarn over the index finger, guiding it evenly under the middle fingers so it feeds smoothly rather than in tight, uneven pulls.
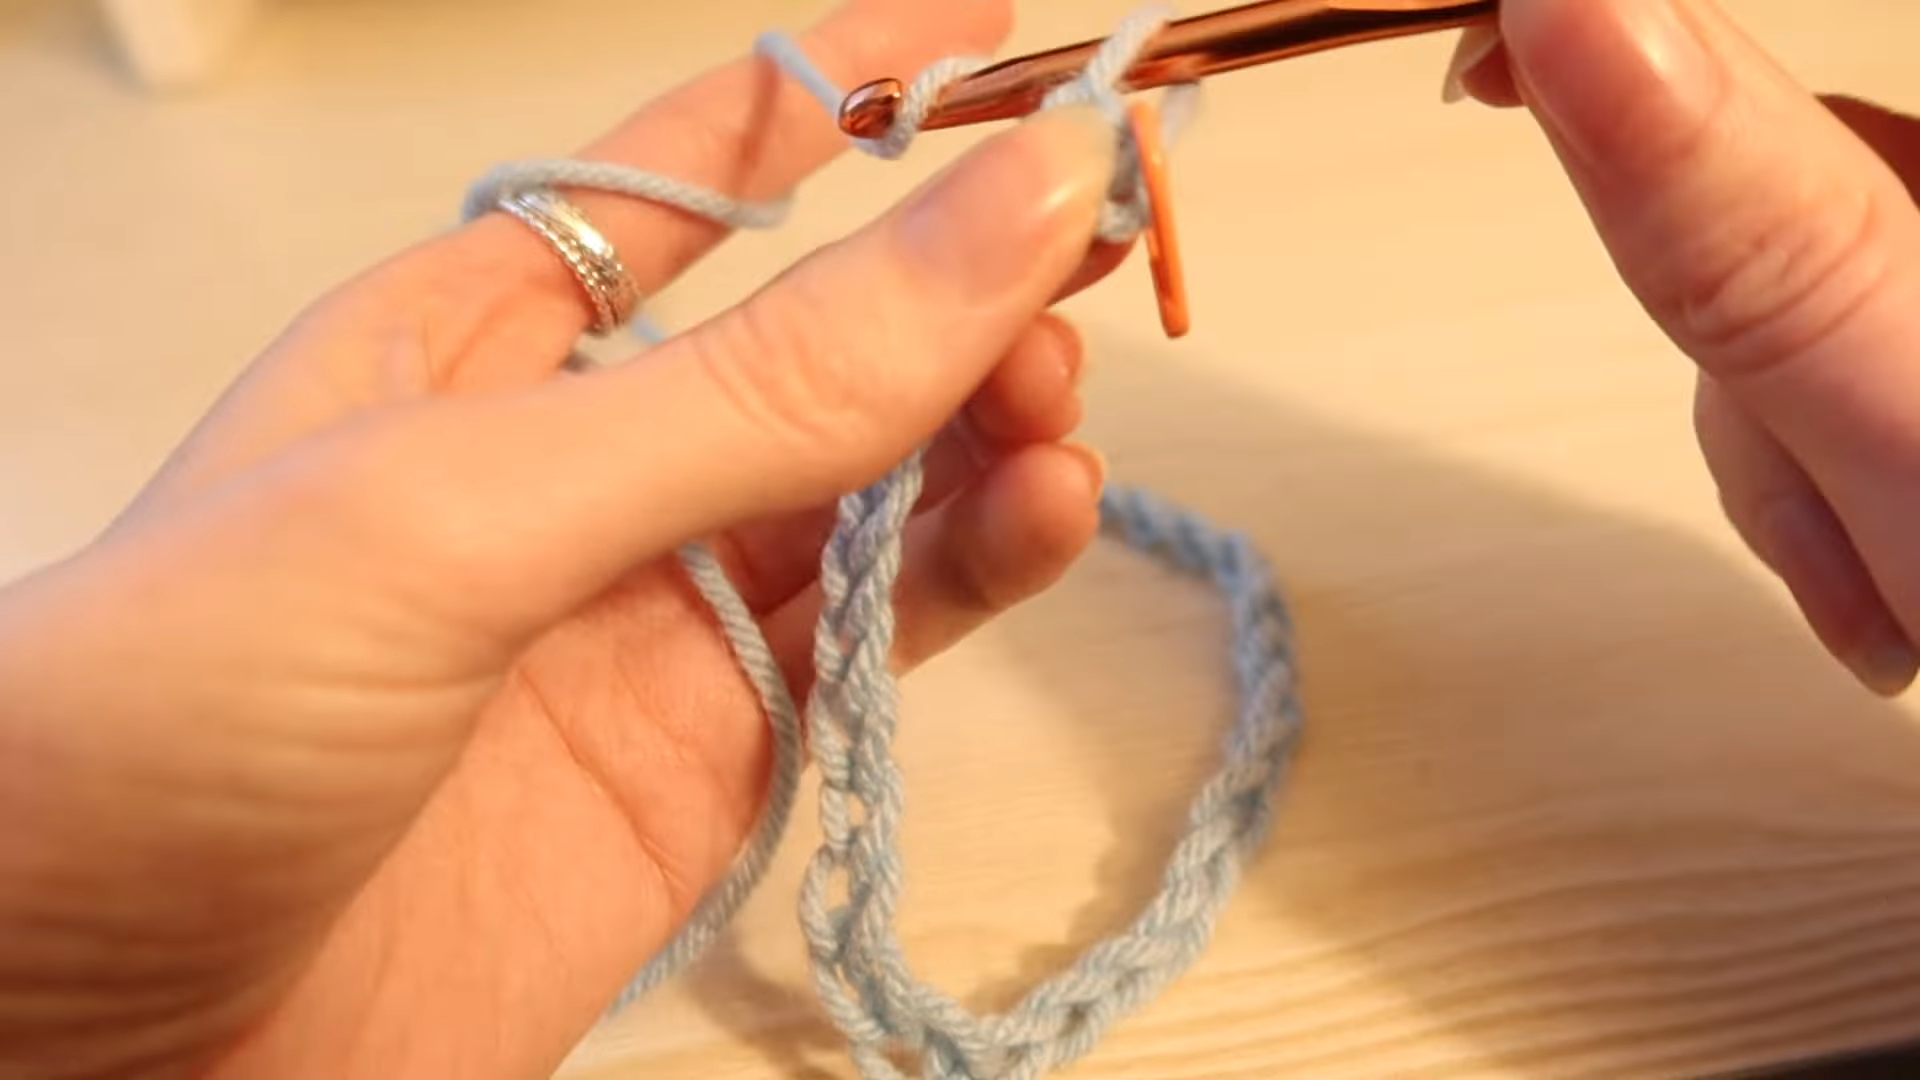
Step 1b – Foundation Chain: Chain 4 loosely enough that the hook passes back through each stitch without resistance, then join the last chain to the first with a slip stitch, closing the length into a small ring rather than leaving it as a flat strip.
Step 2: Build the Ribbed Cuff
Round 2 through Round 7: Ch 1, hdc in the back loop only of each stitch around, join with a slip stitch to the top of the first hdc. Repeat for 6 rounds total, keeping 8 stitches in every round. Working through the back loop only leaves the front loop sitting on the surface as a visible ridge, which is what gives the cuff its stretchy, ribbed texture.
Step 2a – First Round Into the Ring: Insert the hook through the open center of the ring rather than into individual chain stitches, and work the first hdc directly around that center point so the round expands evenly outward instead of twisting.
Step 2b – Ribbed Rounds: Continue working hdc in the back loop only for each remaining round, keeping tension even so the ridges stack neatly on top of one another rather than leaning to one side.
Pro-Tip: Count stitches at the end of every ribbed round before moving on. A ring section that gains or loses a stitch here throws off the width of the entire panel once flat rows begin.
Step 3: Transition to Flat, Turned Rows
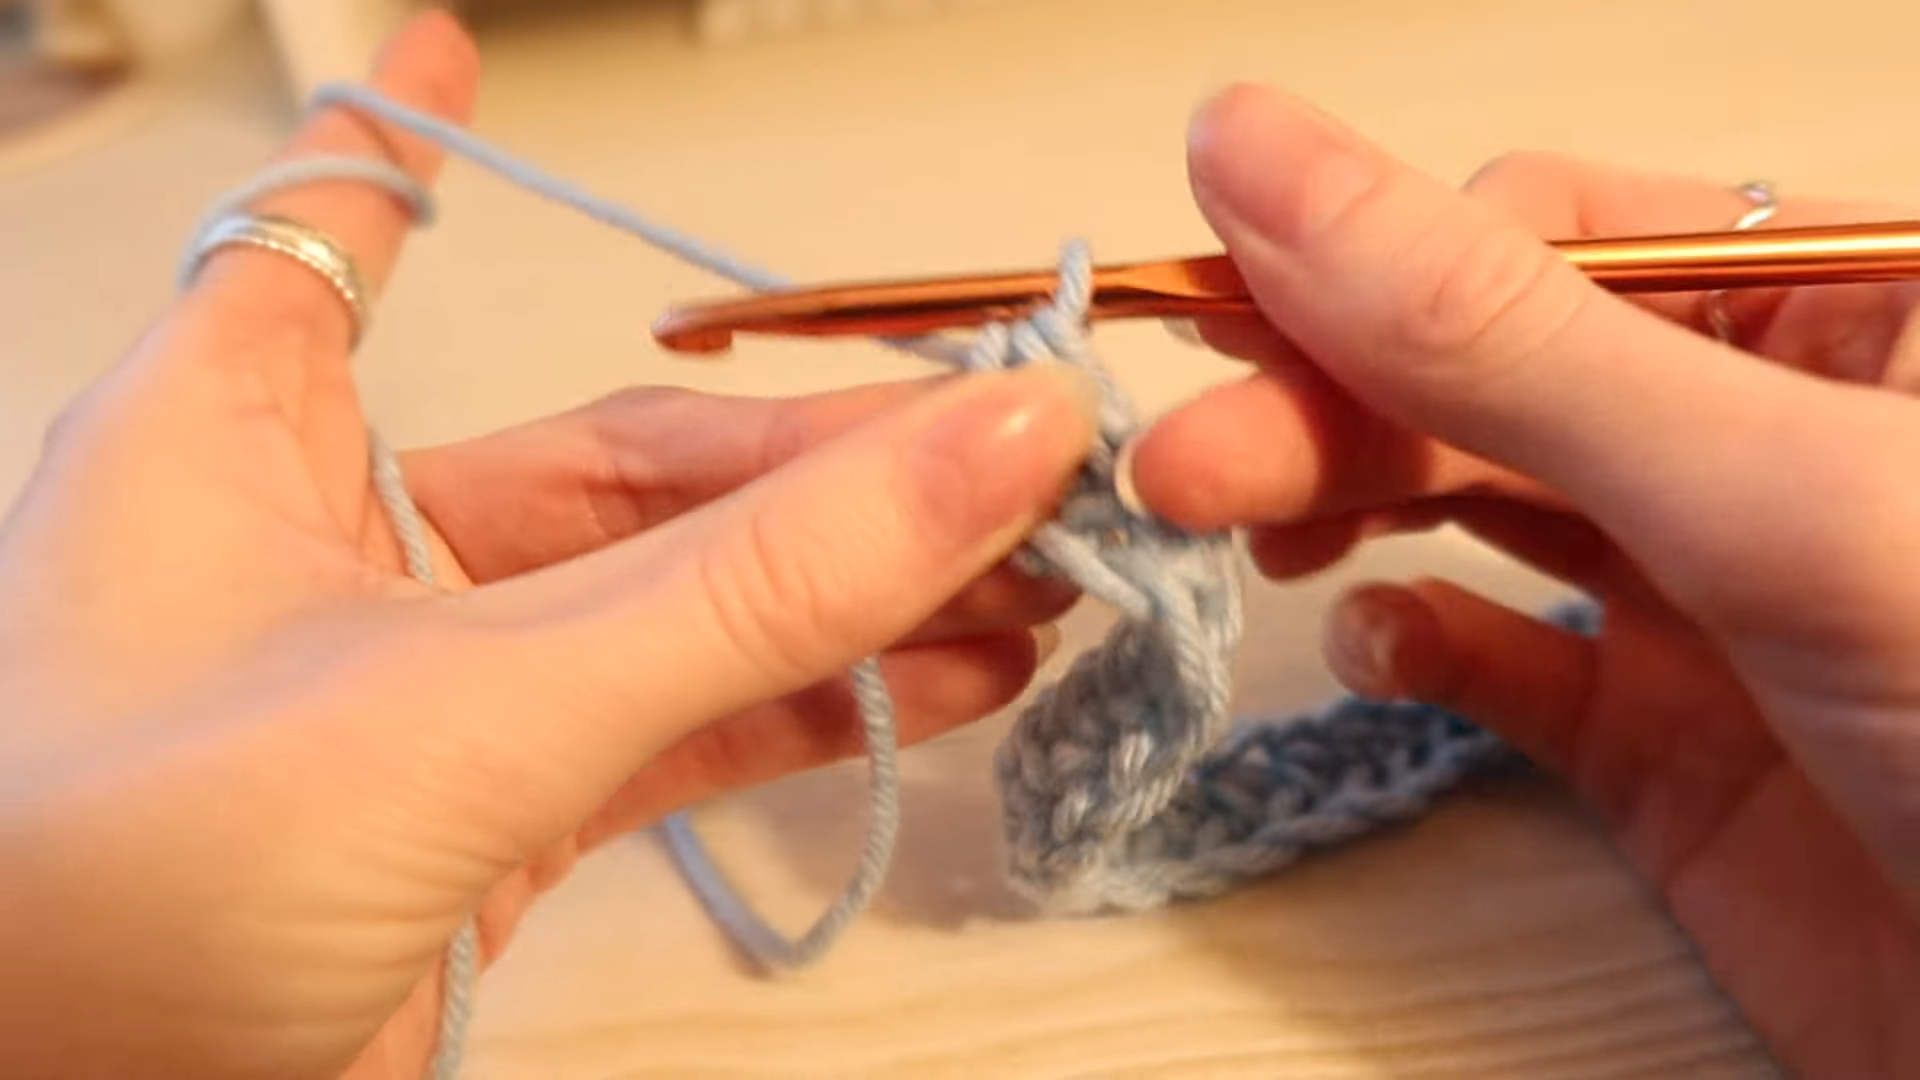
Row 8 (RS): Ch 2 (counts as first hdc), 2 hdc in first st, hdc evenly across, 2 hdc in last st, turn. 10 sts. Row 9-24: Ch 2, inc in first st, hdc across to last st, inc in last st, turn, increasing by 2 stitches every row until the panel measures the desired underarm width for the size being made (approximately 30 sts for S/M, 36 sts for L/XL).
Working the increases at the very start and end of every row, rather than skipping a row here and there, is what keeps the panel’s edges straight as it widens from the narrow cuff into the fuller sleeve-and-body shape.
Step 4: Work the Body Panel Even
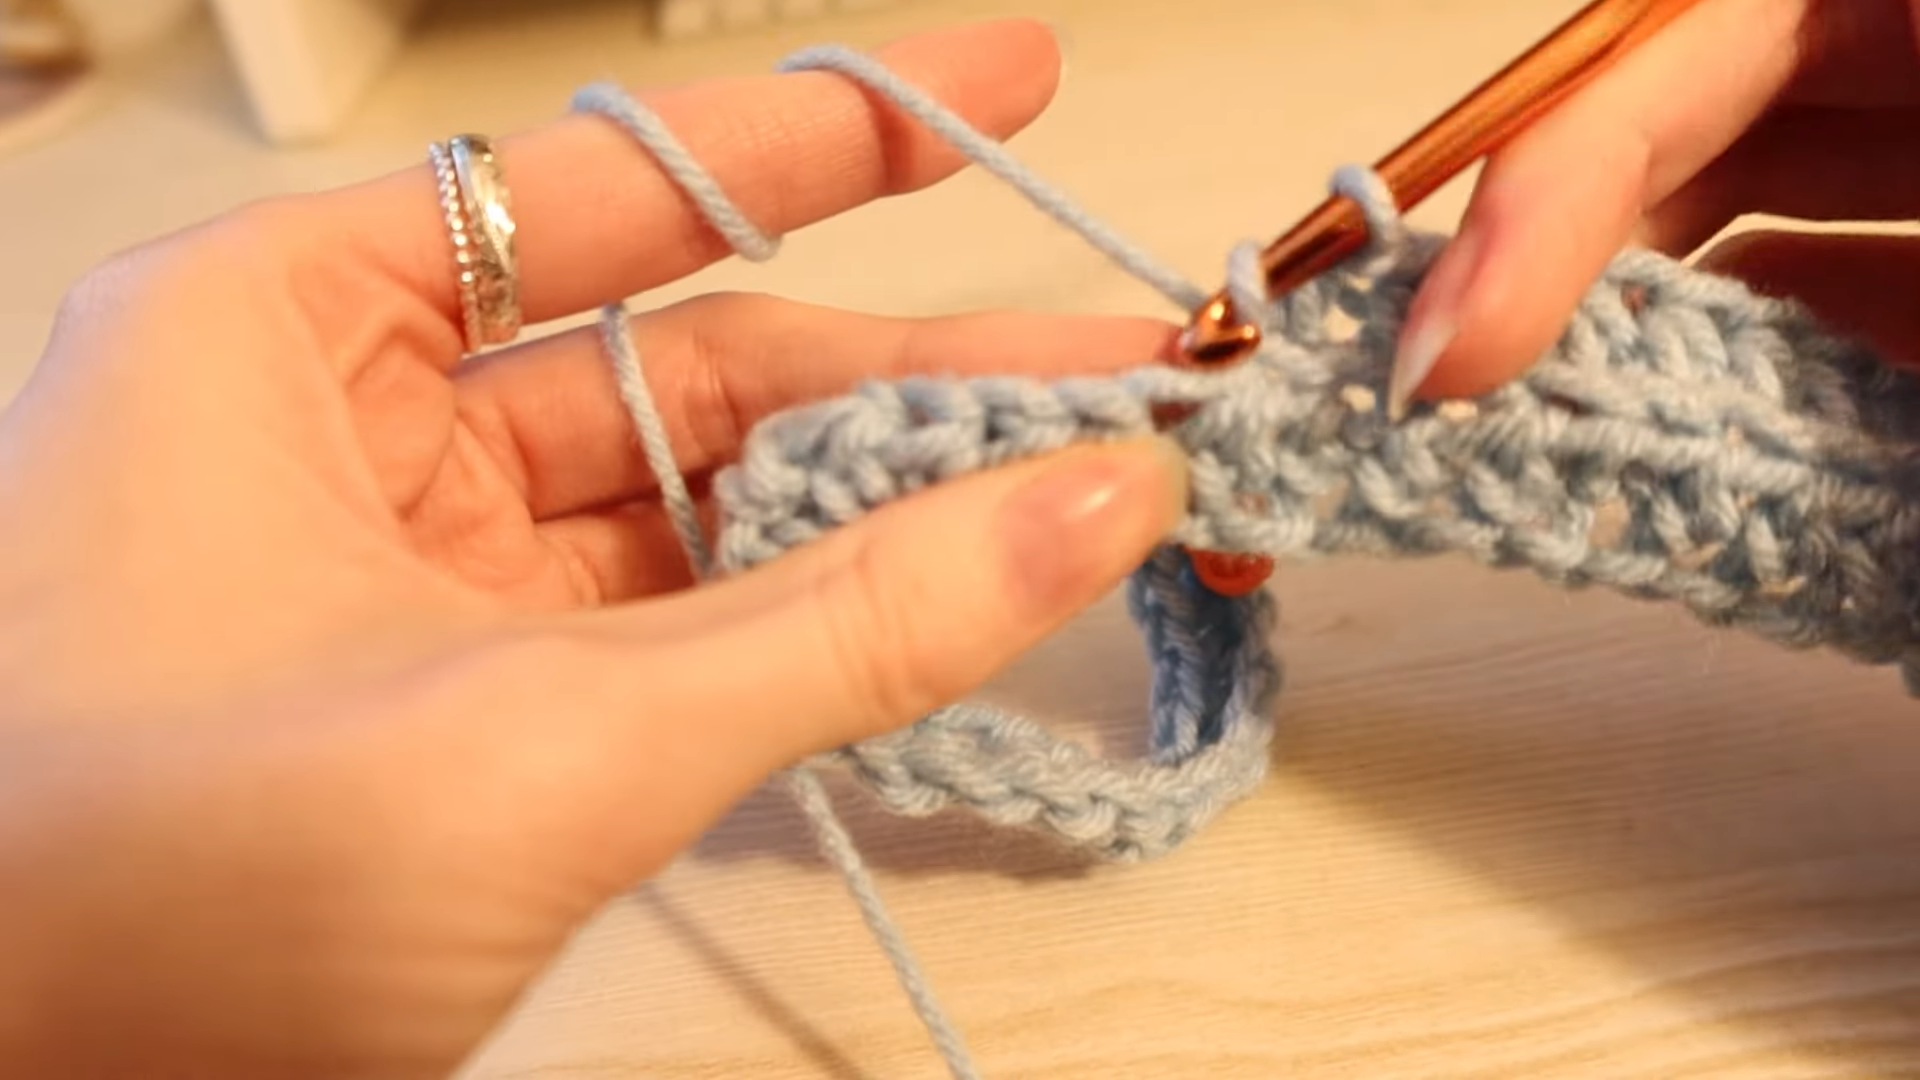
Once the target width is reached, continue in hdc across every row without further increases until the panel reaches the desired length from underarm to hem, checking the flat measurement against the target length for the size being made before moving to the hem.
Step 5: Work the Ribbed Hem
Switch to working hdc in the back loop only for the final 6 rows of the panel, matching the same ribbed technique used at the cuff, to create a matching stretchy border at the hem edge.
Step 6: Repeat for the Second Panel
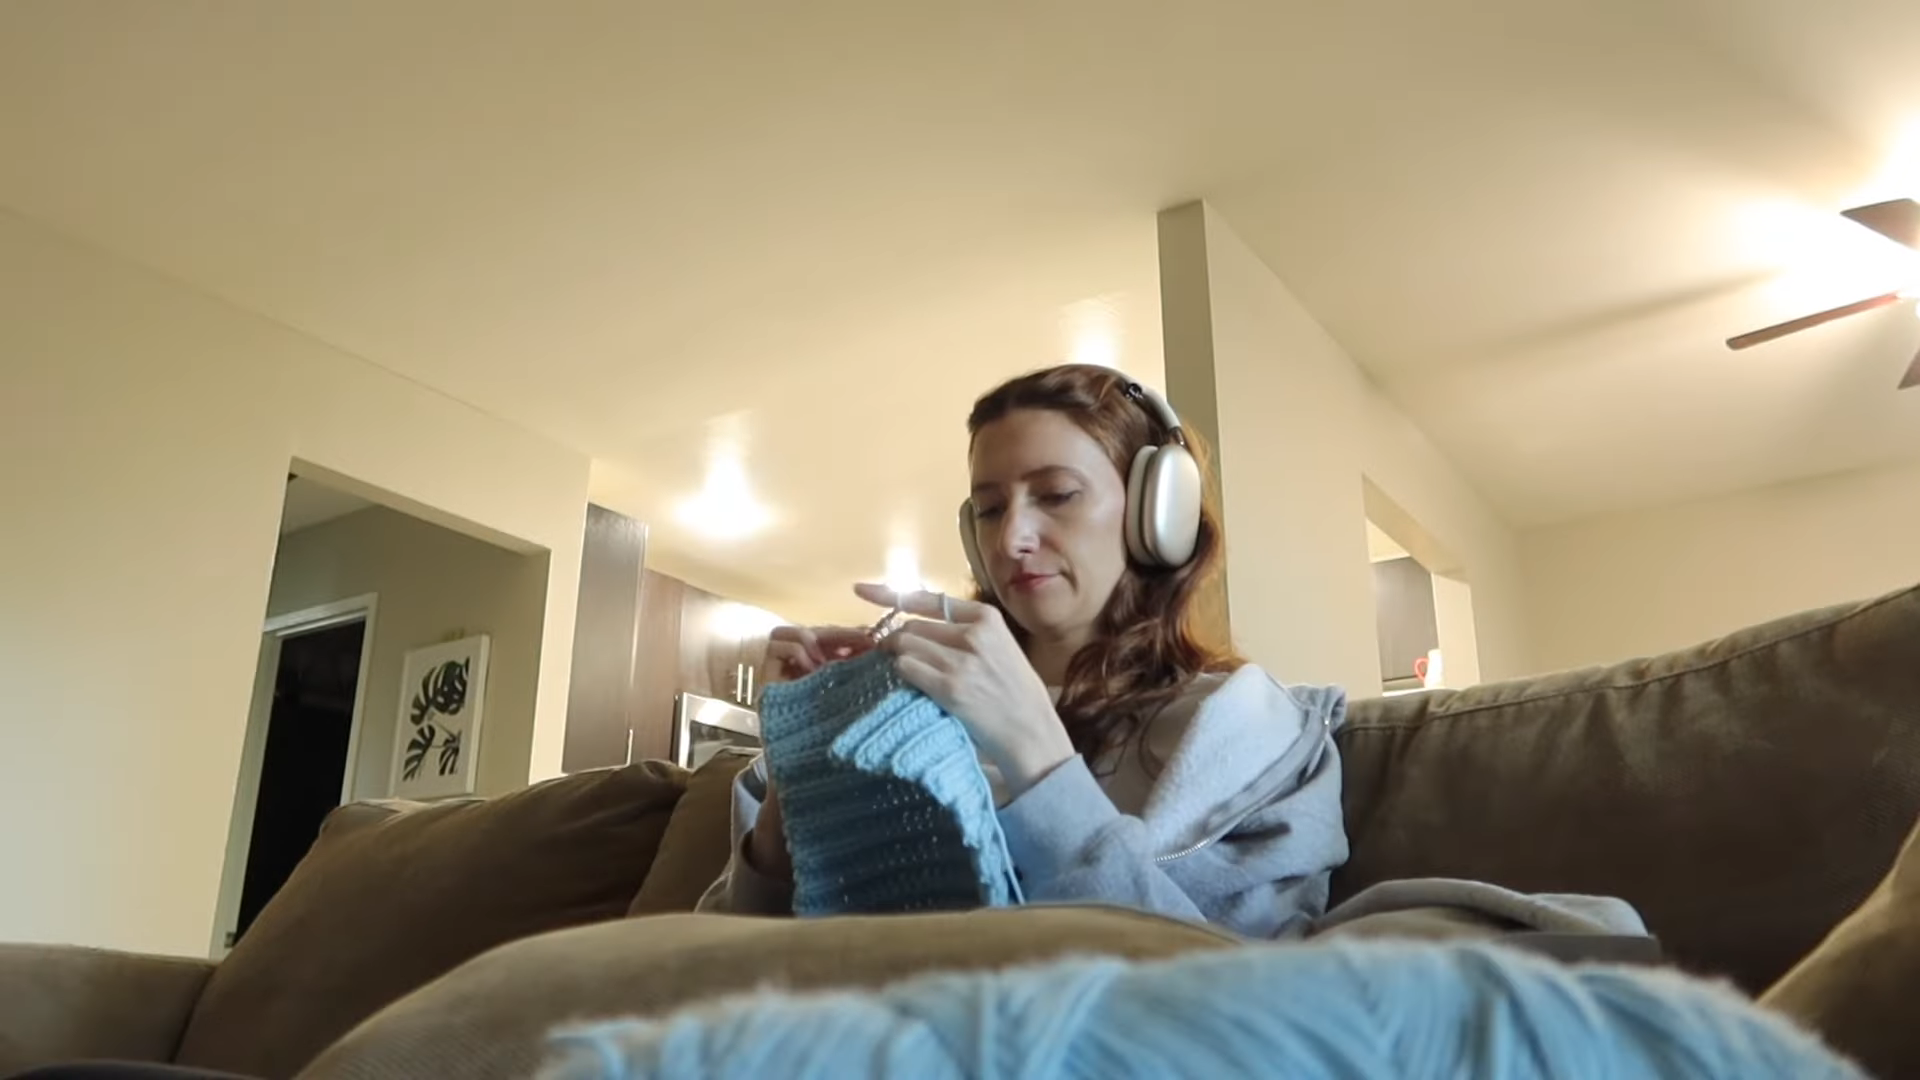
Work a second, mirrored panel following Steps 1 through 5 exactly, tracking row counts from the first panel so both panels finish at matching width and length before seaming.
Stitch Count Checkpoints
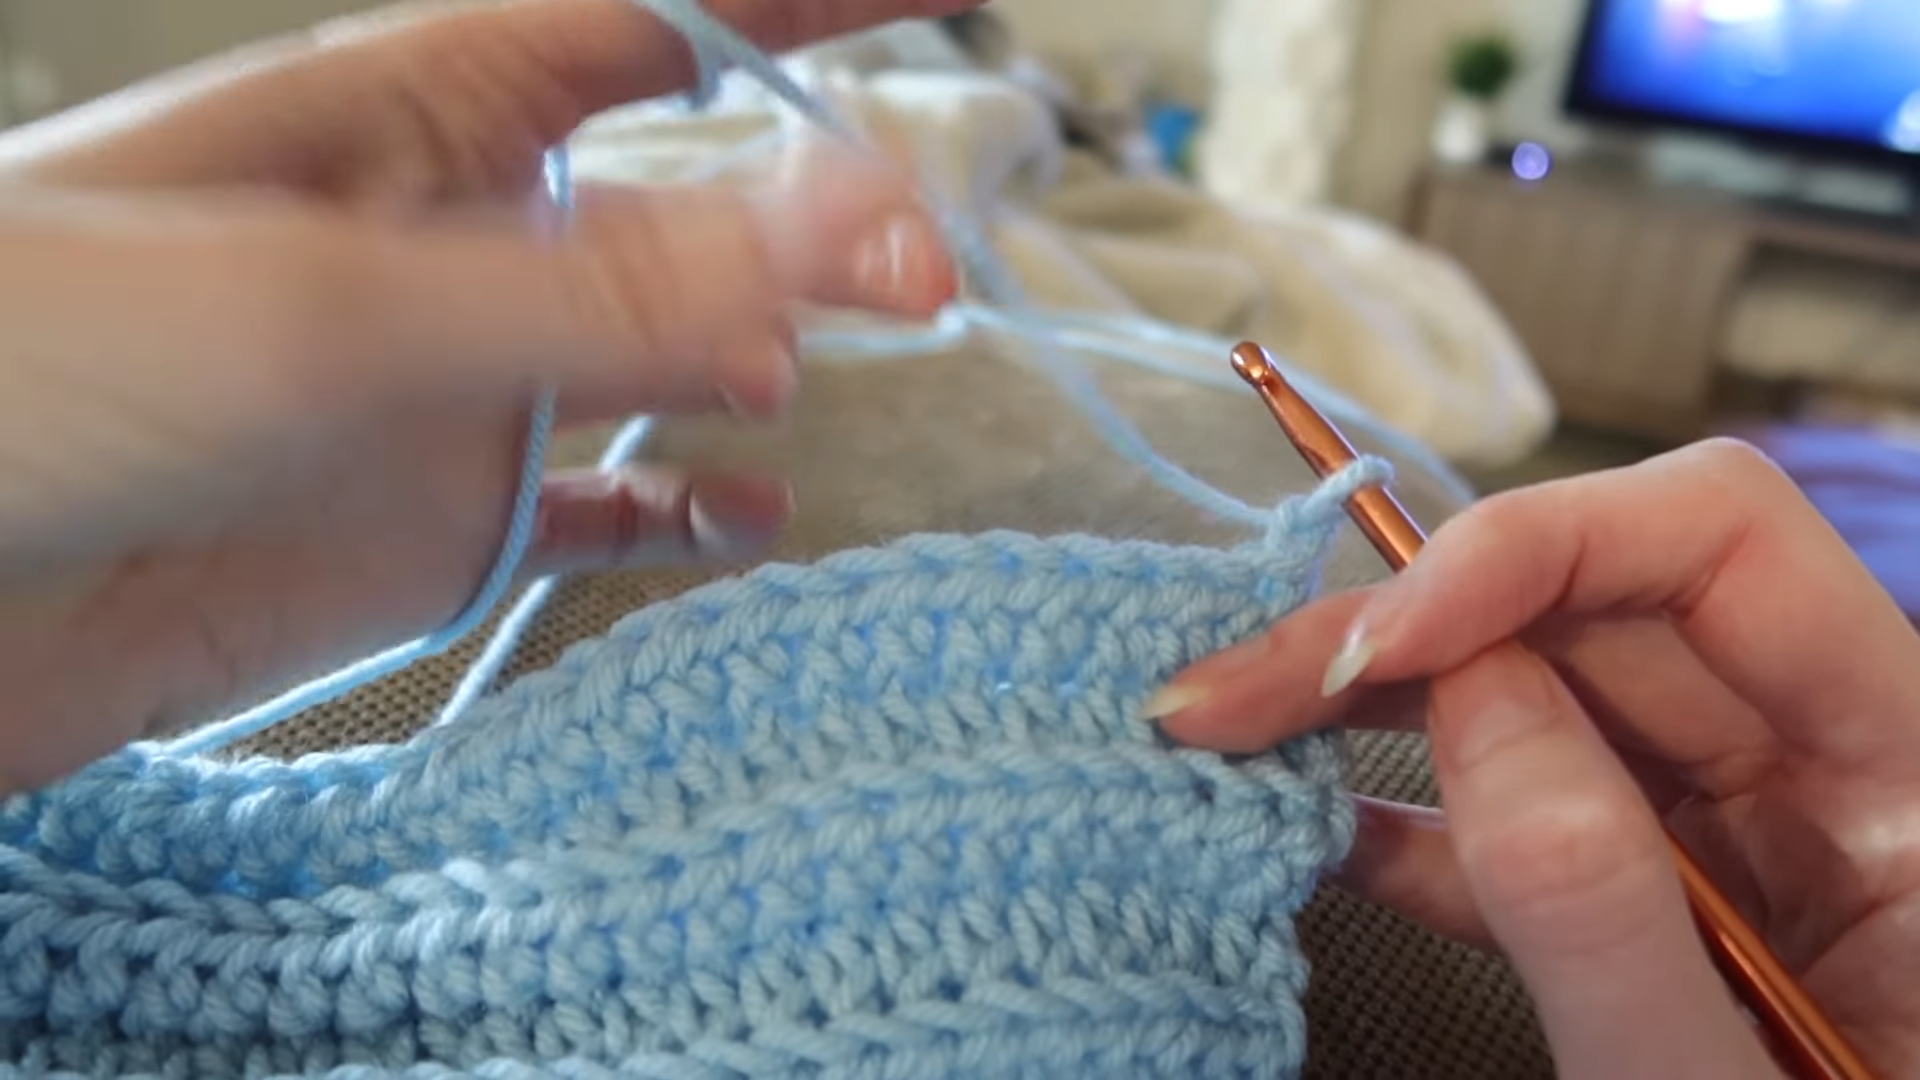
Check the stitch count here after completing the increase rows on the first panel, count stitches across the widest row and compare against the target count (30 sts for S/M, 36 sts for L/XL) before starting the second panel.
Measuring Your Work
Measure the piece here: lay the panel flat without stretching it, and measure straight across at the widest point and top to bottom for length, comparing against the finished measurements for the size being made.
Assembly
- Lay both panels flat, right sides together, matching the underarm and side edges
- Seam from the cuff edge down through the underarm and along the side using mattress stitch
- Leave the top edge of both panels open for the neckline
- Seam a short section at the shoulder on each side, leaving the center open to form the dropped neckline
- Work one round of hdc evenly around the neckline opening, then one round of sl st to finish the edge cleanly
- Weave in all ends along the seam lines where they stay hidden
How to Adjust the Fit
Taking body measurements:
Measure the bust at the fullest point, then compare against the finished bust measurement for each size before choosing.
Comparing body vs. finished measurements
Finished garment measurement equals body measurement plus ease. The S/M size carries roughly 6 to 8 inches of positive ease over an average bust, and the L/XL carries slightly more for a deeper oversized look.
Positive vs. negative ease:
Positive ease, where the finished garment sits larger than the body, creates the slouchy, oversized look the pattern is going for. Too much ease and the neckline slides too far off the shoulder or falls off entirely; too little and it loses the relaxed drape.
How gauge affects final size:
A tighter gauge than 13 stitches per 4 inches produces a smaller finished piece even when the same stitch counts are followed. Adjusting hook size to match gauge works better than adding or removing stitches, since the increases are built around a specific row-by-row count.
Bust/Chest Adjustments:
Add or remove one full increase repeat (2 stitches) at the widest point to size the panel up or down between the two given sizes.
Length Adjustments:
Add or remove rows in the even hdc section between the increases and the ribbed hem; this is the simplest adjustment in the entire pattern.
Sleeve Adjustments:
Because the sleeve and body are worked as one continuous panel, sleeve width is controlled by how many increase rows are worked before switching to the even section; working two or three extra increase rows widens the underarm for a roomier fit.
Try the garment on before continuing once both panels are seamed at the shoulder, but before the neckline trim is added, try it on over the head to check where the neckline sits, and adjust the shoulder seam length if it needs to sit lower or higher.
Yarn Substitution
Swapping yarn weight shifts hook size, yardage, and drape together. A lighter yarn, such as DK or sport weight, needs a smaller hook and drapes more fluidly, but needs more yardage to reach the same finished measurements. A heavier yarn needs fewer yards but produces a bulkier finished look, which can reduce the intended slouchy drape. Re-swatching after any substitution keeps the finished size on target.
Common Mistakes
- Skipping the gauge swatch and ending up with a sweater too stiff to drape properly off the shoulder
- Losing track of increase rows, causing one panel to end up wider than the other
- Making the neckline trim too tight, which pulls the whole top up and off the shoulder
- Seaming the underarm before checking both panels match in width and length
Uses and Benefits
The Off-Shoulder Batwing Sweater works well as a cozy layer at home or a styled piece for a casual outing. Its relaxed fit also forgives small sizing differences that a fitted garment would not. Building the sleeve and body as one panel means fewer seams to match. It also reduces the overall finishing work. This makes the project approachable for anyone building confidence with garment-shaped crochet. The ribbed cuff and hem add stretch where the garment needs it most. Meanwhile, the flat panel construction keeps the project simple, with repetitive rows that are easy to pick up and set down.
Helpful Beginner Tips
- Mark the start of each row with a stitch marker while learning to count increases, then remove markers once counting becomes automatic
- Keep a small notebook or note on the phone tracking row counts for the first panel, since the second panel needs to match exactly
- Block the ribbed sections gently, since aggressive blocking can flatten the ridge texture
- Try the panels against the body before seaming, not just after, to catch length issues early
Where Can You Wear the Free Crochet Off Shoulder Sweater?
- Layered over a fitted camisole for a casual daytime look
- Paired with high-waisted jeans and boots for a relaxed weekend outfit
- Worn over a long-sleeve top in cooler weather, letting the sleeves peek out at the wrist
- Given as a handmade gift for a friend who loves an oversized, cozy silhouette
Why Beginners Will Enjoy the Free Crochet Off Shoulder Sweater
- Only two main stitches used throughout: hdc and the back-loop ribbing variation
- No separate sleeve piece to construct and match to the body afterward
- Forgiving oversized fit that hides small tension differences between panels
- Clear checkpoints built in for measuring and trying on before committing to the next step
Tips and Tricks
- Use a stitch marker to flag the first and last stitch of every increase row, since those are the two stitches most often missed
- Steam-block the finished panels lightly before seaming to relax the stitches and make edges easier to match up
- Seam the underarm first, then the side, to control how the sleeve hangs before locking in the body shape
- Keep the working yarn tension consistent across a sitting, since tension naturally loosens over a long crochet session
Why the Free Crochet Off Shoulder Sweater Is Trending
Oversized, off-shoulder silhouettes have carried over from ready-to-wear fashion into handmade patterns. Crocheters have quickly picked up the trend because this shape hides minor fit imperfections better than a fitted sweater. The cuff-to-body construction also meets a common need among newer garment-makers. It uses fewer separate pieces and seams, creating a simpler path to a wearable finished project.
- Ready-to-wear off-shoulder styles remain popular across current fashion cycles
- Oversized fits continue trending across both knitwear and crochet garment patterns
- Simplified, panel-based construction appeals to crocheters moving from accessories into garments
Personalization Ideas
Add a Contrast Ribbed Trim
Work the cuff and hem ribbing in a contrasting color against the main body yarn for a two-tone look that highlights the ridge texture.
Lengthen Into a Tunic
Add extra even rows before the ribbed hem to bring the length down past the hip for a tunic-style silhouette that pairs well with leggings.
Add a Drawstring Neckline
Work an extra round of chain-1 spaces around the neckline trim and thread a matching or contrasting cord through for an adjustable, cinched neckline.
FAQs
Can this be made in a different yarn weight than the pattern calls for?
Yes, though hook size and gauge need to be re-checked, and yardage needs and finished drape shift along with the yarn weight.
Will the sweater stay up without slipping off the shoulder entirely?
The shoulder seam length controls how far the neckline sits; try it on before finishing the neckline trim. Catch an overly wide neckline early, while it is still easy to adjust.
Can the length be adjusted without disrupting the stitch pattern?
Yes, adding or removing full rows in the even hdc section adjusts length cleanly without affecting the increase shaping or the ribbed sections.
Is the Free Crochet Off Shoulder Sweater a good project for using up stash yarn?
Yes, especially for the ribbed cuff and hem trim worked in a contrasting color, though the main body panel holds up best in a consistent weight throughout for even drape.
Blocking
Wet-block the finished panels before seaming, pinning to the target measurements and easing out any curling at the edges. Let each panel dry fully flat before seaming, since seaming an unblocked panel can pull the finished shape out of alignment.
Washing and Care
Hand wash in cool water and lay flat to dry, reshaping gently while damp to keep the ribbed sections stretchy rather than stretched out of shape.
Conclusion
The Free Crochet Off Shoulder Sweater turns simple stitches into a genuinely wearable, relaxed layer. Its cuff-to-body construction reduces the finishing work required by many garment patterns. The project uses two matching panels, a ribbed cuff and hem, and a simple neckline trim. It suits beginners who can count carefully without requiring advanced shaping skills.