Handmade Crochet Flower Earrings Pattern with floral pendant design
The Handmade Crochet Flower Earrings Pattern with floral pendant design brings a sweet, feminine accessory to life using simple stitches and a handful of beads. This project works up quickly and suits anyone wanting a fresh handmade jewelry piece.
Few accessories combine texture and color quite like these crochet flower earrings. The bell-shaped pendant gives a soft, ruffled silhouette, while beaded strands add movement and shine underneath. These pieces also work beautifully as floral pendant earrings or as playful bell-shaped earrings for everyday wear. Because the pattern only uses basic stitches, it appeals to makers who want a rewarding result without a steep learning curve. The finished pair looks polished, yet the process stays approachable from start to finish.
Purpose: This pattern exists to help crafters create a lightweight, decorative earring pair that pairs handmade texture with beaded detail
What Is This Pattern?
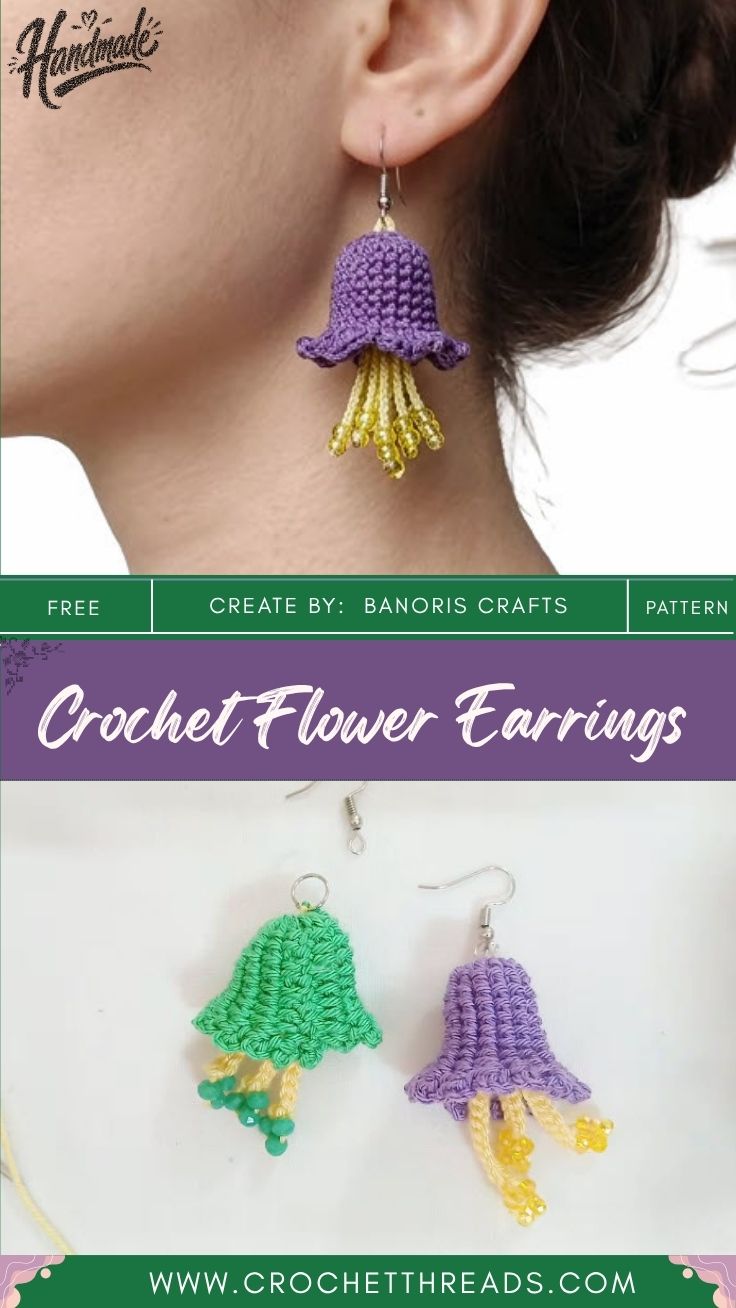
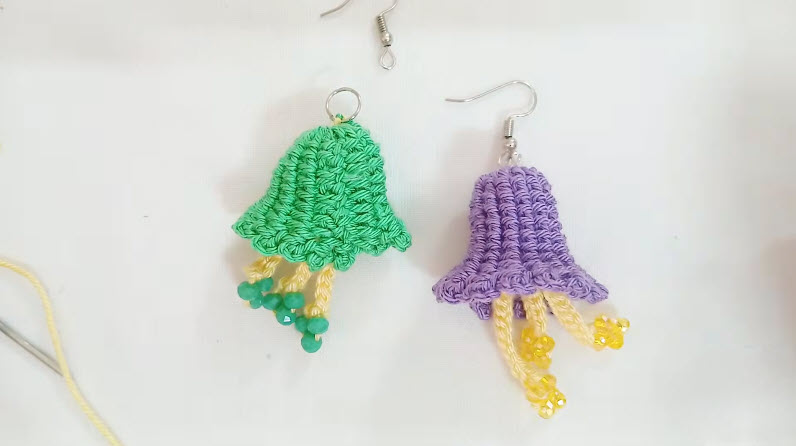
This design produces a pair of small, bell-shaped crochet pendants finished with beaded tassels underneath. Each pendant starts as a tiny ring and grows outward into a ruffled, flower-like cup. Consequently, the final shape resembles a blossom or a tiny bell hanging from an earring hook. Many makers choose this style because it photographs well and suits both casual and dressy outfits. The crochet flower earrings trend has grown alongside a wider interest in handmade, wearable fiber art.
What Do You Need to Make It?
Gathering supplies before starting keeps the process smooth. This pattern typically calls for:
- A small amount of fine crochet thread or cotton yarn in two colors
- A small steel crochet hook (size 1.5mm–2mm works well)
- A yarn needle for weaving in ends
- Small glass or acrylic beads for the fringe
- A pair of earring hooks and jump rings
- Scissors for trimming yarn tails
Since the pieces are small, leftover thread from other projects often works perfectly here.
What Skills Does It Require?
This pattern relies on a short list of core techniques rather than advanced shaping. Crafters should feel comfortable with:
- Starting a foundation ring
- Working single crochet and half double crochet stitches
- Increasing stitches to create a ruffled edge
- Threading beads onto thread before crocheting
- Weaving in ends neatly
Because these skills overlap with many beginner patterns, most crocheters pick this project up without much trouble.
How Long Does It Take?
Each pendant usually takes between 20 and 30 minutes once the stitch pattern feels familiar. Adding the beaded fringe and attaching hardware brings the total time for one pair to roughly an hour. Naturally, beginners may need a bit longer while learning the ruffle technique. Still, the small scale keeps the project from feeling like a long commitment.
What’s the Process Like?
The process below follows each stage exactly as shown, moving from the very first stitch to the finished pair of pendants.
Step 1: Start the foundation ring.
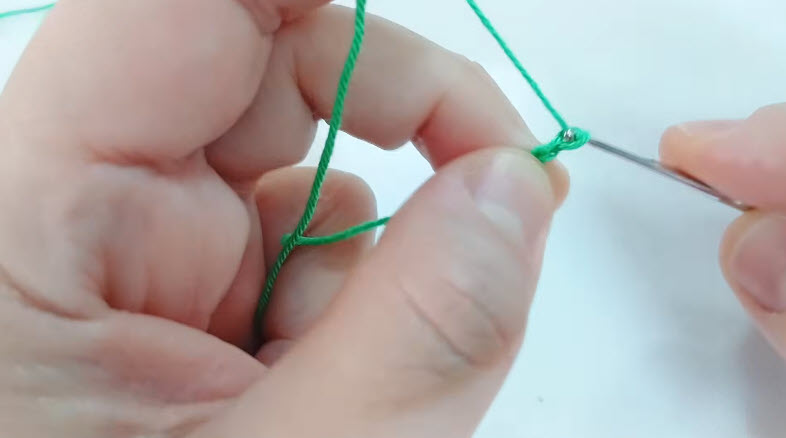
Begin by forming a slip knot near the end of the working thread, then place it onto the crochet hook. Hold the short tail firmly between the thumb and forefinger, using the other fingers to guide tension along the working strand. This grip keeps the starting loop stable while the very first stitches are worked, which matters since the whole pendant builds outward from this tiny anchor point.
Step 2: Work the first round of stitches.
Once the ring feels secure, begin working small, tight stitches directly around the starting loop. Keep pulling each stitch snug against the last so the circle stays compact rather than loose or gappy. This first cluster of stitches forms the base core, and its firmness later determines how neatly the ruffled rounds sit above it.
Step 3: Build the ruffled strip.
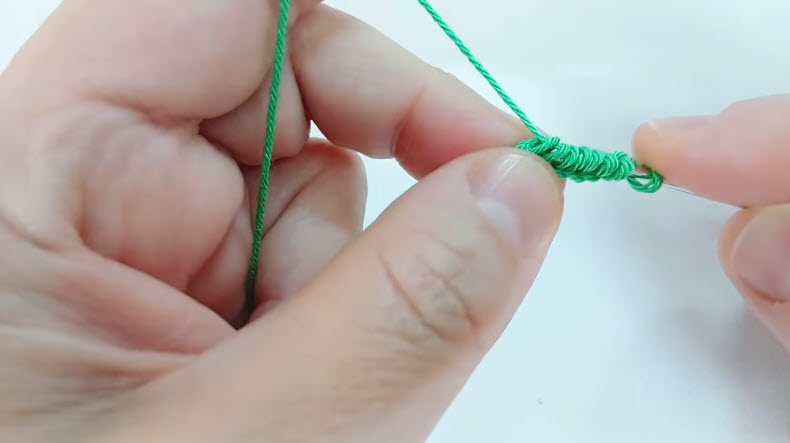
From the base ring, continue crocheting outward in consistent rows, letting the fabric extend into a fan-like strip rather than a flat circle. As the rows build, the strip should start curving naturally along one edge. This curve becomes the foundation of the bell shape, so keeping stitch height even across the row helps the curve form smoothly instead of twisting to one side.
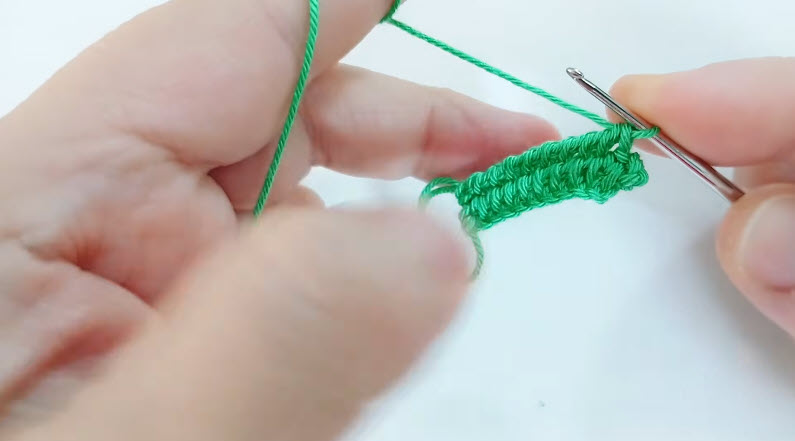
Step 4: Shape the scalloped edge.
Work increase stitches along the outer edge of the strip, adding extra stitches into the same points so the fabric ruffles and fans outward. Continue this increase pattern evenly across the row until the scalloped, wave-like edge looks full on all sides. Once the ruffle looks even, trim the working yarn, leaving a tail long enough to weave in or use later for shaping.
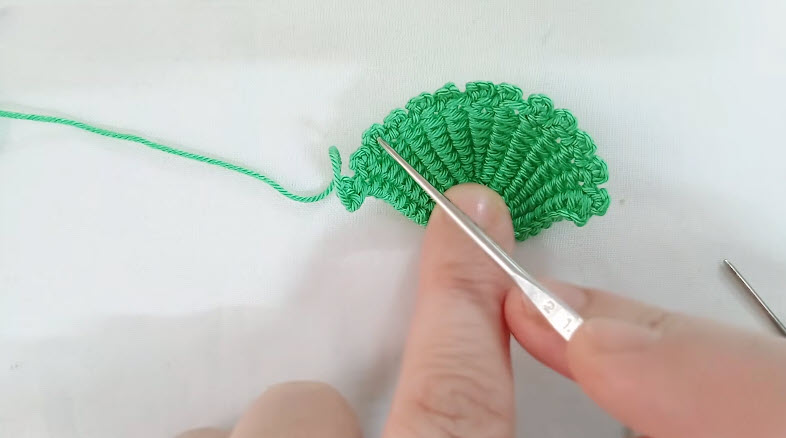
Step 5: Finish the top of the bell.
Thread the leftover yarn tail onto a yarn needle, then pass the needle through the top row of stitches where the piece narrows into a point. Pull gently to draw those stitches together, closing the top of the cup and forming the peak where the earring hardware will eventually attach. This step gives the pendant its rounded, bell-like silhouette from above.
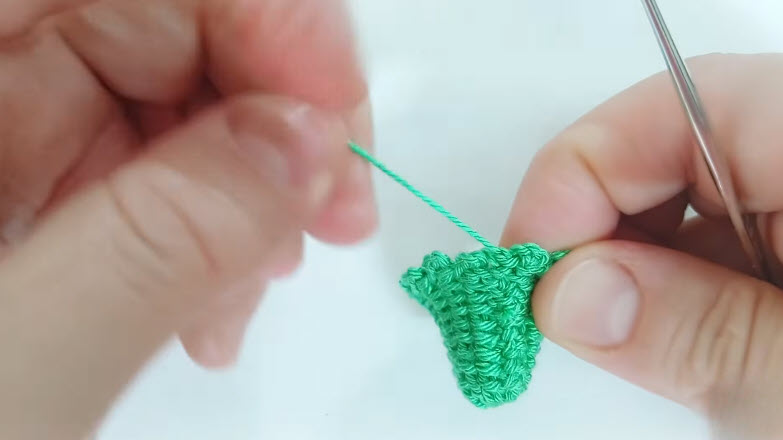
Step 6: Attach the beaded fringe.
String a small number of beads onto the yarn tail hanging beneath the pendant, spacing them evenly along the strand. Once the beads sit in place, tie a secure knot below the last bead so nothing slips loose. Repeat this on each hanging strand until the fringe hangs evenly beneath the bell shape, adding movement and shine to the finished piece.
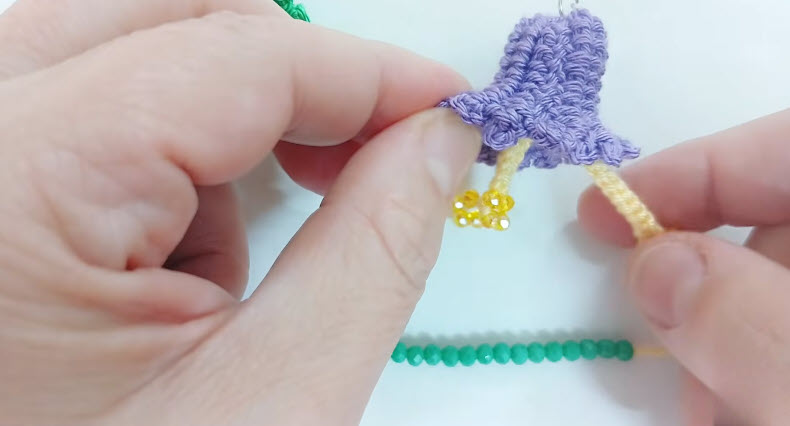
In closing
This floral pendant pattern offers a rewarding mix of simple stitches, playful color, and beaded charm. Whether crafted as a personal accessory or a handmade gift, this Crochet Flower Earrings Pattern delivers a polished result without demanding advanced skill. Trying this pattern often leads to experimenting with new colors and bead combinations down the line.