Festive Crochet Christmas Tree – Free Amigurumi Pattern
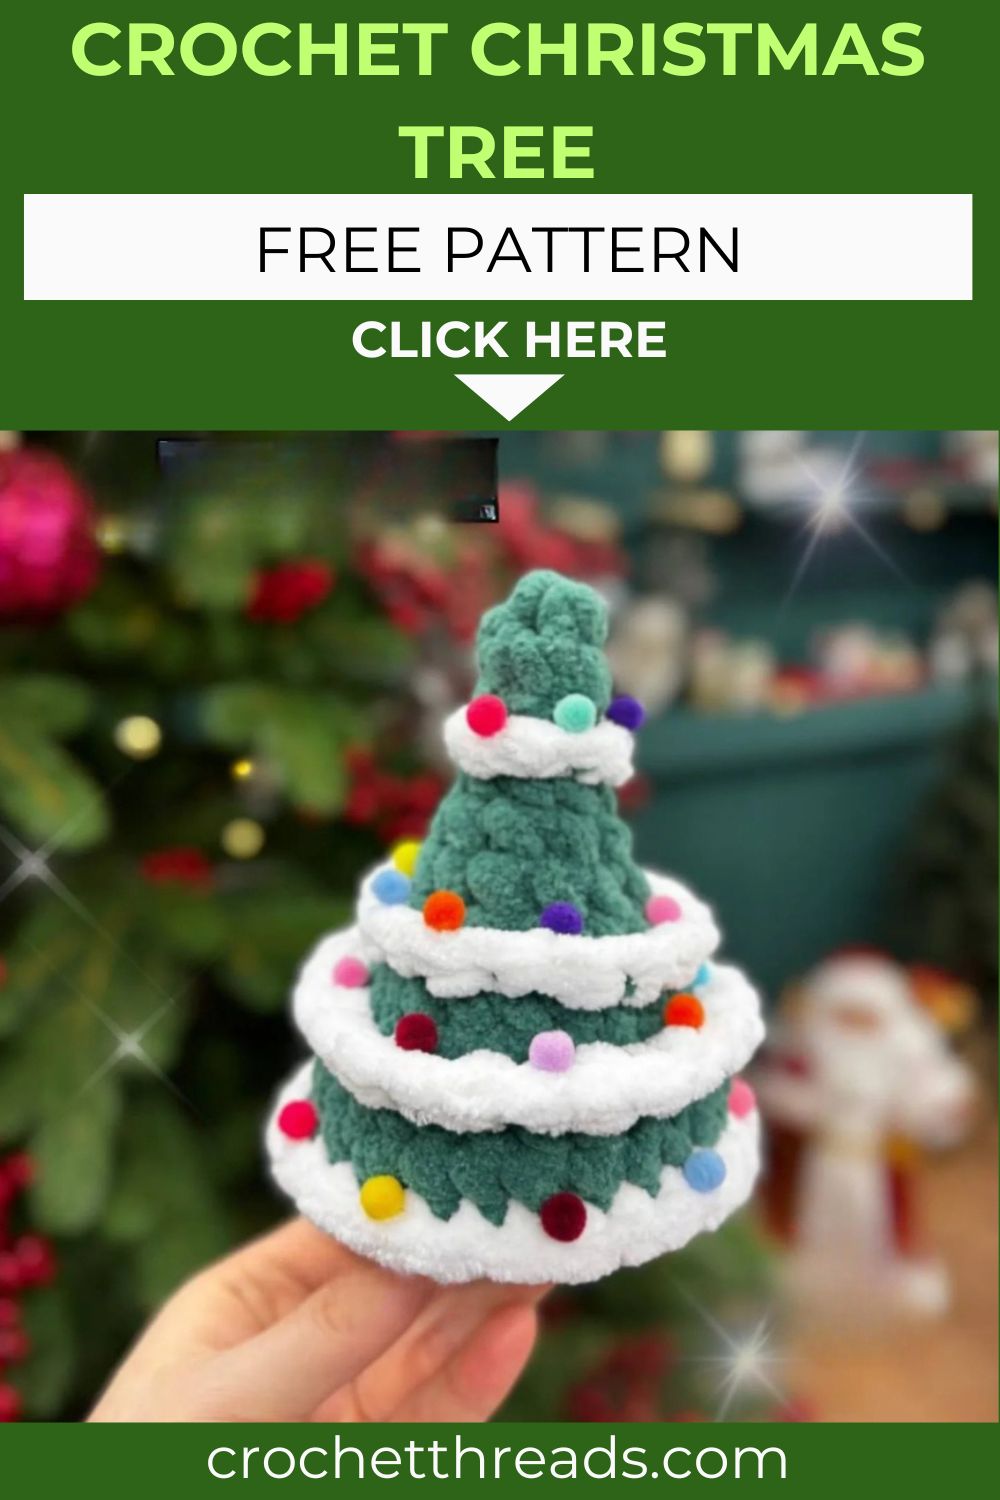
Soft green chenille shaped into a cone, finished with sparkling white tinsel rounds, this little crochet tree is the coziest holiday decoration you will ever make!
Worked entirely in jumbo chenille yarn, this little tree comes together with surprising speed thanks to the chunky 7mm hook and simple shaping rounds. The clever back-loop-only construction at key rounds leaves a visible front-loop ridge exactly where it is needed, creating the perfect foundation for the tinsel detail. A sturdy brown base keeps the finished tree standing upright, while three rows of white tinsel worked directly into the saved front loops bring genuine holiday sparkle without any separate embellishments. Whether displayed on a shelf, used as a festive table centerpiece, or gifted alongside other handmade holiday pieces, this tree captures the spirit of the season in every round.

Skill Level
Advanced beginner to intermediate. Basic crochet skills are needed throughout, including magic ring, single crochet, slip stitch, increase, and decrease. Additionally, basic sewing knowledge is needed for assembly, along with the ability to complete a single crochet color change.
Materials You Will Need
Yarn Alize Velluto jumbo chenille:
- Green for the tree body
- Brown for the tree base
- White for the tinsel detail
Other Supplies:
- Crochet hook — 7.0mm
- Yarn needle
- Hollow fiber polyfill stuffing
- Stitch marker
Important: This pattern is worked in continuous rounds. Use a stitch marker at the beginning of every round to track your progress accurately.
Abbreviations
- MR — Magic Ring
- CH — Chain
- ST — Stitch
- SLST — Slip Stitch
- SC — Single Crochet
- DEC — Decrease
- INC — Increase (2 sc in one stitch)
- HDC — Half Double Crochet
- R — Round
- BTW — Between
- (…) — Repeat the instructions in parentheses
- (x…) — Repeat the instructions the number of times shown
- FO — Fasten Off
Pattern: Tree
Starting with green yarn
R1: 4 sc in MR (4) R2: (sc, inc) x2 (6) R3: 6 sc around (6)
R4 BLO: (2sc, inc) x2 (8)
This round is worked in back loops only. Place a stitch marker on the last front loop of this round — these saved front loops will be used later for the tinsel detail.
R5: (3sc, inc) x2 (10) R6: (4sc, inc) x2 (12) R7: (2sc, inc) x4 (16)
R8 BLO: (7sc, inc) x2 (18)
Mark the last front loop of this round as well, just as you did at R4.
R9: (2sc, inc) x6 (24)
R10 BLO: (11sc, inc) x2 (26)
Mark the last front loop of this round to complete your set of three tinsel rows.
R11: (12sc, inc) x2 (28)
Stuff the tree firmly. Cut the yarn and fasten off.
Pattern: Tree Base
Starting with brown yarn
R1: 8 sc in MR (8) R2: 8 inc (16) R3: (sc, inc) x8 (24) R4: (11sc, 3 sc in one st) x2 (28)
Cut the yarn and fasten off. Sew the base onto the bottom of the tree to keep it stable and upright.
Pattern: Tinsel
Tinsel Row 1 Worked into R10
Take white yarn and attach it with a slst to the first marked front loop of R10. Continue crocheting around, working (sc, hdc) into each stitch to the end of the round. You should complete 11 repeats with one stitch remaining. Work a single sc into that final stitch.
Cut the yarn, tie the ends in a secure knot, and hide them inside the tree.
Tinsel Row 2 Worked into R8
Repeat the same technique used for R10, attaching white yarn to the marked front loop of R8 and working (sc, hdc) around.
Tinsel Row 3 Worked into R4
Take white yarn and attach it with a slst to the first marked front loop of R4. Continue crocheting sc around until the end of the round, keeping your tension relatively loose rather than tight. This bottom tinsel row uses a simpler sc-only construction since it sits closer to the base and benefits from a softer, looser drape.
Customization and Variation Ideas
- First, swap the white tinsel for gold or silver metallic yarn for a more glamorous, sparkling finished tree that catches light beautifully under holiday lighting.
- Additionally, use a deep blue or red yarn for the body instead of green for a completely different but equally festive seasonal color scheme.
- Moreover, add tiny crocheted ornament balls in red, gold, and silver scattered across the tree body for an even more decorated, dimensional finished piece.
- Furthermore, attach a small crocheted star or simple yarn pompom to the very top of the tree for a classic finishing touch above the final round.
- Also, make a set of three trees in graduating sizes using different hook sizes and yarn weights for a charming forest display on a mantel or shelf.
- Finally, embroider small white snow dots across the green sections between the tinsel rows for an extra wintery, snow-dusted appearance.
Common Mistakes to Avoid
- First, forgetting to mark the front loops at R4, R8, and R10: These markers are essential for finding the correct starting point for each tinsel row later. Skipping this step makes locating the right loops significantly more difficult once the tree shape is complete.
- Additionally, working R4, R8, and R10 in both loops instead of back loops only: These three rounds specifically require BLO construction. Working both loops removes the front loop ridge needed for attaching tinsel cleanly.
- Also, pulling the bottom tinsel row too tightly: The instructions specifically note this row should not be worked tightly. Excess tension here causes the tree base to pucker inward rather than sit smooth and even.
- Furthermore, miscounting the (sc, hdc) repeats: Each tinsel row requires exactly 11 repeats with one stitch remaining. Losing count partway through results in an uneven tinsel pattern that doesn’t align symmetrically around the tree.
- Moreover, stuffing the tree before completing all rounds: Wait until R11 is finished before adding final stuffing. Stuffing too early makes it difficult to maintain the gradual cone shape through the increasing rounds.
- Finally, attaching the base loosely: The brown base needs a secure, all-around stitch attachment to keep the finished tree standing upright without wobbling or tipping.
Finishing Tips
- First, when sewing the base onto the tree body, work slowly around the entire circumference and check that the tree sits level and balanced before securing the final stitches.
- Additionally, after completing each tinsel row, gently fluff and separate the stitches with your fingers. Chenille yarn naturally has a soft texture that benefits from a light shaping pass after construction.
- Moreover, knot and hide tinsel yarn ends carefully inside the tree body rather than on the surface. Hidden ends keep the finished piece looking clean and professional from every angle.
- Furthermore, use a slightly looser tension throughout the bottom tinsel row compared to the upper two rows. This creates a natural visual progression where the tree appears fuller near the base.
- Also, photograph the finished tree against a warm wooden surface or beside soft holiday string lights for the most cozy, festive presentation possible.
- Finally, allow the chenille yarn to settle for a day after stuffing before final styling. Jumbo chenille can shift slightly as the stuffing distributes evenly within the first 24 hours.
Gifting Ideas
- First, place the finished tree on a small wooden base or in a decorative pot for a complete tabletop holiday display that needs no additional staging.
- Additionally, pair the tree with a small handmade ornament or ribbon bow attached to the top for an extra personalized festive touch.
- Moreover, these little trees make wonderful teacher and coworker gifts during the holiday season, offering a handmade alternative to typical seasonal gift options.
- Furthermore, make a matching set of three different-sized trees and gift them together as a complete handmade holiday forest for a mantel or windowsill.
- Also, attach a small handwritten tag noting the yarn brand and colors used for crafting, for friends who appreciate knowing the materials behind a handmade gift.
- Finally, these trees sell exceptionally well at winter craft markets, where their quick construction time and chunky chenille texture create an eye-catching display piece that customers can take home the same day.
Conclusion
This festive little Christmas tree proves that chunky jumbo yarn and simple shaping rounds can produce a genuinely charming holiday decoration in a relatively short amount of time. The back loop only technique at three key rounds is the heart of this entire pattern, creating the perfect foundation for tinsel without any complicated embellishment work. Therefore, mark your front loops carefully at R4, R8, and R10, keep your bottom tinsel row relaxed, and take your time attaching the base for a tree that stands proud and steady. In conclusion, this little tree is ready to bring handmade warmth to your holiday season.