Free Crochet Nigiri Sushi Amigurumi Pattern for Beginner
Overview
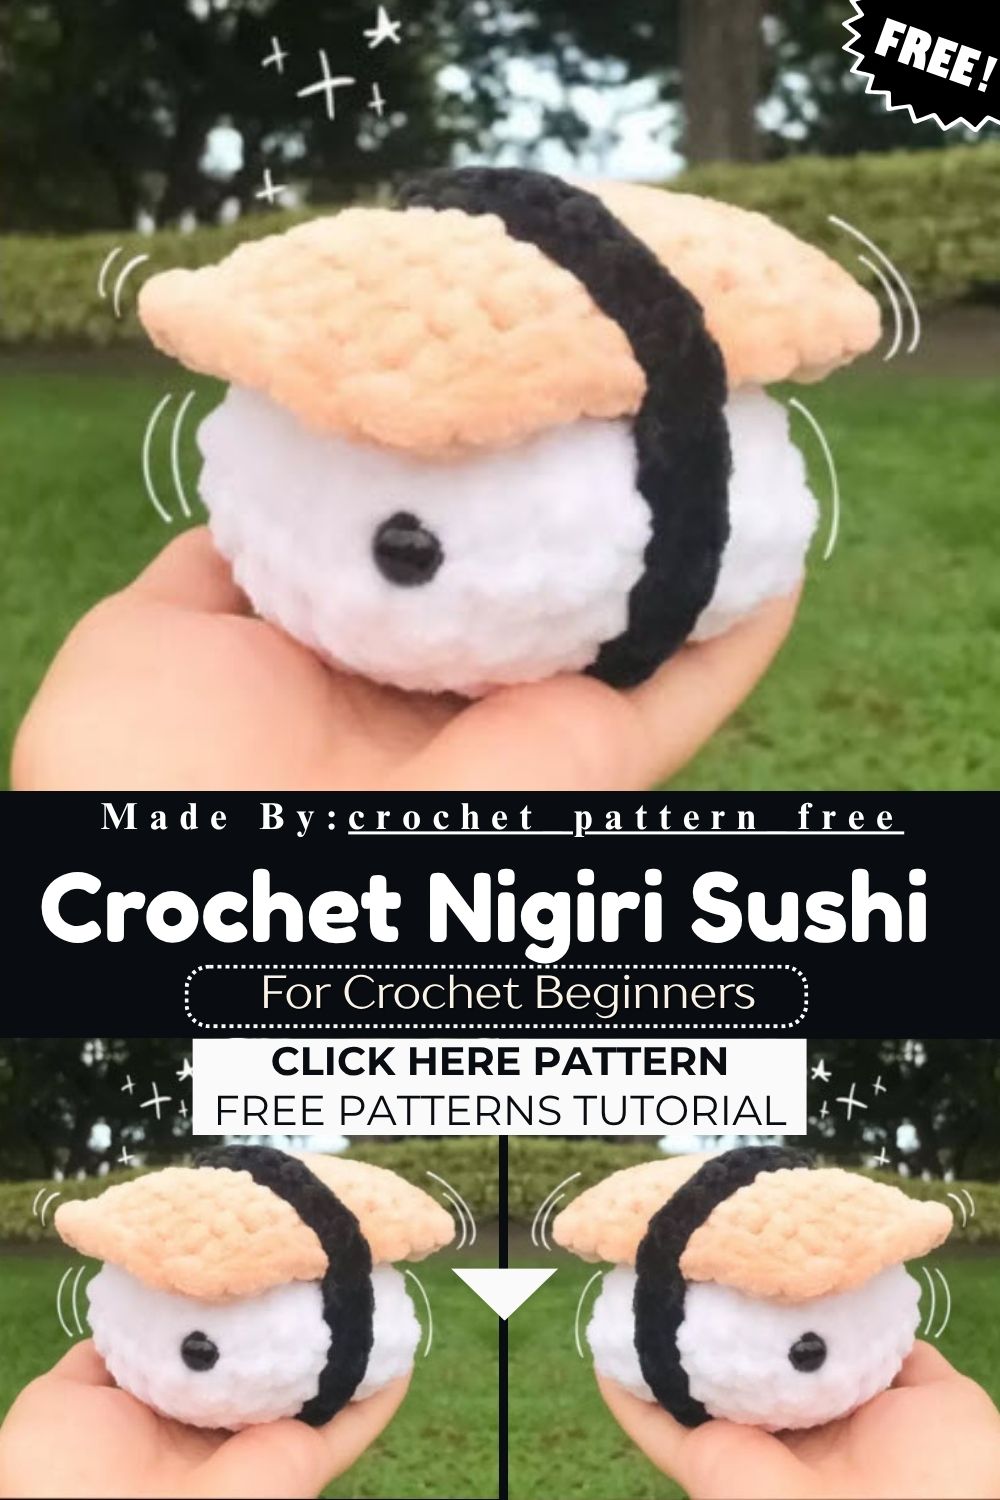
This pattern breaks the sushi piece into three separate parts: a fluffy white rice base, a black nori wrap, and an orange salmon topper. Each piece is worked in continuous rounds, so there’s no joining or turning to worry about. Once all three sections are stuffed and assembled, they slot together into one adorable mini sushi plush that looks straight out of a bento box.
Because the pieces are small and quick to finish, this project makes a great palate cleanser between bigger crochet projects. It’s also a fun way to practice amigurumi shaping without committing to a huge pattern.
Skill Level
This Free Crochet Nigiri Sushi pattern suits confident beginners who already know single crochet, increases, and decreases. No joke, if you’ve made a basic amigurumi ball before, this project will feel familiar. New crocheters can still follow along with a little patience and a stitch marker.
Materials You’ll Need
- Worsted or baby weight yarn in white, black, and orange (Hobbii Baby Snuggle works beautifully here)
- A crochet hook sized to match your yarn — a 6.0mm hook is a solid starting point
- Safety eyes around 7.0mm, or slightly smaller depending on your finished size
- Polyester stuffing for a soft, huggable fill
- Tapestry needle for sewing pieces together and weaving in ends
- Stitch marker to track the start of each round
Rice Section
The rice piece forms the soft, rounded base of the sushi and is worked entirely in white yarn.
Round 1: Chain 8. Round 2: Starting in the second chain from the hook, single crochet 6, increase once, single crochet 5, increase once. (15 stitches) Round 3: Alternate single crochet and increase seven times, then single crochet once more. (22 stitches) Rounds 4–10: Single crochet in every stitch around. (22 stitches) Round 11: Alternate single crochet once and decrease once, repeating seven times, then single crochet once. (15 stitches)
Fasten off once round 11 is complete. Don’t stress about the small opening left behind it closes up neatly during finishing.
Place the safety eyes wherever feels right for your design. Many crocheters like to tuck them into the “corners” of the shape, roughly between rounds 2 and 3. Stuff the piece firmly at this stage, but hold back from overstuffing, since that can distort the rounded shape.
To seal the opening, thread a tapestry needle and stitch the hole closed. Since the fasten-off point sits at one corner, simply run the needle back and forth between the parallel stitches until the gap disappears. Fasten off again and weave in the loose end.
Nori Wrap Section
The nori strip is the black band that wraps snugly around the rice and salmon pieces, giving the sushi its signature look.
Round 1: Chain 25. Round 2: Starting in the second chain from the hook, single crochet 24 stitches back across the row.
Once the strip is complete, sew both short ends together to form a closed band. Keep in mind that the starting chain length can vary slightly depending on your yarn weight, so feel free to adjust the stitch count up or down. The goal is a snug fit around both the rice and salmon sections, similar to how real nori wraps around sushi.
Salmon Topper Section
The salmon topper sits on top of the rice and adds that classic orange sushi color.
Round 1: Chain 8. Round 2: Starting in the second chain from the hook, single crochet 6, increase once, single crochet 5, increase once. (15 stitches) Rounds 3–9: Single crochet around. (15 stitches)
Unlike the rice piece, this section gets closed differently. Instead of sewing the opening shut, single crochet the hole closed directly. Once it’s fully closed, don’t fasten off yet;keep single crocheting around the edge to create a clean, even border. Once you’re happy with the edge, fasten off and weave in the end.
Assembly Instructions
- Wrap the finished nori band around the middle of the rice piece, positioning it so the rice peeks out on both sides.
- Sew the nori band lightly in place using small, invisible stitches so it doesn’t shift during play or display.
- Set the salmon topper on top of the rice and nori, centering it so the edges line up evenly.
- Stitch the salmon piece down along its edge, keeping stitches small and close together for a secure hold.
- Weave in any remaining yarn tails and give the finished piece a gentle shape with your fingers.
Usage Ideas
- Display a trio of finished nigiri pieces on a shelf as playful kitchen decor.
- Turn a few pieces into a soft, huggable play-food set for toddlers.
- Attach a keychain clip to one piece for a fun, portable accessory.
- Bundle several sushi pieces into a handmade gift box for a foodie friend.
Helpful Tips
Working with smaller amigurumi pieces takes a bit of extra care compared to larger projects. Using a stitch marker at the start of each round saves a lot of frustration later, since it’s easy to lose track when the rounds are this short. Low-key, this is the kind of project where a good light source and a comfortable chair make a real difference too.
Choosing a hook one size smaller than the yarn label suggests usually creates a tighter fabric, which keeps stuffing from peeking through the stitches. If gaps still show up after stuffing, switching to a slightly smaller hook almost always solves it.
Customization and Variations
- Swap the orange yarn for pink to make a tuna-style topper instead of salmon.
- Add a thin strip of yellow yarn for an egg (tamago) version of the topping.
- Use a variegated white yarn to mimic the natural texture of packed rice.
- Make a mini keychain version by scaling the pattern down with thinner yarn and a smaller hook.
Common Mistakes to Avoid
- Overstuffing the rice section, which can pull the rounds out of shape and make it look lumpy.
- Skipping the stitch marker, which often leads to losing track of the round and miscounting stitches.
- Making the nori band too tight, which can squeeze the rice piece and change its shape.
- Rushing the final border on the salmon piece, which leaves an uneven, wavy edge.
Finishing Tips
Before calling the project done, check that all yarn tails are woven in securely so they won’t unravel with handling. Real talk, a quick trim of any stray fuzz along the edges makes the whole piece look noticeably more polished. Gently steaming the finished sushi piece can also help relax the stitches and even out its shape.
Gifting Ideas
A set of three or four finished nigiri pieces makes a thoughtful handmade gift for anyone who loves sushi or quirky food-themed decor. Pair them with a small wooden tray or a mini gift box lined with tissue paper for an adorable presentation. They also work well as stocking stuffers or as a fun addition to a foodie-themed care package.
Frequently Asked Questions
Can I use cotton yarn instead of acrylic for this pattern?
Yes, cotton yarn works fine, though it tends to be stiffer and may require a slightly larger hook to keep the fabric from feeling too dense.
How big will the finished sushi piece be?
Using the materials and hook size listed here, the finished piece measures roughly two to three inches across, though gauge and yarn thickness can shift that slightly.
Do I need safety eyes for this Free Crochet Nigiri Sushi pattern?
Safety eyes are optional and mainly add a playful, character-like touch. Skipping them keeps the sushi looking more realistic if that’s the style you’re after.
Can beginners really finish this pattern in one sitting?
For real, most confident beginners can finish all three pieces in one to two hours, especially once the increase and decrease pattern starts to feel familiar.
Conclusion
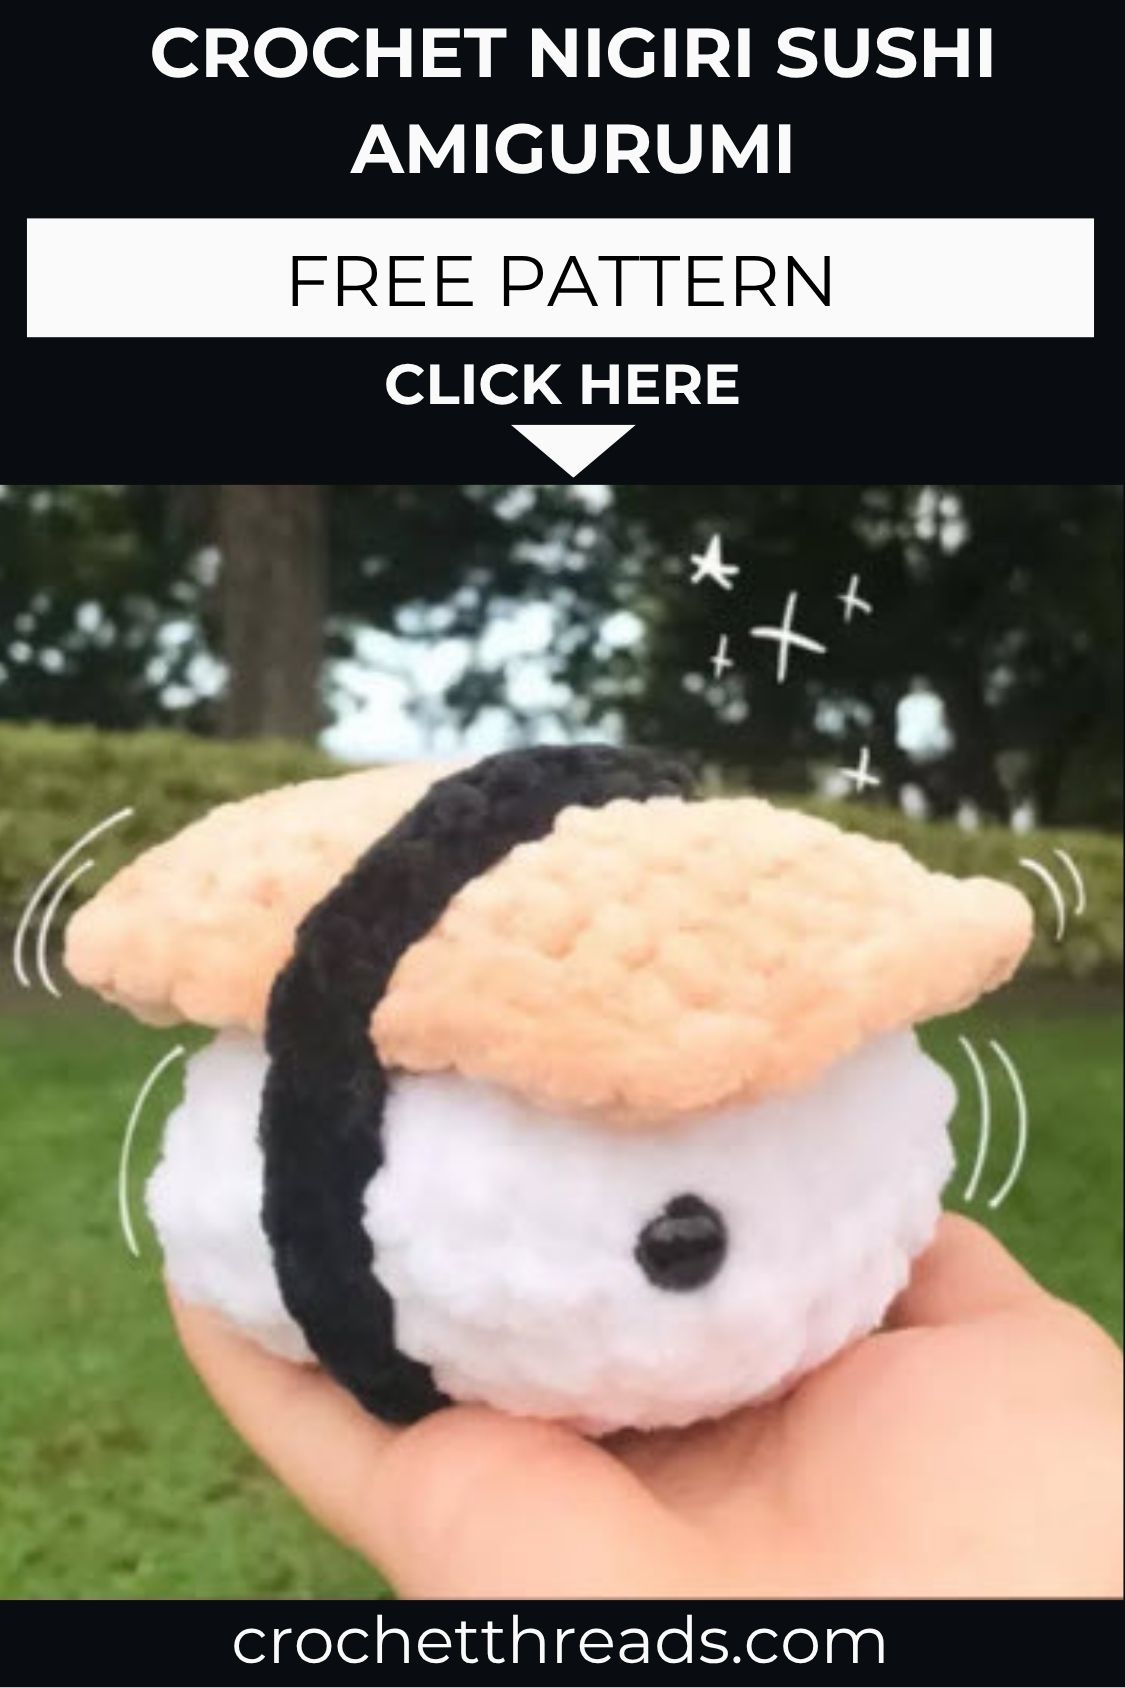
This free crochet nigiri sushi amigurumi pattern proves that small projects can still pack in plenty of charm and skill-building practice. Between the rounded rice base, the snug nori wrap, and the neatly finished salmon topper, there’s a nice mix of techniques packed into one quick make. Ngl, it’s the kind of pattern that’s easy to fall in love with after just one piece. Whether it becomes a shelf decoration, a gift, or the start of a full sushi platter collection, this pattern delivers a satisfying result without demanding hours of work.