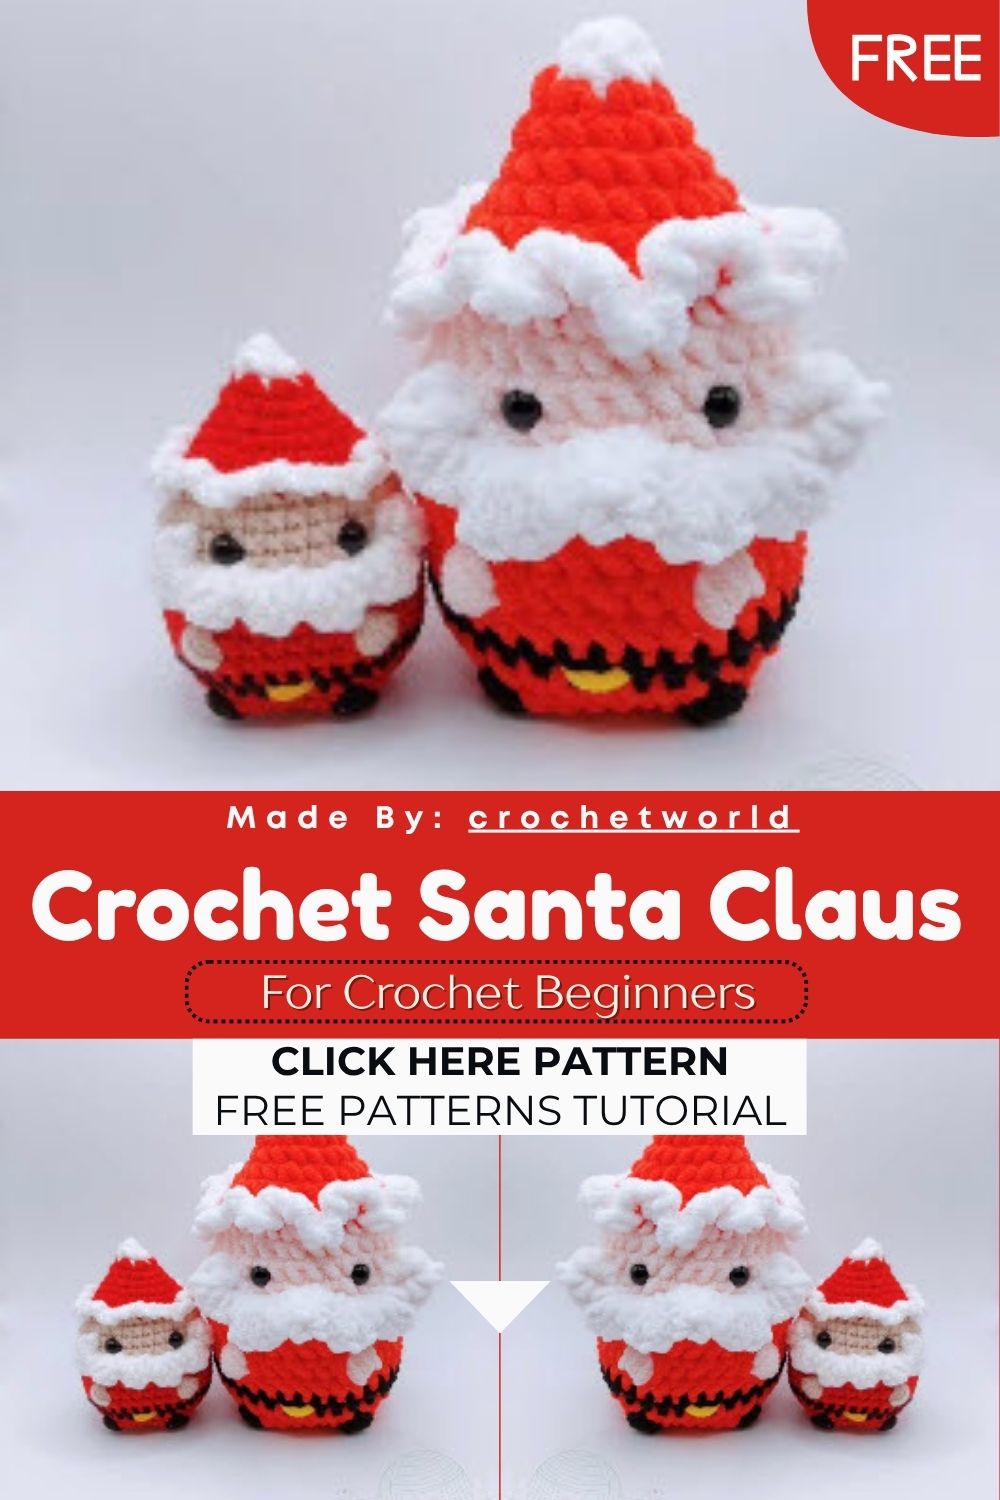
Free Crochet Santa Claus Christmas Amigurumi Pattern
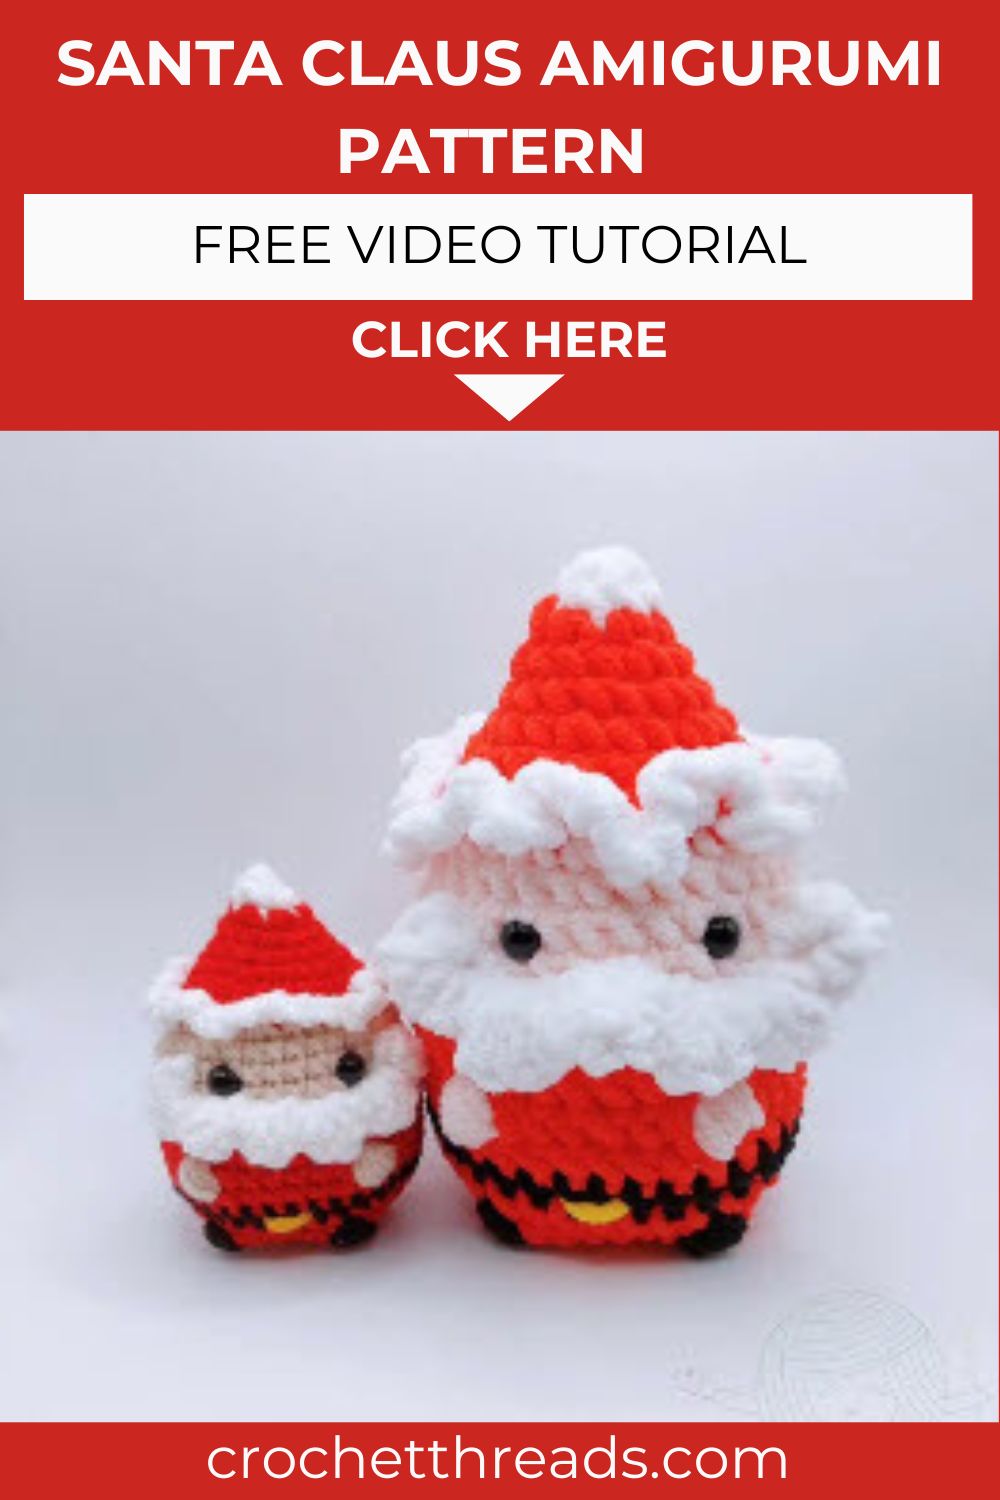
Christmas is the season for handmade magic. And nothing feels cozier than a tiny Free Crochet Santa Claus. This little fellow is round, soft, and full of cheer. He has a fluffy mustache, a bright red suit, and the sweetest puffy buttons.
Best of all? The pattern is completely free. You can finish him in a single evening. Then pop him on a shelf, a mantel, or the tree. He also makes a heart-warming handmade gift. So grab your hook, and let’s bring Santa to life.
Free Crochet Santa Claus Christmas Amigurumi Pattern
A Little Holiday Touch
A handmade Santa feels different from a store-bought one. It carries your time and care. Each stitch holds a bit of the season. Kids notice that warmth. So do guests. And the best part is simple. You made it yourself. That’s what makes it special.
What Makes This Santa So Fun
- He’s made in one piece. The body and head are joined as you go.
- The buttons are puff stitches. They add a cute, raised texture.
- The white trim is crocheted into the front loops. No extra sewing there.
- The eyes are safety eyes. You can also embroider them if you prefer.
- The fluffy mustache is the only part you sew on.
- He stuffs as you crochet. So there’s no fiddly closing at the end.
- He’s small and quick. One Santa uses very little yarn.
- He’s forgiving, too. Small wobbles just add to his charm.
Gather Your Supplies
You can use any yarn you like. Just match your hook to it.
- Light worsted yarn – Snow (8g), Red (15g), Beige (8g), Yellow (small amount), Black (small amount)
- 2.75mm crochet hook
- 7mm safety eyes (1 pair)
- Fiberfill stuffing
- Yarn needle
- Stitch marker
- Pins
- Scissors
Want a bigger Santa?
Go chunky. For the large version, use chunky yarn, a 4mm hook, and 8mm safety eyes.
Stitches You’ll Use (US Terms)
- Rnd — round
- Sc — single crochet
- Inc — increase
- Dec — decrease
- Slst — slip stitch
- Ch — chain
- Puff — puff stitch
- Dc — double crochet
- BLO — back loops only
- St / Sts — stitch/stitches
- (…) x — Repeat the bracket the given number of times
- [ ] — stitch count for that round
Before You Start
This Free Crochet Santa Claus pattern is rated intermediate. You’ll change colors often. You’ll also work puff stitches and a back-loop round. None of it is tricky. But a little practice helps it go smoothly. This pattern is for personal use only. Please don’t alter, share, sell, or repost it.
How to Crochet Your Santa
Body (start with Snow)
- Rnd 1: 6 Sc in a magic ring. [6]
- Rnd 2: 6 Sc. [6] – change color to red
- Rnd 3: (Inc) x 6. [12]
- Rnd 4: (3 Sc, Inc) x 3. [15]
- Rnd 5: (4 Sc, Inc) x 3. [18]
- Rnd 6: (2 Sc, Inc) x 6. [24]
- Rnd 7: 24 Sc. [24]
- Rnd 8: (3 Sc, Inc) x 6. [30] – change color to beige
- Rnd 9: BLO (4 Sc, Inc) x 6. [36]
- Rnd 10–13: 36 Sc (4 rounds). [36] – change color to red
- Rnd 14–15: 36 Sc (2 rounds). [36]
- Rnd 16: 14 Sc, (change to beige) Puff, (change to red) 6 Sc, (change to beige) Puff, (change to red) 14 Sc. [36]
- Rnd 17: 36 Sc. [36] –insert the safety eyes between rounds 11 and 12, 6 sts apart, aligned with the arms; then change to black
- Rnd 18: 36 Sc. [36] –change to red
- Rnd 19: 36 Sc. [36]
- Rnd 20: 14 Sc, (change to black) Puff, (change to red) 6 Sc, (change to black) Puff, (change to red) 14 Sc. [36]
- Rnd 21: (1 Sc, Dec) x 12. [24]
- Rnd 22: (2 Sc, Dec) x 6. [18] – start stuffing with fiberfill and keep stuffing as you go
- Rnd 23: (1 Sc, Dec) x 6. [12]
- Rnd 24: (Dec) x 6. [6]
Fasten off and leave a long tail. Use the yarn needle to close the 6 stitches. Fasten and weave in the end.
How to Make the Puff Stitch
- Insert the hook in the stitch. Yarn over. Pull up a loop.
- Repeat that 4 more times in the same stitch.
- Change the color to red.
- Yarn over and pull through all loops on the hook.
White Trim (using Snow)
Go back to the leftover front loops of round 8. Start in the last stitch.
- Rnd 1: (Ch 2, 1 Sc) x 29, Ch 2, Slst in the first chain of the ch 2.
Fasten off and weave in the end.
Mustache (using Snow)
- Ch 13. Start in the 2nd chain.
- Row 1: (4 Dc in the same st, Slst) x 6.
Fasten off and leave a long tail for sewing.
Putting Santa Together
- Insert the safety eyes between rounds 11 and 12. Keep them 6 stitches apart. Line them up with the arms.
- Sew the mustache below the eyes. Keep the rough side facing out for a fluffy look.
- Stuff him firmly but gently as you close the body.
- Weave in every loose end so nothing peeks out.
- Give the trim and mustache a gentle shape with your fingers.
Tips for the Best Results
- Keep a stitch marker in the first stitch of each round. The spiral is easy to lose.
- Change colors neatly. Carry the spare yarn loosely inside the body.
- Add the eyes before you close him. You can’t reach them later.
- Stuff in small amounts. This keeps his shape smooth and round.
- Pin the mustache first. Check it sits straight, then sew.
- Always count the number in brackets. It catches mistakes fast.
Frequently Asked Questions
Can I use any yarn?
Yes. The pattern works with most yarns. Just match your hook to the weight you pick.
How big will my Santa be?
That depends on your yarn. Thicker yarn and a bigger hook make a larger Santa.
Can I sell the ones I make?
You can sell your finished Santas. But please don’t share or resell the written pattern.
Do I have to use safety eyes?
No. You can embroider the eyes instead. This is the safer choice for little kids.
Why does my Santa look lopsided?
Check your stitch counts. Even one missed stitch can shift the whole shape.
Can I make him without a mustache?
Yes. The mustache is optional. He still looks sweet on his own.
What if I run out of a color?
Swap in a close shade. Small changes add charm, not problems.
Fun Ways to Use Your Santa
- Hang him on the tree as an ornament. Add a small loop on top.
- Stand a few along the mantel. They look great in a row.
- Pop one in a stocking as a surprise. Kids love it.
- Use him as a gift topper. Tie him to a present.
- Set one by each plate as a festive place marker.
Keep Him Looking Great
- Store him in a dry spot after the holidays.
- Keep him away from damp and dust.
- Fluff the trim with your fingers each year.
- A gentle brush revives the mustache.
- Wrap him in tissue inside a box.
Wrapping Up
And there he is your very own Free Crochet Santa Claus. He’s small, squishy, and bursting with holiday spirit. Don’t worry if your first one looks a little wonky. That’s the charm of handmade. His face really comes alive once the eyes and mustache are on. Try him in different reds, or add a tiny hat. Make a whole little Santa family for the mantel. Or tuck one into a gift bag for someone special. However you use yours, you’ve just stitched a bit of Christmas magic.