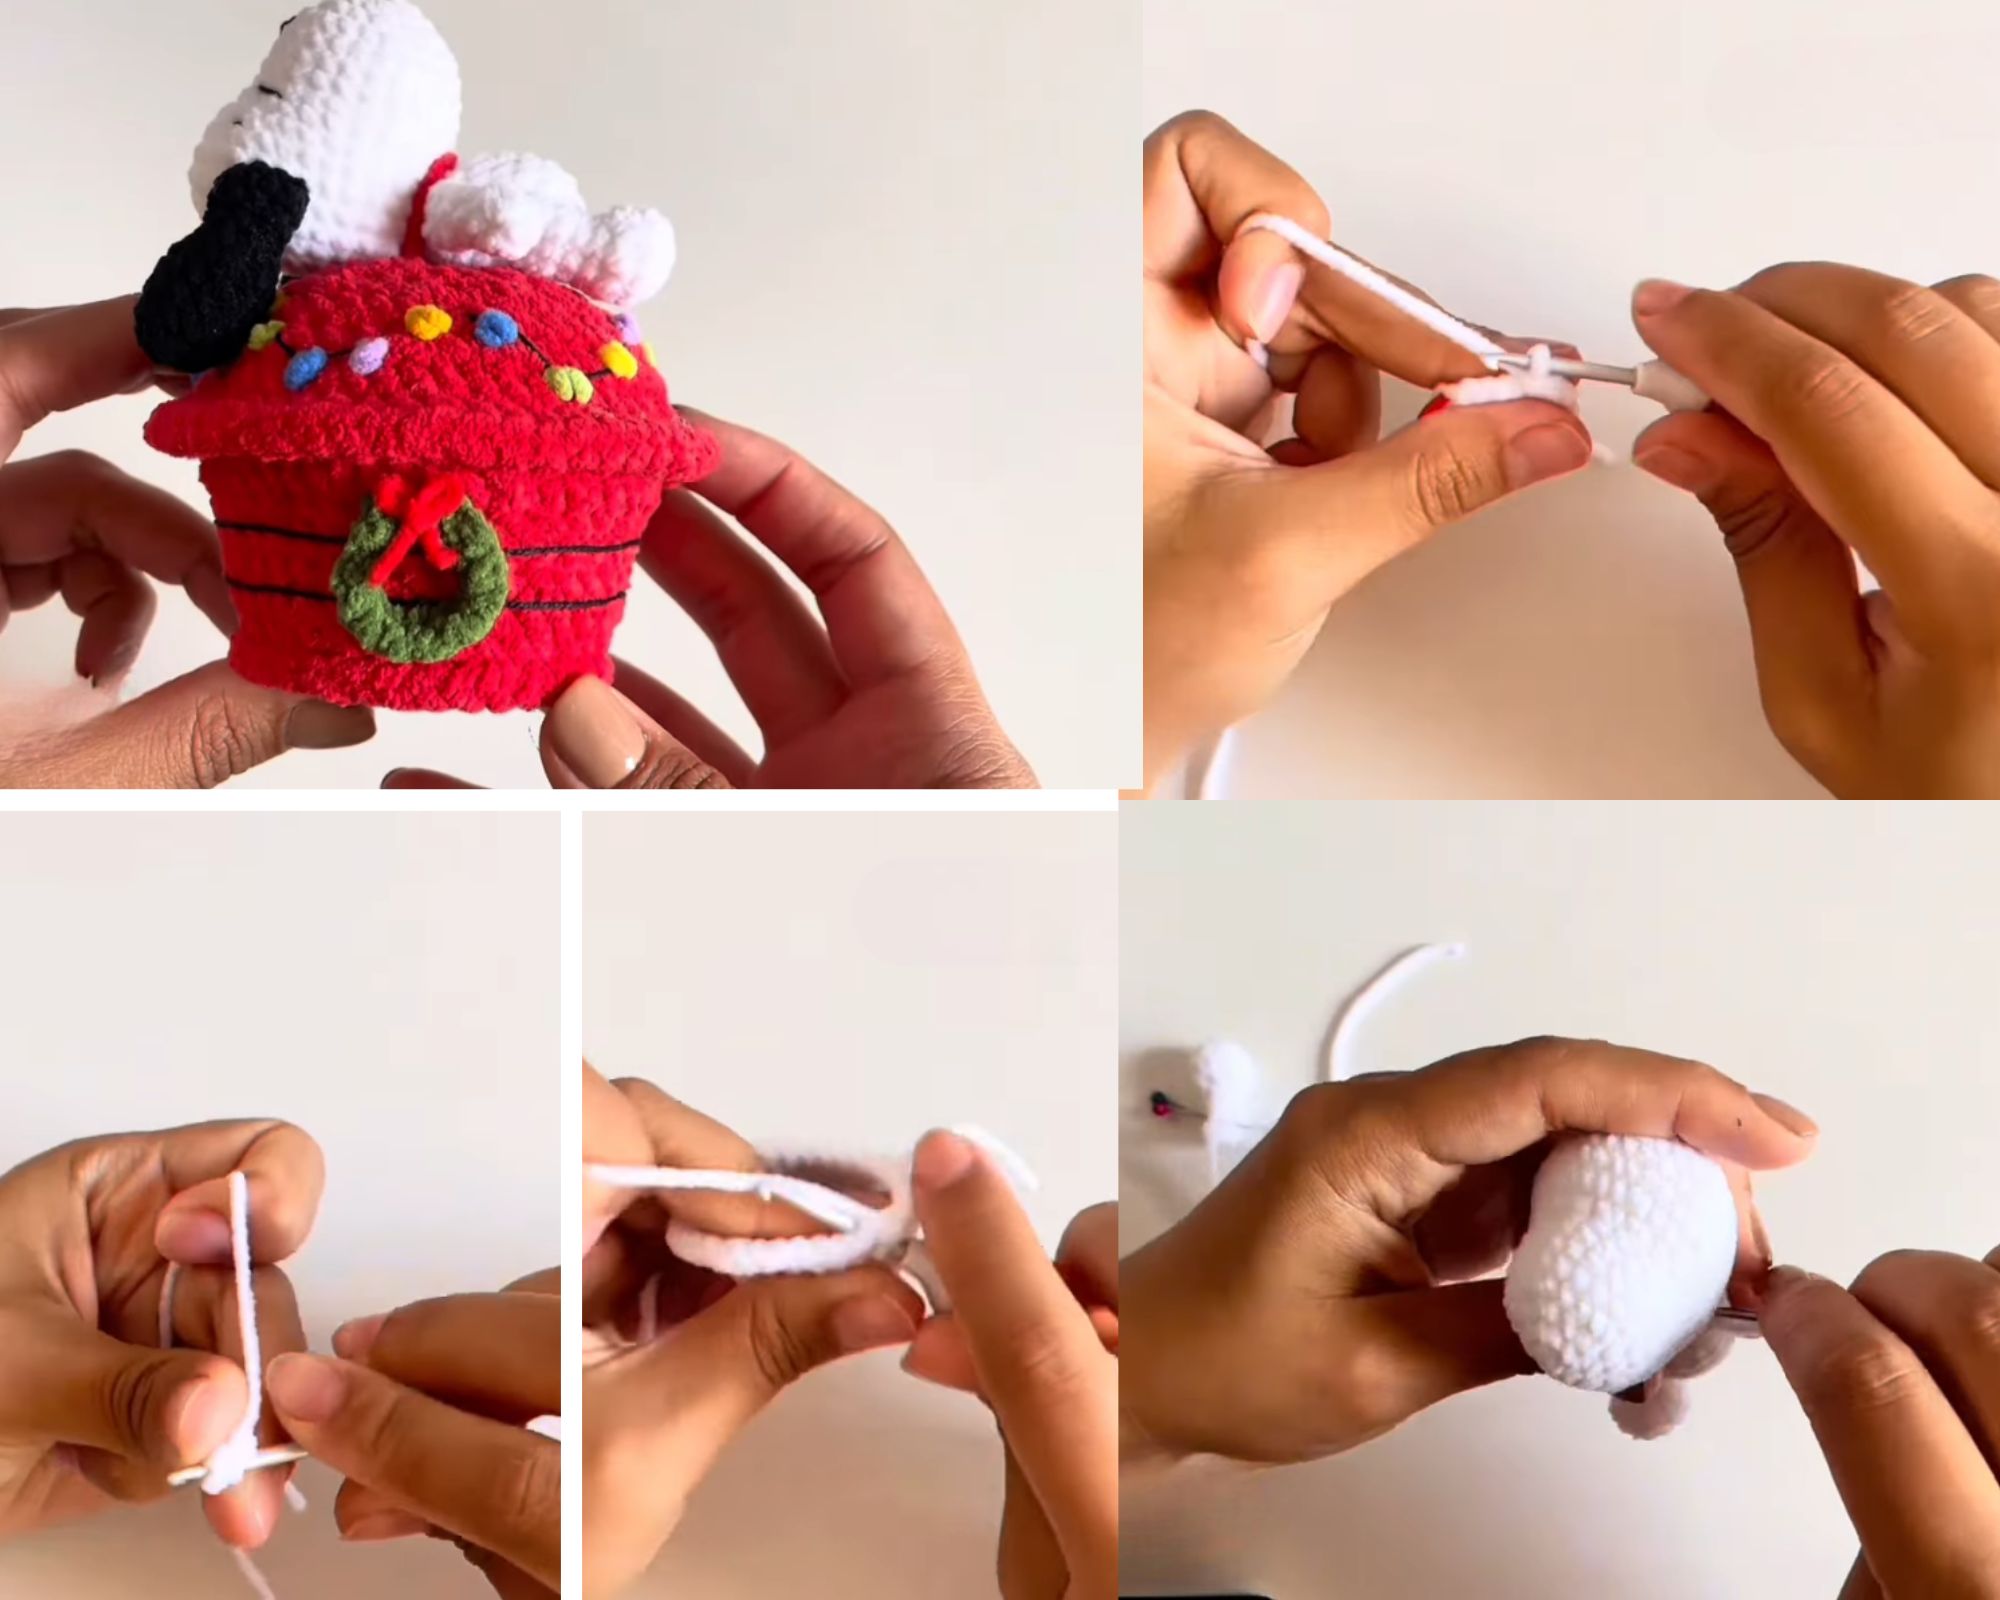
Crochet Santa Hat Snoopy Christmas Amigurumi Pattern
A tiny red Santa hat perched on a round little head instantly turns this floppy-eared dog into one of the cutest amigurumi ideas of the season. This Crochet Santa Hat Snoopy Christmas Amigurumi Pattern needs only simple shaping and a handful of color changes to bring the festive little face to life.
Crochet Santa Hat Snoopy Amigurumi: Free Christmas Pattern brings together everything that makes holiday amigurumi so satisfying to make. Beginners with a handful of finished projects under their belt will find this crochet Christmas dog pattern approachable, while seasoned makers will enjoy how quickly it comes together as a last-minute gift. Whether it ends up as a stocking stuffer, an ornament, or a permanent desk companion, this little dog brings genuine holiday warmth into any room, and the simple shaping keeps the whole project fun from start to finish.
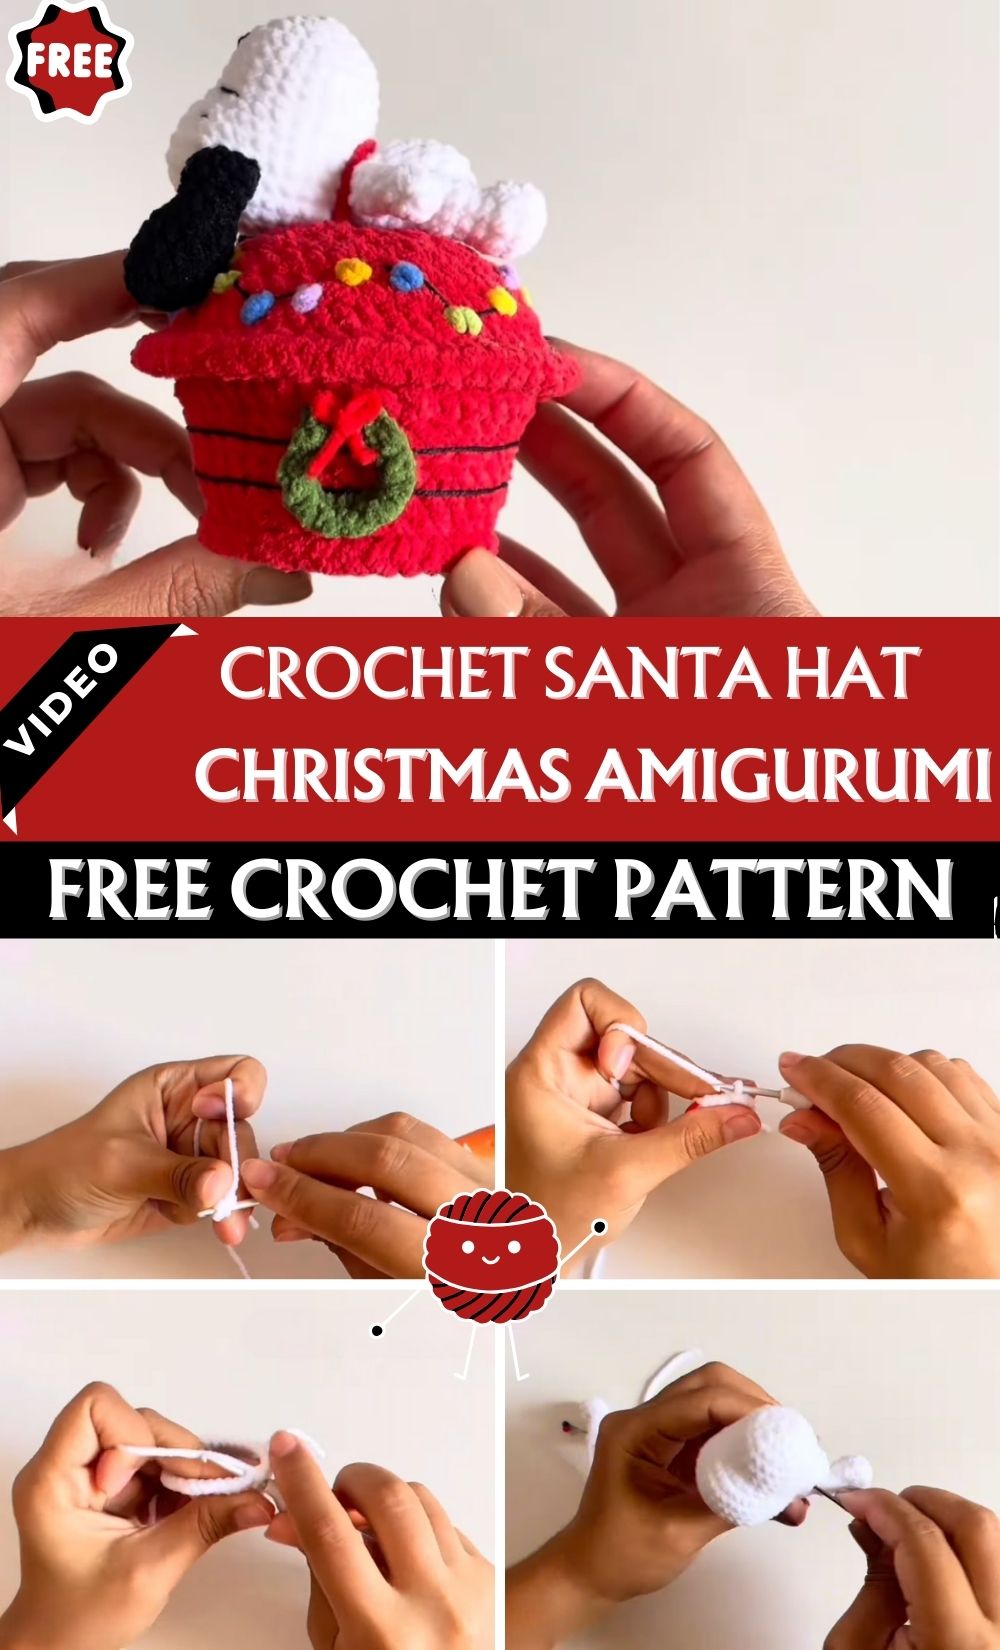
Picture a floppy-eared little dog wearing a tiny red Santa hat, sitting proudly on a shelf or nestled under the tree. That’s exactly the charm behind this crochet Santa Hat Snoopy amigurumi pattern. Beginners with a handful of finished projects under their belt will find this one approachable, while seasoned makers will enjoy how quickly it comes together as a last-minute gift. Whether it ends up as a stocking stuffer, an ornament, or a permanent desk companion, this little dog brings genuine holiday warmth into any room.
About This Crochet Pattern
Snoopy-inspired amigurumi has been a favorite among crochet hobbyists for years, and dressing him up in festive gear only adds to the appeal. The black-and-white color scheme keeps the base body simple, so most of the personality comes through in the face and the tiny Santa hat perched on top. A small pom-pom at the tip of the hat gives the whole piece a playful, finished look that photographs beautifully for Pinterest or Instagram.
Difficulty-wise, this pattern sits comfortably in the beginner-to-intermediate range. Nothing about it demands advanced shaping skills, but there’s enough shaping and assembly involved to keep things interesting. New crocheters who have already made one or two amigurumi animals should have no trouble following along, and the finished doll rewards patience with a genuinely cute result.
Project Details
- Skill Level: Beginner to Intermediate
- Finished Size: Approximately 5–6 inches tall (seated position)
- Estimated Time Required: 3–5 hours, depending on experience
- Recommended Yarn Weight: Worsted weight (Medium, 4)
- Crochet Hook Size: 3.25mm–3.5mm (size D/3 or E/4)
Materials Needed
- Worsted weight yarn in white and black (for the body, head, and ears)
- Small amount of red yarn (for the Santa hat)
- Small amount of white yarn (for the hat’s trim and pom-pom)
- 6mm safety eyes, or black embroidery floss for eyes
- Polyester fiberfill stuffing
- Tapestry needle for sewing pieces together
- Stitch markers to track rounds
- Sharp scissors
- Small amount of pink yarn or floss for a nose accent (optional)
- Ribbon or small bell as an optional accessory
Crochet Stitches and Techniques
This pattern relies on a core set of amigurumi techniques, so having these comfortable before starting will make the process much smoother.
- Magic Ring (MR): Used to start each piece with a tight, gap-free center.
- Chain Stitch (ch): Needed for the base of certain pieces and any hanging loop.
- Single Crochet (sc): The main stitch used throughout the body, head, and hat.
- Increase (inc): Two single crochets worked into one stitch, used to widen rounds.
- Invisible Decrease (inv dec): Keeps decrease rounds smooth and prevents visible gaps.
- Slip Stitch (sl st): Used to join rounds where needed and to finish edges cleanly.
- Color Changes: Switching between white, black, and red without leaving messy jog lines.
- Fastening Off: Securing the last stitch and weaving in the tail neatly.
- Sewing Pieces Together: Attaching ears, the hat, and the pom-pom to the finished head.
Pattern Instructions
Creating the Head
Start the head with a magic ring using white yarn, then work six single crochets into the ring to form the base. Build outward gradually over the next several rounds, increasing evenly until the head reaches its widest point around round five or six. From there, work a few rounds without increasing to give the head some height.
Begin decreasing steadily to round the shape back inward. Insert the safety eyes a couple of rounds before closing, spacing them evenly across the face. Stuff the head firmly before finishing the decrease rounds and closing the opening.
Crocheting the Body
Snoopy’s ears are one of the most recognizable features, so getting their shape right matters. Work each ear as a flat, slightly elongated oval using black yarn, starting with a small magic ring and increasing along both sides before closing off. Leave a long tail on each ear for sewing, since these will be attached to the sides of the head once the main pieces are complete.
Legs and Snout
A short snout gives the face its signature look, so add a small rounded piece in white yarn positioned just below the eyes. Two tiny black stitches or a small strip of black yarn placed at the tip create the nose. If you’d like the dog seated with visible legs, crochet two small stubby leg pieces in white and attach them beneath the body before the final assembly.
Crocheting the Santa Hat
Switch to red yarn and begin the hat with a magic ring, working several rounds of increases to form a cone shape rather than a flat circle. Once the cone reaches the right circumference to fit snugly on the head, switch to white yarn for a couple of rounds to create the classic fur-trim band. A small white pom-pom, made separately and stitched to the tip of the cone, finishes the hat’s iconic silhouette.
Joining All Pieces
Position the head onto the neck opening of the body and pin it in place before sewing, checking that the face sits at a pleasing angle. Attach the ears symmetrically on either side of the head, angling them slightly downward for that classic floppy look. Once the head and ears are secure, fit the Santa hat over the top of the head at a slight tilt and stitch it in place around the brim.
Final Assembly
Take a moment to check the overall balance of the finished piece before weaving in any remaining yarn tails. Adjust stuffing through small gaps if any part feels too soft, then close those gaps securely. A light trim of the yarn ends and a final fluff of the pom-pom will give the doll a polished, gift-ready finish.
Tips for Success
- Count stitches at the end of every round, especially during increase and decrease sections, since a missed stitch early on throws off the entire shape.
- Place a stitch marker at the start of each round rather than relying on memory, particularly when working in a continuous spiral.
- Stuff a little at a time rather than all at once, checking firmness as you go so the shape stays smooth instead of lumpy.
- Weave in yarn ends through several stitches rather than tying knots, since knots tend to work loose over time.
- Block or gently reshape pieces by hand after stuffing if any section looks slightly uneven.
Personalization Ideas
Swapping the classic black-and-white palette for other combinations opens up plenty of variations on the same base pattern. A brown-and-cream version looks more like a generic puppy. Pastel tones create a softer gift that feels less holiday-specific. The same body shape also works well with different hats. Try a birthday cone, a tiny witch hat for Halloween, or a simple bow for an everyday version.
Embroidering a different expression can change the personality of the finished piece. Try closed happy eyes or a small open mouth without adding any extra shaping. A miniature version made with thread and a smaller hook can become a keychain or bag charm. A larger version worked with bulky yarn makes a great oversized cuddle toy. You can also add a jingle bell to the hat’s pom-pom or a loop at the back of the head. These simple additions can turn the piece into a hanging ornament.
Common Mistakes to Avoid
Skipping stitch markers is one of the most common beginner missteps. It becomes easy to lose track of where a round started once the piece grows past a few rounds. Overstuffing too early can stretch the fabric and distort the shape. Add the stuffing gradually and check the silhouette as the piece takes form. Attaching safety eyes too far apart or too close together can also change the expression more than expected. Test-fit them with pins before securing them permanently.
Rushing the color change on the hat can leave visible jog lines between the red and white rounds. Taking a little extra care on the transition round can easily prevent this. Sewing the head on before the body is fully stuffed may lead to a floppy, unstable connection. Finish stuffing the body first to give the head a more secure base.
Frequently Asked Questions
What yarn weight works best for this Crochet Santa Hat pattern?
Worsted weight yarn (category 4) gives the most reliable results and matches the stitch counts used throughout this pattern.
Can I make this amigurumi without safety eyes?
Embroidered eyes using black floss work as a safe alternative, particularly for toys intended for very young children.
How long does this Crochet Santa Hat project usually take?
Most crocheters finish the full doll, including the hat and assembly, within three to five hours across one or two sittings.
Is this pattern suitable for a first amigurumi project?
It works well as a second or third project, since some comfort with increases, decreases, and basic assembly makes the process smoother.
What’s the best way to attach the Santa hat permanently?
Pin the hat in place first, check the angle from multiple sides, then whip stitch around the brim for a secure, tidy finish.
Can this pattern be turned into a Christmas ornament?
Adding a small crocheted loop or a length of ribbon to the back of the hat turns the finished doll into a hangable ornament with almost no extra effort.
What size hook gives the tightest stitches for stuffing?
A slightly smaller hook than the yarn label recommends, such as a 3.25mm hook with worsted weight yarn, tightens the fabric and helps stuffing stay hidden.