
Crochet Baby Cocoon Pattern Wrapped in Softness
Make a warm blue cocoon for your baby. It is shaped like a star and has a hood. This easy crochet baby cocoon pattern also has a button flap. It is a lovely gift for new parents and baby showers.
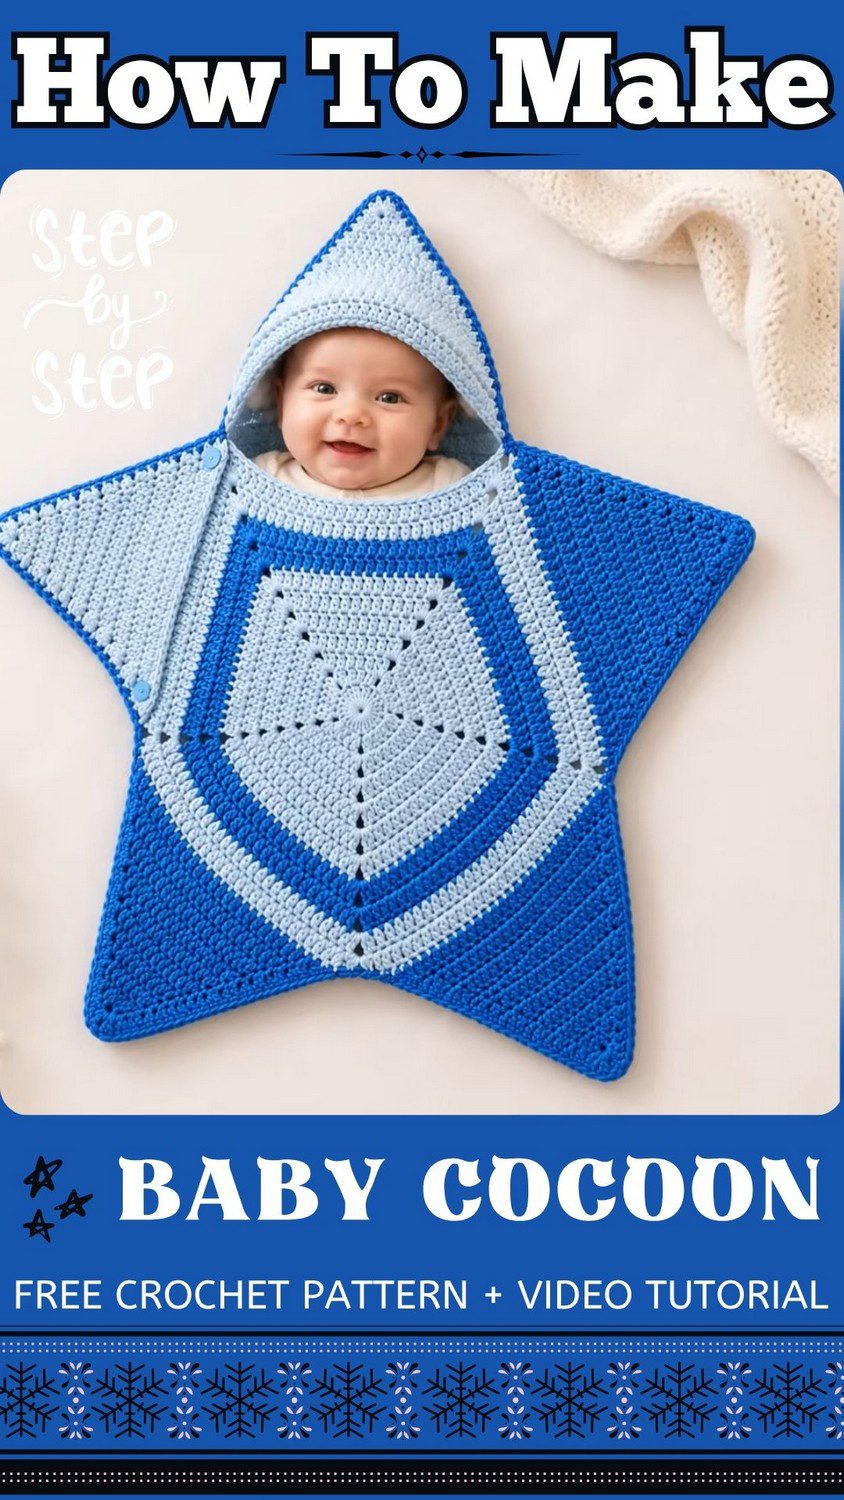
This crochet baby cocoon pattern. The cocoon is shaped like a star with five points. It has a soft hood to keep the head warm. You close it with three buttons on the side flap. You do not need to make buttonholes. The two shades of blue look sweet together. It is a great baby shower gift.
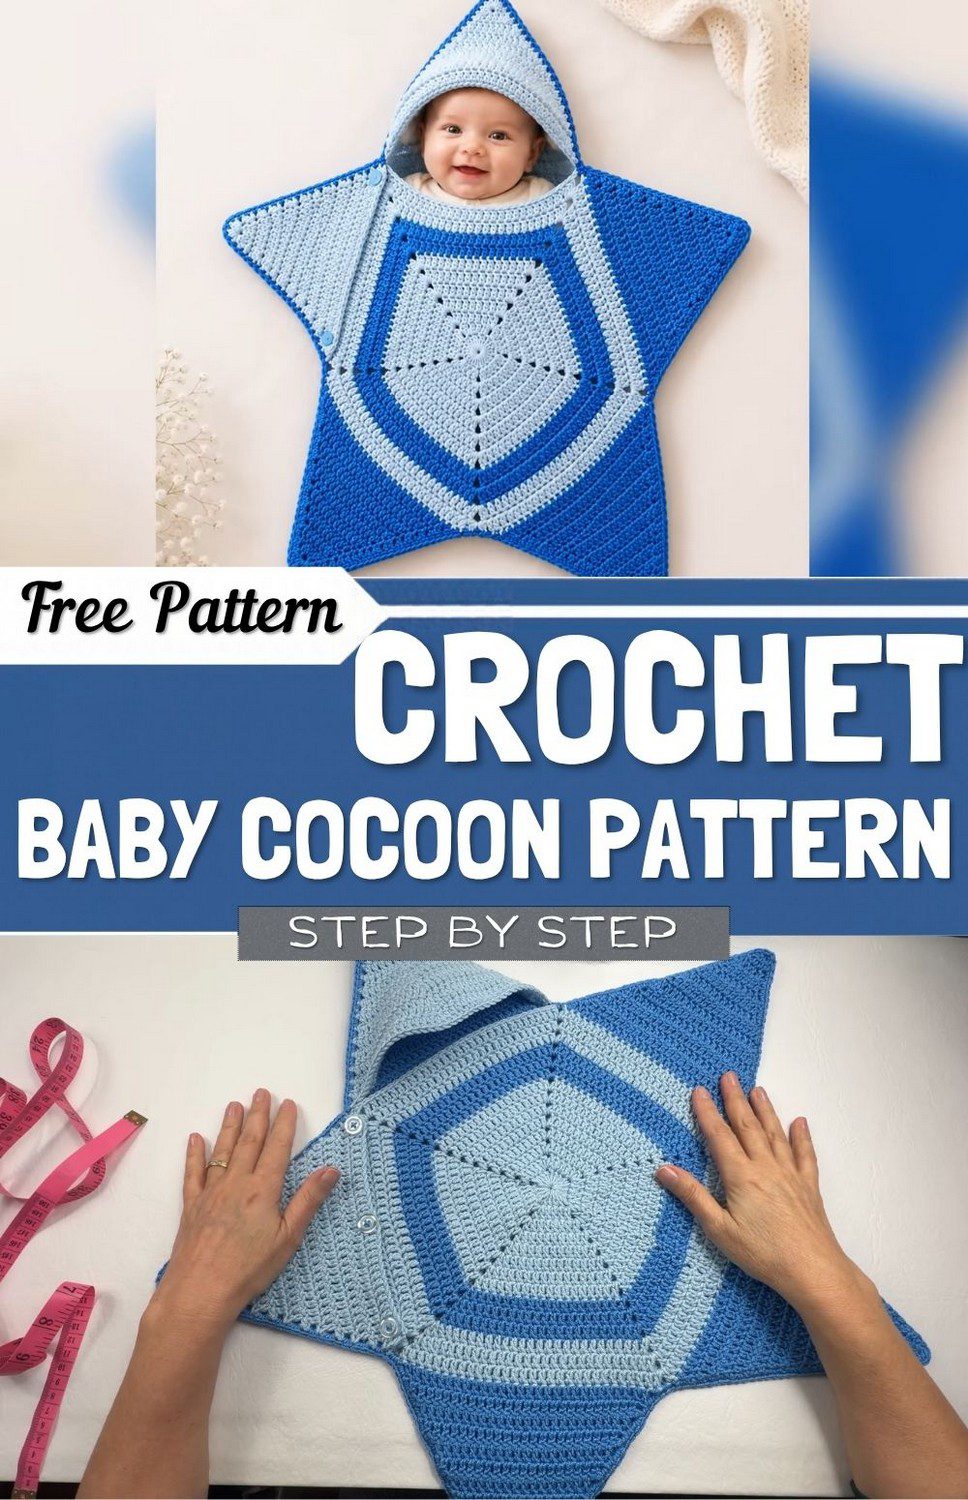
Crochet Baby Cocoon Pattern Overview
First, here are the key details. Then you can decide quickly whether this crochet baby cocoon pattern suits your skill level.
- Skill level: Advanced beginner to intermediate
- Fits: Newborns up to about 2 to 3 months
- Finished size: Central body about 32 cm across the diagonal after 14 rounds; hood opening about 20 cm wide
- Terminology: US
How the Crochet Baby Cocoon Pattern Fits Together
Three parts make the cocoon. First, a closed back panel (Component 1) comes first. Next, the front panel (Component 2) adds the hood and the sleeve openings. Finally, a sleeve overlap flap handles the closure.
Materials for the Crochet Baby Cocoon Pattern
Gather everything before the first stitch. That way, the color band flows without any pauses.
- Yarn: Hobby Baby Kids by Círculo, 100% acrylic, sport/baby weight (about 400 Tex), 100 g and 250 m per ball
- Light Blue: Incenada, color #541, about 2 balls
- Dark Blue: Safira, color #2743, used for the color band and flap details
- Total yarn: about 2 to 3 skeins, depending on tension and color placement
- Hook: 4.0 mm (US G/6); the yarn label range is 2.5 mm to 4.0 mm
- Other tools: tapestry needle, sharp scissors, stitch markers, and 3 small buttons (12 to 15 mm) that fit between stitches, so no buttonholes are needed
Abbreviations in This Crochet Baby Cocoon Pattern
Keep this list nearby, because every instruction below uses these terms.
- ch: chain
- sc: single crochet
- dc: double crochet
- sl st: slip stitch
- st(s): stitch(es)
- sp(s): space(s)
- rep: repeat
- t-ch: turning chain
Special Techniques for the Star-Shaped Baby Cocoon
Four small skills carry the whole newborn crochet pattern. Therefore, it helps to read them once before you begin.
Magic Ring for the Baby Cocoon Center
First, form an adjustable loop, then pull up a working loop. Next, secure it with a chain. However, do not pull too tight, because a small center hole lets Round 1 lie flat.
Modified Starting Stitch (No Gap)
First, work 1 sc into the base stitch. Then insert the hook through the side loop of that sc and work a second sc. As a result, you get a sturdy first stitch that resembles a dc. Ch 3 is also fine, so pick whichever feels comfortable.
Increases for the Star Points
Work [1 dc, 2 ch, 1 dc] in each 2-ch corner space. In fact, that small trio builds every point of the star.
Decreases for the Tapered Points
First, make dc2tog by working two incomplete dc. Then pull through all loops at once. As a result, the star points slope inward.
Step-by-Step Crochet Baby Cocoon Pattern
Now you can start working the cocoon. First comes the main body, then the star points, and after that the flap, the hood and the assembly.
Main Body of the Crochet Baby Cocoon (Rounds 3 to 14)
Once Round 2 is closed, keep working in the round. Make 1 dc in each dc along every side. In each 2-ch corner space, work [1 dc, 2 ch, 1 dc]. As a result, each side grows by 2 dc per round, and by Round 14 you have about 30 sts per side.
Next, handle the colors in order. Rounds 3 to 8 stay in Light Blue, so the center remains one soft block. Then switch to Dark Blue for Rounds 9 to 11, which makes 3 rounds. Finally, return to Light Blue for Rounds 12 to 14, another 3 rounds. After Round 14, the back panel is complete.
Pro-Tip: First, place a stitch marker in each corner space. Then count the stitches on every side after each round.
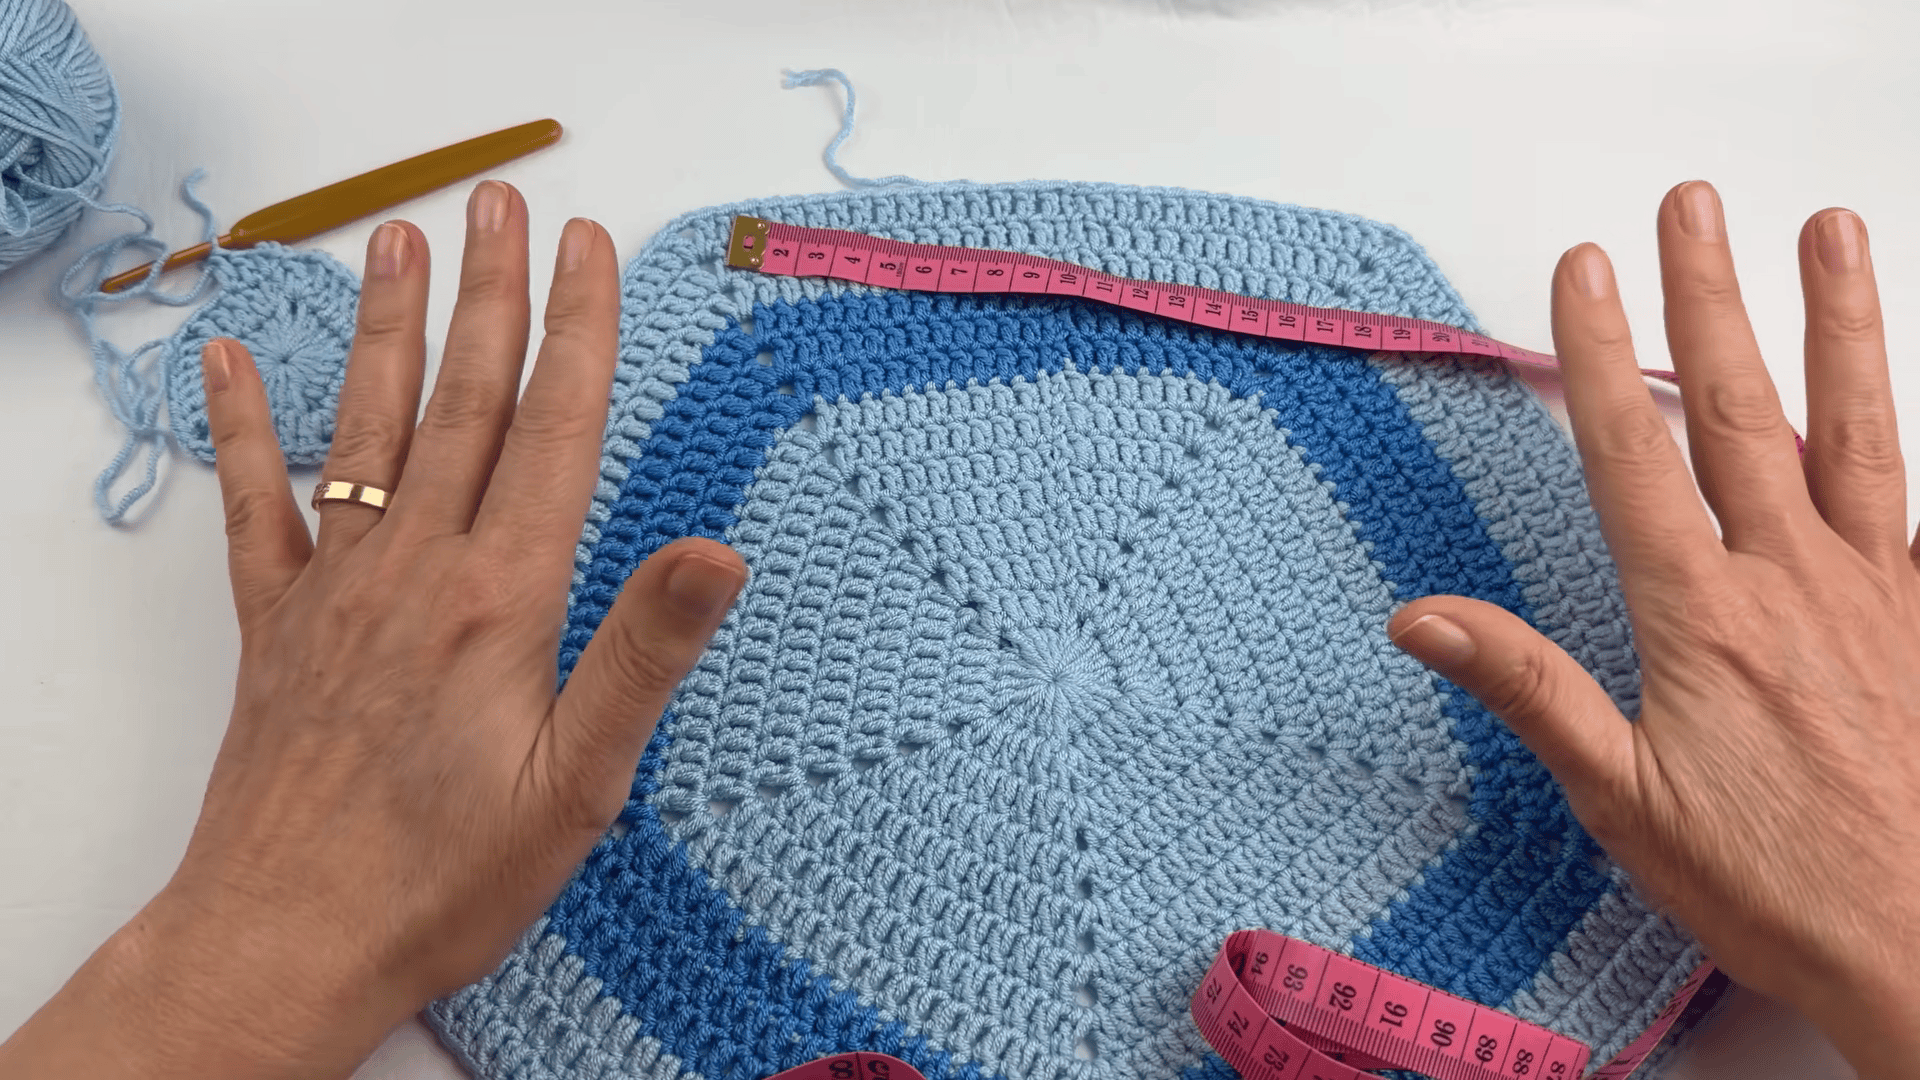
Star Points of the Baby Cocoon
Work each of the 5 sides separately. First, attach yarn to a side edge. For Row 1, ch 2, which counts as the first stitch. Then work dc across the side, decreasing 1 st at the beginning and 1 st at the end.
For every following row, turn with ch 2. Next, decrease 1 st at the beginning and 1 st at the end again. Keep going this way until only 3 to 4 sts remain, then fasten off. Finally, repeat the same steps for all 5 star points.
Pro-Tip: Stay alert at the start of every row, because skipping the first stitch after turning makes the points taper incorrectly.
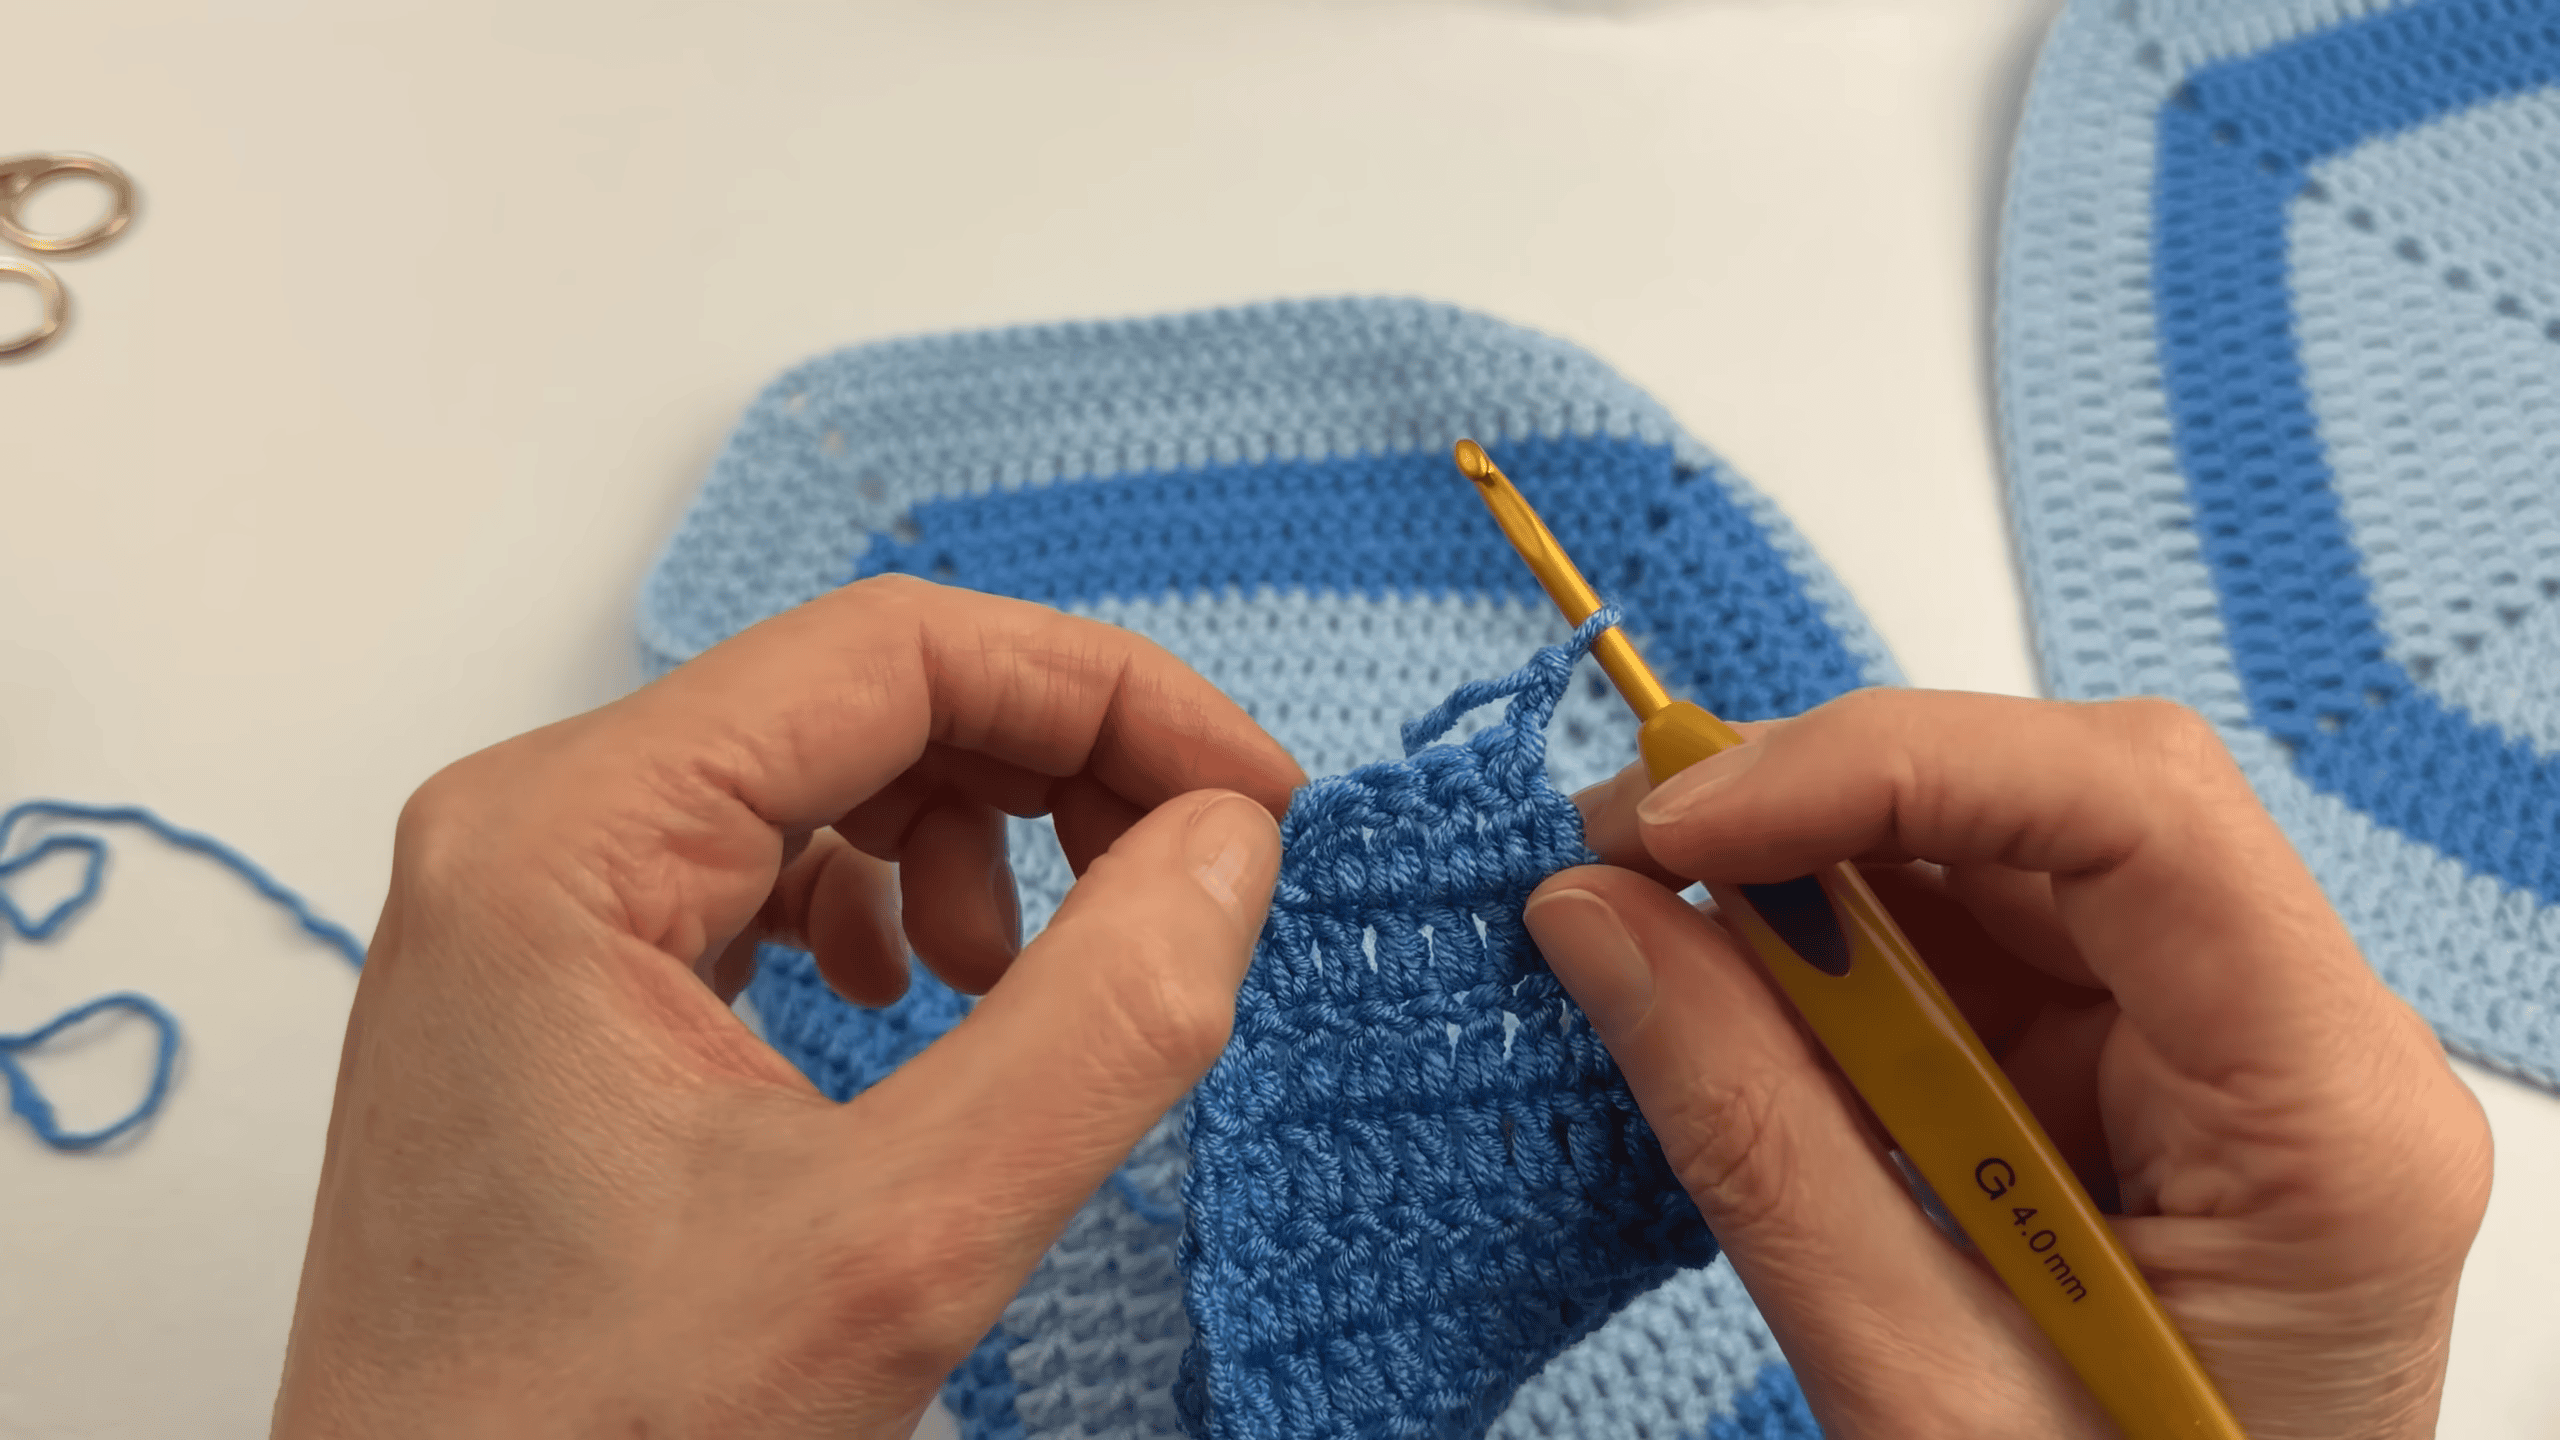
Sleeve and Arm Flap Section
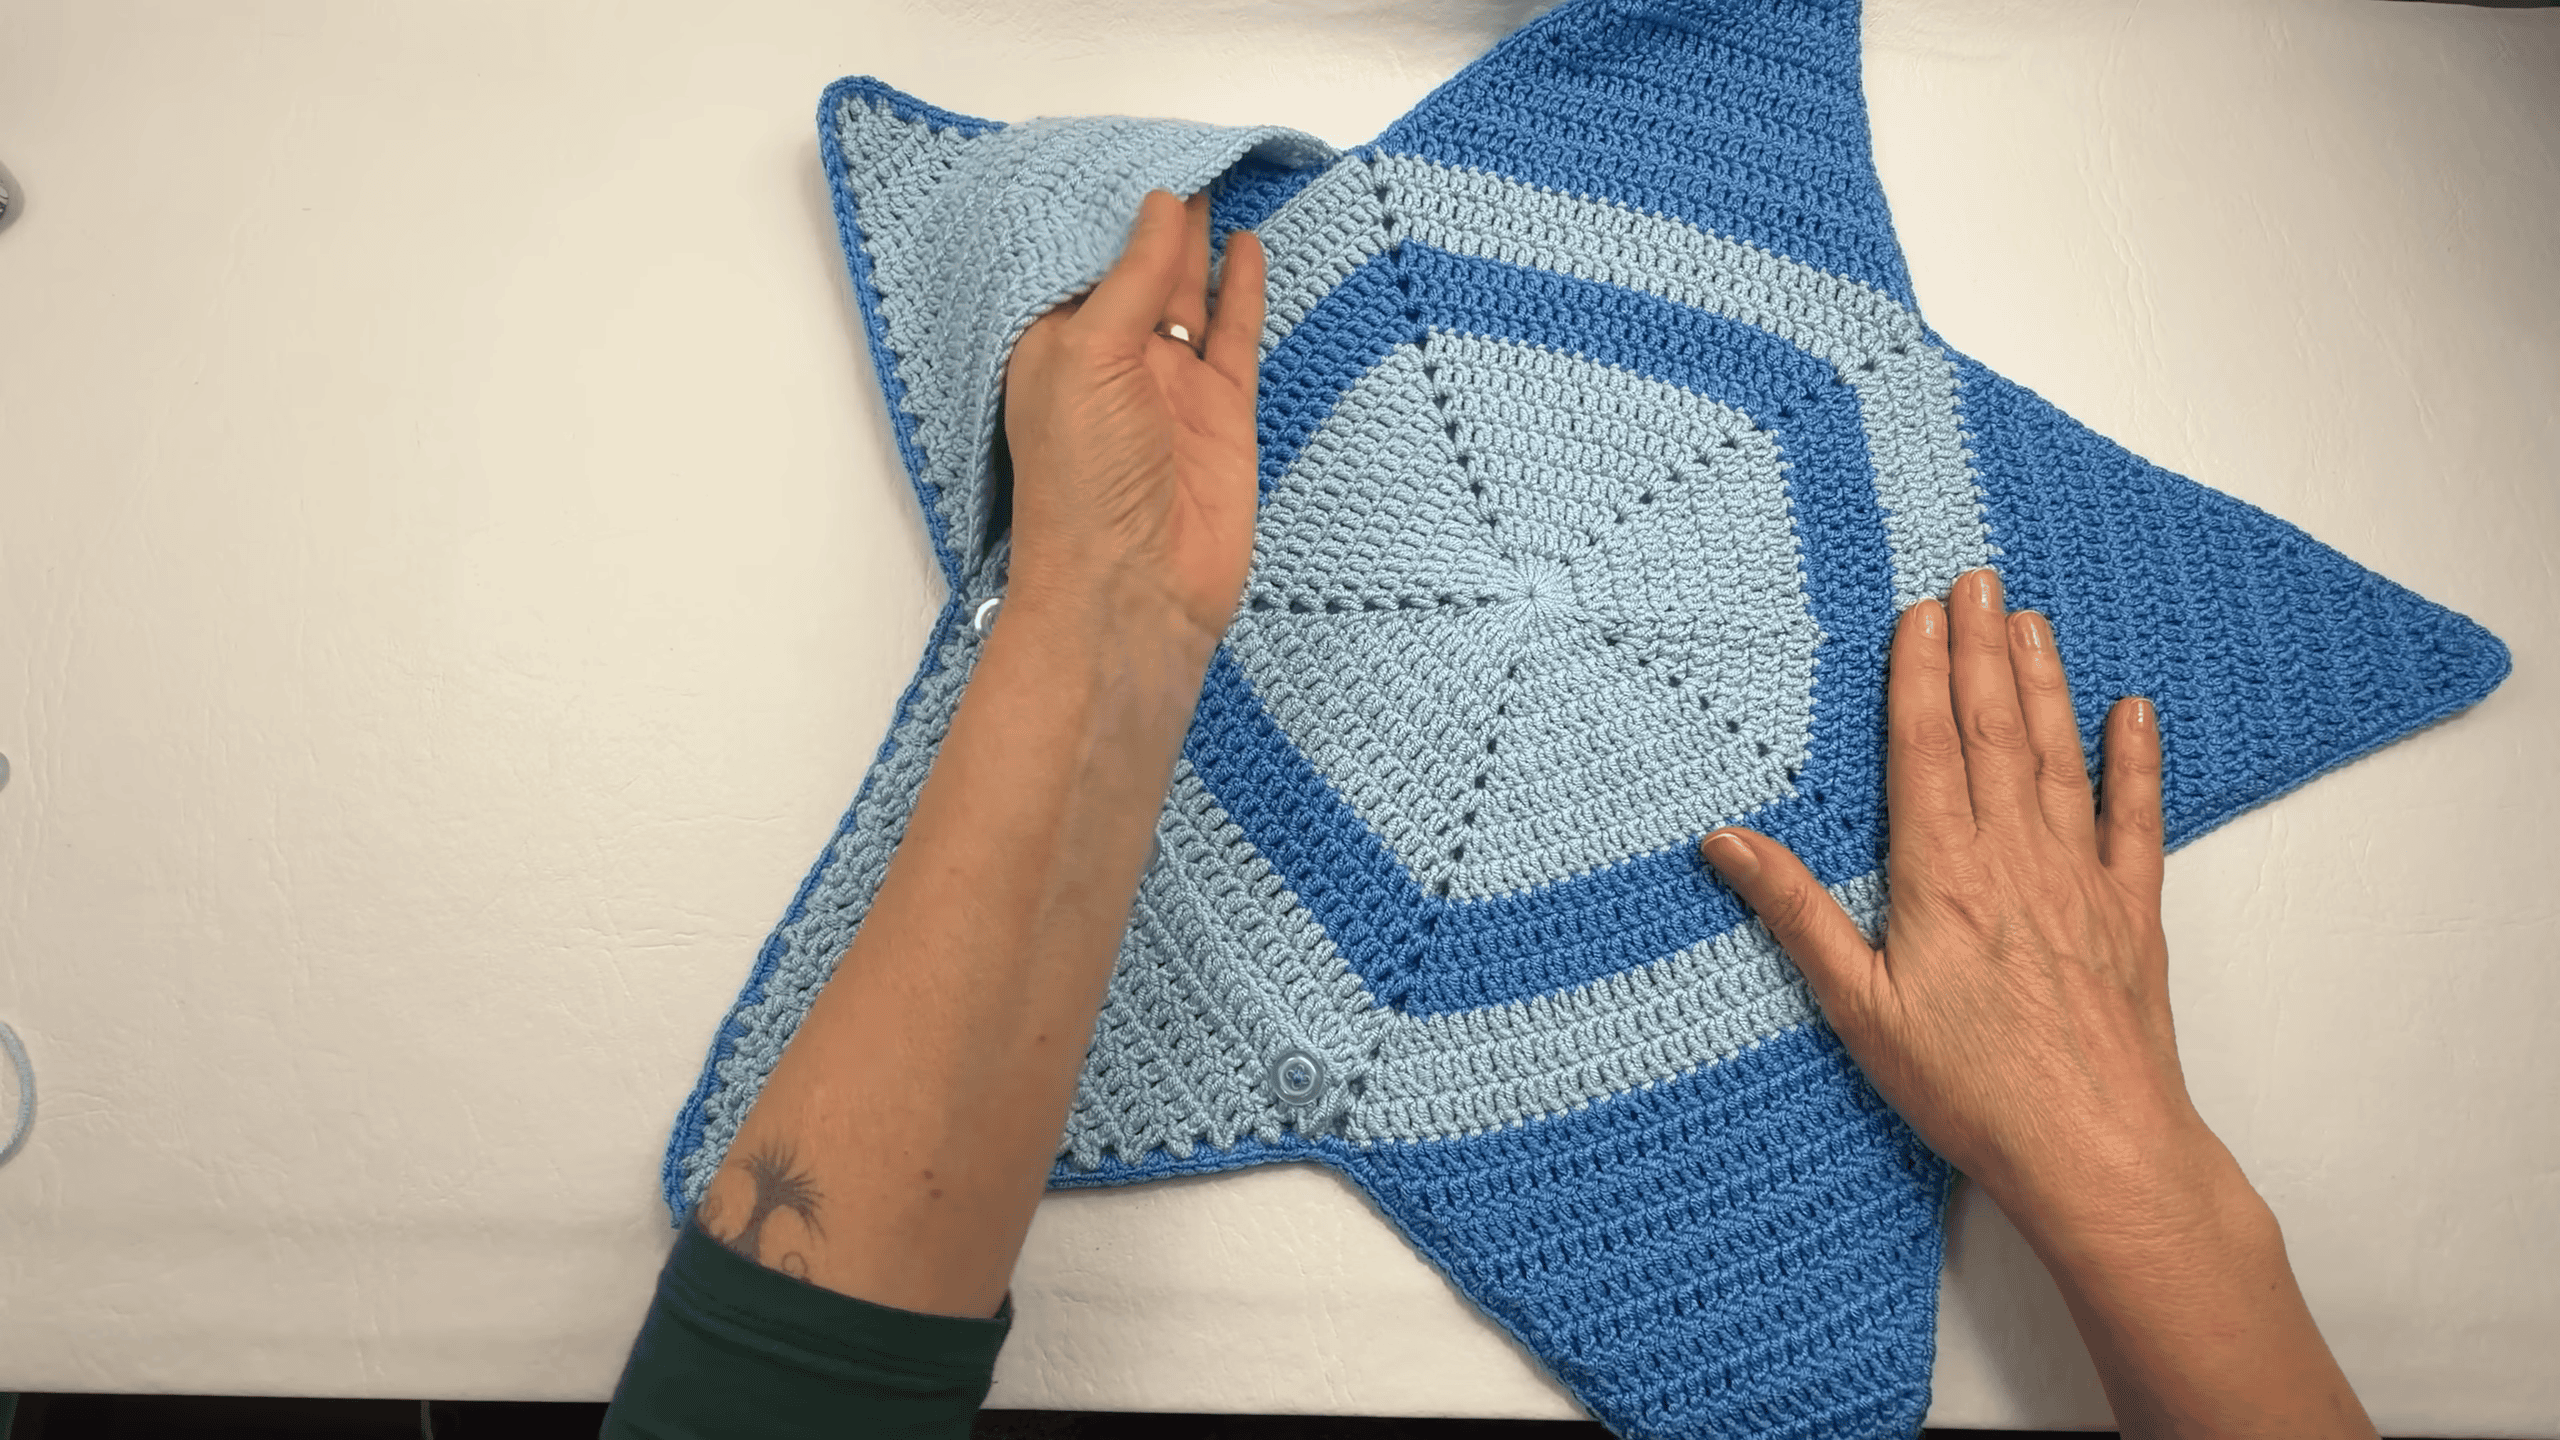
Make the flap separately from the panels. First, start with a 30-ch foundation chain, then work 14 rows. As a result, you get an extended overlap flap that closes with buttons, so no buttonhole loops are needed.
Pro-Tip: Keep the sleeve area open when you join the panels, because only the outer edges get joined.
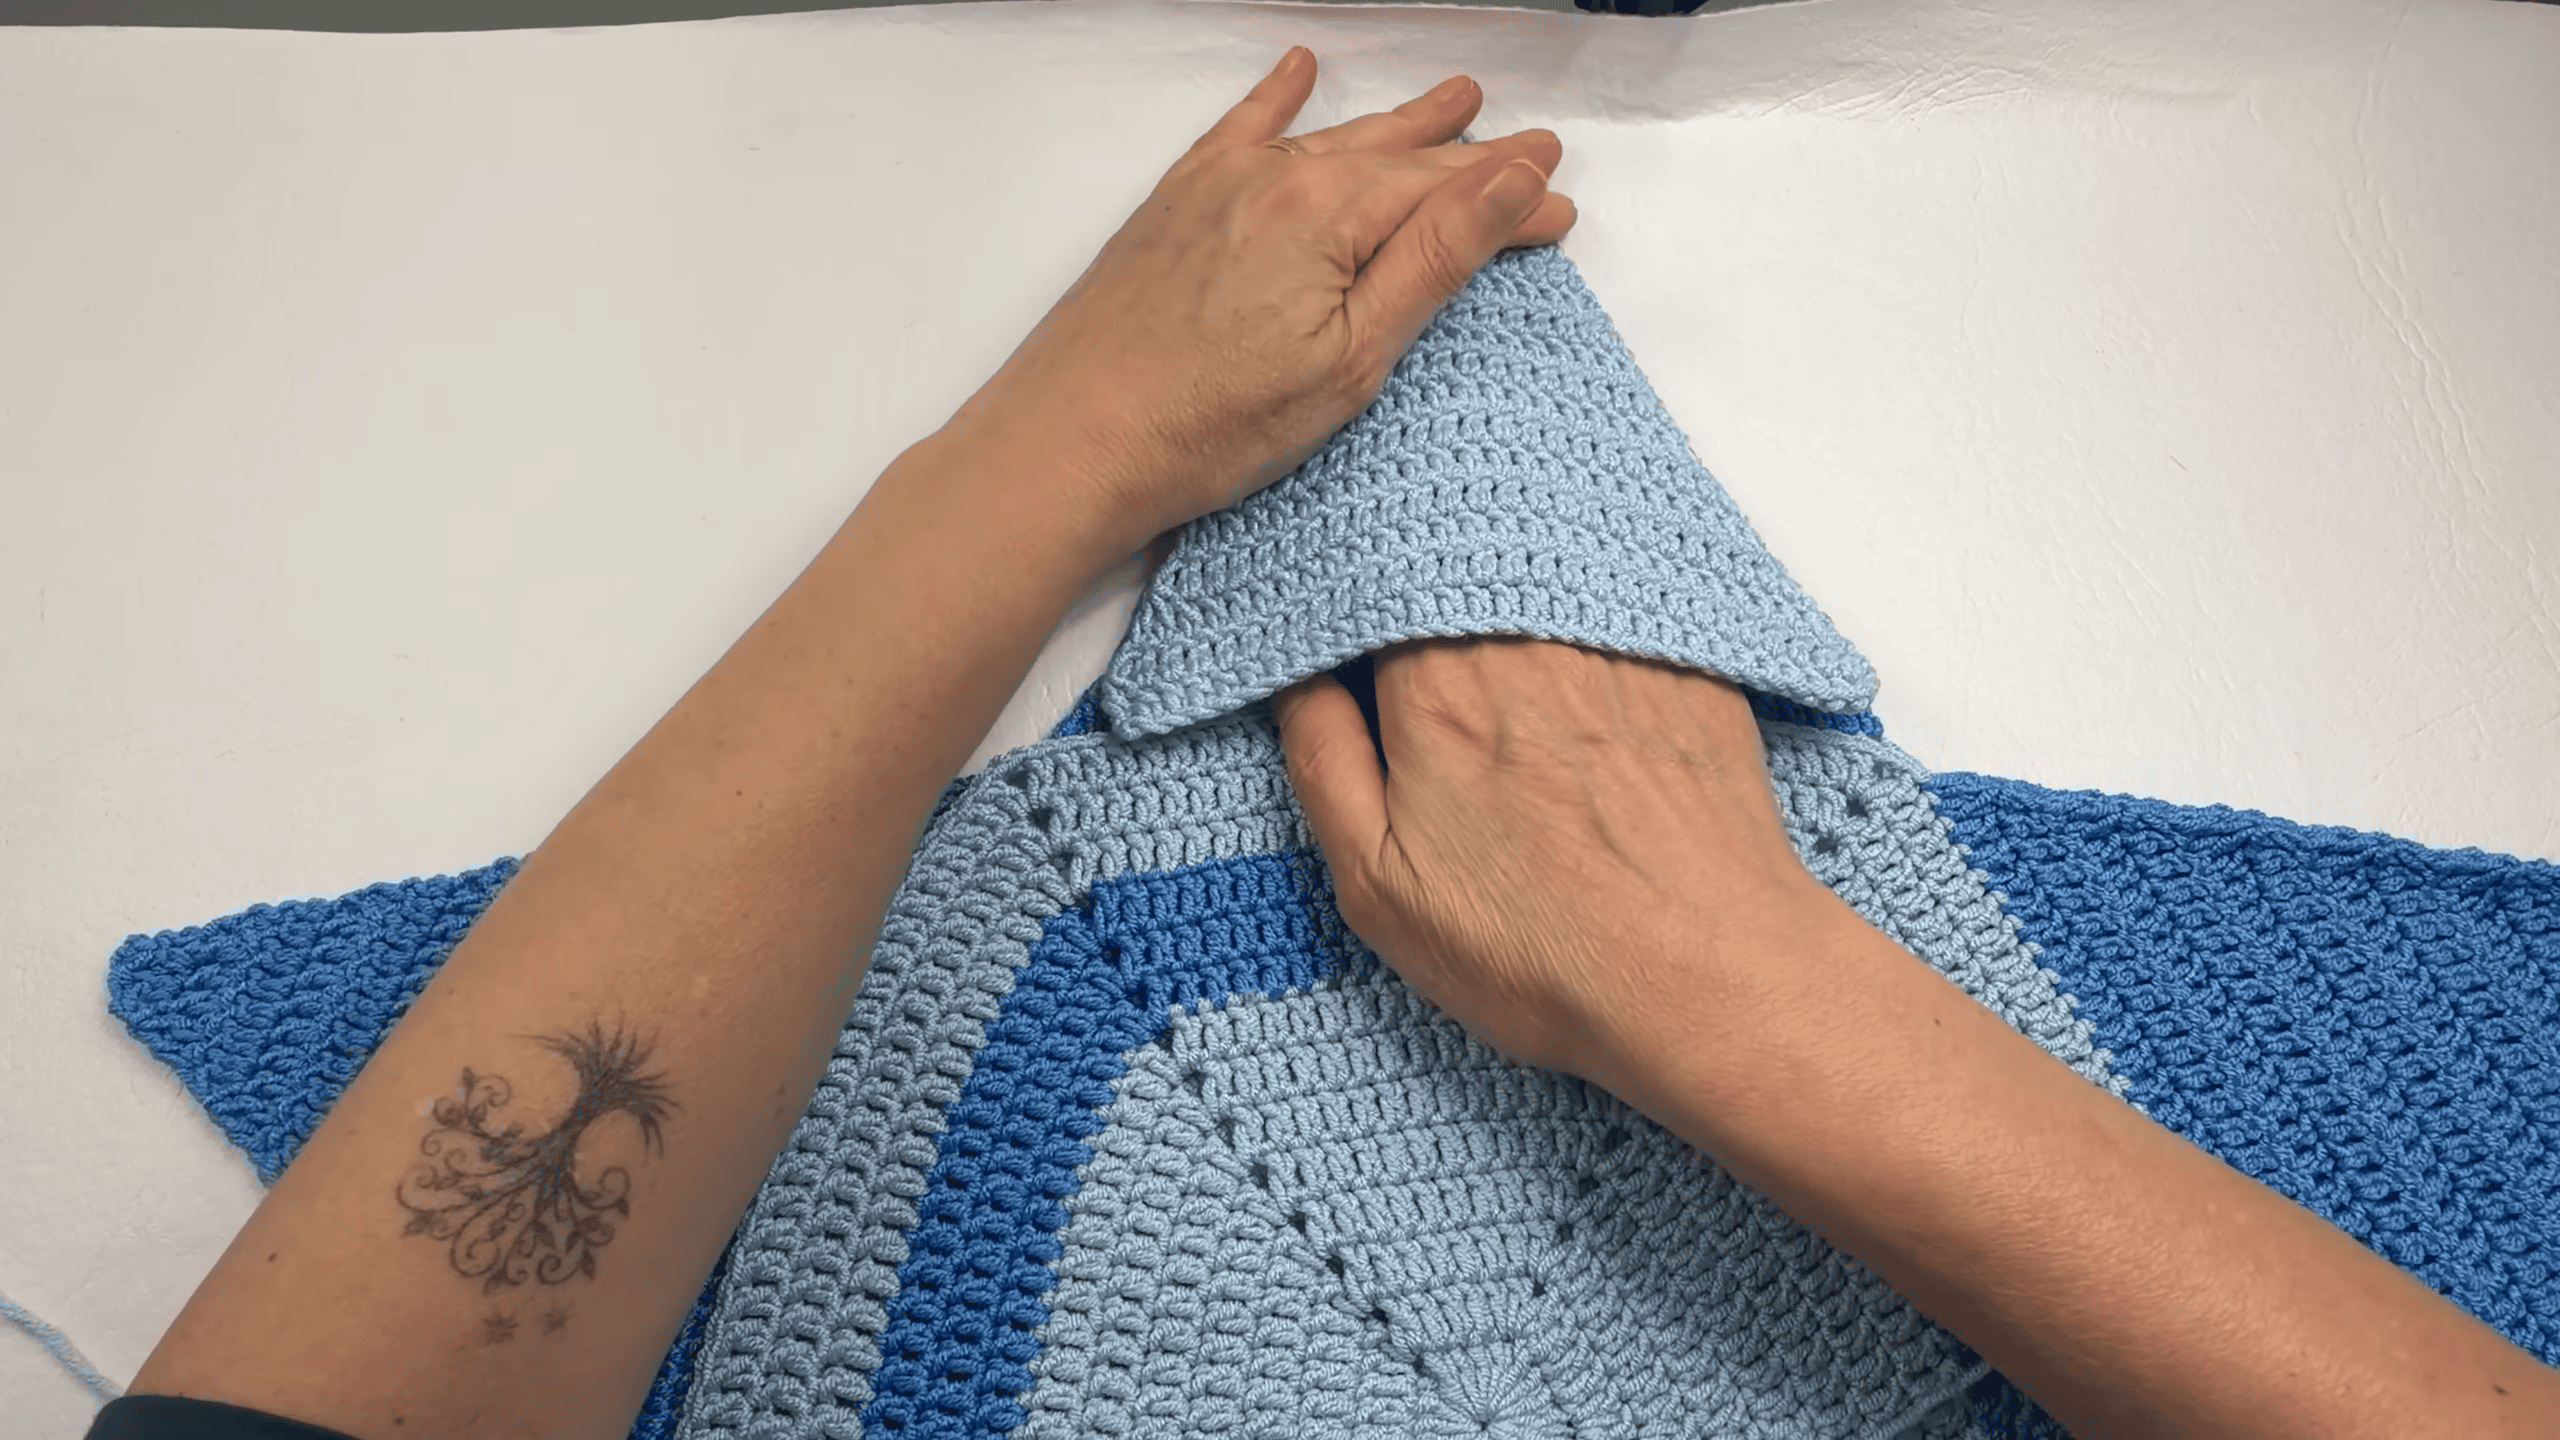
Top Hood Section of the Crochet Baby Cocoon Pattern
Work special increases of +1 st at the row edges and in the center over 14 rows. In this way, the shaping builds a flared pouch for the baby’s head. Also, the hood has an optional fold-over brim.
Pro-Tip: First, place a stitch marker at the center of the hood. Then the center increase is easy to find on every row.
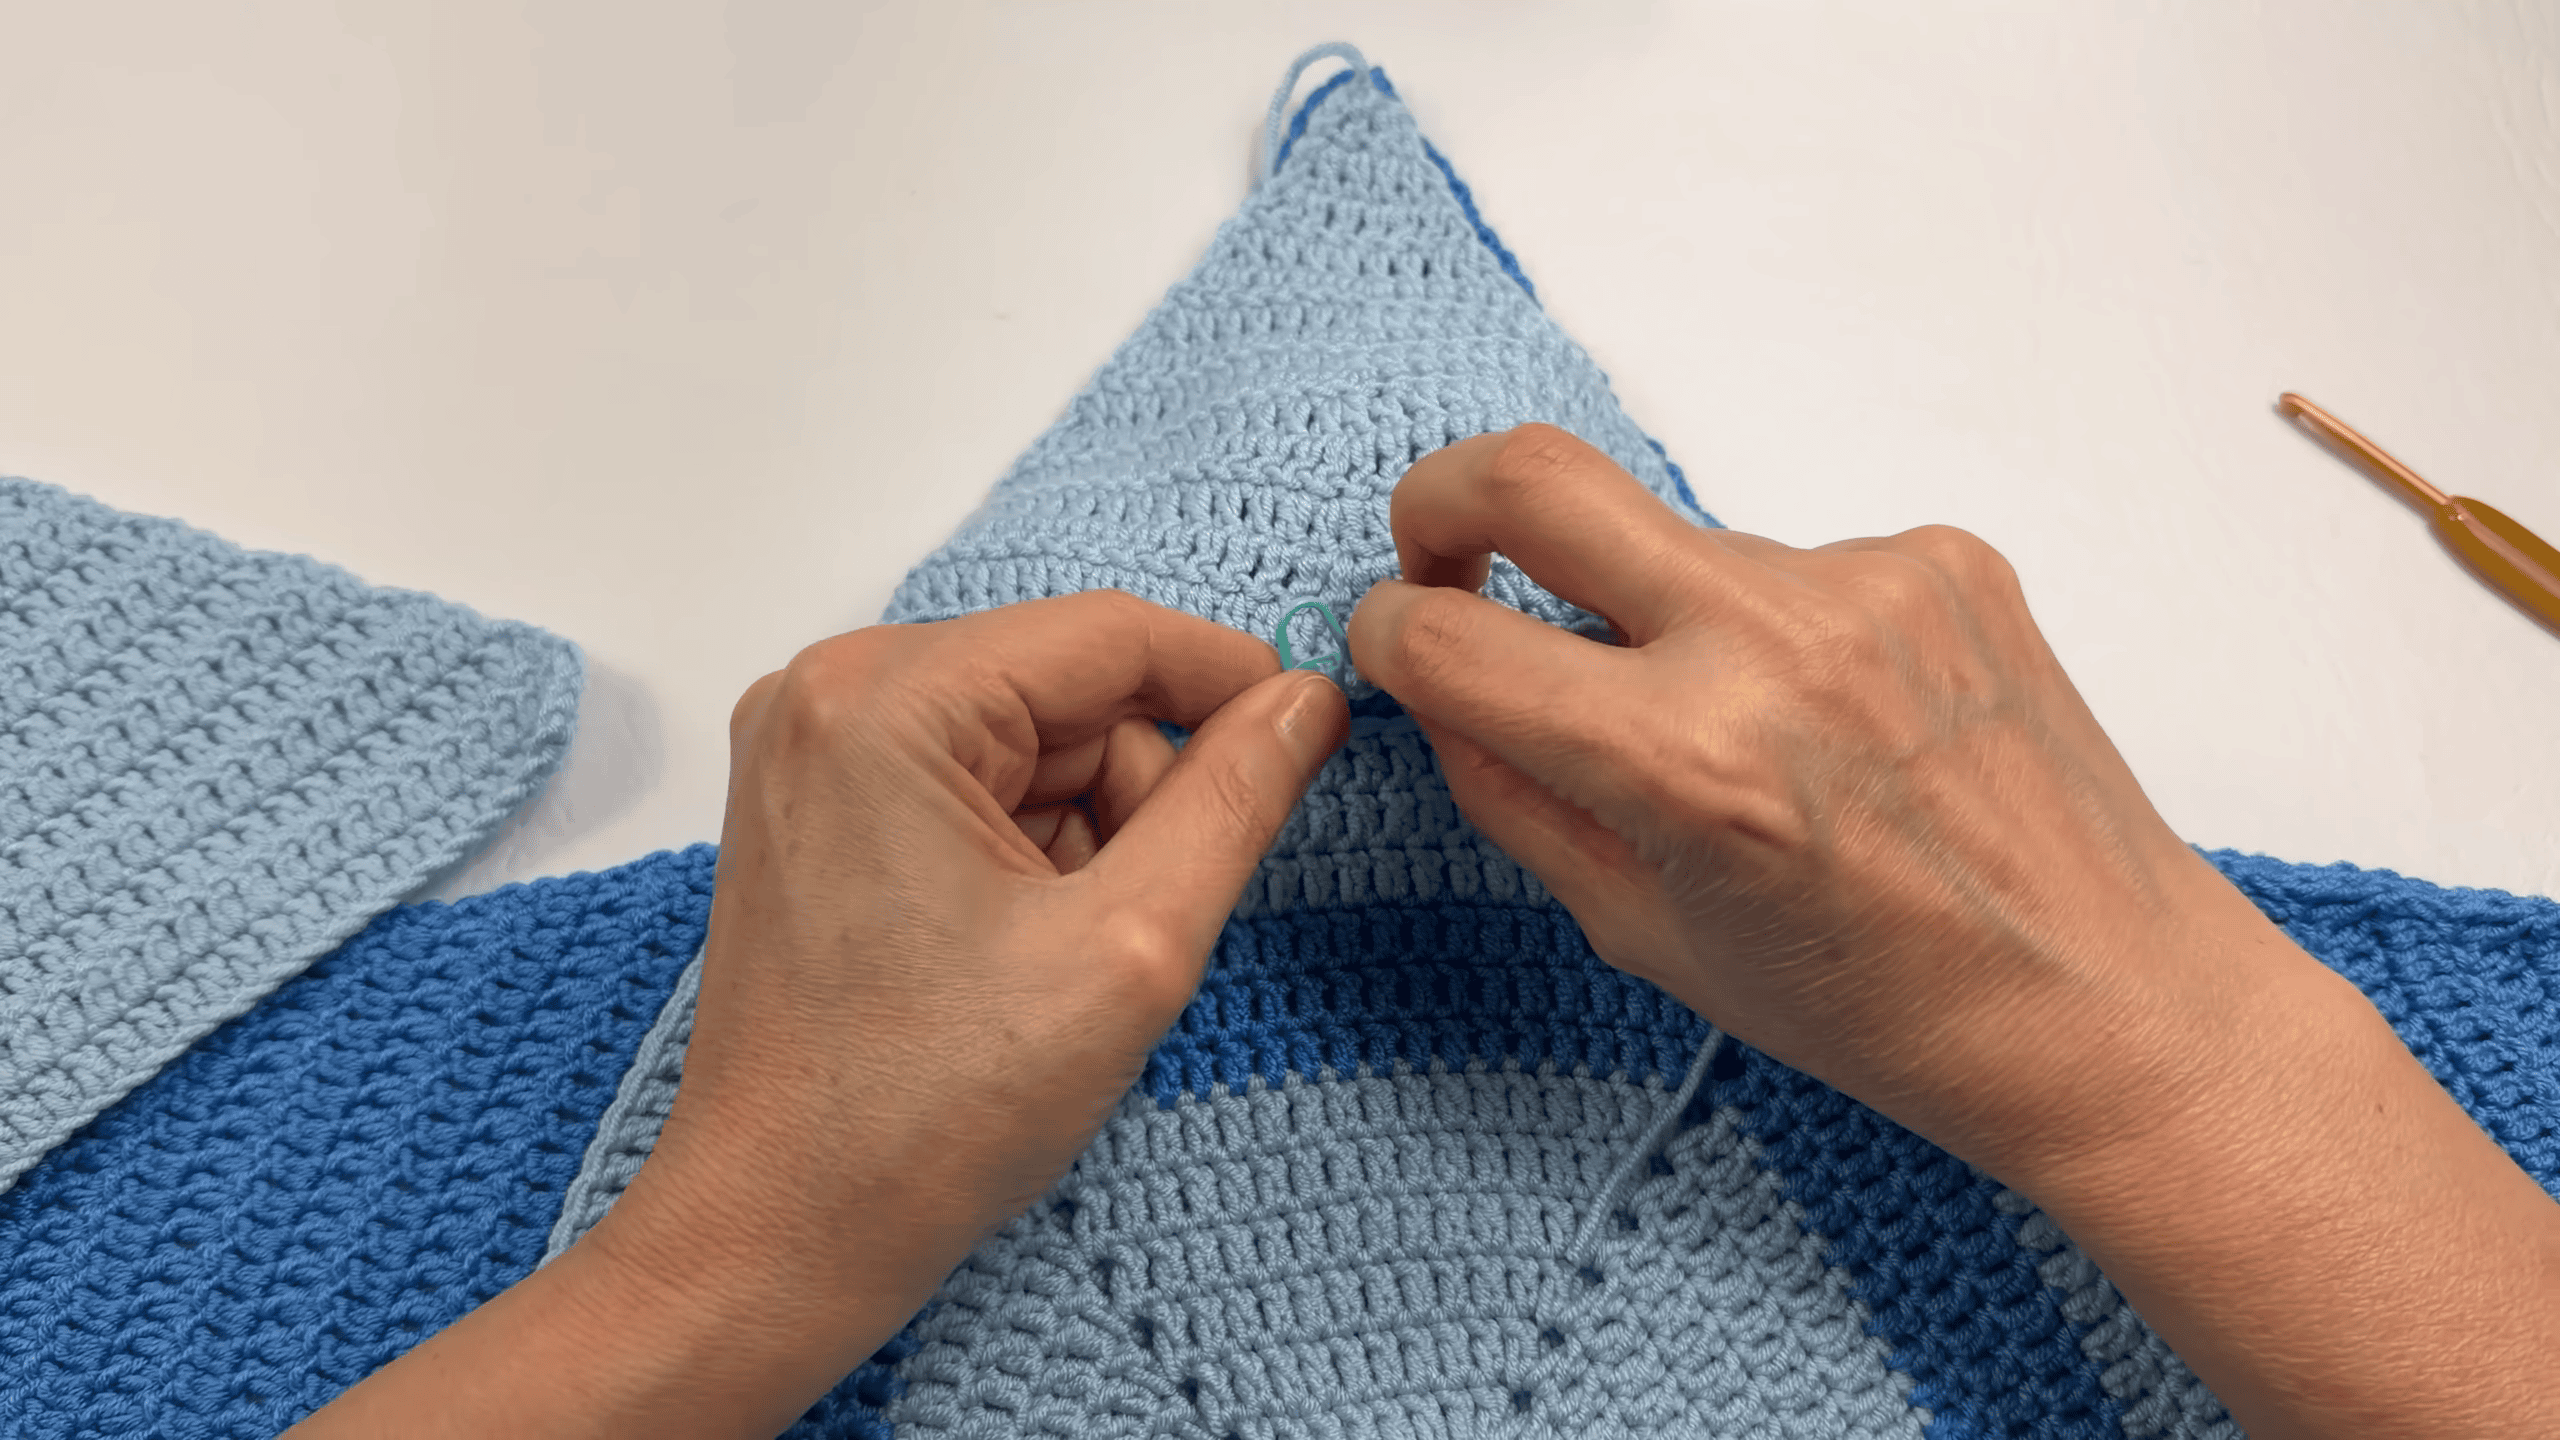
Assembly and Finishing the Crochet Baby Cocoon
Joining the panels: First, place the front and back panels with the right sides facing outward and the wrong sides touching. Next, join the yarn at the top corner. Then work one continuous round of sc around the outer edges, through both layers. That round joins the base and sides. Finally, leave the arm flap and sleeve area open, so the baby can be dressed easily.
Buttons: First, sew 3 matching buttons along the overlap flap edge of the front panel. Next, fasten each button directly between two dc posts on the opposite flap.
Finishing: First, thread all yarn tails on the tapestry needle. Then weave them along the wrong-side stitches. If you like, steam or wet block lightly, because blocking relaxes the acrylic and sharpens the star points.
Pro-Tip: Sew each button on firmly. Then check all 3 before every use.
Common Mistakes in the Crochet Baby Cocoon Pattern
- Skipping the first stitch after turning. Instead, always work into the base of the turning chain, or the edges taper wrongly.
- Overtightening the magic ring. Instead, leave a small center hole so Round 1 lies flat.
Helpful Tips for Beginners Making a Baby Cocoon
- First, keep the magic ring loose, since a gentle pull is enough.
- Also, try the modified starting stitch for a sturdy, gap-free start to each round.
- Next, mark the corners with stitch markers, so the 2-ch spaces are easy to find.
- Finally, count the stitches per side after each round. By Round 14, about 30 sts per side is the goal.
Uses and Benefits of This Crochet Baby Cocoon Pattern
First, wrap a newborn in the cocoon, and the hood plus the button flap hold warmth close. Also, dressing stays simple because the sleeve area remains open. Parents appreciate how snug the star shape feels around a tiny body. Beyond daily use, the piece makes a thoughtful shower gift. Moreover, the soft blue bands brighten a nursery shelf nicely. Later on, it can become a keepsake that families tuck away and pull out again.
Personalization Ideas for Your Baby Cocoon
Small changes make the crochet baby cocoon pattern feel personal. However, none of them touches the stitch counts or the steps.
Color Swaps
Pick another pair of shades for the band. Then keep the same round order, so the star still looks balanced.
Button Style
Choose buttons in a favorite shape or finish. However, stay within the 12 to 15 mm range, so they still fit between stitches.
Optional Fold-Over Brim
Fold the hood edge over for a softer frame around the face.
Care and Washing for Your Crochet Baby Cocoon
Wash gently by hand or on a delicate cycle. Afterward, dry the cocoon flat so the star points keep their shape. Light steam or wet blocking is optional.
Baby Safety Tips
First, sew the buttons on firmly, and check them before each use. Also, use the cocoon under supervision only. Above all, never leave a baby sleeping unattended in any crochet item.
Crochet Baby Cocoon Pattern FAQs
What age does the crochet baby cocoon fit?
It fits newborns up to about 2 to 3 months.
Which yarn and hook work best for the cocoon?
For this crochet baby cocoon pattern, Hobby Baby Kids by Círculo, a 100% acrylic sport/baby weight yarn, pairs with a 4.0 mm (US G/6) hook.
How many buttons does it need, and how does it close?
It needs 3 small buttons. They slip between stitches on the overlap flap, so no buttonholes are needed.
How should the baby cocoon be washed?
Wash gently by hand or on a delicate cycle. Then dry it flat.
What skill level is needed for this pattern?
Advanced beginner to intermediate works well.
Your Little Star Is Waiting
So, here’s the plain truth. This one takes some patience, because the front panel and hood take a while. Still, the star gets easier to spot with every round you add. Then the two blues start stacking into a pretty band. After that, hand it over at a baby shower, or tuck it away as a keepsake. Either way, a little one will be snug, and somebody will treasure it for years.


