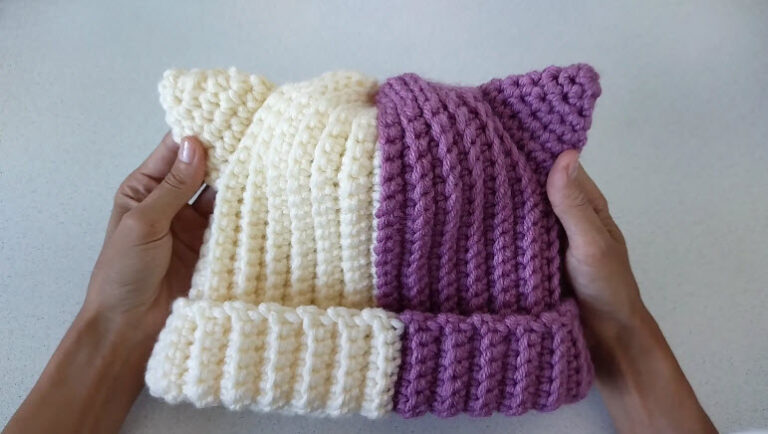
Crochet Beret for Women Pattern Cozy Style
Want a hat that looks great and feels cozy? This crochet beret pattern for women is for you. It starts at the top and works down in one piece, so you do not need to sew anything.
The top is puffy with a star-stitch look, while the bottom has a cream and mustard band. As a result, it makes a textured winter hat and a lovely handmade gift for any woman who likes warm accessories.
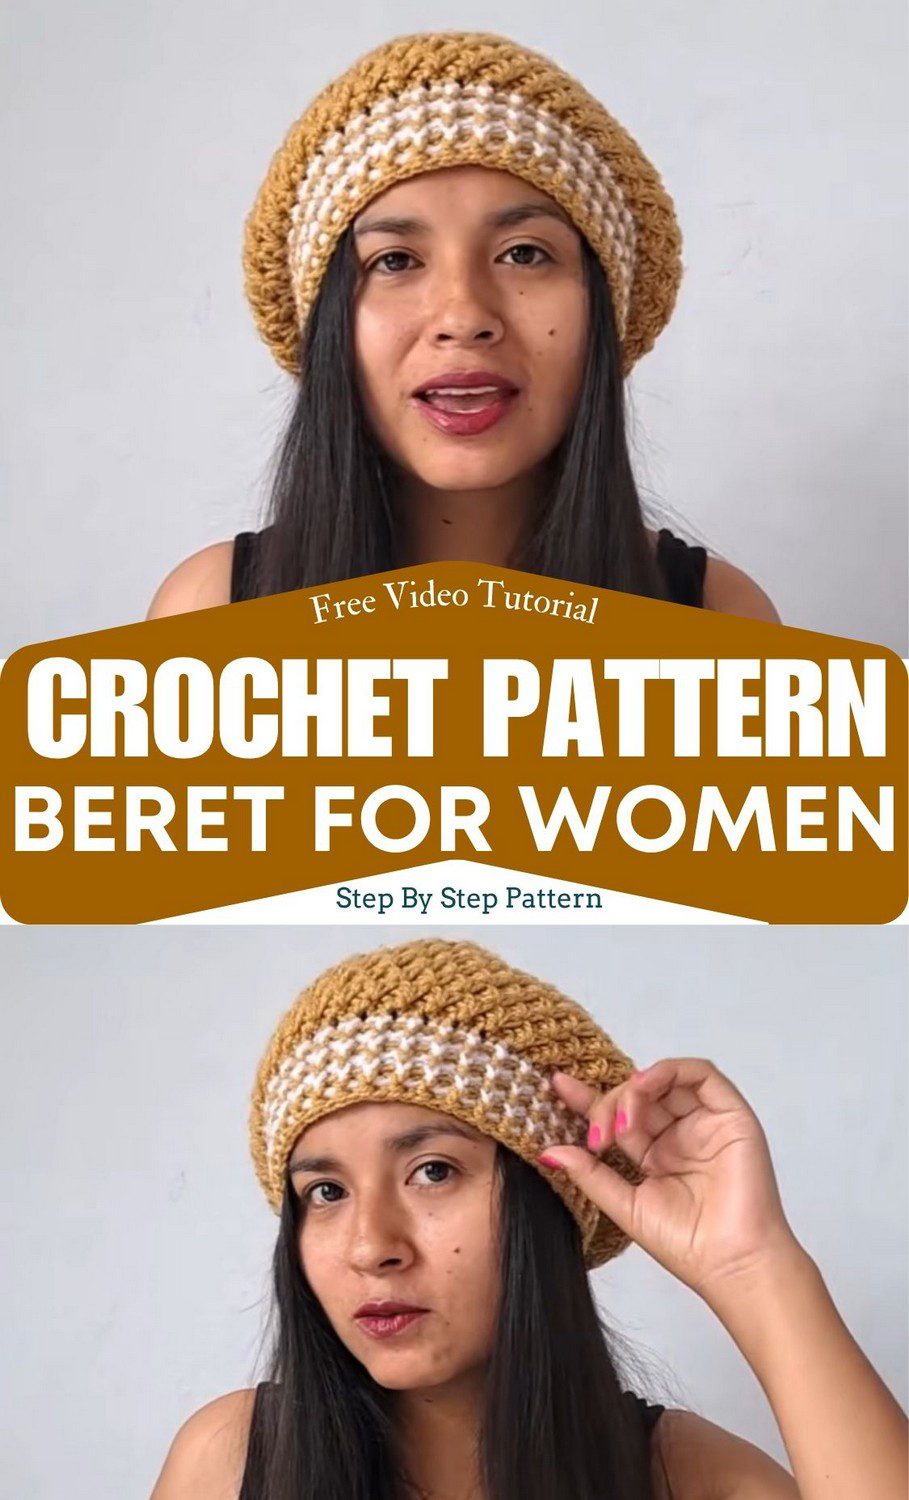
Project Overview of the Crochet Beret for Women Pattern
This hat is worked in one piece, from the top down, with no seams. First, you begin with a magic ring and grow a flat-ish crown. Then you build a wide, slouchy body in star stitch. After that, a shaping round brings the width in, and finally a ribbed brim finishes the edge.
- Skill level: Intermediate, because you will work in the round, make post stitches and shape star (puff) clusters
- Terminology: US
- Yarn amount: Roughly one standard skein or ball
- Finished size (estimated): Approximately 21 to 22 inches (53 to 56 cm) around the brim, which fits an average adult woman’s head and leaves a roomy, slouchy body
The four parts in plain words
- Crown base: A circle built from the magic ring, which grows with front post double crochet increases.
- Star stitch body: The puffy, slouchy middle, made of interlocking star clusters.
- Decrease round: A round that tapers the wide body down to head size.
- Ribbed brim: A fitted band of alternating front post and back post stitches.
Materials and Tools
Yarn: Choose medium (worsted) weight yarn in acrylic or a wool blend. Next, pick one solid colour for the crown and the star body. In addition, a second colour for the brim rows is optional, and it gives the two-tone look from the photos.
Hooks: Overall, this pattern uses two hook sizes.
- 4.0 mm for the magic ring, the crown base and the ribbed brim
- 4.5 mm for the star stitch body
Other tools: You will also need a tapestry (yarn) needle and sharp scissors.
Abbreviations and Stitches You Need
Abbreviations (all US terms)
- Ch = chain
- Sl st = slip stitch
- St(s) = stitch(es)
- Dc = double crochet
- FPdc = front post double crochet
- BPdc = back post double crochet
- Star/Puff Cluster = extended pull-through loop cluster that forms the star motif
Basic stitches used in the beret
Magic ring
There is no foundation chain here. Instead, wrap the yarn into a loop, put your 4.0 mm hook through it and pull up a working loop. Then lock it in with the starting chains.
Double crochet (dc)
First, yarn over and insert the hook into the stitch. Next, yarn over and pull up a loop, so three loops sit on the hook. After that, yarn over and pull through two loops. Finally, yarn over again and pull through the last two.
Front post double crochet (FPdc)
Start with a yarn over. Then push the hook from front to back to front around the post of the named stitch. Next, yarn over, pull up a loop and finish it like a normal dc.
Back post double crochet (BPdc)
Again, start with a yarn over. This time, however, the hook goes from back to front to back around the post of the named stitch. After that, yarn over, pull up a loop and finish like a normal dc.
Special techniques for the crochet beret for women pattern
Crown increases
Basically, extra stitches are added at the sides of the pattern blocks. Then keep adding them until there are 10 stitches between the posts, and spread them evenly around each sector.
Star (puff) cluster
Importantly, this is the stitch that gives the beret its look. To make it, follow these steps:
- First, draw up a long working loop from the base of the previous stitch or chain space.
- Next, skip 2 base stitches.
- Then draw up another long loop in the 3rd stitch.
- After that, yarn over and pull through all loops on the hook at once.
- Then secure the cluster with a chain.
- Finally, work 2 supporting dc behind the cluster strand, into the 2 skipped base stitches.
Decrease row
This is a transition row of dc, worked across specific post and stitch groups. Because of it, the slouchy body tapers down to head circumference before the ribbed band.
Joining and turning
To finish each round, close it with a sl st into the top turning chain of that round. Also, do not turn your work. Instead, keep going in continuous rounds in the same direction. FLO and BLO are not used in this pattern.
The multiple-of-3 rule
Each star cluster covers 3 base stitches. Therefore, your total stitch count has to divide evenly by 3 before the star pattern begins. After that, the body and brim follow the count you set at the end of the crown.
Complete Crochet Beret for Women Pattern
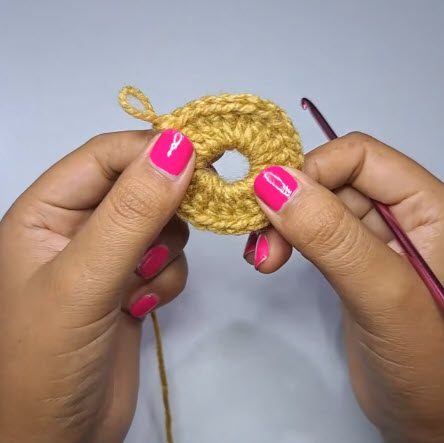
Part 1: Crown Base for the Crochet Beret for Women Pattern (4.0 mm)
- First, make a magic ring.
- Round 1: Ch 2 (this counts as your first dc). Work 19 more dc into the ring center, making 20 dc in total. Sl st to the top of the starting chain.
- Round 2: Ch 2. Work an increase (2 dc in the next stitch). Then alternate 1 dc and 1 increase around. Sl st to close.
- Round 3 until the crown is complete: Keep working in rounds. Place the increases at the side edges of the growing post sections. Continue until there are 10 single dc between the front post anchor ribs. Meanwhile, check the fit against your head as you work.
- Count check: The final crown count must be a multiple of 3.
Pro-tip: If the count is off, adjust by 1 or 2 stitches at the end of the crown.
Part 2: Star Stitch Slouch Body for the Crochet Beret for Women Pattern (4.5 mm)
Now, switch to your larger hook.
- Body Round 1: Ch 2.
- Then skip 2 stitches in the base.
- After that, in the 3rd stitch, draw up a long loop. This is the base of the first star cluster.
- After that, pull through all loops on the hook, then ch 1 to secure.
- Next, work 2 dc from behind into the 2 skipped base stitches, and let the star loop strand sit forward.
- Finally, repeat the cluster and the 2 dc pair around the whole round. Sl st to join.
- Body Rounds 2 to 6 (or your desired height): First, ch 2.
- Then draw up a loop in the eye of the previous star cluster.
- Next, draw up a second loop in the next base space.
- Finally, pull through all loops on the hook, ch 1 to secure, and work 2 dc behind into the base.
- Lastly, repeat around.
In total, the body is about 6 rows of star patterns. For each row, start every new cluster’s base pickup in the eye (the joining point) of the previous row’s cluster.
Pro-tip: Keep the 2 supporting dc behind the cluster and the star strand in front, since switching sides makes the stars uneven.
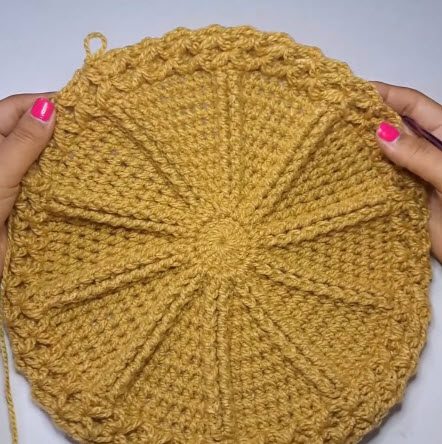
Part 3: Transition and Decrease Round
- First, ch 2, then sl st to the next point.
- Next, ch 2 again.
- Then work a round of dc with decreases spread across the stitch blocks.
As a result, this round gathers the wide body down to head circumference. To check it, try the hat on or hold it against your head and see how it sits.
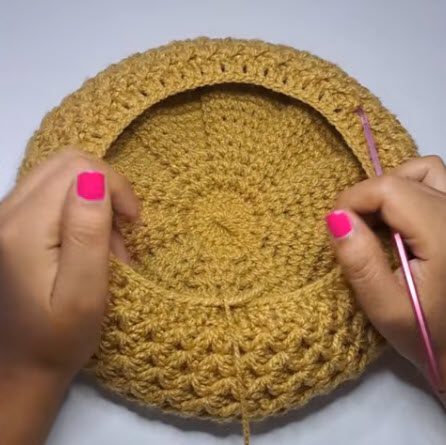
Part 4: Ribbed Brim Band (4.0 mm)
- First, switch back to the 4.0 mm hook.
- Next, ch 2.
- Then work 6 to 7 rows of alternating FPdc and BPdc around the edge.
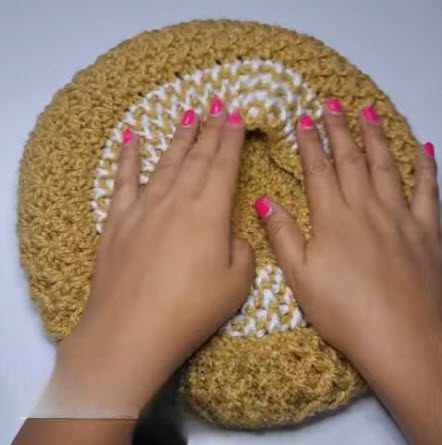
- Optional: tie in a contrast colour at the start of these rows for a two-tone brim.
Final assembly and finishing
- First, fasten off and leave a tail of about 6 inches.
- Next, thread it on the tapestry needle and weave it back and forth through the inside stitches until it feels secure.
- Then weave in all other ends the same way and trim them.
- Optional: steam block or wash gently to relax acrylic or wool fibres.
Stitch Count Progression
- Crown foundation: 20 dc.
- Crown expansion: Keep going until 10 stitches sit between the anchors in each sector. In the end, the total must be a multiple of 3.
- Body: About 6 rows of star clusters with back post and dc pairs.
- Ribbed band: 6 to 7 rows of alternating FPdc and BPdc.
Tips and Common Mistakes for This Crochet Beret for Women Pattern
Mistake 1: Skipping the multiple-of-3 check. It is easy to forget. However, each star cluster spans 3 base stitches, so the crown count must divide by 3. If it does not, adjust by 1 or 2 stitches at the end of the crown.
Mistake 2: Using the wrong hook size. Remember to work the ring, crown base and brim with the 4.0 mm hook. On the other hand, the body needs the 4.5 mm hook.
Keep the stars even. Instead, place the 2 supporting dc behind the cluster and the star stitch in front. Otherwise, the stars turn out uneven.
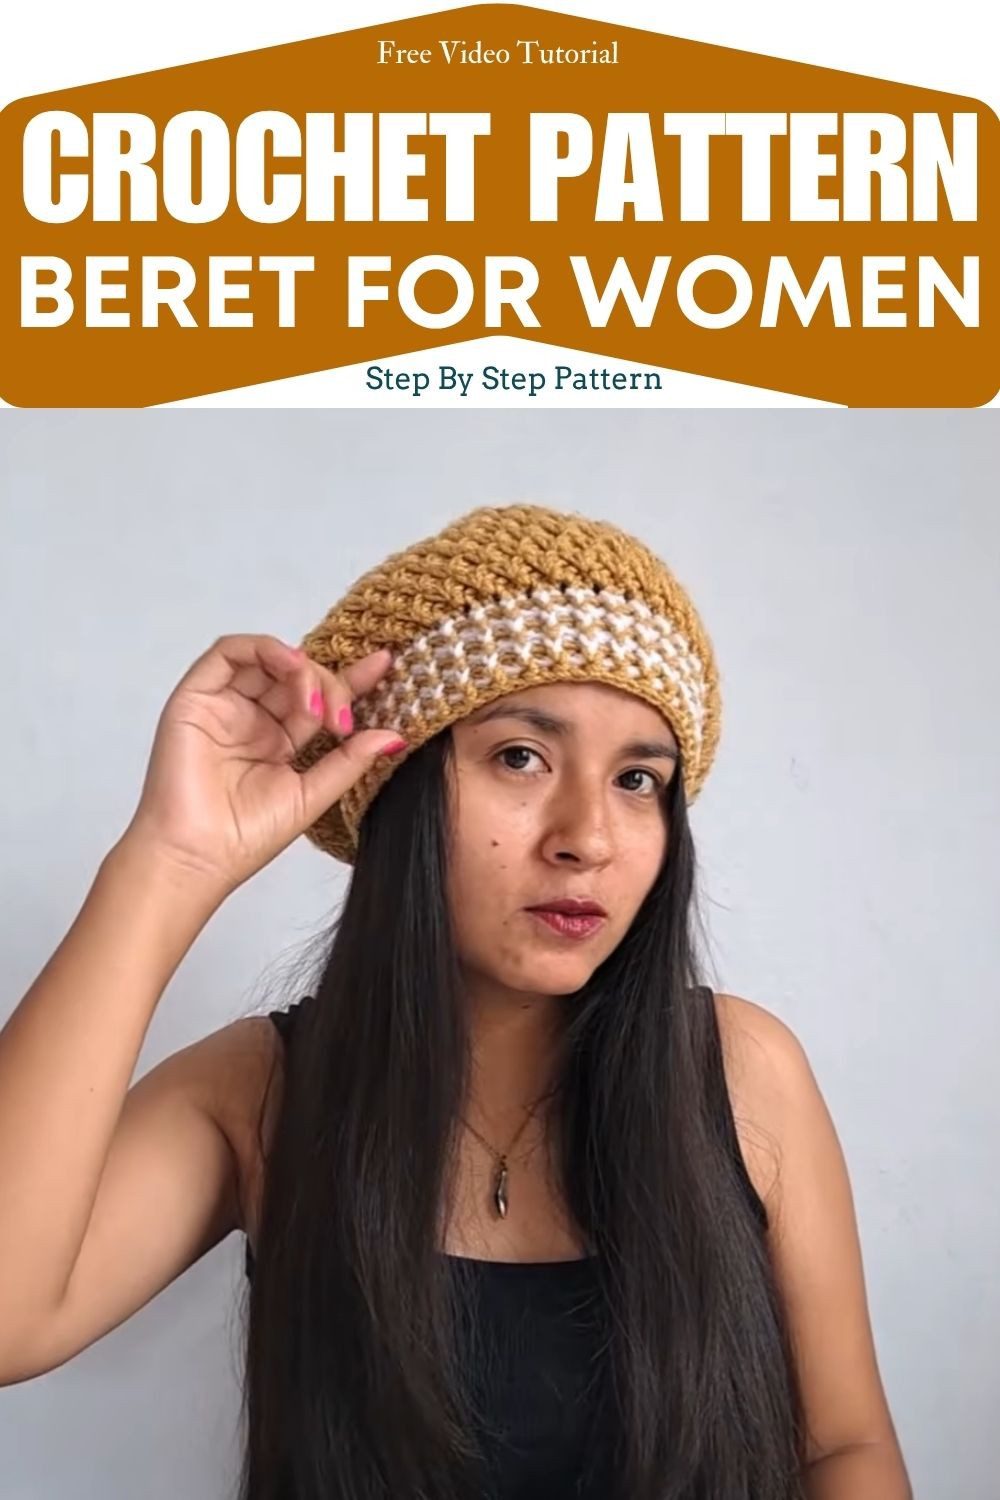
Try the two-tone brim. Want the look from the photos? Simply tie in a contrast colour at the start of the brim ribbing rows. In fact, it is the only decoration this hat has, and it is enough.
Bonus: Colour Pairings and Ways to Wear It
Because the brim colour is optional, you can play with the two-tone band. For example, here are a few combinations to try.
- Cream with mustard (the original look)
- Grey with burgundy (cozy and classic)
- Navy with cream (clean and simple)
- Forest green with tan (earthy)
- One colour all over (use the main yarn for the brim too)
Three ways to wear your beret
- Flat on top: Centre the beret so the crown lies flat.
- Tilted to the side: Pull it over one ear, since the star texture shows off nicely from this angle.
- Slouched back: Push the body toward the back for a relaxed shape.
Crochet Beret for Women Pattern FAQs
What hook sizes do I need for this crochet beret for women pattern?
You need a 4.0 mm hook for the magic ring, crown base and ribbed brim. Then switch to a 4.5 mm hook for the star stitch body.
What yarn works best?
Medium (worsted) weight yarn in acrylic or a wool blend works well, so choose what suits you. In total, you need roughly one standard skein or ball.
Is this a beginner pattern?
No, it is rated intermediate. You will work in the round, make front and back post stitches and form star clusters.
What if my stitch count is not a multiple of 3?
Simply adjust by 1 or 2 stitches at the end of the crown, before you start the star body.
Can I add a second colour?
Yes. In that case, tie in a contrast colour at the start of the brim ribbing rows for a two-tone band.
Does the hat need blocking?
Blocking is optional. Even so, you can steam block it or wash it gently to relax acrylic or wool fibres.
Grab Your Hooks and Begin
Honestly, this beret looks harder than it is. Once the star cluster rhythm clicks, the rows just roll along. So check your count before the body, keep those little dc behind, and swap hooks when the pattern says so. That’s really all there is to it. Now grab some yarn and give it a go.