Crochet Lily Pad Coaster Pattern With Blossom
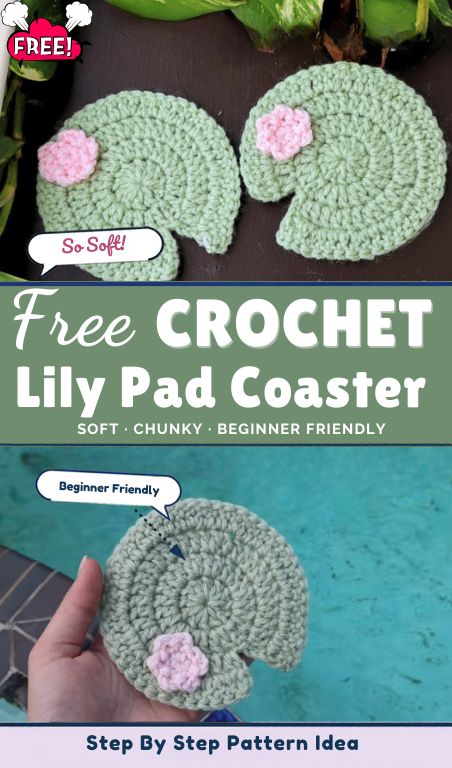
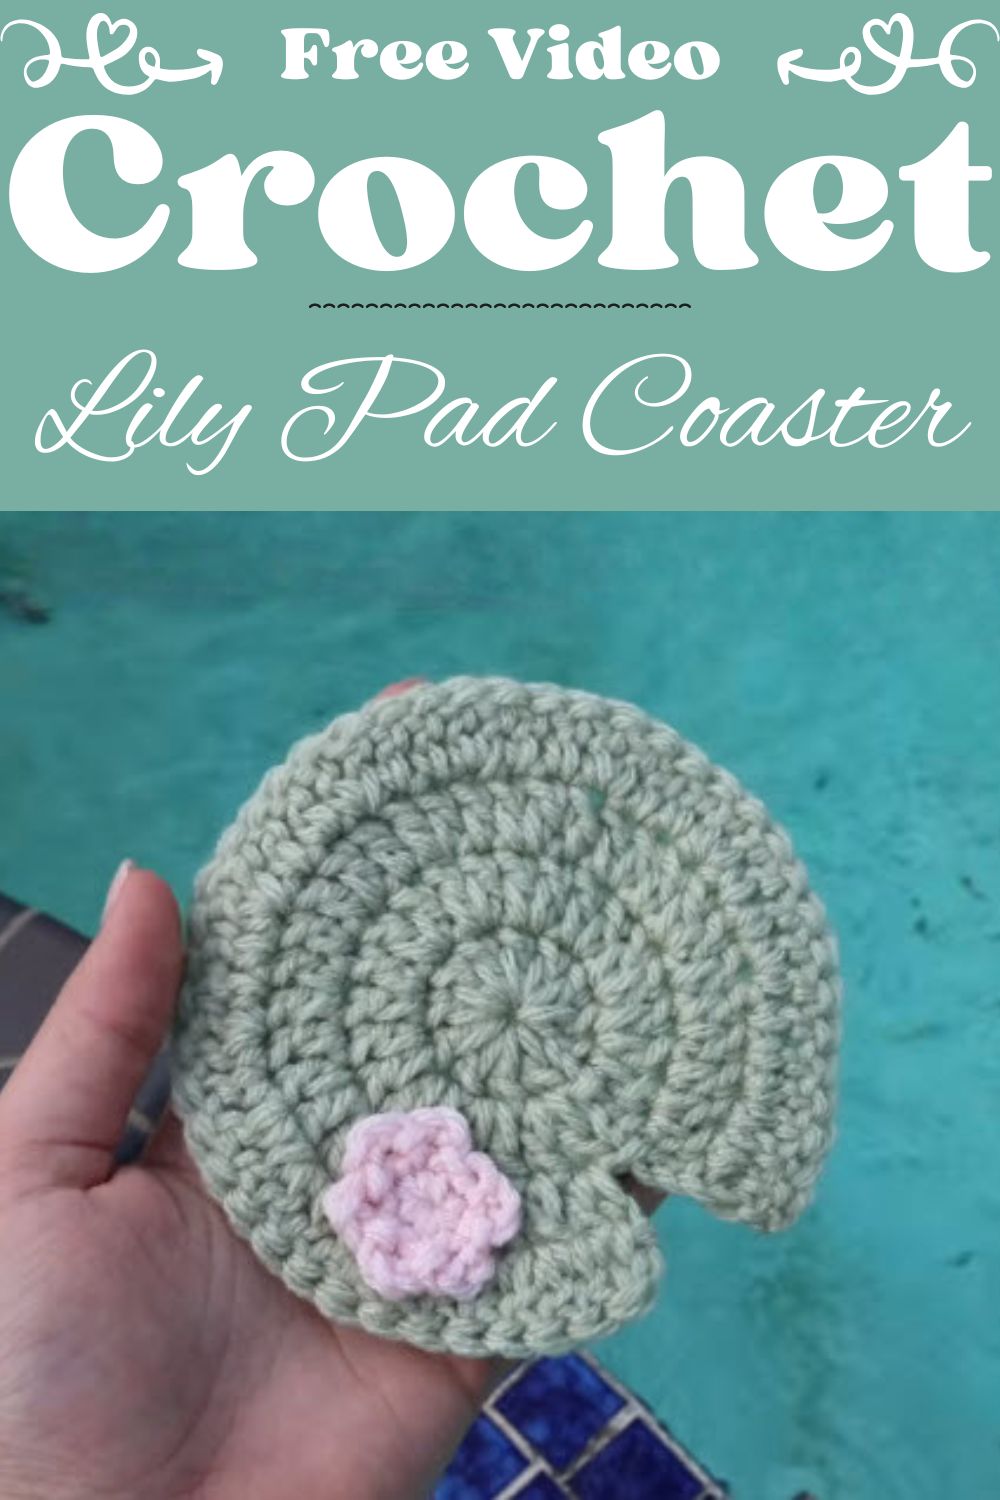
Soft green yarn, a small open slit and a pink blossom come together in the Crochet Lily Pad Coaster Pattern With Blossom, a crochet lily pad coaster pattern that brings a tiny pond to the table. Handmade from sturdy worsted yarn, each coaster keeps mugs off the wood and adds nature-inspired charm to any room.
Stitching takes only 20-30 minutes, so a whole set can be ready before the tea goes cold. Magic ring starts, double crochet increases and one turned row keep every step beginner-friendly, and the finished coasters make sweet little gifts too.
Crochet Lily Pad Coaster Pattern With Blossom: Overview
- Time: prep about 5 minutes, stitching about 20-30 minutes, finishing about 5 minutes
- Skill level: beginner-friendly
- Finished size: about 4.5 inches across, using worsted yarn and a 5.0 mm hook
- Construction: flat, worked in rounds, then one turned row that leaves an open slit
Materials and Supplies
- Worsted weight (weight 4) acrylic yarn in light green for the pad, about 15 yd
- Worsted weight yarn in pink for the blossom (any colour works), about 3 yd
- 5.0 mm (H-8) crochet hook
- Yarn needle
- Scissors
- Hot glue gun (optional)
Both colours together weigh well under half an ounce, so leftover yarn from other projects works perfectly.
Tip: Acrylic is not very absorbent, so cotton is a better choice if the coaster will hold real drinks. Glue is not wash-safe either. Therefore, sewing the flower on is the smarter option if you plan to wash the coaster.
Abbreviations and Special Stitches
- MR: magic ring
- ch: chain
- sl st: slip stitch
- sc: single crochet
- dc: double crochet
- stacked sc: a turning-chain replacement
- st: stitch (sts: stitches)
A magic ring is an adjustable loop that pulls shut, so it leaves no hole in the centre. A stacked sc is built from two sc stitches worked one on top of the other, and it stands in for the first stitch of a row.
Before You Begin
Gauge is not required for this coaster. A slightly tighter or looser pad only changes the final size a little, so relax and enjoy the stitching.
First, hold the magic ring tail firmly and keep the first stitches snug. Then pull the tail only after the stitches are in place, and the centre will close neatly.
Round 3 stays open on purpose. The small gap between the first and last stitches becomes the slit that gives the pad its lily shape. In contrast, joining that round would turn the piece into a plain circle.
Pattern Notes
- Round 1 begins with ch 2, which does not count as a stitch.
- From Round 2 onward, the starting ch 3 counts as the first dc.
- Rounds 1 and 2 are joined with a sl st.
- Round 3 is not joined. Turn the work at the end of it.
- Row 4 begins with a stacked sc, which counts as the first stitch of the row.
- Stitch counts appear in brackets after each round.
How to Crochet the Lily Pad Base
Step 1: Magic Ring and Round 1
Start with light green and make a MR. Ch 2 (this is not a stitch, unlike the ch 3 used in later rounds), then work 12 dc into the ring. Next, pull the tail to close the ring and sl st to the first dc to join. [12 sts]
Before moving on, count the dc stitches. Twelve is the target, and every later round depends on it.
Pro-Tip: Pull the tail until the centre disappears, then start the next round straight away so the ring stays shut.
Why it matters: a firm centre keeps the coaster flat instead of letting it bulge.
Step 2: Round 2
Ch 3 (counts as first dc), 1 dc in the same st. Then work 2 dc in each remaining st around. Finally, sl st to the top of the ch 3 to join. [24 sts]
Math check: the first st gives 2 dc, and the other 11 sts give 22 more, so 2 + 22 = 24.
Step 3: Round 3 (Do Not Join)
Ch 3 (counts as first dc), 1 dc in the same st, 1 dc in the next st. Then repeat [2 dc in next st, 1 dc in next st] 11 times. Work into every stitch without skipping any, and stop after the last one. Leave the round open instead of joining, so the first and last stitches sit apart with a small gap between them. Turn the work. [36 sts]
Math check: the start uses 2 sts and gives 3 dc, and the 11 repeats use 22 sts and give 33 dc. In total, 3 + 33 = 36.
Peek at the gap between the first and last stitches. A small opening, roughly one stitch wide, is exactly right, and that opening is the slit.
Pro-Tip: Slip a stitch marker into the last stitch, so the end of the round is easy to find after turning.
Why it matters: the open round is what turns a plain disc into a lily pad.
Step 4: Row 4 (Turned Row)
Make a stacked sc, which counts as the first stitch of the row. Then repeat [sc in next 2 sts, dc in next st, 2 dc in next st] across, 9 times in all. The 9 repeats use all 36 sts of Round 3. [46 sts]
Math check: each repeat covers 4 sts and makes 5, so 9 x 5 = 45, plus 1 stacked sc = 46.
Run a quick count before cutting the yarn. Nine repeats mean the row is complete.
Ch 1, cut the yarn with a short tail of about 4 inches, and pull it through. After that, weave in the end on the back.
How to Crochet the Blossom for Your Lily Pad Coaster
Step 5: Flower Centre
Switch to pink and make a MR. Work 6 sc into the ring, then pull the tail tight. Sl st to the first sc to join. [6 sc]
Step 6: Six Petals
Ch 3, then sl st into the first sc of the ring. That makes petal 1. Next, [ch 3, sl st into the next sc] 5 times, so every sc holds exactly one petal. Fasten off, leaving a short tail for sewing. [6 petals]
Count the little loops before fastening off. One petal per sc means six in total.
Why it matters: an even count keeps the blossom round and tidy.
Assembling the Crochet Lily Pad Coaster With Blossom
Step 7: Attach the Flower
Place the flower near the edge or a corner of the pad, on the front or back as you prefer. Then secure it with a small dab of hot glue, or sew it down with a yarn needle and the pink tail.
Weave in every loose end on the wrong side, then trim close. Finally, give the flower a gentle tug to confirm it is attached firmly.
Common Mistakes to Avoid
- Joining Round 3 by accident, which closes the slit
- Miscounting the dc increases, so the round ends short or long
- Skipping the count after Round 1, which throws off every round after it
- Pulling the magic ring too early and leaving a hole
- Using too much glue, so the adhesive seeps through the yarn
Customisation Ideas for This Lily Pad Coaster
Colour Swaps
Dark green, mint or sage all suit the pad. Likewise, a white, yellow or lavender blossom feels just as pond-like.
Flower Styles
Try fewer petals for a tiny bud, or stack two small flowers for a fuller bloom. For bigger, softer petals, ch 4 loops or a hdc petal in each sc also work.
Cotton Yarn
Cotton soaks up condensation better and holds up in the wash, which suits everyday use.
Leaf or Frog Details
A tiny crocheted leaf beside the blossom, or a small green frog resting on the pad, adds extra charm.
Troubleshooting Your Lily Pad Coaster
- Cupping: the pad curls upward when the increases are too tight. Loosen the tension, or go up half a hook size.
- Ruffling: the edge waves when extra stitches sneak in. Recount each round, then block lightly with a damp cloth.
- Ring not closing: pull the tail firmly after the first round, then secure it with a knot on the back.
- Flower slipping off: add a second dab of glue, or stitch through two petals instead of one.
Washing and Care Instructions
Check the yarn label first. Acrylic usually handles a gentle hand wash in lukewarm water, followed by air drying flat. A sewn-on flower survives washing, whereas a glued flower should only be spot cleaned. While the pad is damp, reshape it with your fingers, and avoid wringing.
FAQs About the Crochet Lily Pad Coaster Pattern With Blossom
Can I use cotton yarn instead of acrylic?
Yes. Cotton works well and suits real drink use better. The size may change slightly, but a different hook is not necessary.
Why is Round 3 left open?
The open round creates the slit that gives the lily pad its shape. Joining it would produce a plain round coaster.
How long does the coaster take?
Stitching takes about 20-30 minutes, plus a few extra minutes for finishing.
Can I add more flowers?
Absolutely. One blossom suits a coaster, while a few look lovely on a larger pad.
Gifting and Display Ideas
Stack three coasters, tie them with ribbon, and tuck in a small tea bag for a ready-made present. On a table, scatter them in a loose cluster beside pastel mugs for a pond scene. A set in three greens, each with a different blossom colour, feels like a whole little garden.
More Ways to Use Your Lily Pad Coaster
A coaster does not have to stay under a mug. For example, place one beneath a small plant pot to protect a shelf or windowsill. It can also sit on a desk as a tiny dish for hair ties or rings, or work as a soft mat for a candle holder that stays cool to the touch. Because the pad is small and flat, it also slips easily into a card or parcel as a little extra surprise.
Little Pond, Big Smile
Okay, so that’s the whole thing. Make the green pad, stick the pink flower on, and you’re done. If the slit ends up a bit crooked, nobody will mind. Make three or four, hand some out, and keep one for your own mug. Quick, easy and kind of addictive.