
Free Crochet Starfish Coaster Pattern for Beach Lovers
This Crochet Starfish Coaster brings a touch of coastal charm to your table without a trip to the beach. Designed for beach lovers and fans of seaside decor, it features a playful two-tone design with raised, ribbed texture along each arm. Use it under your favorite mug to help protect surfaces from cup marks and light moisture, or display it as a small handmade accent. It also makes a thoughtful gift for birthdays and housewarmings.
The pattern comes together in three main stages: a center disc, five chained points, and a contrasting edging. Along the way, you will practice the magic ring, the standing single crochet, and double crochet three stitches together (dc3tog). This project suits advanced beginners who are comfortable learning a few new stitches and following Crochet Starfish Coaster step-by-step instructions.
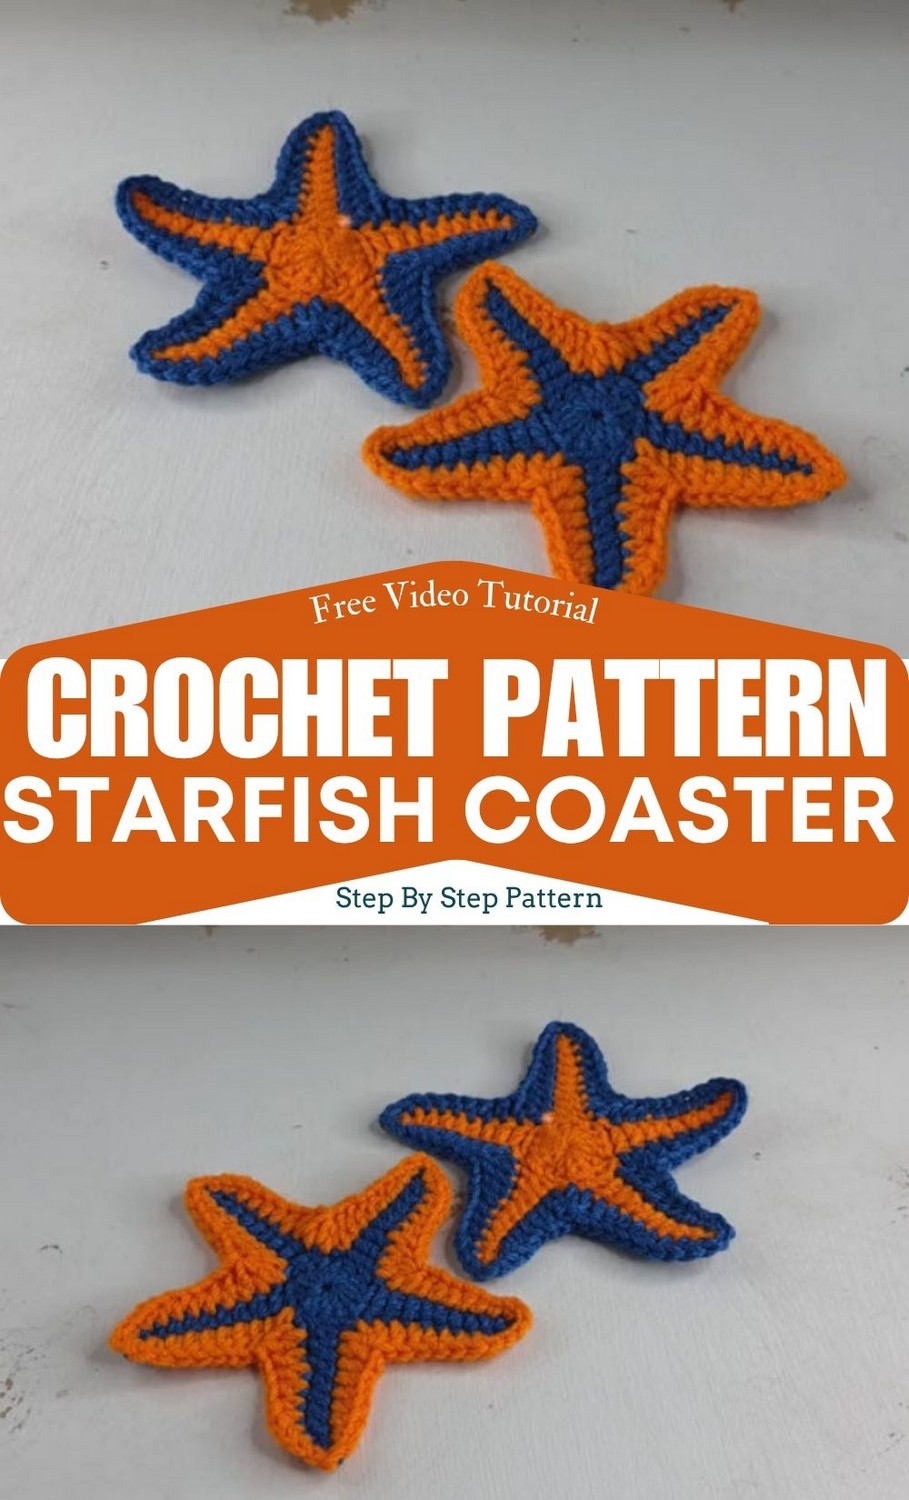
Crochet Starfish Coaster Project Overview
Skill Level
Easy to advanced beginner. The dc3tog and standing single crochet are the main techniques to practice, so take your time with their explanations before starting.
Finished Size
About 4.5 to 5 inches across (estimated; the finished size depends on your yarn, hook, and tension).
Time Estimate
Roughly 45 to 60 minutes per coaster. This is an estimate and will vary with your crochet speed and experience.
Color Options
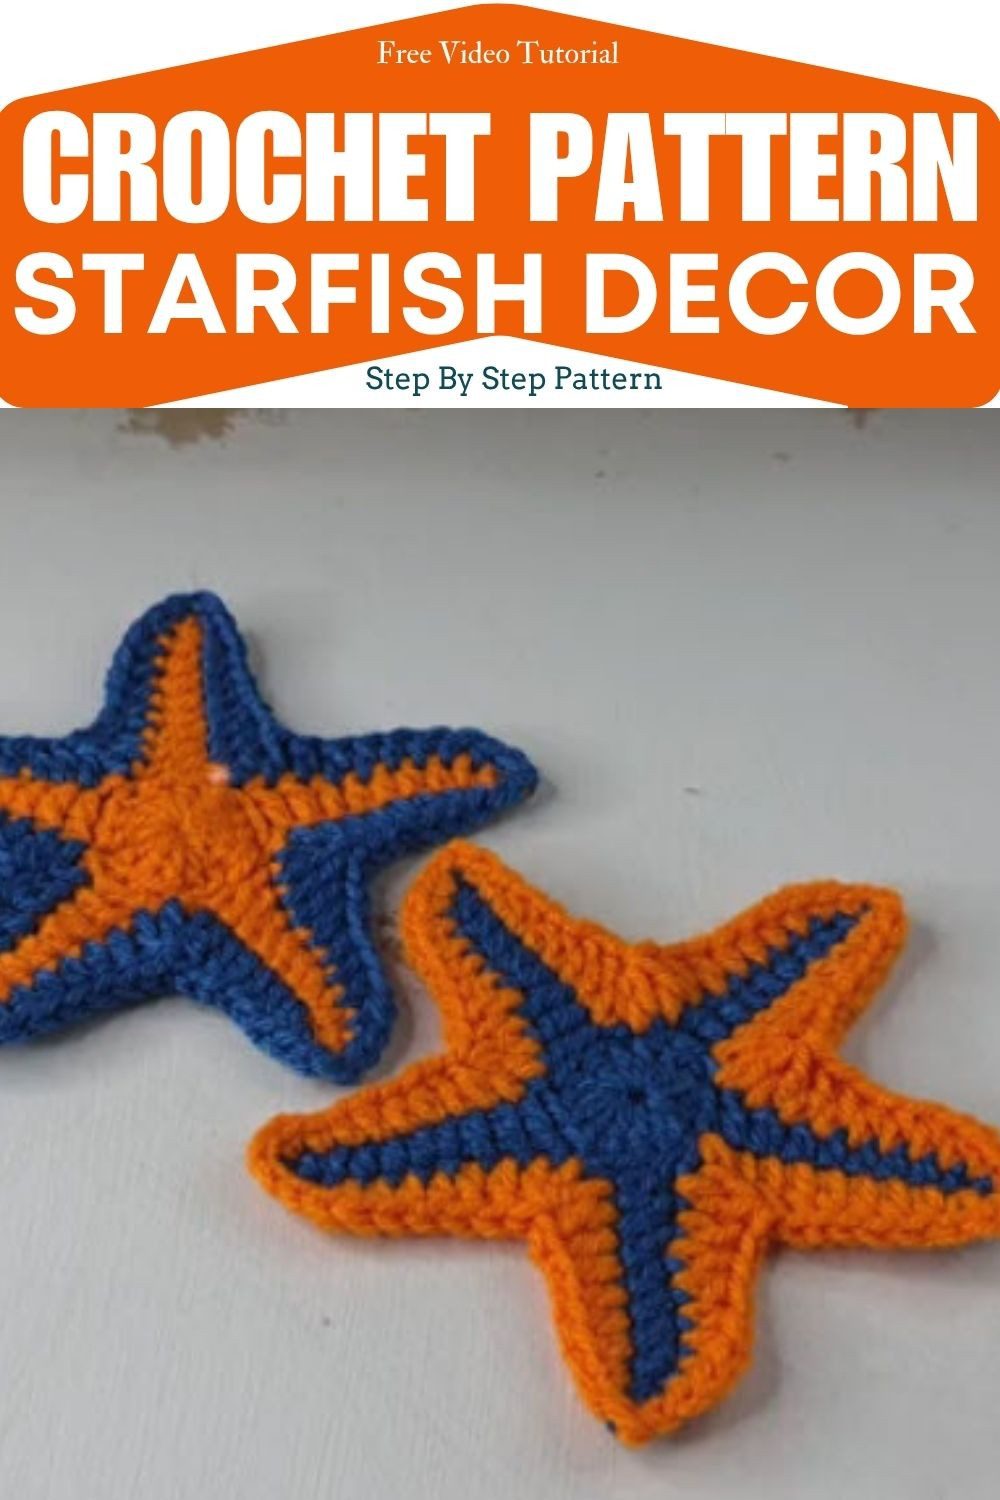
The step-by-step photos show a blue center with orange edging. You can also reverse the colors without changing the written pattern.
- Blue center with orange edging
- Orange center with blue edging
Materials and Tools
Supplies
- 100% cotton yarn in two colors: Color A for the center and first part of the pattern, and Color B for the contrasting edging.
- A crochet hook suited to your yarn and desired fabric firmness. A 3.5 to 4.0 mm hook is a good starting range.
- Scissors
- Yarn needle
Recommended Extras
- Worsted-weight (US size 4) cotton yarn
- A stitch marker (optional)
- Blocking pins or light fabric starch (optional)
Yardage and Gauge
Estimated yardage is approximately 20 to 30 yards per color. This amount has not been measured from a tested sample, so allow extra yarn if needed. No exact gauge is required, but your yarn, hook, and tension will affect the finished size.
Stitch Abbreviations
This pattern uses US crochet terminology.
- MR = magic ring
- Ch = chain
- Sl st = slip stitch
- Sc = single crochet
- Hdc = half double crochet
- Dc = double crochet
- Dc3tog = double crochet three stitches together
- St(s) = stitch(es)
Special Stitches Used
Magic Ring
Wrap the yarn into a loop and insert your hook into the loop. Yarn over and pull up a loop. Chain 1 to secure the ring; this chain does not count as a stitch. Work the required stitches over both the ring and the yarn tail, then pull the tail to close the center. If you find the magic ring difficult, use the chain-4 alternative in Step 1.
Standing Single Crochet (Standing Sc)
A standing single crochet starts a new color without using a joining chain. Make a slip knot and place it on your hook. Insert the hook into the stitch named in the step (in Step 5, that is the stitch at the top of a point), yarn over, and pull up a loop. Yarn over again and pull through both loops on your hook.
Double Crochet Three Together (Dc3tog)
This stitch combines three partial double crochets into one stitch. Yarn over and insert your hook into the first stitch. Pull up a loop, yarn over, and pull through two loops, leaving the final loop on your hook. Repeat in the second and third stitches. You should now have four loops on your hook. Yarn over and pull through all four loops to complete the stitch.
Invisible Join
Cut the yarn and pull the tail through the final loop. Thread the tail onto a yarn needle. Pass the needle under both loops of the first single crochet, then insert it into the back loop of the last single crochet. Pull the yarn gently to create a neat, nearly invisible join.
Before You Begin
Tension Tips
- Keep your tension slightly firm to help prevent the arms from becoming wavy.
- Make each chain the same size so all five points have a consistent shape.
- Work each stitch to its full height so the half double crochets and double crochets do not look compressed.
How the Arms Work
In Step 4, you make each starfish point by chaining first and then working back along the chain. Once all five points are attached to the center, Steps 5 and 6 add the contrasting edging around the star.
Pattern Notes
- Stitch counts are shown in brackets where they are provided.
- “Skip 2 sts, sl st in the next st” means to skip two stitches from Round 1 and slip stitch into the following stitch.
- Keep all five points consistent in chain length and stitch placement.
- Follow the step photos alongside the written instructions.
Crochet Starfish Coaster Pattern: Step by Step
Step 1: Start the Center (Color A)
Make a magic ring. If you prefer an alternative, chain 4 and join with a slip stitch into the first chain to form a small ring. Work the stitches into the center of this ring. Then chain 3; this counts as your first double crochet.
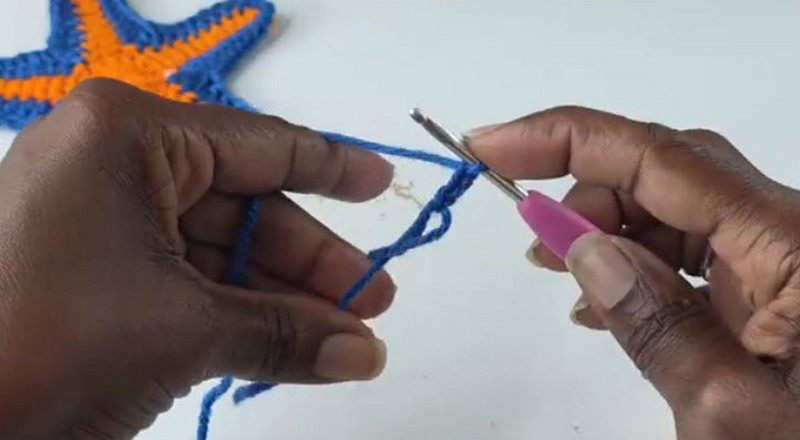
Step 2: Work the Double Crochets
Work 14 double crochets into the ring, in addition to the starting chain 3. Keep the stitches snug and even.
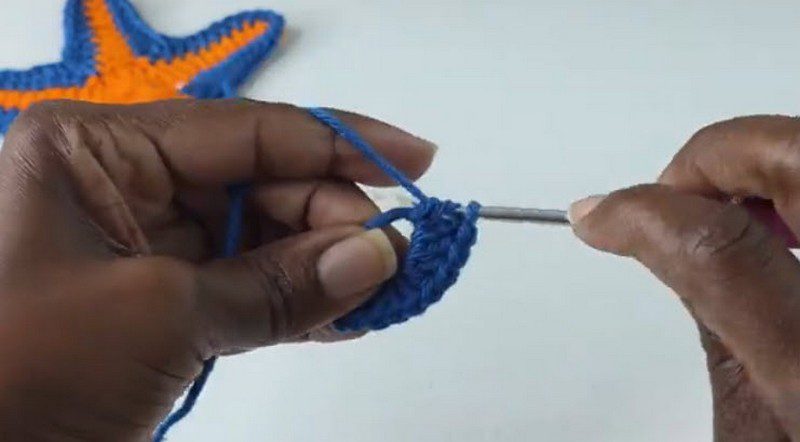
Step 3: Close the Ring and Join
Pull the yarn tail to close the center of the ring. Join with a slip stitch to the top of the starting chain 3. The round should contain 15 stitches in total, including the starting chain 3. [15 sts]
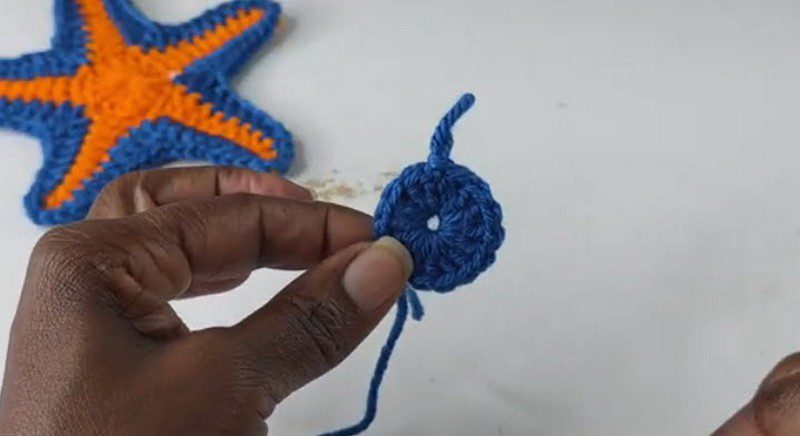
Step 4: Chain the Five Starfish Points (Color A)
Each point is worked in the same way, using the following sequence:
- Ch 10.
- Sc in the second chain from the hook.
- Sc in the next chain.
- Hdc in the next 4 chains.
- Dc in the next 3 chains.
- Skip 2 stitches of Round 1, then sl st in the next stitch.
Point 1: Work the sequence above. [9 sts]
Points 2 to 4: Repeat the same sequence for each point. [9 sts each]
Point 5: Work the same sequence. Then skip 2 stitches and slip stitch into the slip stitch where the round began. Ch 1 and fasten off. [9 sts]
You should now have five points attached around the center. The five points use the 15 stitches of Round 1, with each point spanning three base stitches.
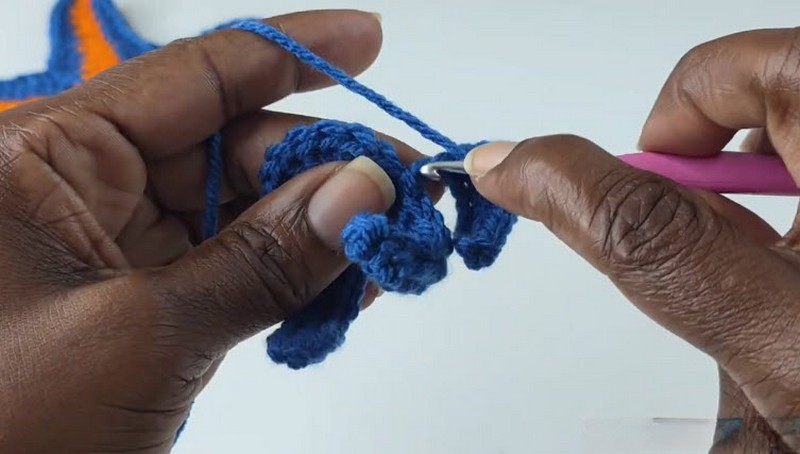
Step 5: Join the New Color (Color B)
Join Color B with a standing single crochet at the top of any point. Work it into the stitch you skipped when you made the first sc of the chain. Then work up the first side of the point as follows:
- Sc in the next 2 sts.
- Hdc in the next 4 sts.
- Dc in the next 2 sts.
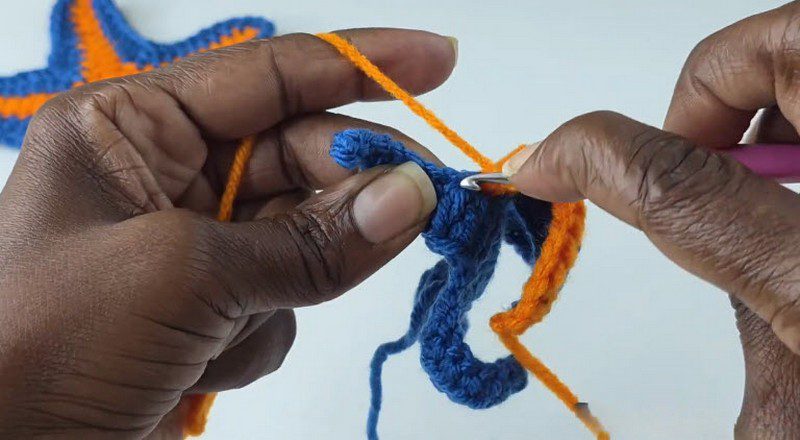
Step 6: Work the Dc3tog Corners and Continue Around
At the inner corner between two points, work a dc3tog using the following three insertion locations:
- First leg: Work into the last stitch of the point you have just edged.
- Second leg: Work into the slip stitch between the two points.
- Third leg: Work into the first stitch of the next point.
After making the three partial double crochets, you should have four loops on your hook. Yarn over and pull through all four loops to complete the dc3tog.
Continue along the next point in the reverse direction, following this stitch sequence:
- Dc in the next 2 sts.
- Hdc in the next 4 sts.
- Sc in the next 2 sts.
- Sc in the tip of the star.
Repeat these steps around until all five points are edged.
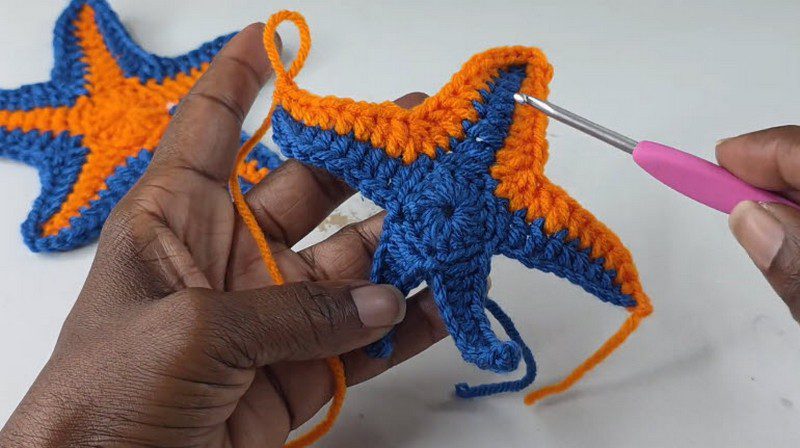
Step 7: Finish Off
Once the edging round is complete, fasten off. Make an invisible join by passing the yarn needle under both loops of the first single crochet, then into the back loop of the last single crochet. Pull through gently and weave in all yarn ends.
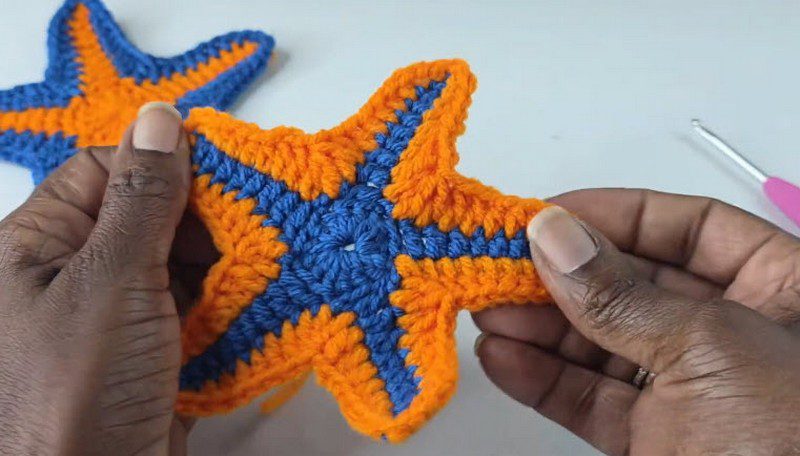
Assembly and Finishing
This is a flat crochet piece, so there is no stuffing or sewing required. A few finishing touches will help it look neat and sit evenly.
- Weave in the yarn ends securely in more than one direction.
- Pin the starfish points gently on a flat surface and allow the coaster to rest in shape.
- If needed, use a light spray of fabric starch to help the points hold their shape.
Ways to Customize and Gift Your Starfish Coaster
- Color pairs: Try blue and orange, sand and teal, coral and navy, or white and seafoam.
- Bigger starfish: Use thicker yarn and a larger hook. Keep in mind that the finished size and stitch definition will change, so make a test version first.
- Garland or ornament: String several stars together or add a small yarn loop at one tip.
- Party favor set: Make four or six in mixed colors, add a paper thank-you tag, and tie them with twine. They make thoughtful favors for beach-themed birthdays and housewarmings.
Troubleshooting
- Arms curling: Your tension may be too tight. Try a larger hook and gently block the coaster flat.
- Star not lying flat: Check that every point has the same chain length and stitch sequence. Then pin it into shape and let it dry.
- Gaps in the center: Pull the magic ring tail snugly, or try the chain-4 alternative.
- Uneven points: Count your chains carefully. Each point starts with ch 10.
- Dc3tog bunching: Keep the loops relaxed as you work each partial double crochet, then pull through all four loops smoothly.
Care Instructions
Always follow the care instructions on your yarn label. Cotton yarn can generally be hand-washed or gently machine-washed, depending on the yarn manufacturer’s recommendations. Reshape the coaster while damp and allow it to dry flat. This coaster is not heat-proof, so use it for everyday cups rather than very hot cookware or dishes.
Crochet Starfish Coaster FAQs
How big is the crochet starfish coaster?
It is estimated to measure about 4.5 to 5 inches across. The finished size will vary with your yarn, hook, and tension.
Can the starfish coaster hold hot drinks?
It can help protect your table from cup marks and light moisture. However, it is not heat-proof, so avoid placing very hot cookware or dishes on it.
How do I make the coaster bigger?
Try thicker yarn and a larger hook while keeping the same stitch counts. The finished shape and stitch definition may change, so make a test version before creating a full set.
What yarn is best for a crochet coaster?
100% cotton yarn is a practical choice because it is sturdy and absorbent. It is well suited to everyday drink coasters.
Time to Hook Your Own Sea Star
Honestly, this one is quick. Once the first point is done, the other four fly by. Try both color versions and see which one you like more. Then make a few extras, because somebody you know is going to ask for one.


