Crochet Cap Band Pattern with Ear Flaps and Tie Strings
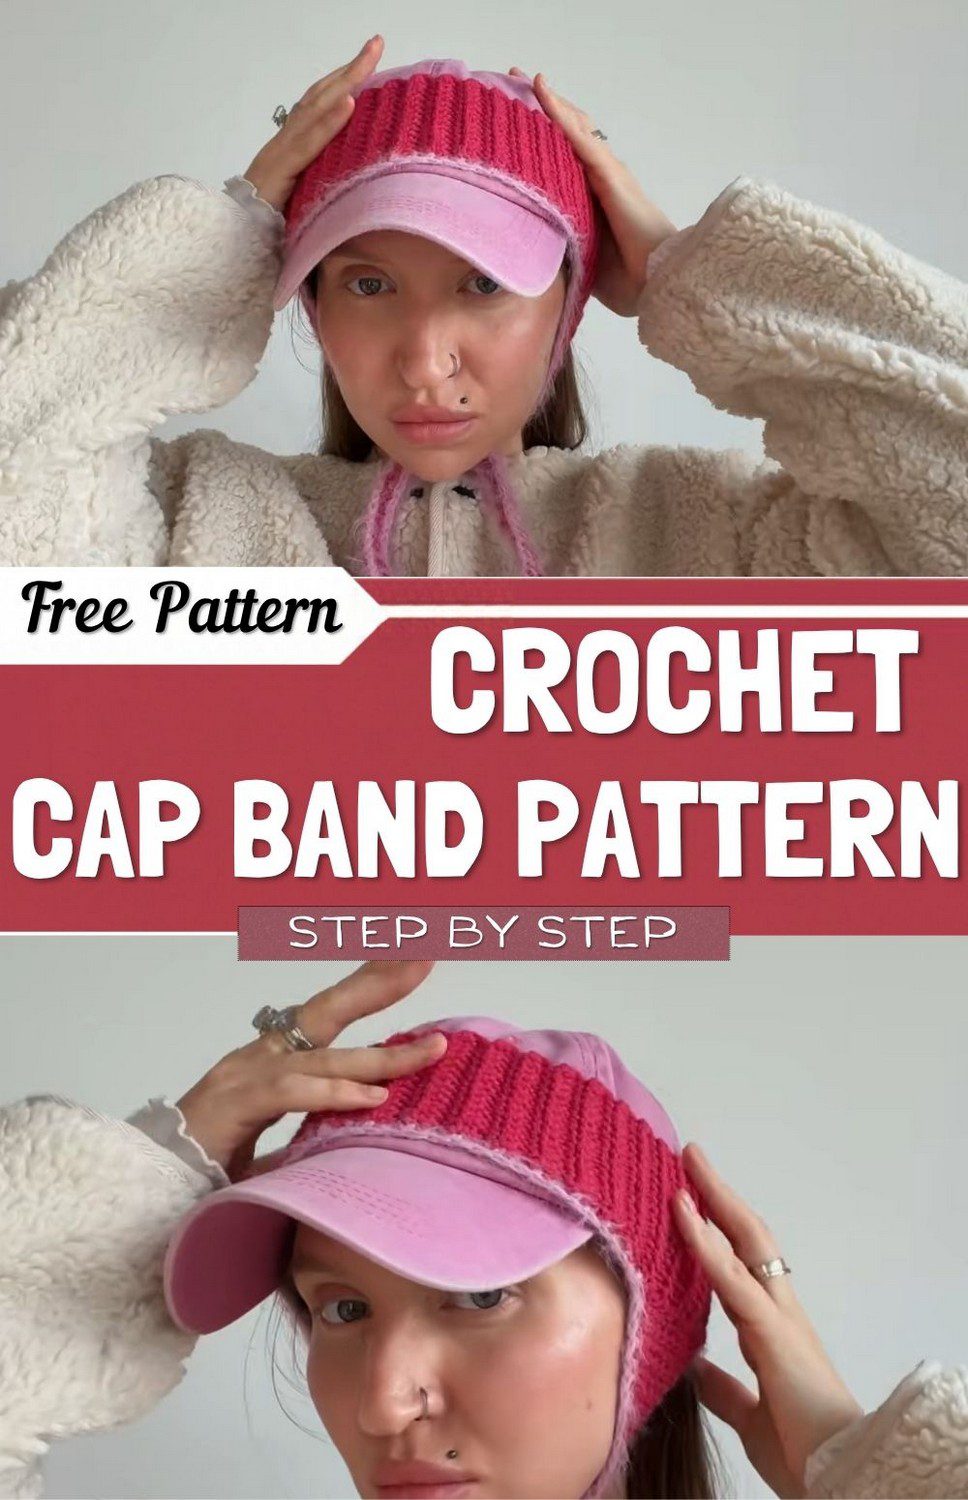
This crochet cap band pattern turns a plain ribbed strip into a cozy accessory with ear flaps and tie strings. It fits over a baseball cap or works on its own. The ties keep the flaps snug on breezy days, and the fuzzy edge adds a trendy finish. Below, you will find every stage from the first chain to the final border, with a photo at each step, plus materials, sizing, troubleshooting, care, and common questions.
The design starts as a ribbed rectangle worked back and forth, then joined into a loop. Next, two ear sections are shaped at the lower edge, and each one tapers into a long, slender tie. A contrasting fuzzy border runs around the whole piece, so the soft texture frames the deep red ribbing.
It suits winter walks, school mornings, and cold-weather sports. As a handmade gift, it also feels thoughtful and practical.
Crochet Cap Band Pattern Features
- Ribbed texture that stretches and hugs the head
- Ear flaps that taper into triangle shapes
- Ties of about 30 cm that fasten under the chin
- Fuzzy edge trim in a contrasting colour
- Only single crochet stitches, which keep the pattern easy to memorise
- A design that layers over a cap or stands alone
Skill Level and Gauge for the Crochet Cap Band Pattern
Crochet Cap Band Pattern Skill Level
The pattern uses one basic stitch, so it suits confident beginners and up. The only slightly new skills are working in the back loop, decreasing at the ear edges, and seaming. Therefore, crocheters who already know single crochet should find it very approachable.
Crochet Cap Band Pattern Gauge Information
The pattern does not give an official gauge. Instead, the fit is checked by measuring the band against a head or cap. Hold the work against the head as it grows, and if it looks too short or too long, adjust the number of rows. This works better than guessing, because every crocheter’s tension differs.
Materials and Yarn for This Crochet Cap Band Pattern
Materials Needed for the Crochet Cap Band
- Main yarn: Alize Lana Gold Classic, or a similar yarn
- Contrasting yarn: a fuzzy or boucle type, such as Gazal fluff, for the trim
- Hook: 4.5 mm
- Tools: tapestry needle, scissors, and measuring tape
- Markers: a few stitch markers
The original pattern does not state how much yarn is needed, so buying an extra skein of the main color is a safe move.
Yarn Information for the Cap Band Pattern
Alize Lana Gold Classic is a soft wool-blend yarn that gives the ribbing a smooth, cozy look. Any yarn that works comfortably with a 4.5 mm hook can stand in for it. Since the band sits against the forehead and ears, choose something soft.
For the border, a fuzzy yarn adds a gentle halo. However, stitches are harder to see in fuzzy yarn, so work slowly and keep the tension relaxed. A smooth yarn in a lighter shade is a fine alternative.
Crochet Cap Band Pattern Size and Abbreviations
Finished Size of the Crochet Cap Band
The main band is worked for about 77 rows, which measures roughly 41 cm. That length matches the head circumference the pattern was made for. The width comes from the foundation chain of 14, and it can be adjusted. To get the right fit, measure the intended head or cap first, then add or remove rows.
Stitches and Abbreviations
- Chain (ch): the foundation and the tie strings
- Single crochet (sc): the only main stitch
- Back loop only (BLO): the loop farthest from the viewer, which creates the ribs
- Decrease (dec): shaping that tapers the ears
- Invisible join: a neat way to close the final round
The original pattern mentions a “third loop” for the ribbing. With single crochet, working the back loop on top of the row creates the same ribbed effect.
Tips Before Starting the Crochet Cap Band Pattern
- Keep the tension even, since ribbing shows uneven stitches clearly.
- Count the foundation chain twice before beginning.
- Mark the first stitch of each row if counting gets tricky.
- Try the band on before shaping the ears, because the placement depends on the wearer.
- Keep a long tail on the band so seaming is easy later.
Step-by-Step Crochet Cap Band Pattern
Step 1: Make the Cap Band Foundation Chain
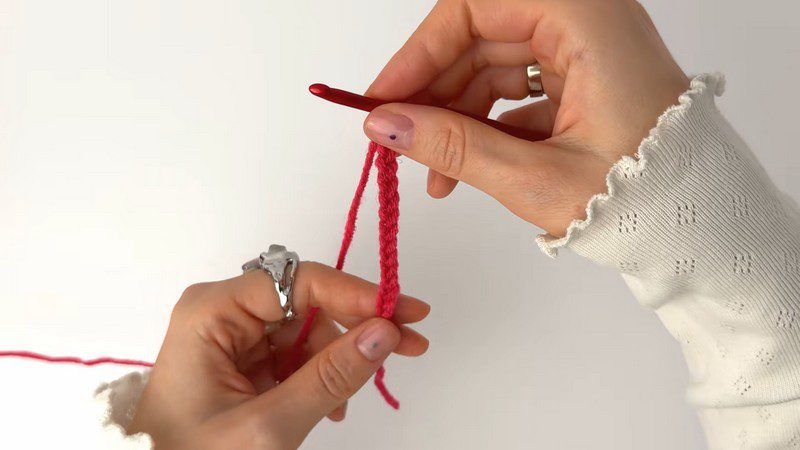
Start with a slip knot on the 4.5 mm hook and chain 14, or use any number that gives the width you like. Keep each chain loose enough for the hook to slide through, because the first row of stitches goes into this chain. Hold the chain between your fingers with the hook resting at the top, ready to begin the first row.
Step 2: Work the First Ribbed Cap Band Rows
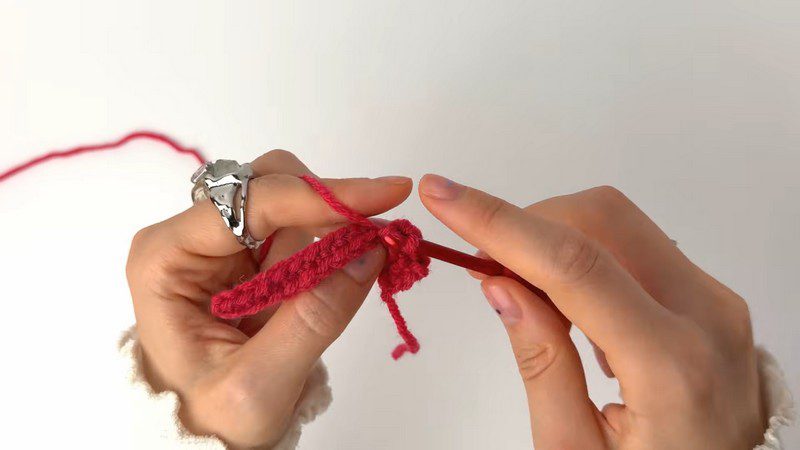
Work single crochet back and forth across the chain. From the second row onward, insert the hook into the back loop of each stitch only. This leaves the front loop untouched and creates the raised ribs that give the band its stretch. At the end of each row, turn the work and continue in the same direction.
Step 3: Keep Building the Ribbed Cap Band
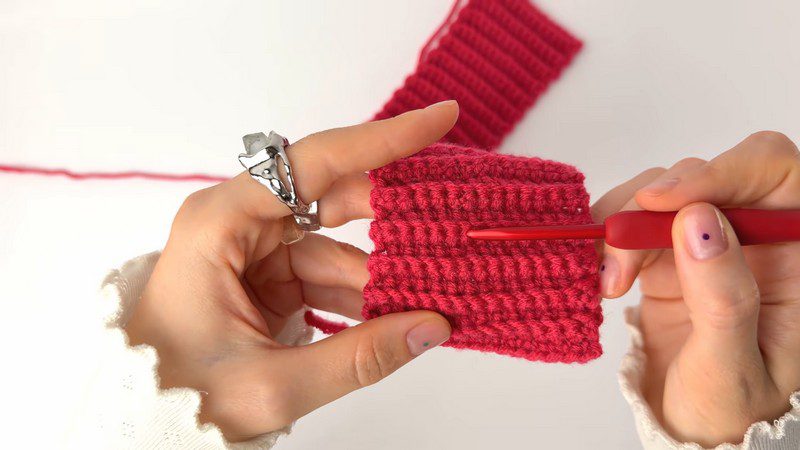
Repeat the same row again and again. Check that the stitch count stays at 14 after every row, so the edges remain straight. As the rows build up, the ribs line up in neat vertical columns. If the edges start to wave, one stitch was probably skipped or added, so find and fix it before going further.
Step 4: Finish the Cap Band Length and Join the Ends
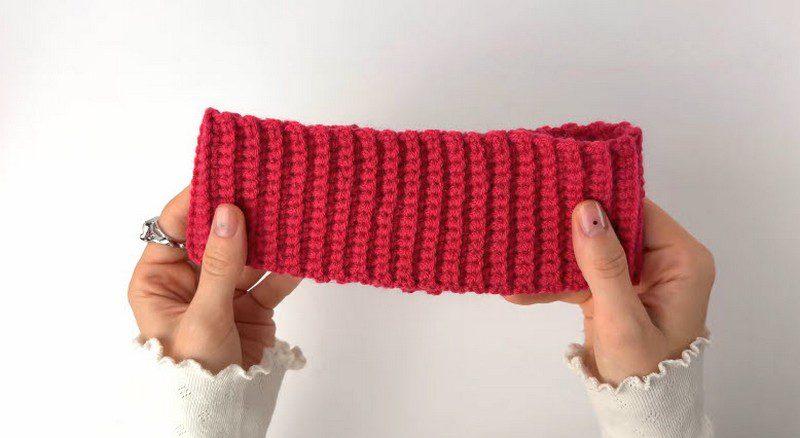
Continue until the band reaches about 77 rows, which is roughly 41 cm and matches the head circumference. Hold the strip around your head to confirm the fit, and add or remove rows if needed. After that, thread the tail onto a tapestry needle and sew the two short ends together to form a loop. Keep the seam flat so it stays comfortable against the skin.
Step 5: Shape the Cap Band Ear Flaps and Ties
Try the band on and mark where each ear should sit, using stitch markers. At one marked spot, attach the yarn to the lower edge and work 10 single crochets across the base. Turn and work back and forth in rows, decreasing at both edges every other row so the section tapers into a triangle. When the triangle narrows to a point, extend the tip into a long, slender tie. Chain or work stitches until the tie measures about 30 cm. Then repeat the same ear and tie on the second marked spot.
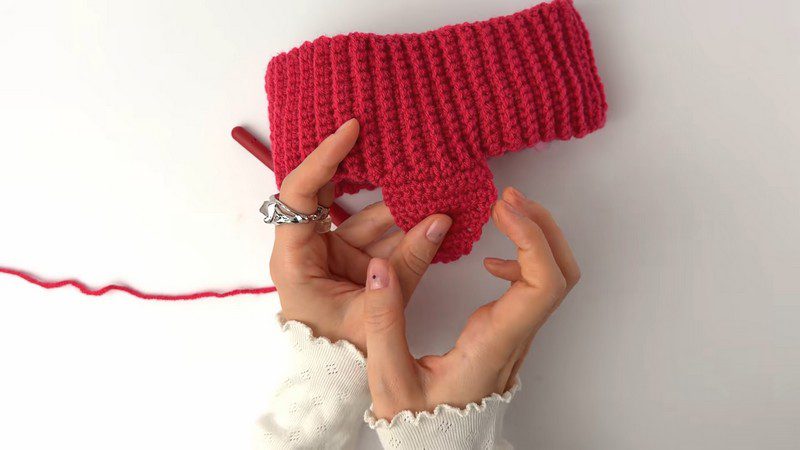
Step 6: Add the Fuzzy Border to the Cap Band
Switch to the contrasting fuzzy yarn. Work single crochet all around the outer edges of the band, both ear flaps, and the ties. Take your time here, since fuzzy yarn hides the stitches. Close the round with an invisible join, then weave in every loose end with the tapestry needle. The band is now ready to wear over a baseball cap or on its own.
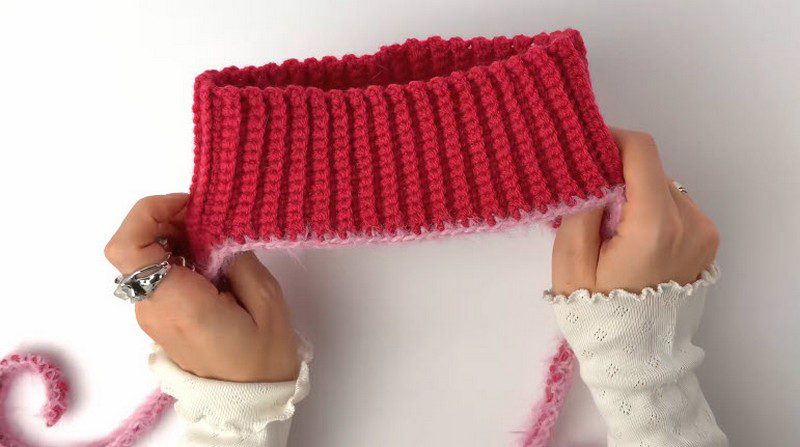
How the Crochet Cap Band Pattern Is Built and Customised
Pattern Construction Overview
The band is worked flat, then seamed into a loop. The ears grow from the lower edge of that loop, and each ear ends in a tie. Finally, the border goes on last, so it covers the seams and joins everything together visually.
Crochet Cap Band Pattern Customization Options
- Swap the red and pink for any pair of colors, such as cream with brown.
- Make the band wider by starting with a longer chain.
- Shorten or lengthen the ties to suit kids or adults.
- Skip the fuzzy trim for a clean, classic look.
- Use a smooth contrast yarn if fuzzy yarn feels hard to handle.
Crochet Cap Band Pattern Mistakes and Troubleshooting
- Band curls or looks uneven: The back loop may have been skipped on some rows. Check each stitch.
- Band is too tight: Add a few rows, or use a slightly looser tension next time.
- Ears look lopsided: Compare the decreases on both sides, and keep them in the same positions on each ear.
- Fuzzy yarn is hard to see: Work in good light, and feel for the stitch with the hook.
- Ties twist: Chain evenly and avoid pulling too tightly.
Finishing and Care for Your Crochet Cap Band
Finishing Instructions
Weave in every loose end with the tapestry needle, running it along the ribs so the yarn stays hidden. Next, check the seam for gaps and close any with a few extra stitches. If the ribs look bunched, lightly steam or pat the band flat, keeping the iron away from the fuzzy trim.
Care Instructions
Hand wash in cool water with mild soap, then press out the water gently without wringing. Lay the band flat to dry and reshape the ears. Store it folded in a dry drawer. Since wool blends can differ, always check the yarn label.
Styling Ideas for Your Crochet Cap Band
Pair the band with a simple coat and neutral scarf so the bright ribbing becomes the statement piece. Tie the strings in a bow for a playful look, or tuck them under a scarf for extra warmth. Worn over a baseball cap, the band also adds a fresh, layered style.
Bonus Section: Gifting Your Crochet Cap Band
A finished band makes an easy gift because the fit adjusts with a few rows. Before you start, ask the recipient’s head measurement, or measure a cap they already wear. Then choose colors that match their coat or scarf. Finally, fold the band loosely and tie the strings in a small bow, so the fuzzy edge stays soft and visible.
Crochet Cap Band Pattern FAQ
Can beginners make this crochet cap band pattern?
Yes. It uses single crochet only, plus basic decreases and seaming.
Can the band be made larger or smaller?
Yes. Add or remove rows, and measure against the head as the work grows.
What if fuzzy yarn is not available?
Any soft contrasting yarn works well for the border.
Does the band fit over a cap?
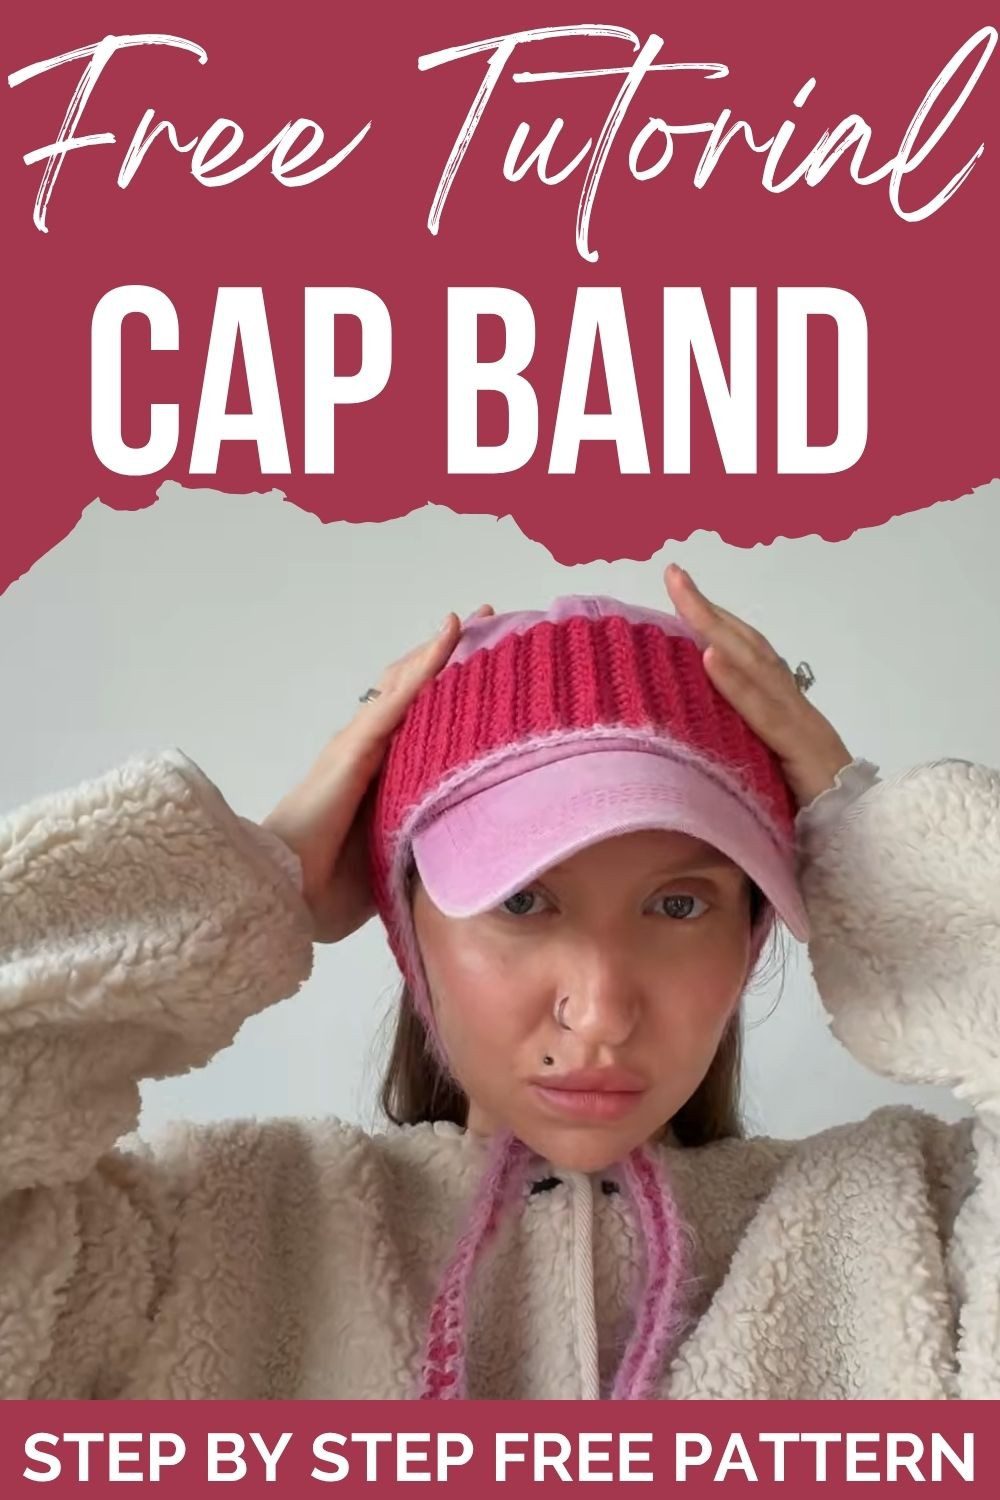
It is designed to sit comfortably over a baseball cap or stand alone.
How long are the ties?
About 30 cm, but they can be made longer or shorter.
Ready for Chilly Days
One simple stitch can still produce a warm, stylish accessory, and this crochet cap band pattern proves it. The ribbing stretches, the ear flaps keep things cozy, and the fuzzy edge adds personality. Pick your favorite colors, follow the photo steps, and enjoy a handmade piece for the cold season. Once it is done, share your version with fellow crocheters.