
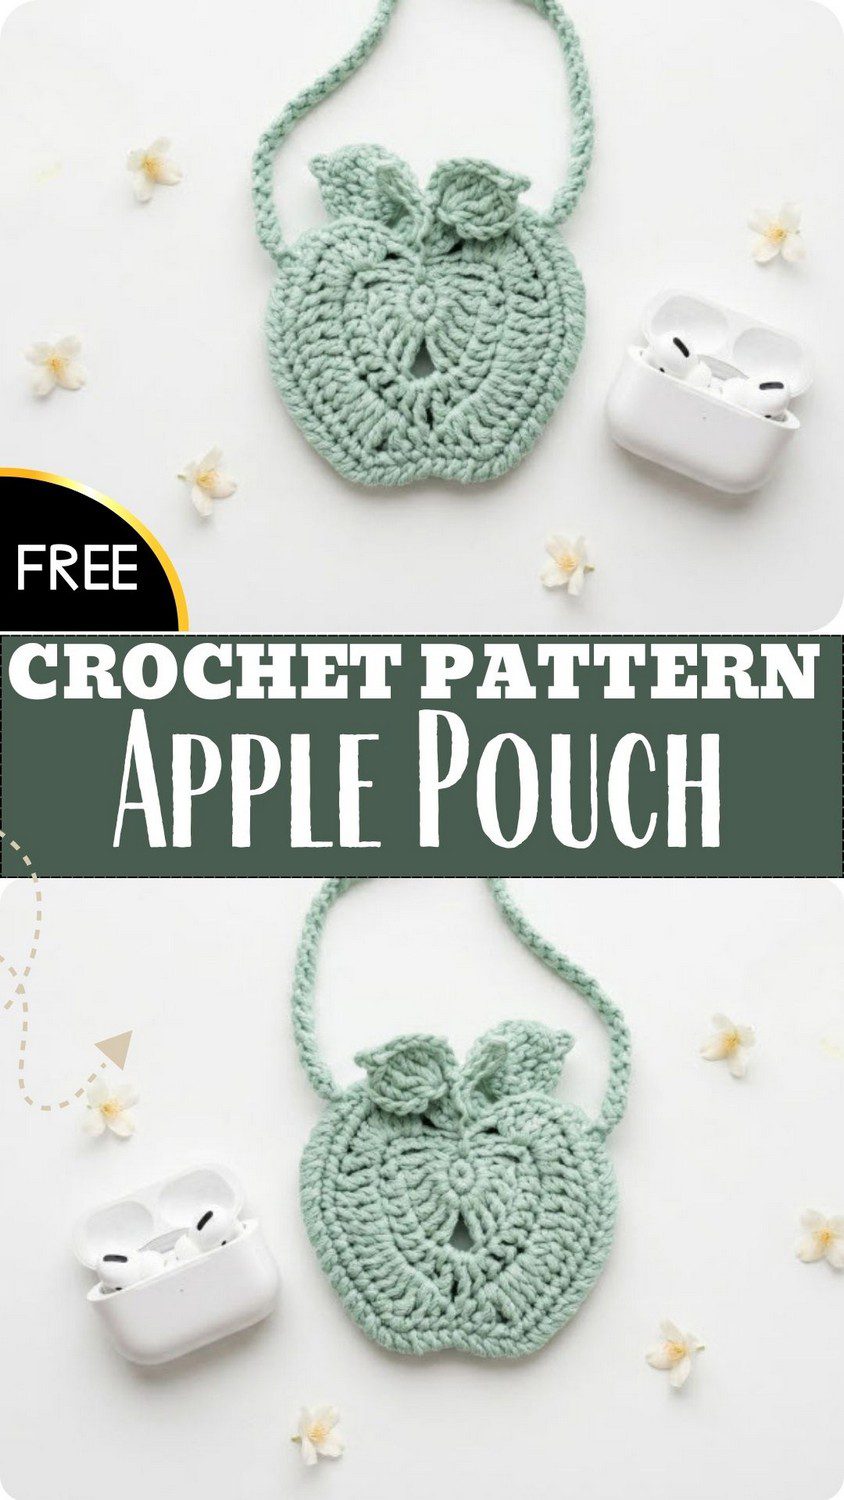
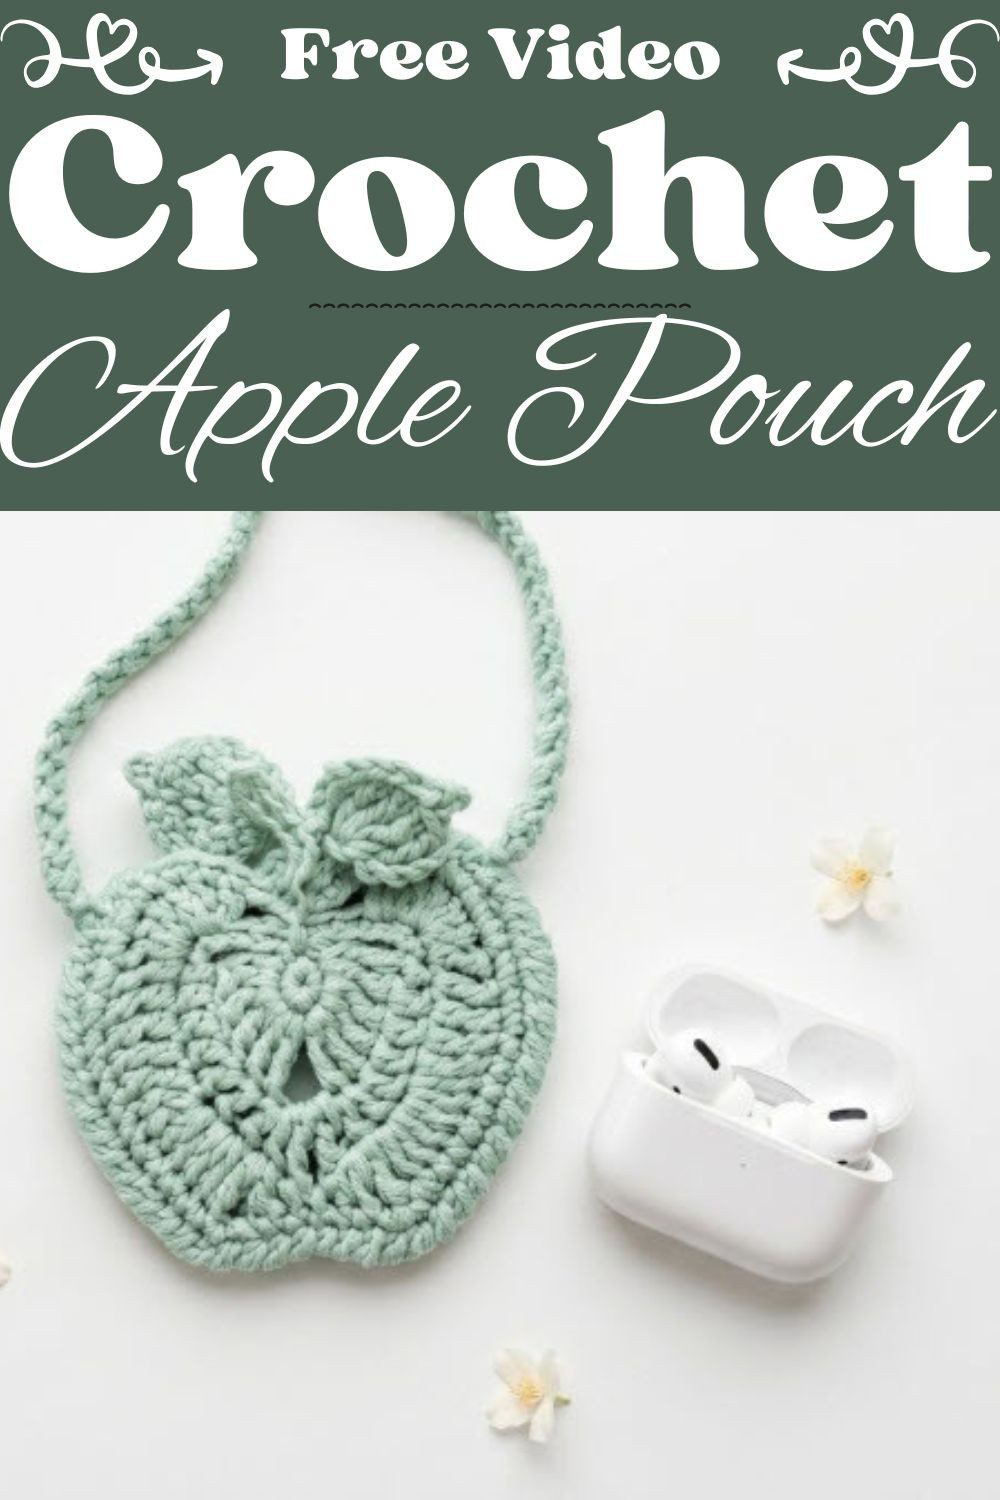
A round apple with two tiny leaves is easier to crochet than it looks. Our crochet apple pouch pattern uses simple stitches worked in the round, and then you add a stem and leaves to finish. As a result, you get a little pouch that holds your coins and earbuds and clips onto any bag with ease.
You can use it as an apple earbud case or a coin purse. Also, beginners can make it quickly and enjoy every step. Besides that, it works as a crochet bag charm or a sweet handmade gift for mini crochet fans.
Crochet Apple Pouch Pattern Overview
- Skill level: Beginner-friendly to advanced beginner. In short, you will chain, work sc, hdc and dc, shape in the round, and do simple assembly.
- Finished size: About 3.5 in (9 cm) wide and 3 in (7.5 cm) tall.
- Yarn: Worsted/Aran weight (Cat. 4) cotton or acrylic.
- Hook: 4.0 mm (US G/6).
Materials and Tools for the Crochet Apple Pouch Pattern
- Smooth worsted/Aran weight (Cat. 4) cotton or acrylic yarn. DK also works, and mercerized cotton or a cotton-acrylic blend gives clear stitches and a sturdy pouch.
- MC Apple Red: 30-40 g
- CC1 Leaf Green: 5-10 g
- CC2 Stem Brown: about 5 g
- 4.0 mm hook (US G/6), or 3.5 mm (US E/4) if you crochet loosely. Either way, match the hook so the fabric is firm with no gaps.
- Tools: yarn needle, stitch marker, sharp scissors
- Optional: polyester fiberfill, small snap button, drawstring cord or magnetic snap, keychain ring
Abbreviations (US)
- ch = chain
- st(s) = stitch(es)
- sl st = slip stitch
- sc = single crochet
- hdc = half double crochet
- dc = double crochet
- inc = increase (2 sc in same st)
- dec = decrease (sc2tog)
- BLO = back loop only
- FLO = front loop only
- rep = repeat
- Rnd(s) = round(s)
Time Needed for the Crochet Apple Pouch Pattern
Prep comes first. Gather your yarn, hook, marker and needle, which takes only a few minutes.
Next comes the stitching. You work the body, then the stem, and after that two leaves. Finally, finishing means weaving in ends and steaming the apple into shape.
Special Techniques for the Apple Pouch
Magic Ring
First, make an adjustable loop and work your first round into it. Then, pull the tail to close the center. Alternatively, chain 2 and work into the 2nd chain from the hook.
Working in the Round
You crochet in continuous spiral rounds. Because of this, move a stitch marker up every round.
Color Changes
Make each color change on the final pull-through of the last stitch in the old color. Then, carry on with the new yarn.
Stitch Counting
Count your stitches after every increase and decrease round, so any mistake shows up early.
Crochet Apple Pouch Pattern Instructions
Step 1: Magic Ring and Round 1 for the Crochet Apple Pouch Pattern
Use MC (Apple Red) and the 4.0 mm hook. Work in continuous spiral rounds and keep your marker in the first stitch of each round.
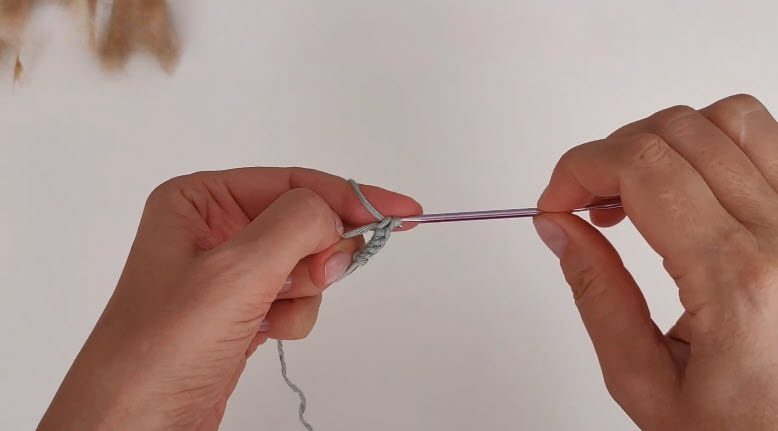
- Rnd 1: magic ring, 6 sc (6)
Pro-Tip: Pull the tail firmly after Rnd 1, so the ring closes fully. However, if the magic ring feels fiddly, chain 2 and work into the 2nd chain from the hook instead.
Step 2: Increase Rounds and Straight Rounds
Then, keep going with the increase rounds and the straight rounds.
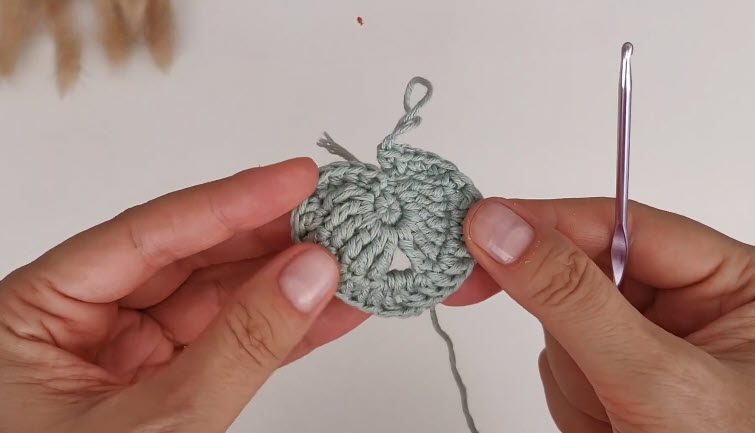
- Rnd 2: inc in each st (12)
- Rnd 3: (1 sc, inc) x6 (18)
- Rnd 4: (2 sc, inc) x6 (24)
- Rnd 5: (3 sc, inc) x6 (30)
- Rnd 6: (4 sc, inc) x6 (36)
- Rnds 7-14: 1 sc in each st for 8 rounds (36)
Step 3: Decrease Rounds for the Crochet Apple Pouch Pattern
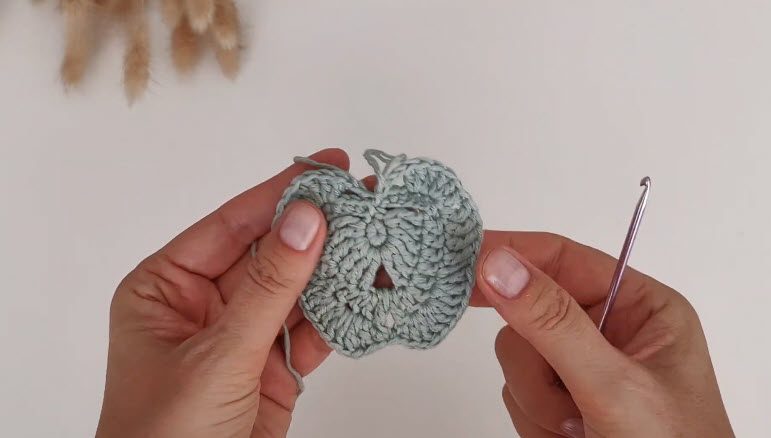
Meanwhile, the next two rounds pull the top in.
- Rnd 15: (4 sc, dec) x6 (30)
- Rnd 16: (3 sc, dec) x6 (24)
After that, fasten off with an invisible join.
Pro-Tip: Count after each decrease round and space the decreases evenly. As a result, the top curves in smoothly instead of looking lopsided.
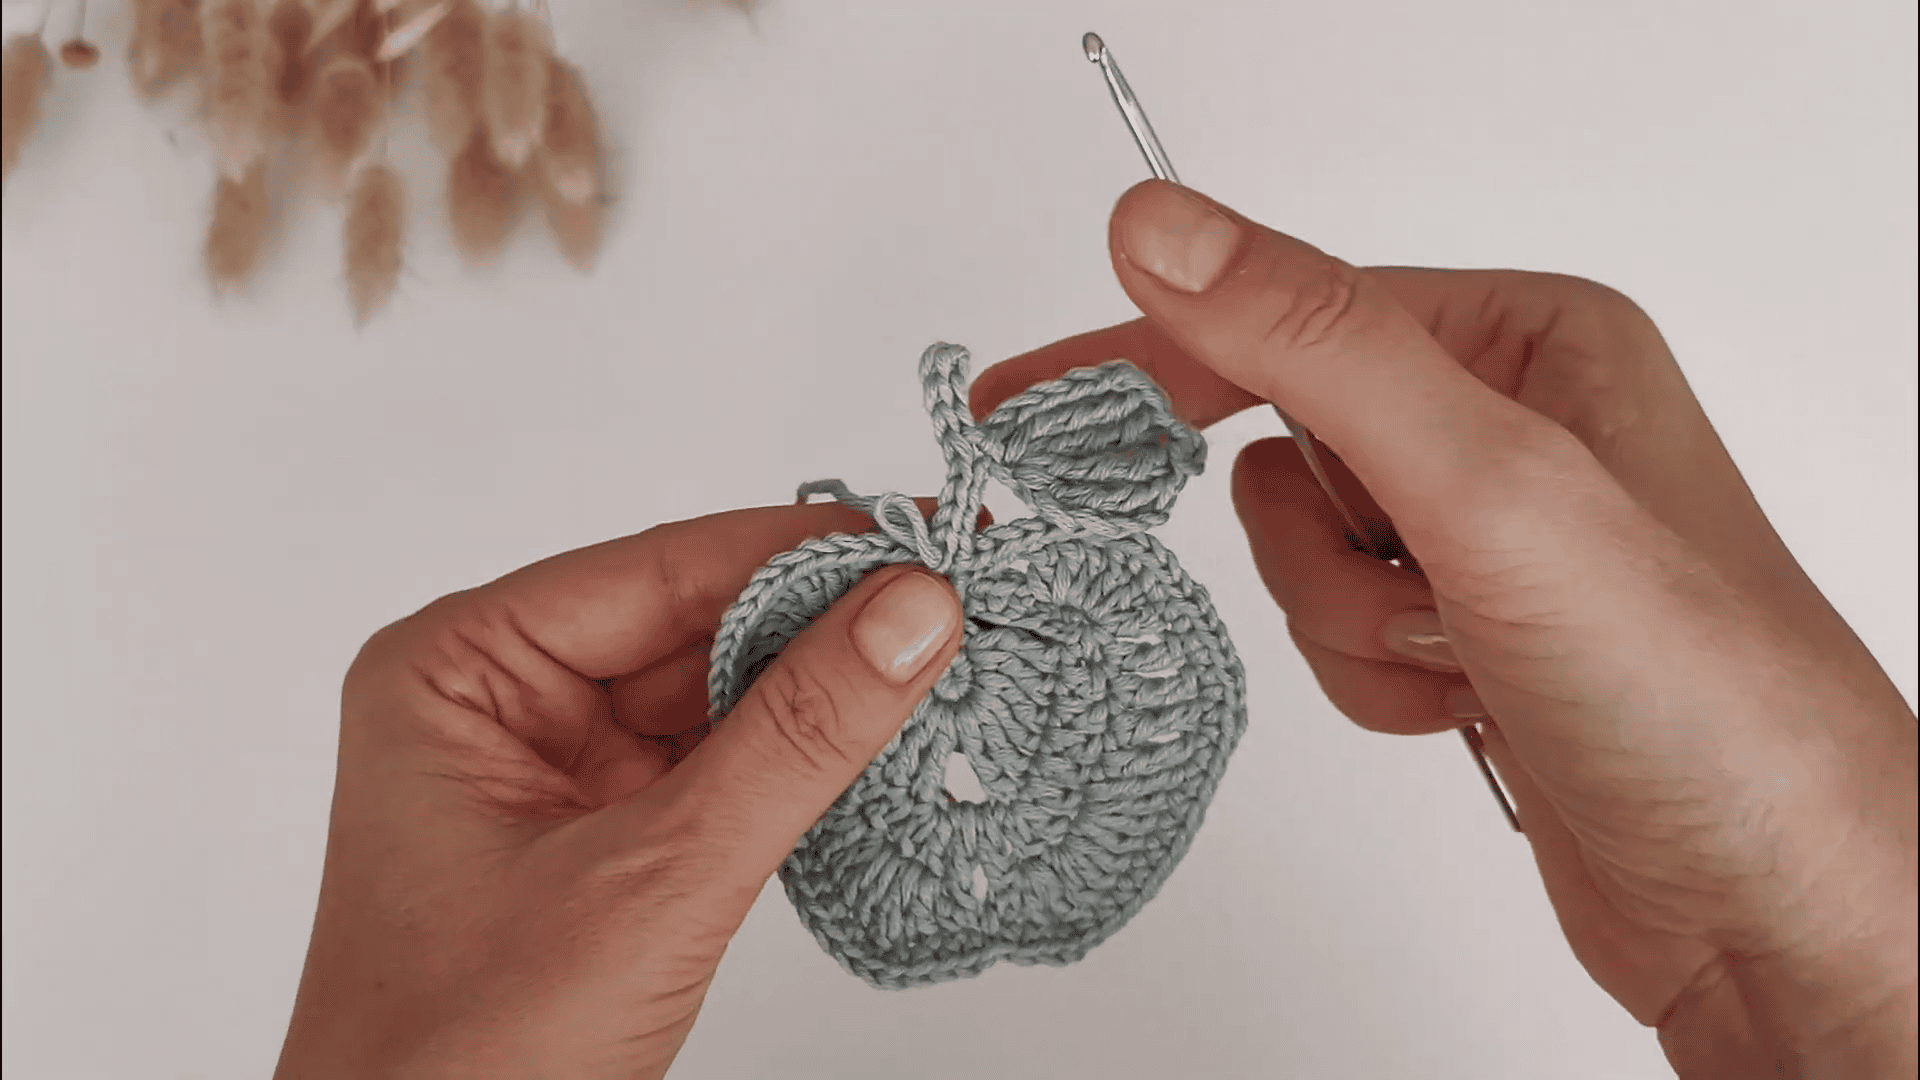
Step 4: Stem and Leaf 1 of the Crochet Apple Pouch Pattern
Stem: First, join the brown yarn (CC2) at the top center of the apple. Then, ch 5. Starting in the 2nd ch from the hook, work 4 sl st back down the chain. Finally, fasten off and secure the ends inside the pouch.
Leaf 1: Use CC1 (Leaf Green). To begin, ch 6.
- Side one: 1 sc in the 2nd ch from the hook, 1 hdc, 1 dc, 1 hdc, 1 sc in the last ch.
- Turn the corner: ch 1, and then rotate to the opposite side of the chain.
- Side two: 1 sc, 1 hdc, 1 dc, 1 hdc, 1 sc.
Next, sl st to join and fasten off, leaving a long tail for sewing.
Pro-Tip: Go slowly at the corner. After the ch 1, turn the chain so you can see the opposite side clearly before you start side two.
Step 5: Leaf 2, Assembly and Finishing the Apple Pouch
Leaf 2: Use CC1 again and make the second leaf the same way. To begin, ch 6.
- Side one: 1 sc in the 2nd ch from the hook, 1 hdc, 1 dc, 1 hdc, 1 sc in the last ch.
- Turn the corner: ch 1, and then rotate to the opposite side of the chain.
- Side two: 1 sc, 1 hdc, 1 dc, 1 hdc, 1 sc.
Then, sl st to join and fasten off, leaving a long tail for sewing.
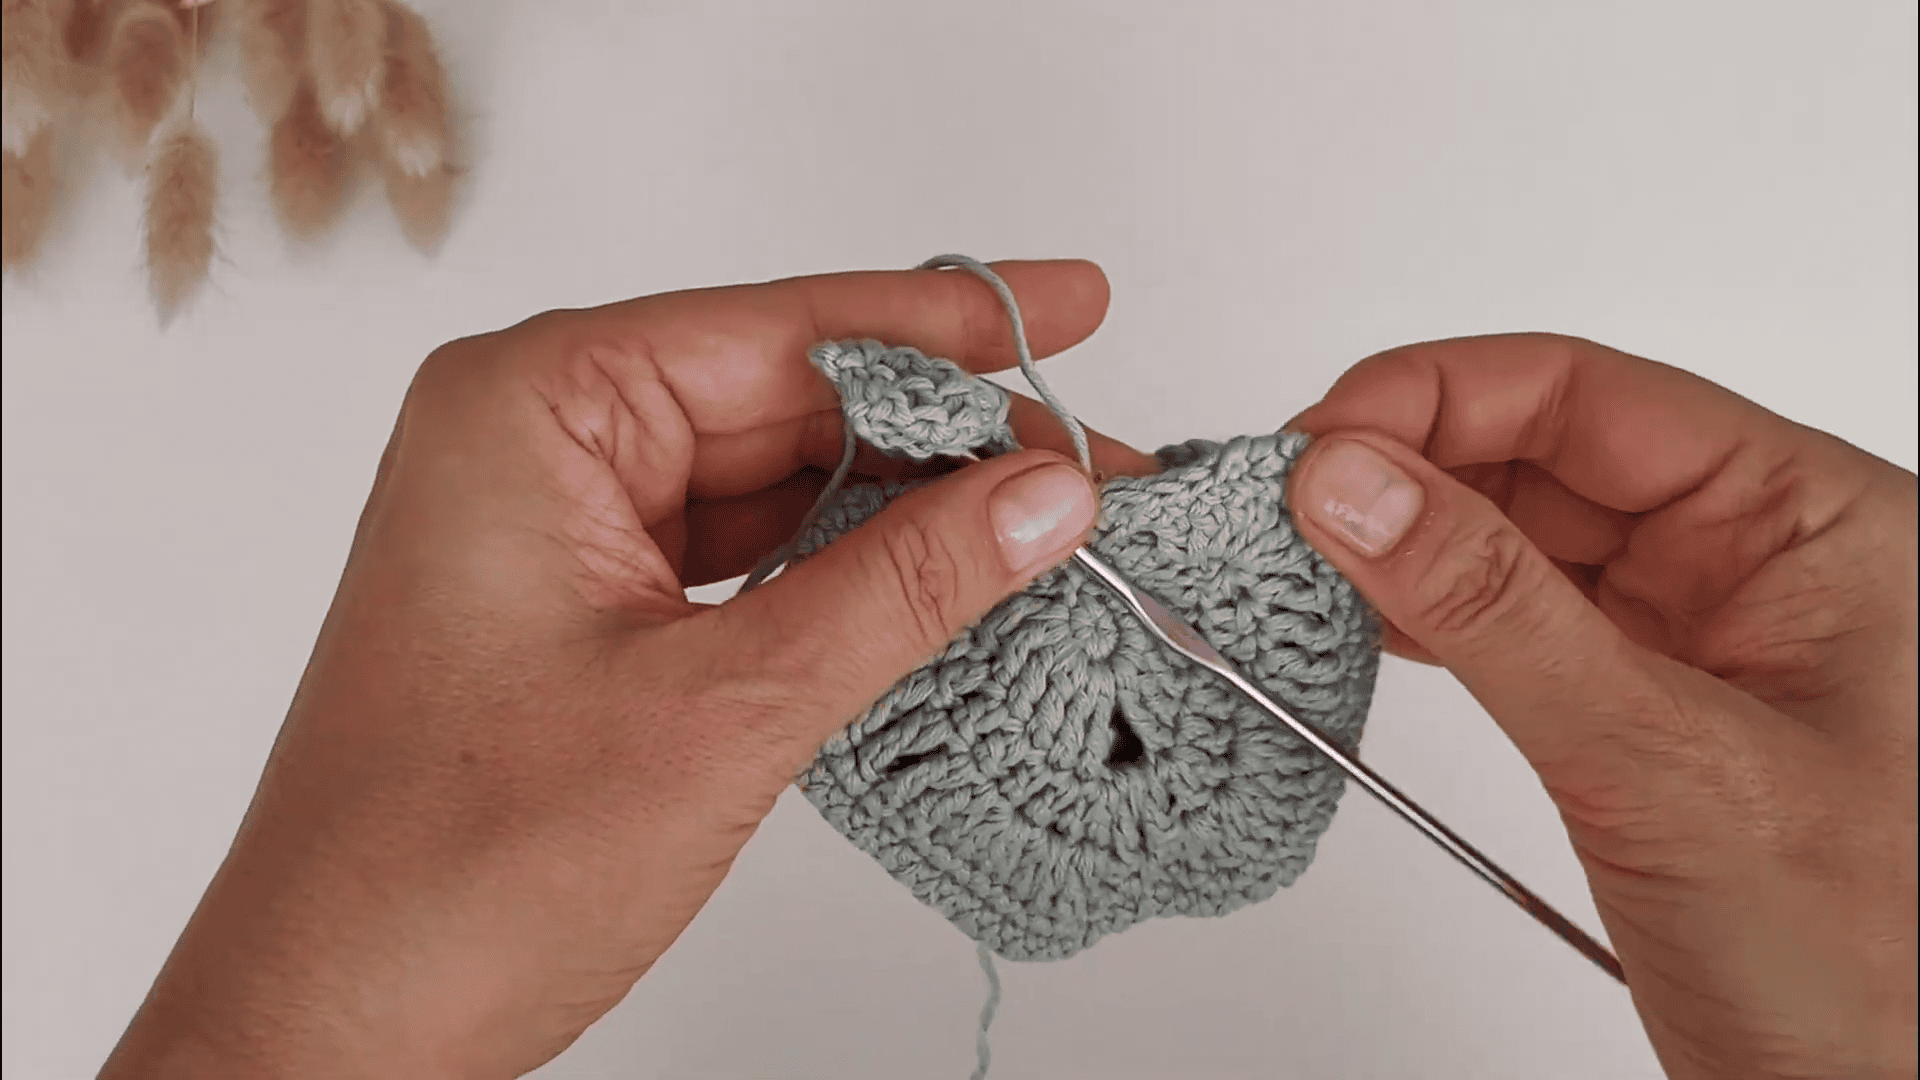
Assembly: Place the two leaves at the base of the stem, on top of the apple. Next, whipstitch them down with the green tails, or knot the tails securely inside. Finally, check that both leaves sit firmly.
Finishing: Weave in all ends in a few directions. Then, gently steam or press the apple into a plump, rounded shape without flattening the stitches.
Optional extras:
- Light fiberfill for a firmer charm
- Magnetic snap sewn inside the rim
- Drawstring or snap button
- Keychain ring on the stem for a bag charm
Common Mistakes in the Crochet Apple Pouch Pattern
- Skipping the stitch marker: Without a marker, you lose count. Therefore, move the marker to the first stitch of every round and count after each increase and decrease round.
- Uneven decreases: If decreases bunch up on one side, the top tilts. So, follow the repeats exactly and check your total.
- Loose tension leaving gaps: Loose stitches let tiny items slip through. However, matching the hook so the fabric feels firm fixes it.
- Leaves flopping: Loose leaves tip over, so sew them on firmly with the long tails.
Uses and Benefits of the Apple Pouch
Clip it to a backpack zipper loop, and the apple turns into a bright bag charm. Also, hang it up near the door as a handy little coin purse. Attach a keychain ring to the stem, and then dangle it from a handbag strap. Otherwise, tuck earbuds inside as a snug earbud case.
Furthermore, you can slip candies or a gift card in for a small gift. It holds lip balm well too. Finally, make a mini green, yellow and red set for an apple basket.
Beginner Tips for the Crochet Apple Pouch Pattern
- Choose smooth yarn, because fuzzy yarn hides stitches and makes counting harder.
- Test your hook first, since the fabric should feel firm with no gaps.
- Count after every increase and decrease round, as it takes only seconds.
- Work in good light, especially with deep red yarn.
Personalisation Ideas for the Crochet Apple Pouch Pattern
Closure Options for the Crochet Apple Pouch Pattern
Sew a magnetic snap inside the rim, add a small snap button, or use a drawstring cord.
Light Fiberfill
For a charm instead of a pouch, add light polyester fiberfill.
Color Variations
Swap Apple Red for another shade you love. However, keep the leaves green.
Carrying Cord Idea
A drawstring cord can double as a simple carrying cord. Alternatively, attach a keychain ring to the stem.
Bonus: Build a Mini Apple Set for Gifting
- Make three: Crochet one pouch each in green, yellow and red, so the set looks like a mini apple basket.
- Fill them: Tuck in candies or a gift card, and then add a lip balm for a sweet surprise.
- Give them away: Your crochet apple pouch pattern becomes a handmade gift, since each pouch is ready to hang or carry.
FAQs About the Crochet Apple Pouch Pattern
What yarn weight works best?
Worsted/Aran weight (Cat. 4) smooth cotton or acrylic works best. Also, DK works too.
What closure options can I use?
You can use a magnetic snap sewn inside the rim, a small snap button, or a drawstring cord.
Can beginners make the crochet apple pouch pattern?
Yes. The crochet apple pouch pattern uses basic stitches and simple assembly, so just count each round.
How do I keep the shape?
Steam or press it gently into a plump shape. In addition, light fiberfill also helps.
Can it be a bag charm?
Absolutely. Attach a keychain ring to the stem, and then the amigurumi-style pouch becomes a lovely bag charm.
Care and Cleaning Guide for Your Crochet Apple Pouch
Cotton Pouches
Hand wash cotton in cool water with mild soap. Then, squeeze gently, and never wring it.
Acrylic Pouches
Acrylic also likes a gentle hand wash, so skip hot water.
Reshape While Damp
Next, press the pouch into a round shape while damp. Then, let it dry flat.
Storing
Once dry, keep it in a cool, dry spot, and avoid crushing it.
Go Ahead and Hook Your Own Apple
So that’s the whole apple. I like that it comes out round and cute without much fuss, and the little leaves make it feel finished. Keep it small for coins, or else clip it on a bag. Just take it slow with the marker and count your stitches. Also, if you’ve got some red yarn lying around, grab your hook and make one today.


