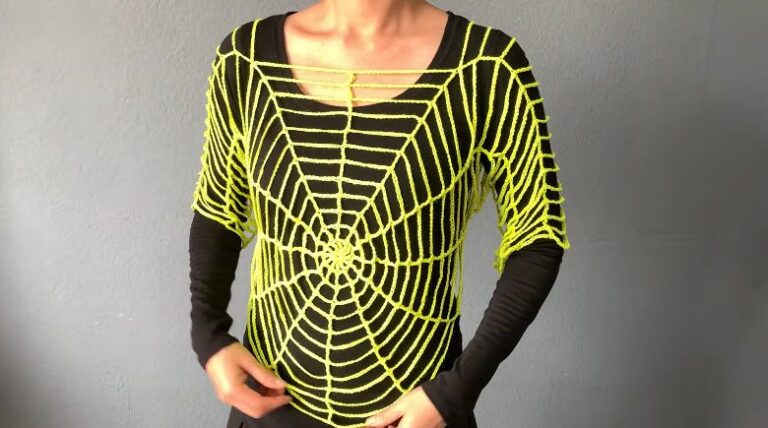
Crochet Valerie Top Pattern For Cozy Days
If you want a light top that works in every season, the crochet Valerie top pattern is a great pick. It is a sleeveless mesh top made from two flat panels, which you seam at the end, so the construction stays simple. Because of the armhole shaping and the neckline, the pattern is written at an intermediate level.
Even so, each step stands on its own, so you can follow along one row at a time. On cooler days, layer it over a tee or a blouse, or pair it with high-waisted jeans. It also makes a thoughtful handmade gift, so it fits nicely into a holiday gift crochet plan for December and a winter layering project for January.
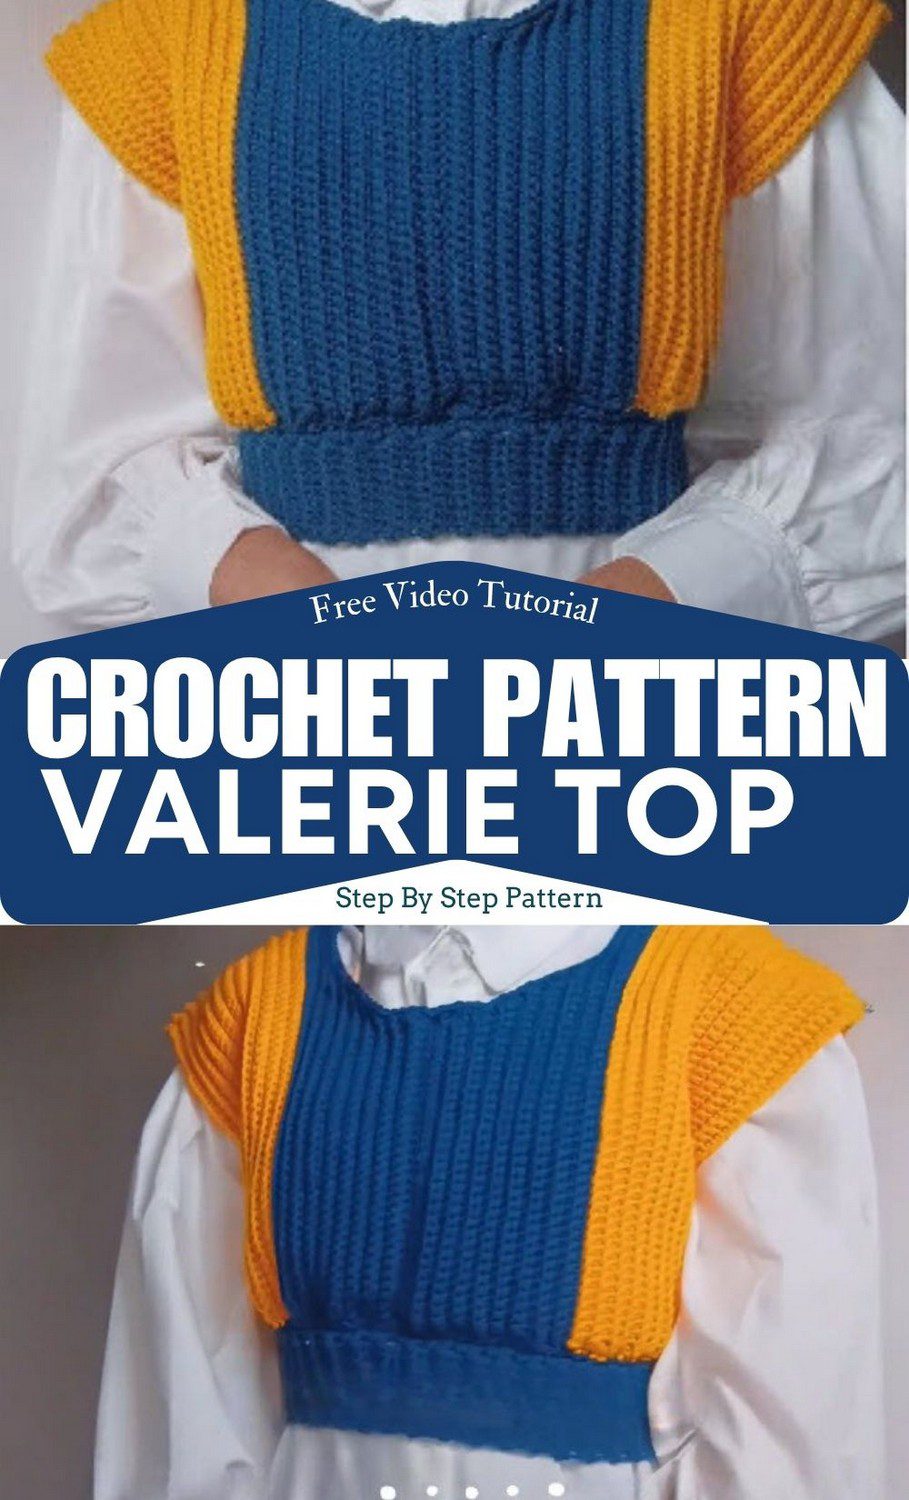
Crochet Valerie Top Pattern Overview
- Skill level: Intermediate
- Terminology: US
- Construction: Sleeveless top with an open mesh. The front and back panels are worked flat from the hem up, then seamed.
- Finished sizes (bust):
- S: 33 in (84 cm)
- M: 37 in (94 cm)
- L: 41 in (104 cm)
- Length: 21 in (53 cm) for all sizes
- Armhole depth: 7.5 in (19 cm)
Materials for the Crochet Valerie Top Pattern
- Yarn: Sport or light DK weight, 100% mercerized cotton, in a solid cream, neutral or pastel
- Amount: S/M about 350 g (1,050 m / 1,150 yd). L about 450 g (1,350 m / 1,480 yd)
- Hook: 3.5 mm (US E/4)
- Tapestry needle
- Tape measure
- 4 locking stitch markers
- Blocking mat and T-pins
Abbreviations in the Crochet Valerie Top Pattern
- ch = chain
- sl st = slip stitch
- sc = single crochet
- dc = double crochet
- st(s) = stitch(es)
- sp = space
- rep = repeat
- RS = right side
- WS = wrong side
Gauge and Swatch for the Valerie Crochet Top
Gauge decides the fit, so swatch first with the 3.5 mm (US E/4) hook. In the mesh pattern, 22 sts x 11 rows = 4 in x 4 in (10 x 10 cm).
To make the swatch, ch 34 and work 15 rows of the mesh. Then lay it flat without stretching it, and measure the center 4 in.
Counting too many sts? Go up a hook size. On the other hand, if you count too few, go down a hook size.
Crochet Valerie Top Pattern Sizing Guide
First, take your full bust measurement and add 1-2 in of ease. After that, divide the number by 2 and match it to the flat panel width:
- S: 16.5 in
- M: 18.5 in
- L: 20.5 in
Want a wider or narrower top? Change the foundation chain in multiples of 4, and keep the +2. For a longer or shorter top, simply work more or fewer rows before the armhole.
Time Needed for the Crochet Valerie Top Pattern
Plan on about an hour for prep, which covers the swatch and your bust measurement. Stitching both panels then takes the longest, often around 20 to 30 hours at a relaxed pace. After that, seaming, edging and weaving in ends can fill a few more hours. Finally, blocking needs a full day to dry. Of course, speed varies from maker to maker.
Special Techniques in the Valerie Crochet Top
- Open mesh: Dc and ch-1 sps alternate across every row.
- Turning chain as a dc: In Row 1, the skipped chs count as 1 dc. From Row 2 on, ch 3 counts as 1 dc.
- Slip stitching across sts: Row 39 starts the armhole with a sl st across the first 4 sts.
- Leaving sts unworked: Row ends stop short of the last sts to shape the armhole.
- Seaming: Join shoulders with a sl st seam or whip stitch. Join sides with whip stitch.
Step-by-Step Crochet Valerie Top Pattern Instructions
Read each step fully before you stitch. Since every part has its own step, nothing gets lost along the way. The hook size for the whole top is 3.5 mm (US E/4).
Front Panel
Step 1: Make the Foundation Chain for the Valerie Top
- S: Ch 90.
- M: Ch 102.
- L: Ch 114.
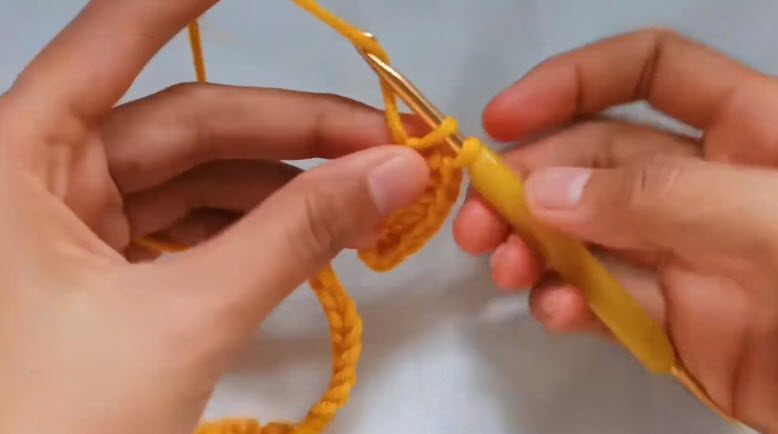
Step 2: Work Row 1 (RS)
To begin, dc in the 4th ch from the hook. The skipped chs count as 1 dc. Next, *ch 1, skip 1 ch, dc in the next ch*. Rep from * to * across. Finally, end the row with a dc in the last ch. Turn.
Stitch count: S has 45 dc and 43 ch-1 sps. M has 51 dc and 49 sps. L has 57 dc and 55 sps.
Stitch check: Count your dc and ch-1 sps before moving on, because a wrong count now repeats in every row.
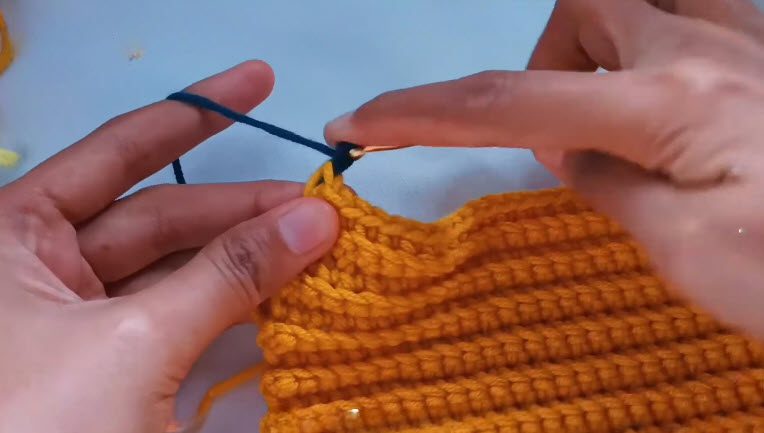
Step 3: Work Row 2 (WS)
Ch 3 (counts as 1 dc here and throughout) and dc in the next ch-1 sp. Then *ch 1, skip the next dc, dc in the next ch-1 sp*. Rep from * to * across. At the end of the row, ch 1, skip the last dc, and dc in the top of the turning ch. Turn.
From here on, the stitch count stays the same in every row.
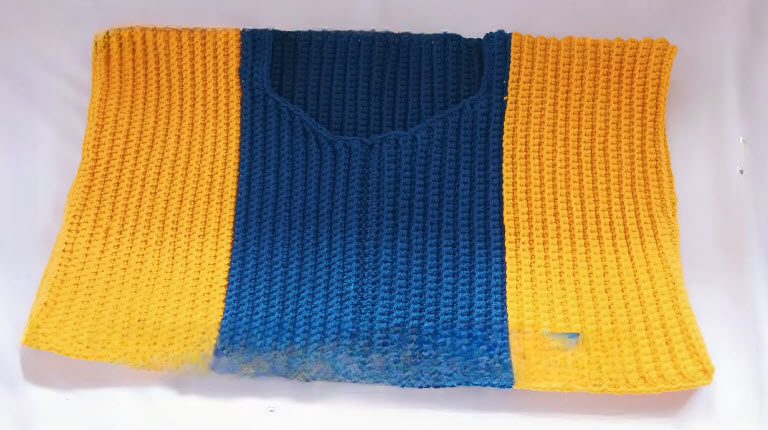
Step 4: Repeat Rows 3-38 on the Valerie Top Front
Rep Row 2 until the work measures about 13.5 in (34 cm) from the foundation edge. Then end on a WS row.
Measure now: Lay the panel flat and measure from the foundation edge. Stop near 13.5 in (34 cm), and confirm the last row is a WS row. After that, the armhole starts.
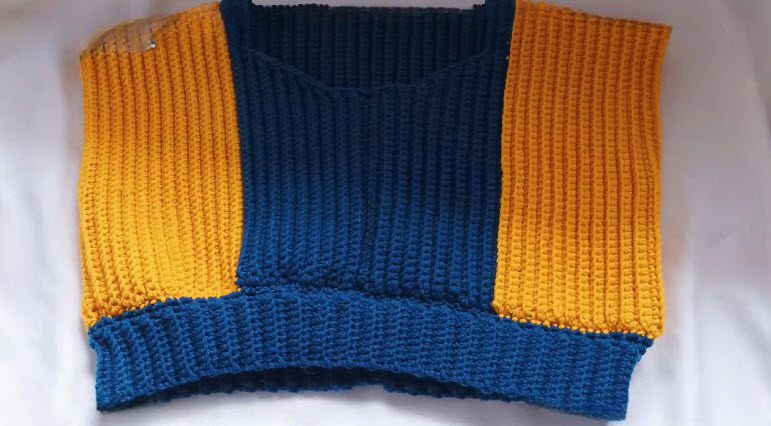
Step 5: Start the Armhole (Row 39)
Sl st across the first 4 sts and ch 3. Next, work in pattern to the last 4 sts and leave them unworked. Turn.
Step 6: Shape the Armhole Curve (Rows 40-42)
Decrease 1 pattern repeat at the start and end of each row. To do this, sl st over 1 dc and 1 sp at the start. Then leave 1 dc and 1 sp unworked at the end. As a result, the armhole curve takes shape.
Pro-Tip: Clip a locking stitch marker to the row ends as the armhole begins. Then compare both sides after each decrease row, so the curves stay even.
Step 7: Work Straight (Rows 43-53)
Work straight in pattern with no more shaping. By now, the armhole section should measure about 5.5 in.
Step 8: Form the Valerie Top Neckline and Shoulders (Rows 54-59)
First, work across the first shoulder for about 3 in (roughly 16 sts, S size). Then leave all the remaining center sts unworked for the neck scoop. Next, work the strap for about 6 rows, until the armhole depth reaches 7.5 in. Fasten off. After that, attach yarn at the opposite shoulder and work it the same way.
The roughly 16 sts count applies to size S only. For M and L, work across about 3 in. Then count the sts on that first strap, and match the second strap to it.
Pro-Tip: Count the strap rows aloud or on paper. That way, equal row counts and equal sts keep both shoulders the same.
Back Panel
Step 9: Crochet the Valerie Top Back Panel
Work exactly like the front through Row 53. This time, do not make a neck scoop. Instead, keep working straight across to Row 59 (7.5 in armhole depth) and fasten off.
Assembly
Step 10: Sew the Shoulder Seams
Fit check: First, compare both panels. The armhole depth should reach 7.5 in on the front and back, and the straps should match in length.
Next, place the front and back right sides together. Then join each shoulder over the 3 in span with a neat sl st seam or whip stitch.
Step 11: Sew the Side Seams
Seam both sides from the hem up to the base of the armhole, keeping the WS facing. For this, use a tapestry needle and whip stitch.
Edging
Step 12: Edge the Neckline and Armholes
First, turn the top right side out. Then join yarn at an underarm or shoulder seam. Next, work 1 round of evenly spaced sc around the neckline and both armholes. Finally, sl st to join and fasten off.
Step 13: Edge the Hem
Work 1 round of sc along the bottom foundation edge. Also, keep the sts even so the hem lies flat.
Finishing
Step 14: Block the Valerie Top and Check the Fit
First, weave in all ends along the WS stitches. Then pin the top to a blocking mat, mist it with water, and let it dry completely to set the mesh.
Afterward, check the fit by folding at the shoulder seams. The armhole depth and neck should match on both sides.
While stitching, lay the panels flat against a tape measure every 10 rows to check the width. In addition, put stitch markers at row ends and count the turning chs to avoid stitch count drift.
Row-by-Row Cheat Sheet for the Valerie Top
Here is a quick summary of the whole pattern, so you can check your progress at a glance. For the full wording of each row, go back to the steps above.
- Foundation: S ch 90, M ch 102, L ch 114.
- First row (RS): Dc in the 4th ch from the hook, then repeat ch 1, skip 1 ch, dc across.
- Second row (WS): Ch 3, dc in the next ch-1 sp, then work the mesh across.
- Middle rows (3-38): Repeat the second row until the panel measures about 13.5 in (34 cm), and end on a WS row.
- Armhole start (Row 39): Sl st across the first 4 sts, work in pattern, and leave the last 4 sts unworked.
- Shaping (Rows 40-42): Decrease 1 pattern repeat at each end of every row.
- Straight section (Rows 43-53): Work in pattern with no shaping.
- Front neckline (Rows 54-59): Work each strap separately and leave the center sts unworked for the neck scoop.
- Back panel (Rows 54-59): Work straight across with no neck scoop.
- Finish: Seam the shoulders and sides, edge with sc, and then block.
Hands-On Stitch Guide for the Valerie Crochet Top
These four short tips show how the key moves feel in your hands. Each one ties back to the pattern above.
Tip 1: Work Into the Foundation Chain
Hold the chain flat between your left thumb and finger, close to the hook. Then insert the hook into the 4th ch from the hook and start Row 1. A close grip also keeps the foundation sts from twisting.
Tip 2: Join Yarn at the Edge
At the opposite shoulder, insert the hook into the edge st. Next, draw up a loop of yarn and keep the working yarn over your left finger. After that, work the second strap the same way as the first.
Tip 3: Lay the Front Panel Flat
Once both straps are done, lay the front panel flat. The center sts left unworked form the neck scoop, so the scoop should sit centered between the straps. Before seaming, compare the scoop and both straps.
Tip 4: Pin, Then Finish the Hem
Pin the shoulders before joining, so both sides line up. Once the seams are done, work 1 round of sc along the bottom foundation edge for the hem.
Common Mistakes in the Crochet Valerie Top Pattern
- Skipping the gauge swatch. Wrong gauge changes the fit, so swatch first.
- Letting the stitch count drift. Markers at row ends and a careful count of turning chs prevent it.
- Missing the WS row before Row 39. Always end Row 38 on a WS row.
- Making uneven straps. Work both for the same rows, until the armhole depth reaches 7.5 in.
- Skipping blocking. The mesh needs pinning, misting and a full dry to set.
Ways to Wear Your Crochet Valerie Top
You can layer it over a tee, pair it with high-waisted jeans, or wear it alone on a warm afternoon. The open mesh breathes easily, and lightweight cotton also packs flat, so a suitcase handles it with ease. Blocking sets the mesh, so the fabric holds its form. Sizing stays flexible too, because width and length adjust with simple changes. Along the way, you gain practice with armhole shaping and neat seams. Finally, a solid cream, neutral or pastel shade goes with nearly anything you already own.
Tips for Makers Moving Up to Intermediate Patterns
Moving up to an intermediate pattern feels easier in small steps. Try these:
- Read one step at a time, since each part stands alone.
- Work the ch 34 swatch first, because it doubles as mesh practice.
- Use the 4 locking stitch markers at row ends.
- Take the armhole one row at a time: sl st across, then decrease one repeat per side.
- Measure every 10 rows, not only at the end.
Personalize Your Valerie Crochet Top
Adjust the Width of the Valerie Top
Change the foundation chain in multiples of 4, and keep the +2. Then match the new width to your bust plus 1-2 in of ease, divided by 2.
Change the Length of the Valerie Top
Work more or fewer rows before the armhole. This way, the armhole shaping stays the same.
Pick Your Yarn Shade
Choose a solid cream, neutral or pastel. To get the same mesh, stay with a sport or light DK weight mercerized cotton.
Troubleshooting the Crochet Valerie Top Pattern
The armhole depth or neck does not match
Fold the top at the shoulder seams and compare both sides. Then check that the straps used the same number of rows and sts.
The width of the Valerie top feels off
Lay the panels flat against a tape measure, and compare them with the panel widths in the sizing guide. Next time, measure every 10 rows.
The stitch count changed
Count the turning chs in each row. Meanwhile, place markers at row ends so slips show up early.
The mesh feels uneven
Pin the top to a blocking mat, mist it with water, and let it dry completely. As it dries, the mesh sets.
The fit is too tight or too loose
Revisit the gauge swatch. Then go up a hook size for too many sts, or down for too few.
Crochet Valerie Top Pattern FAQs
Is the crochet Valerie top pattern beginner friendly?
The pattern is intermediate level and uses US terms. Armhole shaping and the neckline need some experience. Still, makers moving up can follow the steps one at a time.
Which yarn and hook work best for the Valerie top?
Choose sport or light DK weight, 100% mercerized cotton, in a solid cream, neutral or pastel. Then pair it with a 3.5 mm (US E/4) hook.
How much yarn does the Valerie top need?
Sizes S and M take about 350 g (1,050 m / 1,150 yd). Size L, on the other hand, takes about 450 g (1,350 m / 1,480 yd).
Can the width and length change?
Yes. Change the foundation chain in multiples of 4, and keep the +2. For length, work more or fewer rows before the armhole.
How is the Valerie crochet top put together?
Both panels are worked flat from the hem up. Next, join the shoulders over the 3 in span, then seam the sides from the hem to the base of the armhole. Finally, add sc edging and block.
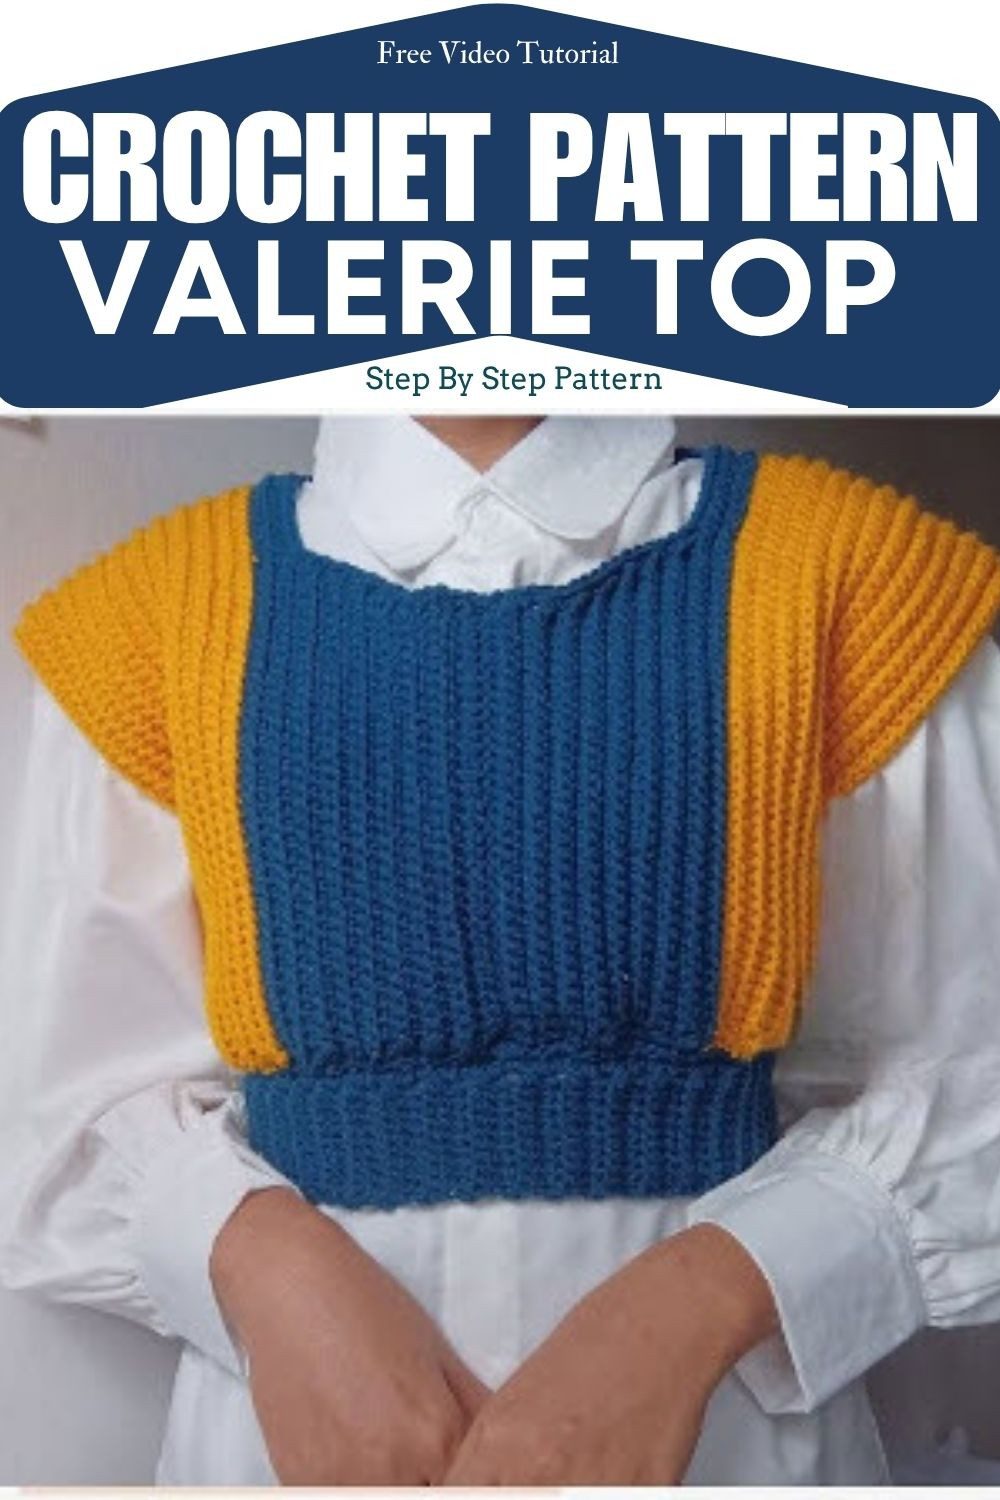
Okay, Time to Start Your Valerie Top
So that’s the whole top, and it’s a pretty simple idea. You get an open mesh, two flat panels, and a bit of seaming at the end. Do the swatch first, because it saves a lot of headaches later. Also, keep your markers on, and count those turning chains as you go. When you finish, block it and let it dry all the way. After that, just wear it and enjoy the breeze. The crochet Valerie top pattern is ready whenever you are.