Crochet Polaris Mittens Pattern in Purple and Mustard Stripes
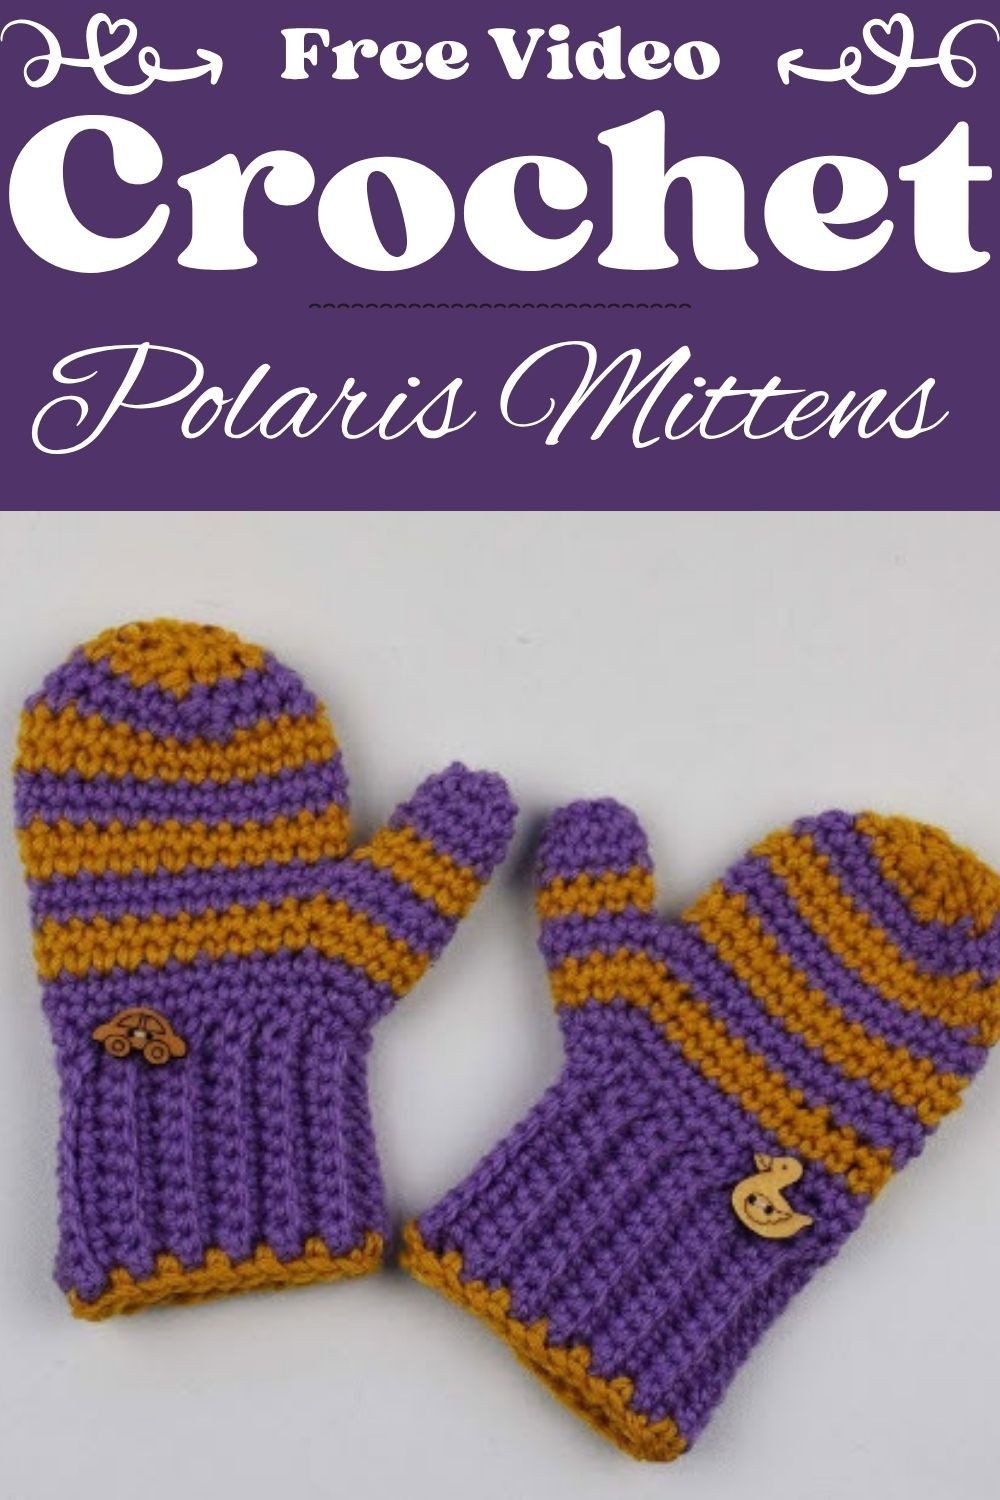
Looking for a warm project that little hands will actually love? This Crochet Polaris Mittens Pattern gives you soft purple and mustard stripes, a stretchy ribbed cuff and a cute novelty button. Because the pattern is written for advanced beginners, you can follow it with confidence and still end up with a gift-worthy pair.
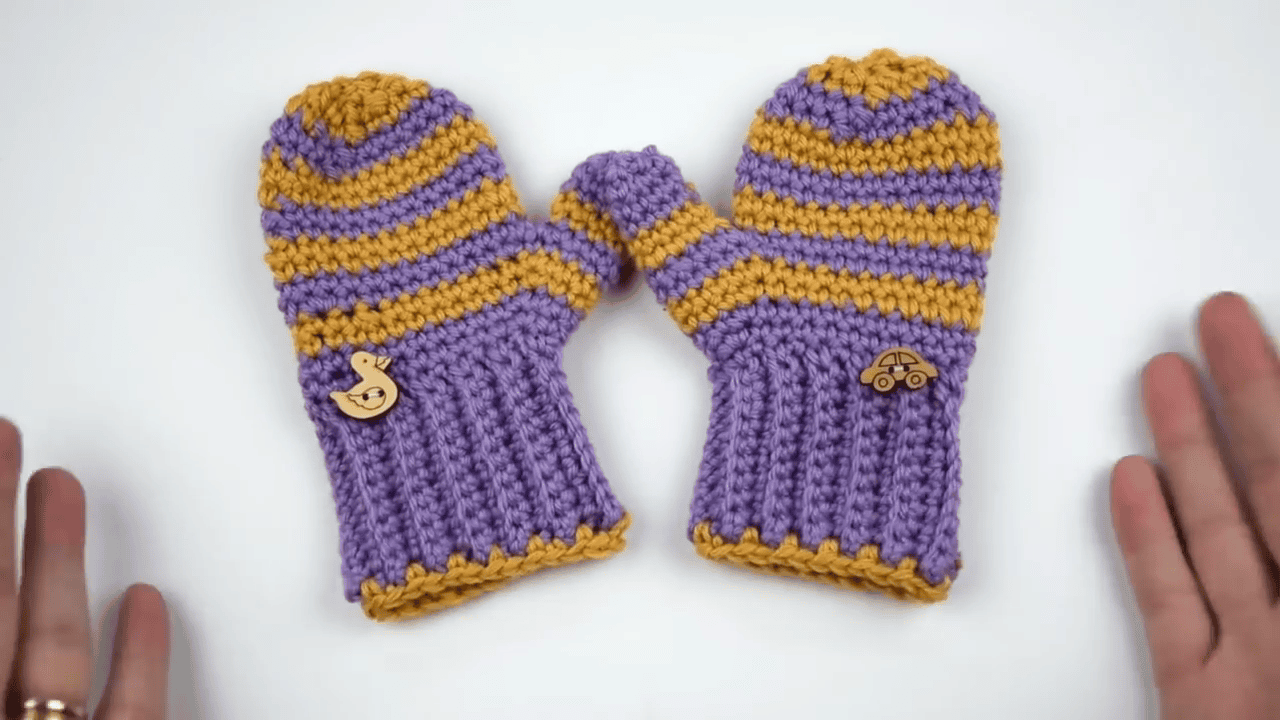
Winter can feel long when small hands get cold, so a snug pair of mittens goes a long way. In addition to the ribbed cuff, these toddler mittens have a separate thumb for a comfortable fit. A toy car button sits on one mitten and a duck on the other, which makes them fun to wear. As a result, they work equally well for daily wear or a thoughtful handmade gift.
Project Overview: Crochet Polaris Mittens Pattern
Design of the Crochet Polaris Mittens Pattern
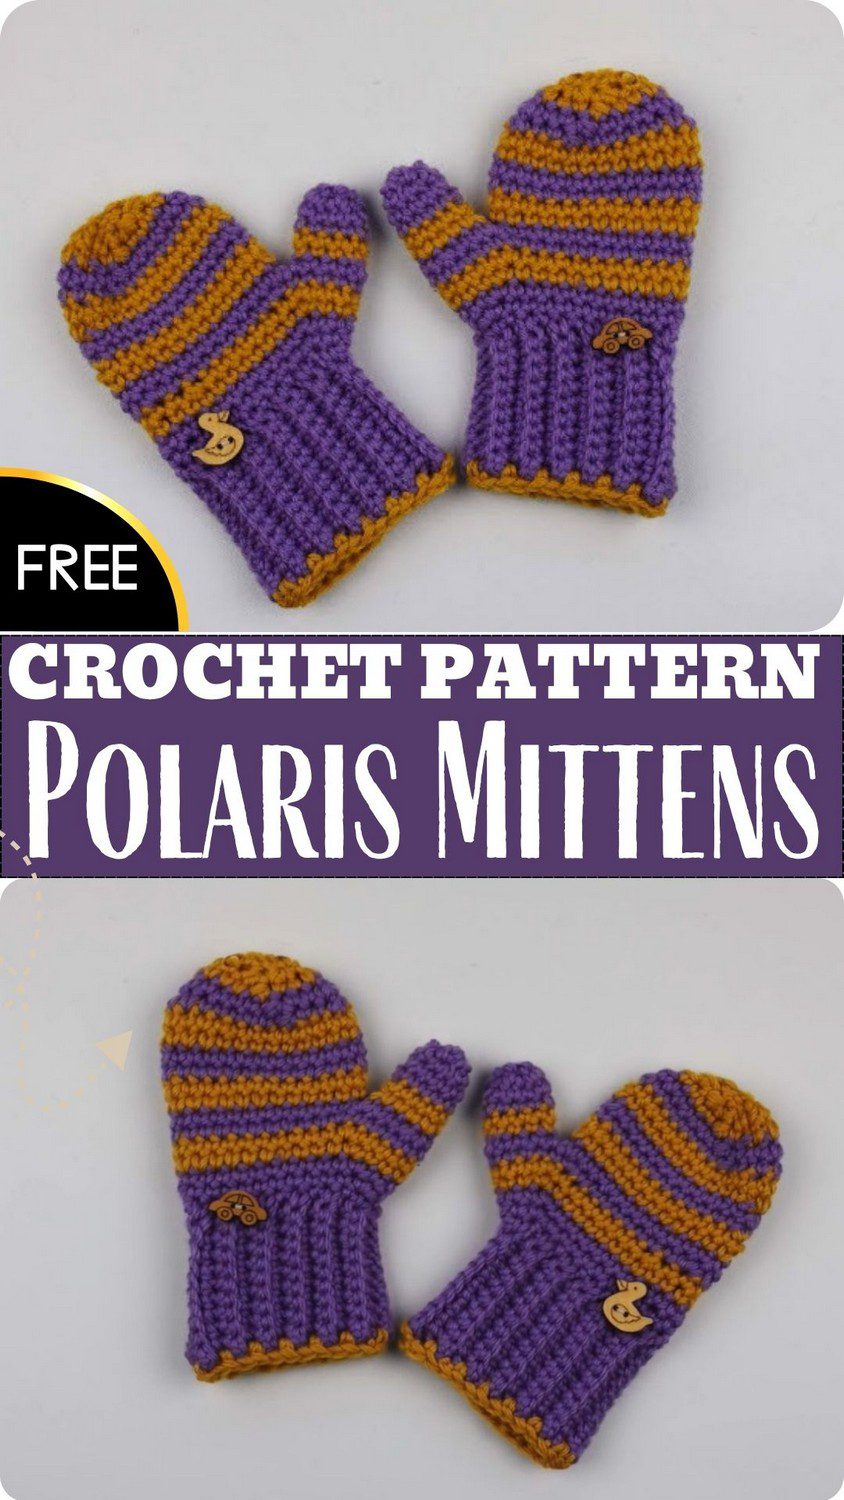
These mittens begin with a ribbed band and grow into a bright striped hand. To start, Purple (Lilac) makes the cuff and the base of the mitten. Meanwhile, Mustard (Yellow) arrives in bands higher up and returns at the very end as a little trim along the bottom edge. Finally, a novelty button sits on the back of each mitten, a toy car on one and a duck on the other. Although it is a small detail, it is the first thing people notice.
Skill Level
This is an advanced beginner project. To begin with, you should be happy working single crochet in rows and rounds, using the back loop only, and joining with a slip stitch. Besides that, you will change colors often and make a thumb opening. None of these steps is difficult. However, the pattern does ask you to count carefully and stay organized.
Fit of the Polaris Mittens
First of all, the cuff is snug and stretchy, so it stays on a busy wrist. At the same time, the body has comfortable room, so small fingers are never squeezed. If you are looking for winter mittens for kids that stay put without pinching, this fit is a good middle ground.
How the Polaris Mittens Are Constructed
First, the cuff is worked flat in BLO rows and joined into a band. Then the hand is worked in joined rounds, with a chain-space thumb opening. After that, the thumb is worked in joined rounds from that opening. Because there is no seaming on the hand, the inside stays smooth.
Finished Size of the Crochet Polaris Mittens
Toddler 2-3 years, with a wrist of about 11-12 cm and a hand length of about 10-11 cm.
Materials and Tools for the Crochet Polaris Mittens Pattern
- Yarn: Polaris by Lana Gatto, made of virgin merino and microfiber. It is soft, warm and flexible, in DK/sport weight.
- Colors: Purple (Lilac) as Color A and Mustard (Yellow) as Color B.
- Quantity: about 40 g in total. This is an estimate, so keep a little extra nearby.
- Hook: 4.0 mm.
- Medium tapestry needle.
- Scissors.
- Row counter app or stitch markers (optional, but helpful).
- Decorative novelty buttons, such as a toy car, a duck or a rocking horse.
- Safety note: sew the buttons on very firmly so they are not a choking hazard.
A quick word about the yarn. To begin with, Polaris has a soft, slightly fuzzy feel and a little bounce. That bounce is what gives the ribbed cuff its stretch, so try to stick with it, or choose a similar DK yarn. If you swap yarns, work a small swatch first. That way, you can make sure the fabric is dense enough to block the wind.
Abbreviations and Notes for the Crochet Polaris Mittens Pattern
Abbreviations
All instructions use US crochet terms.
- ch = chain
- sl st = slip stitch
- sc = single crochet
- BLO = back loop only
- inc = 2 sc in the same stitch
- sc2tog = single crochet 2 together (decrease)
- st = stitch
- rnd = round
Pattern Notes for the Polaris Mittens
- The cuff is worked flat, then joined into a band.
- The hand and thumb are worked in joined rounds, and each round starts with ch 1.
- In each decrease round, the 6 decreases are spaced evenly around.
- Color change: finish the last sl st of the round with the old color, cut it leaving a short tail, loop the new color through, and tie a small double knot with the two tails on the wrong side.
- Stripe order. Purple (Color A): cuff, Rnds 1-3, Rnds 6-9, Rnds 12-15, thumb. Mustard (Color B): Rnds 4-5, Rnds 10-11, Rnds 16-18, bottom cuff trim.
Sizing the Crochet Polaris Mittens Pattern for Toddlers
This pattern is written for one toddler size only. For best results, aim for a wrist of about 11-12 cm, a palm of about 12-13 cm and a hand length of about 10-11 cm.
To get the right fit, measure the child before you start:
- Wrist: measure around the narrowest part of the wrist.
- Palm: measure around the widest part across the knuckles, without the thumb.
- Hand length: measure from the wrist crease to the tip of the middle finger.
Toddlers rarely sit still, so take each measurement twice and use the larger number. Fortunately, the ribbed cuff stretches well, which makes these toddler crochet mittens forgiving if the child is between sizes. On the other hand, if you crochet tightly, check your first few rounds against the palm measurement, and go up a hook size if the fabric feels stiff.
Stitches and Techniques for the Crochet Polaris Mittens Pattern
Chain (ch)
Yarn over and pull a loop through the loop on your hook. Then repeat to make the starting chain for the cuff. Above all, keep the chain loose enough to crochet into, but not floppy.
Slip Stitch (sl st)
To make it, insert the hook into the stitch, yarn over and pull through both the stitch and the loop on your hook. Since it is flat and almost invisible, it is the neatest way to join rounds.
Single Crochet (sc)
Insert the hook, yarn over and pull up a loop. Then yarn over again and pull through both loops on the hook. Overall, this stitch makes a dense, warm fabric, which is exactly what mittens need.
Back Loop Only (BLO)
To work it, insert your hook under the back loop at the top of the stitch, and leave the front loop alone. As a result, a small ridge forms on the front. Worked row after row, those ridges become the ribbing on the cuff.
Increase (inc)
Work 2 sc in the same stitch. As a result, this adds one stitch and gives the hand a little extra width where it needs it.
Decrease (sc2tog)
Insert the hook into the next stitch and pull up a loop. Next, insert it into the following stitch and pull up another loop. Then yarn over and pull through all 3 loops on the hook. In the end, two stitches become one, and the top of the mitten curves in.
Color Change for Striped Crochet Mittens
Finish the last slip stitch of the round with the old color. After that, cut that yarn, leaving a short tail, and loop the new color through. Finally, tie a small double knot with the two tails on the wrong side.
The Complete Crochet Polaris Mittens Pattern
Component 1: Wrist Cuff in the Crochet Polaris Mittens Pattern
Take your time with the cuff. After all, neat, even rows here make everything after it easier.
Ch 11.
Row 1: Sc in the 2nd ch from the hook (back bump) and in each ch across. Turn. (10 sc)
Rows 2-25: Ch 1, turn. Sc BLO in each st across. (10 sc per row)
Joining: Fold the cuff so Row 1 meets Row 25. Working through both layers (all 4 loops), sl st or sc across all 10 sts to make a band. Do not cut the yarn. Turn the work right-side out.
Component 2: Hand Base in the Crochet Polaris Mittens Pattern
Now the cuff turns into a mitten. For this reason, check your stitch count at the end of every round.
Rnd 1 (Purple): Ch 1, sc evenly around the top edge of the cuff, 1 sc per cuff row end. Join with sl st to the first sc. (25 sc)
Rnd 2 (Purple): Ch 1, 1 sc, 10 sc, inc 2 times, 1 sc, inc 2 times, 9 sc. Join. (29 sc)
Rnd 3 (Purple): Ch 1, 1 sc, 10 sc, inc, 3 sc, inc, 13 sc. Join. (31 sc)
Component 3: Thumb Opening in the Crochet Polaris Mittens Pattern
Here the first mustard stripe appears. At the same time, the thumb opening is made in the same round.
Rnd 4 (Mustard): Ch 1, sc in the next 11 sts, ch 4, skip 4 sts, sc in each of the remaining 16 sts. Join. (31 sts, counting the 4 chains)
Rnd 5 (Mustard): Ch 1, sc in each sc and in each of the 4 chains around. Join. (31 sc)
Rnds 6-9 (Purple): Ch 1, sc in each st around. Join. (31 sc per rnd)
Rnds 10-11 (Mustard): Ch 1, sc in each st around. Join. (31 sc per rnd)
Rnds 12-15 (Purple): Ch 1, sc in each st around. Join. (31 sc per rnd)
Component 4: Shaping the Top
In short, these three rounds bring the stripes together into a rounded tip.
Rnd 16 (Mustard): Ch 1, *sc 3, sc2tog; repeat from * 6 times, sc 1. Join. (25 sc)
Rnd 17 (Mustard): Ch 1, *sc 2, sc2tog; repeat from * 6 times, sc 1. Join. (19 sc)
Rnd 18 (Mustard): Ch 1, *sc 1, sc2tog; repeat from * 6 times, sc 1. Join. (13 sc)
Cut the yarn, leaving a long tail. After that, thread the tail through the front loops of the last 13 sts, pull tight to close the top, and weave in the end.
Component 5: Thumb of the Crochet Mittens (Purple)
Take a breath, because this part is quick. In fact, the thumb works up in minutes.
Rnd 1: Join Purple at the thumb opening. Ch 1, sc in each of the 4 chains and in each of the 4 skipped sts. Join. (8 sc)
Rnds 2-5: Ch 1, sc in each st around. Join. (8 sc per rnd)
Rnd 6: Ch 1, sc2tog 4 times. Join. (4 sc)
Cut the yarn, leaving a long tail. Then thread it through the last 4 sts, pull tight and weave in the end.
Component 6: Bottom Cuff Trim (Mustard)
Finally, a thin mustard edge ties the cuff to the stripes above it.
Join Mustard at the bottom edge of the cuff. Ch 1, sc evenly around, 1 sc per cuff row end. Join with sl st to the first sc. (25 sc) Cut the yarn and weave in the end.
Step-by-Step Photo Guide for the Crochet Polaris Mittens Pattern
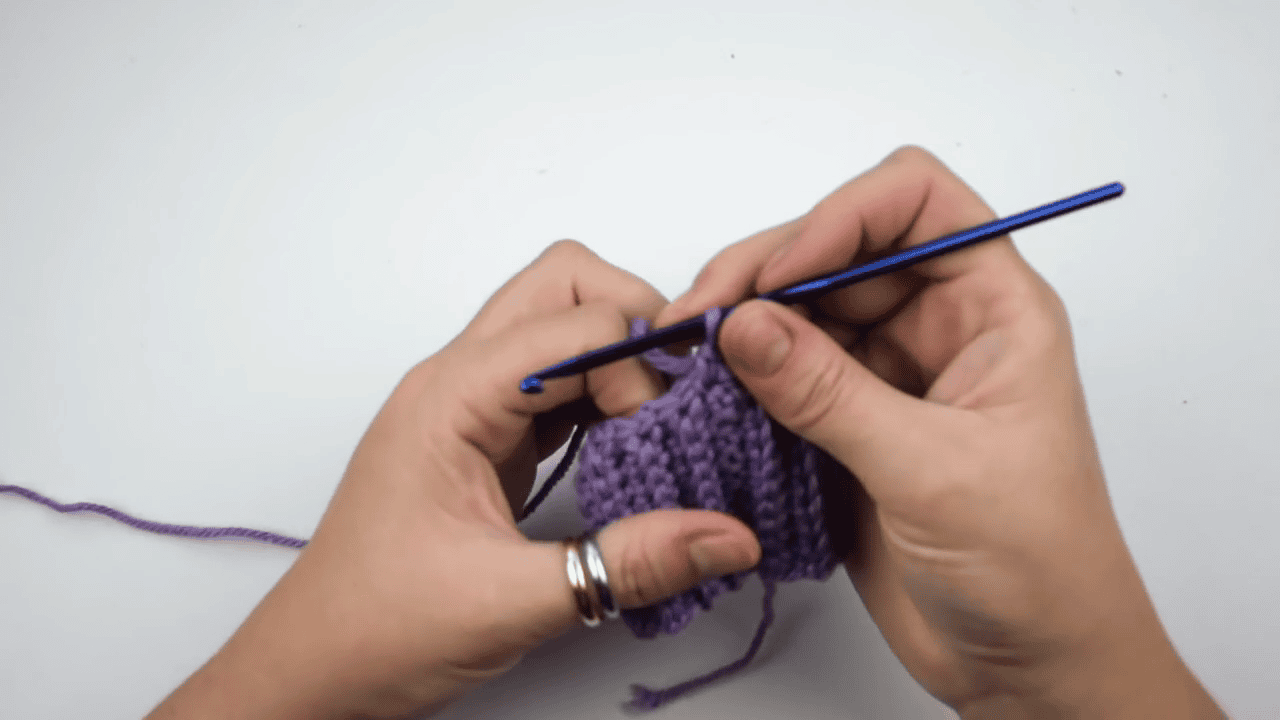
Step 1: Work the Ribbed Cuff of the Polaris Mittens
Hold the purple cuff with the ridges facing you and your hook ready at the top edge. Specifically, each BLO row adds one more rib. Therefore, keep your tension even, because the ribs should stand up straight and the band should stay stretchy. Once the cuff is joined, turn the work right-side out before you start the hand.
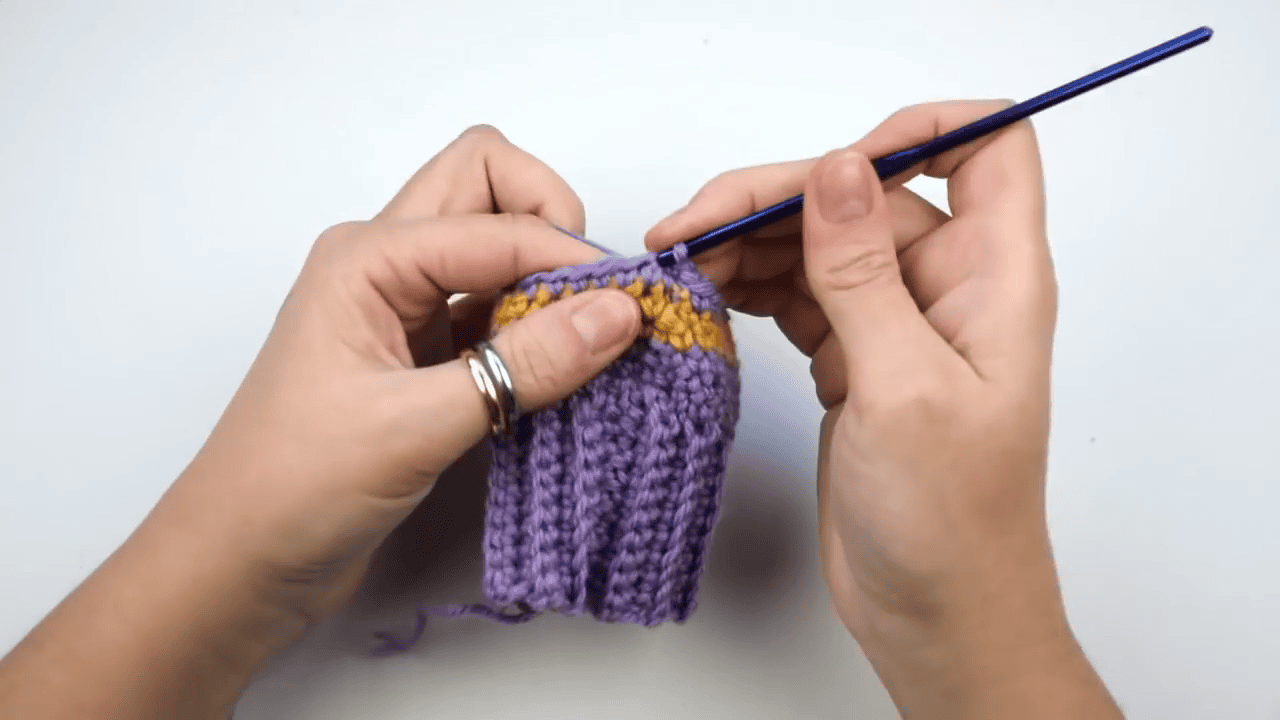
Step 2: Add the First Mustard Stripe
Once the thumb opening is made, the first Mustard (Yellow) stripe appears just above the purple. For this stripe, change colors at the end of the round, tie the two tails on the wrong side and carry on. Since this stripe is narrow, keep the tails short and tidy.
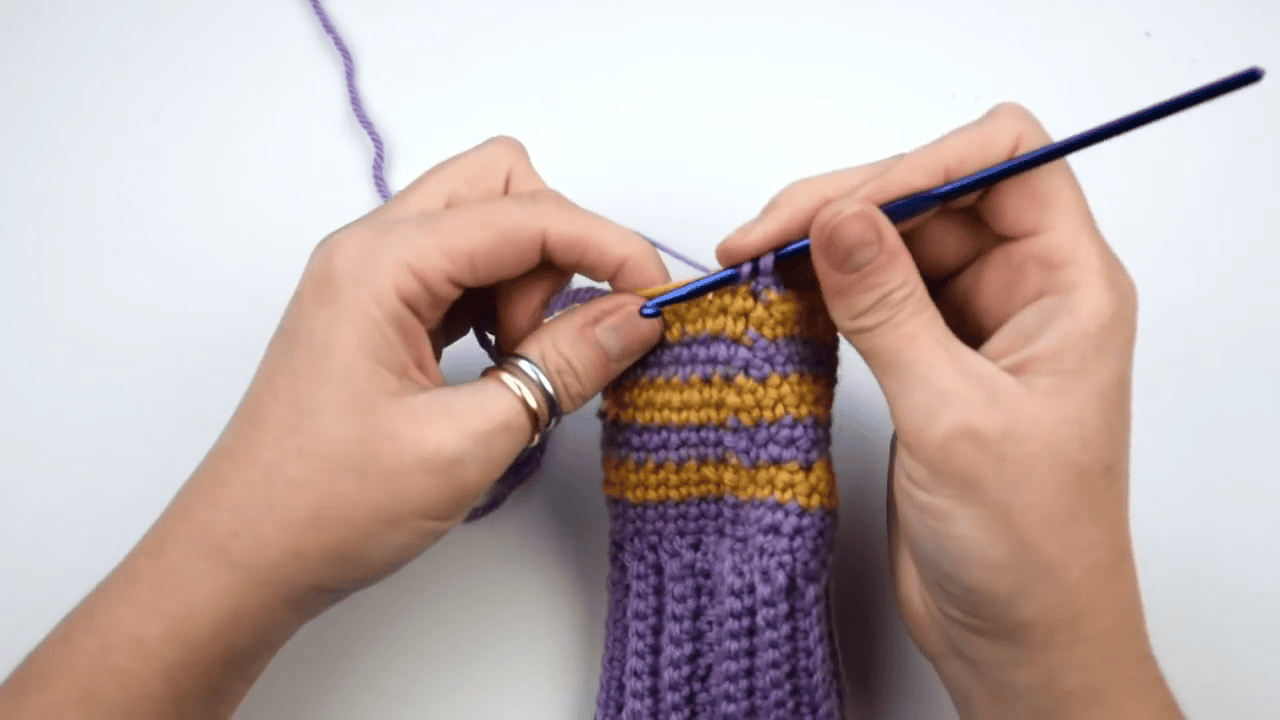
Step 3: Alternate the Stripes on the Crochet Mittens
Now the pattern finds its rhythm. Purple, mustard, purple, mustard. To keep the stripes straight, pull each new color up firmly at the change so the joins do not gap. Also, keep the working yarn at the back so the front looks clean.
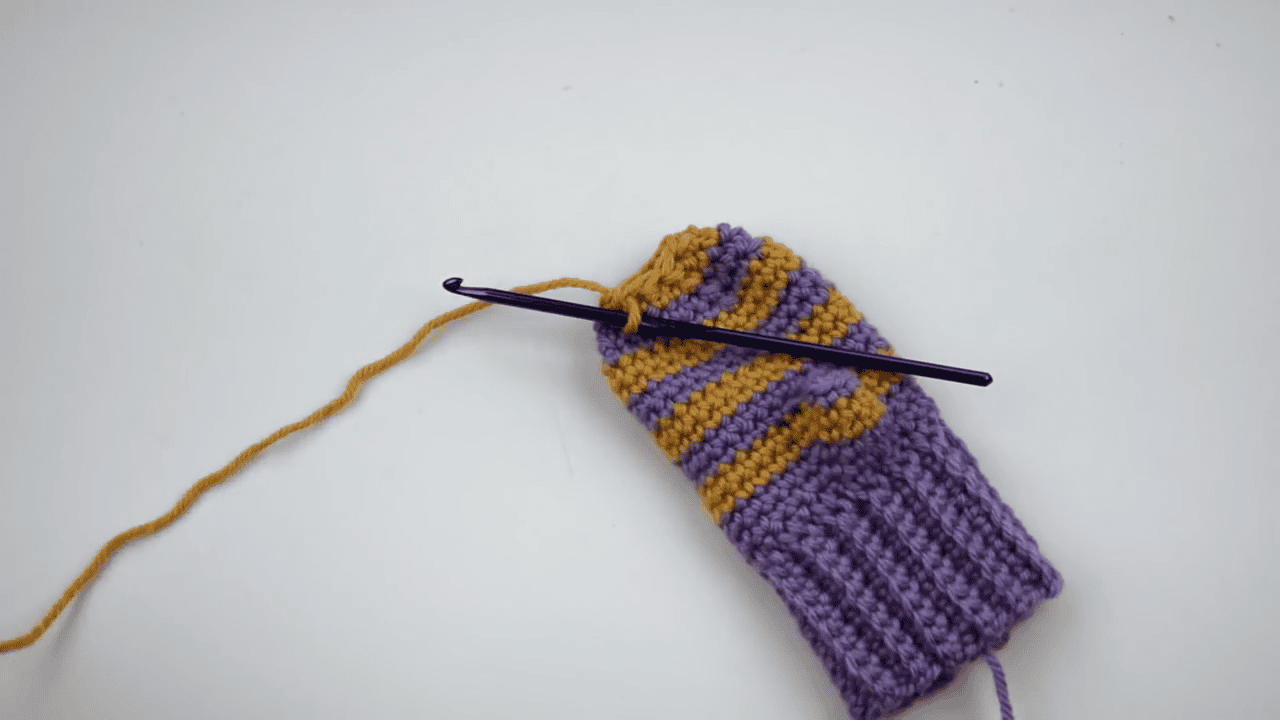
Step 4: Shape the Top of the Crochet Polaris Mittens Pattern
Near the top, the decreases begin and the mitten curves inward. The chain-space opening sits on the side of the hand, and the stripes run neatly around it. Also, make sure the opening is wide enough for the thumb to be worked around it. Then close the top by pulling the long tail tight.
Step 5: Finish the Pair of Polaris Mittens and Add the Buttons
With the thumb worked, the ends woven in and the cuff trimmed in mustard, the pair is done. Next, sew the toy car on one mitten and the duck on the other. Stitch through each button several times, and then and finish with a firm knot inside the mitten. Lastly, give each button a gentle tug before it goes anywhere near a child.
Washing and Caring for the Crochet Polaris Mittens Pattern (Bonus Section)
Wash Gently
Because little mittens get sticky quickly, wash them by hand in cool water with a mild soap. Afterwards, press out the water without wringing, because wringing can stretch the cuff.
Dry Flat
To dry, lay the mittens flat on a clean towel and reshape the cuff with your fingers. Then dry them away from direct heat. If the buttons are not washable, remove them first. Otherwise, sew them on again after drying and test them once more.
Keep a Spare Pair of Eyes on the Buttons
To be safe, check the buttons after every wash. Washing can loosen the thread, but a quick re-stitch takes only a minute.
Last Few Words on the Crochet Polaris Mittens Pattern
Honestly, the stripes are the fun part. You swap colors, tie a little knot, and the mitten starts to look like it came from a shop. Besides, if you count your stitches at the end of every round, you will be fine.
Also, the cuff is the bit not to rush. It feels slow while you stitch it, but it makes the whole mitten fit so much better.
One more thing. Please check the buttons twice. They are the cutest bit, but they have to be on tight. So, grab your Purple (Lilac) and Mustard (Yellow) and make a pair for someone small. They also make a lovely gift.