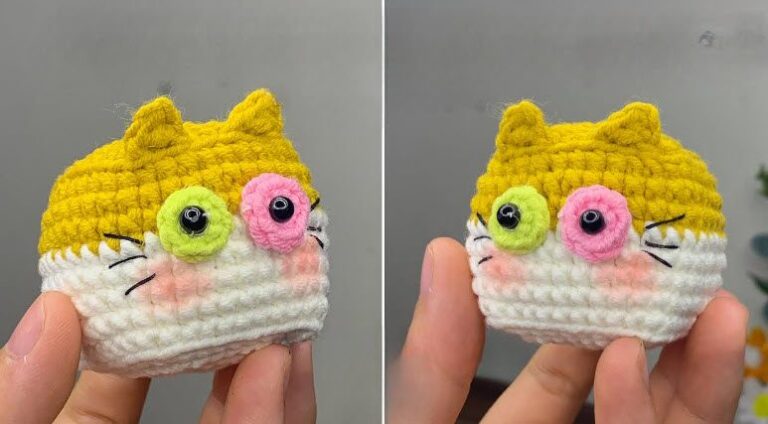
Crochet Kitten Keychain Pattern Whisker Face Cutie
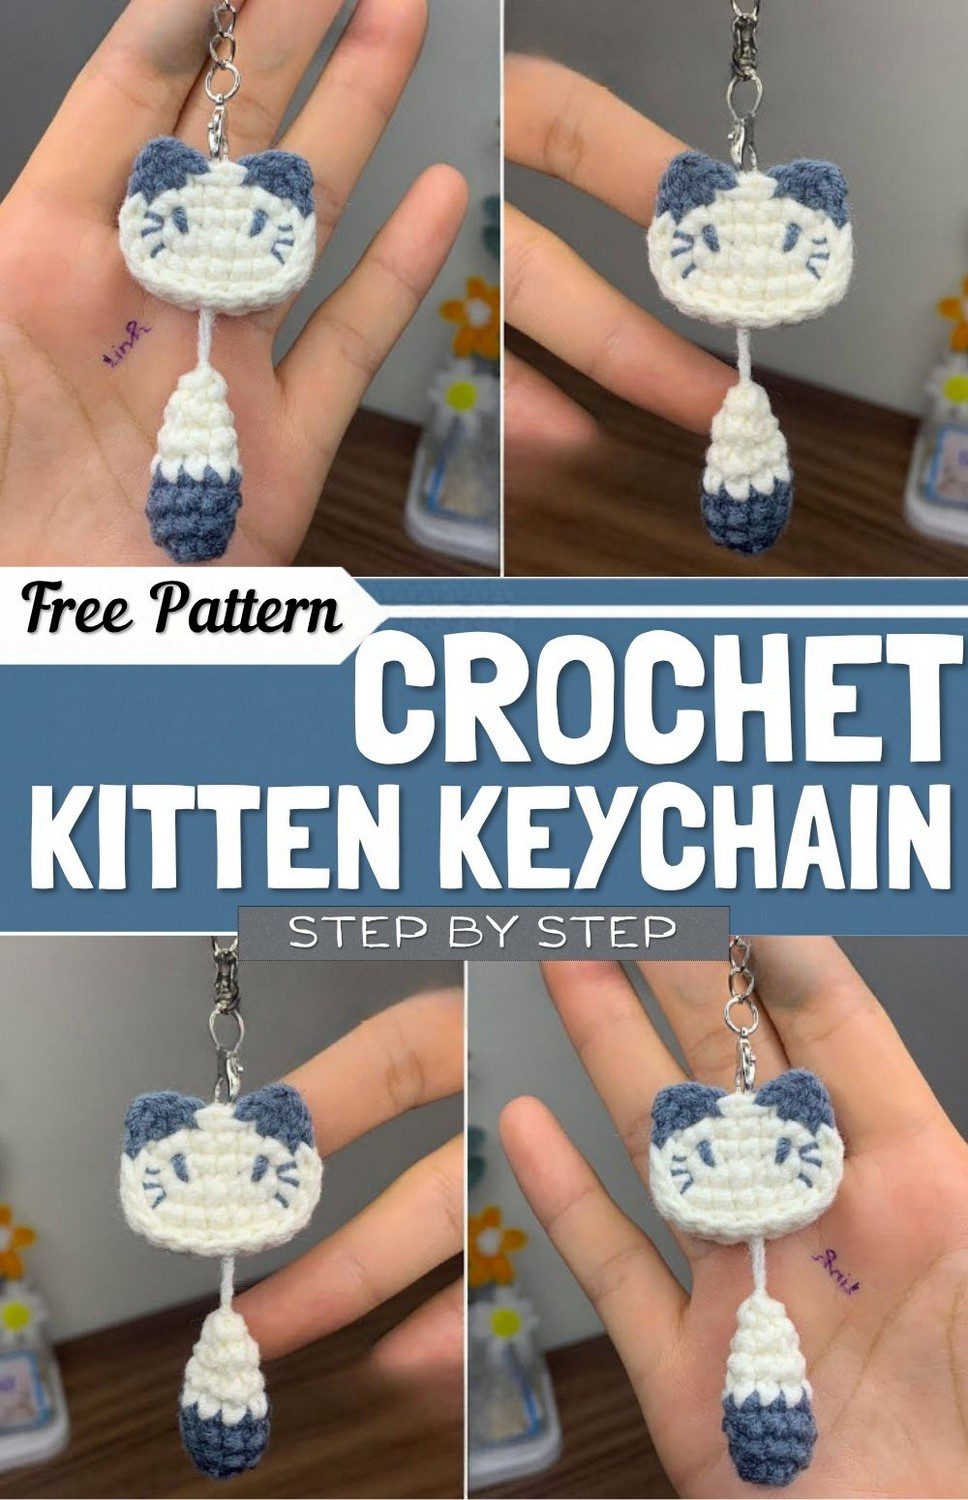
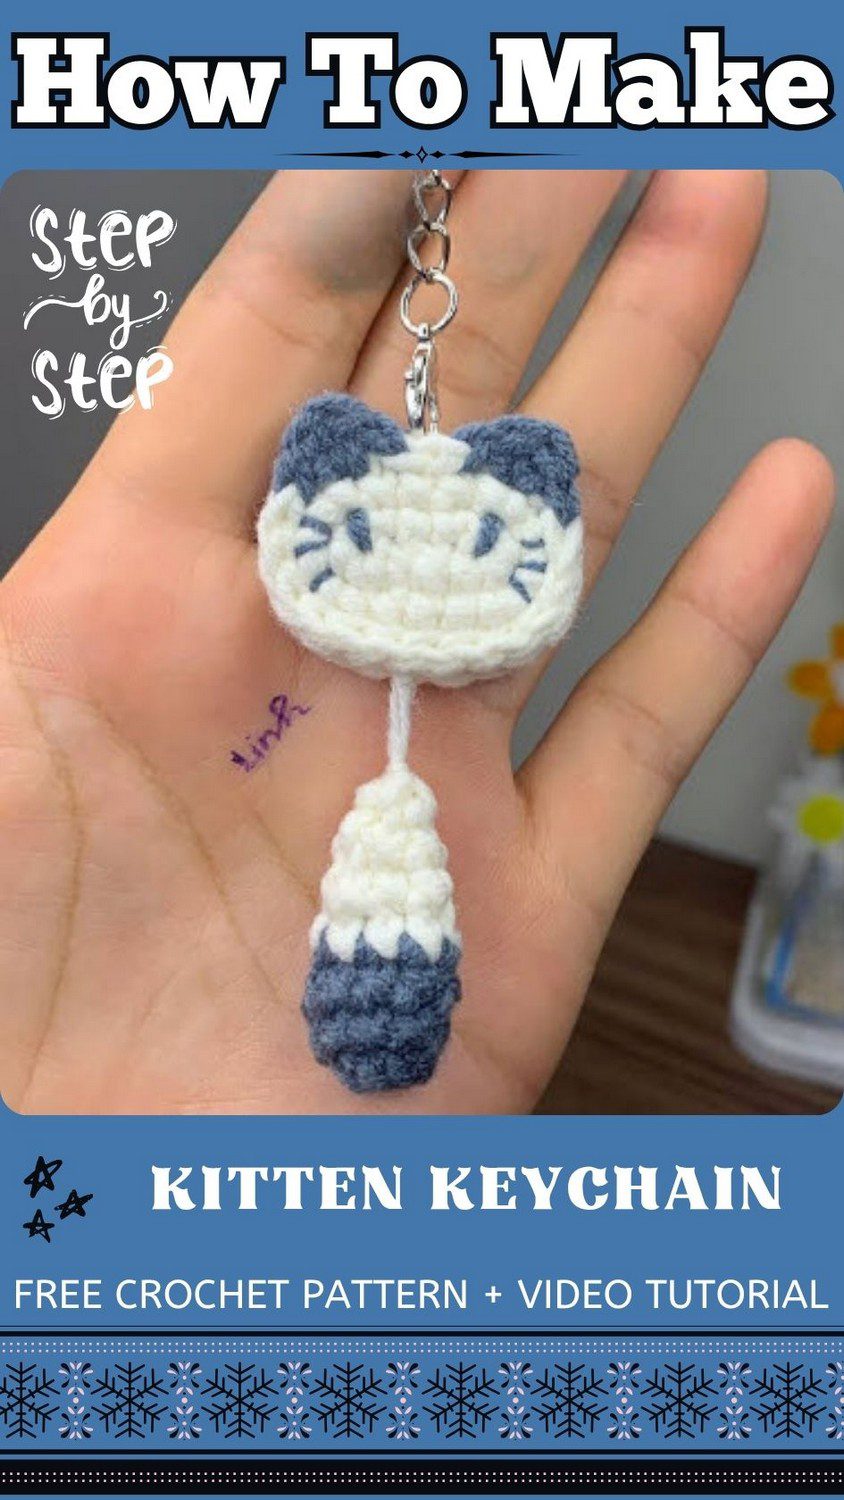
What makes a crochet kitten keychain so hard to put down? It’s the sweet whisker face. This free pattern walks you through every stitch, so you can proudly hang a soft little companion on your keys, bag or backpack today.
Meet Whisker Face Cutie, a tiny crochet kitten keychain with a sweet face and playful whiskers that look very charming on your bag. This project is perfect for beginners and experienced crocheters alike, because the stitches are simple and quick. The result is soft, plush looking, lightweight and easy to carry, so it fits keys, handbags, backpacks and purses. It also makes a thoughtful handmade gift for cat lovers and crochet fans. Follow this free pattern and finish a cute accessory that adds a cheerful touch to your everyday things.
Materials for This Crochet Kitten Keychain Pattern
- Soft, smooth yarn in white and blue-grey (the video uses Susan 5 yarn, but any similar fine yarn will work)
- Blue yarn for the embroidered face
- A small crochet hook that gives a tight, firm fabric with your yarn
- A tapestry needle
- Scissors
- A keyring with a clasp
- Hot glue gun (optional, used in the video to join the pieces)
Crochet Abbreviations (US Terms)
This pattern uses US crochet terms.
ch – chain
sk – skip
sc – single crochet
inc – increase (2 sc in the same stitch)
dec – decrease (2 sc together)
dc – double crochet
slst – slip stitch
Mr – magic ring
Before You Start the Kitten Keychain
End every round with a slip stitch, and begin the next round with a chain 1 wherever the pattern says so. Keep your tension snug, because a loose stitch shows right away on a piece this small and makes the fabric floppy.
Change colours on the last loop of the stitch before the change. Pull the new colour through to finish that stitch, and the new shade will start cleanly on the next one.
How to Crochet the Kitten Face (Make 2)
You will make two identical face pieces, one for the front and one for the back. Start both with white yarn.
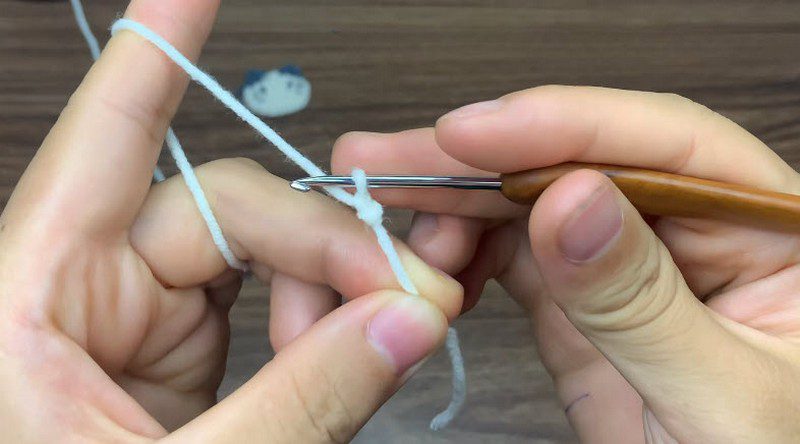
Round 1: The Oval Base
Ch 6, skip the first chain from the hook, then sc in the next 4 chains. Work 3 sc in the last chain. Turn to the other side of the chain and sc in the next 3 chains, then inc in the last stitch. Join with a slst. You should have an oval of 12 stitches.
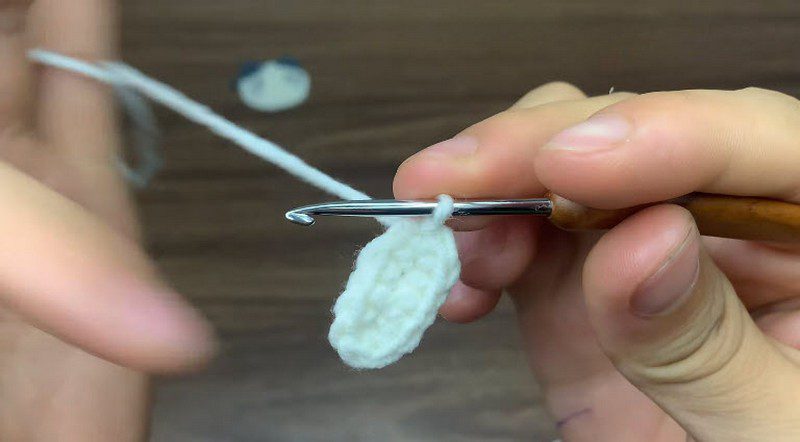
Round 2: Shape the Round Face
Ch 1, inc, sc 3, inc in each of the next 3 stitches, sc 3, inc in each of the next 2 stitches. Change to blue on the last slip stitch and join. This round gives you 18 stitches and a rounder shape.
Round 3: Make the Kitten Ears
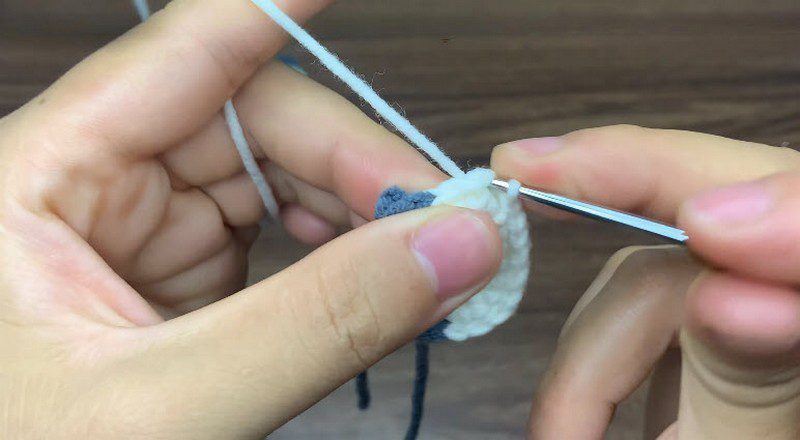
Start in blue. Skip 1 stitch, then work (sc, dc, sc) in the next stitch to make the first ear. Change to white and slip stitch in the next 2 stitches. Change to blue, slip stitch once, then work (sc, dc, sc) in the next stitch for the second ear. Change to white and slip stitch around the remaining stitches. Fasten off and weave in the ends.
Make the second face the same way. Check that both ears sit on the same side so they line up when you stack the pieces.
How to Crochet the Teardrop Charm
The little dangling teardrop starts in blue and finishes in white, so it matches the ears on the face.
Rounds 1 to 3 (Blue)
Round 1: Make a magic ring, ch 1, work 8 sc into the ring and join with a slst. Pull the ring tight (8 stitches).
Round 2: Ch 1, sc in each of the 8 stitches, join (8 stitches).
Round 3: Ch 1, sc in each of the 8 stitches, join (8 stitches).
Rounds 4 and 5 (White)
Change to white at the start of Round 4.
Round 4: Ch 1, sc 6, dec, join (7 stitches).
Round 5: Ch 1, sc 2, dec, sc 3, join (6 stitches).
Fasten off and leave a long white tail. This tail becomes the thin thread that holds the teardrop under the face.
Assembling Your Crochet Kitten Keychain
Join the Two Faces
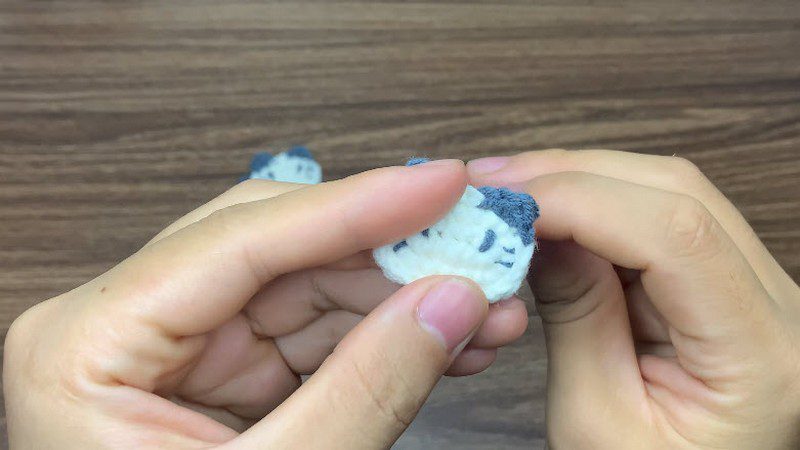
Place the faces together with the wrong sides inside and the ears lined up. Slide the end of the keyring loop between the layers at the top, right between the ears. The video joins the pieces with a hot glue gun, but you can sew the edges with a needle if you prefer.
Attach the Teardrop
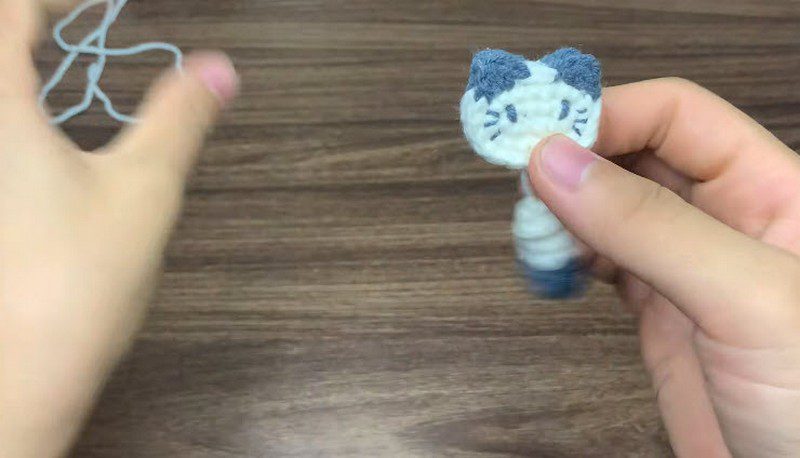
Thread the long white tail through the bottom edge of the face and secure it with a few small knots and a dab of glue. Let the teardrop hang about 2 to 3 cm below the face so it swings freely.
Embroider the Whisker Face
Use blue yarn for the face. Stitch two small curved lines for sleepy eyes, then add a few short whiskers on each side. Keep the stitches small and place both eyes at the same height so the expression looks calm and even.
Add the Clasp
Attach the clasp to the keyring loop at the top. Give it a gentle tug to check that the glue or stitches hold.
Bonus: Colour Swap Ideas for Your Kitten Keychain
The same shape looks great in other palettes. Try cream with soft pink for a sweet version, or grey with black for a moodier one. A warm tan face with brown ears gives you a tabby look. Just keep two clearly different shades so the ears still stand out.
Common Mistakes and Quick Fixes
Ears too small or lopsided. Count the slip stitches between the two ears carefully. A single extra slip stitch pushes one ear away from the centre.
Face looks wavy. Your tension is probably loose in the chain round. Pull the working yarn a little firmer on Round 1 so the oval stays flat.
Teardrop looks floppy. Switch to a smaller hook for it, or pull the magic ring very tight before you go on.
Colour shows through. Use a darker, thicker yarn for the back face if your white yarn looks thin.
Safety Note
This charm has small embroidered parts and glued joins, so it is a bag accessory for adults and older children, not a toy for babies. Check the joins from time to time.
A Quick Word Before You Hang It Up
This one is quicker than it looks. Make the two faces first and the rest falls into place. If your first ear comes out a little odd, simply redo it, since it only takes a few minutes. Once your finished crochet kitten keychain is swinging from your bag, don’t be surprised when people ask where you found it.