
Free Crochet Cat Amigurumi Pattern for Beginners
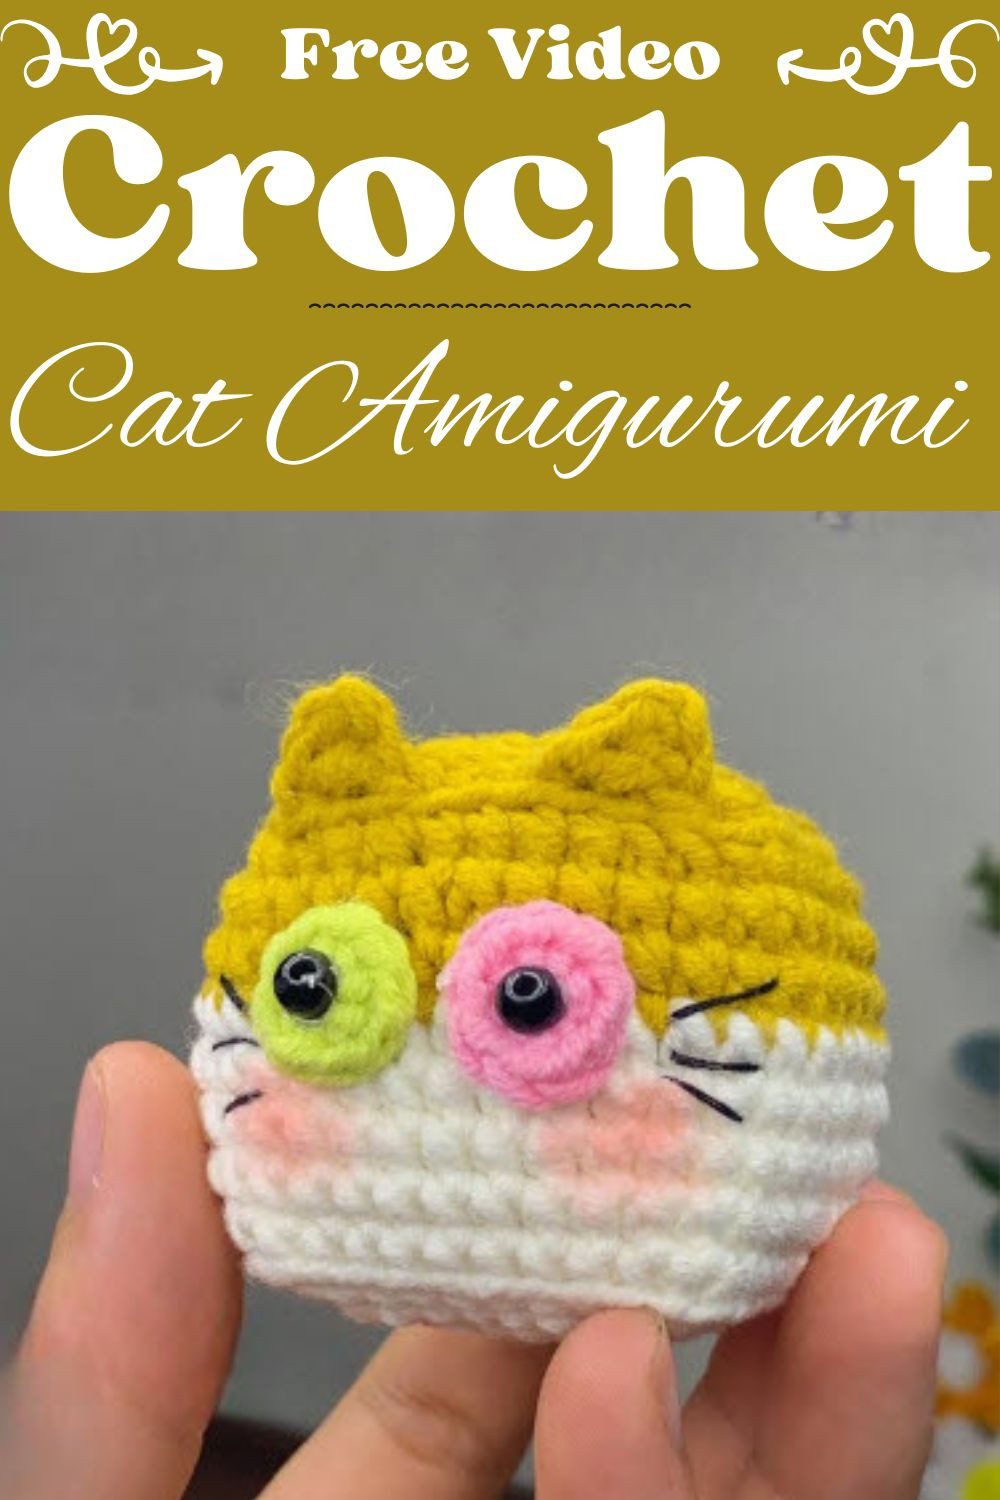
Small hands, big smiles. This free crochet cat amigurumi pattern for beginners gives you a smooth, plush cube cat with two bright eyes and a cheerful face. Besides that, it is a sweet project to make for yourself or for a friend.
First, you crochet a flat square. Then it slowly turns into a round, plush cube with tiny ears and a happy face. Also, you only need single crochet, a magic ring and one simple decrease. Because every round has its stitch count written out, this crochet cat amigurumi pattern feels calm and easy. As a result, it makes a lovely gift, a cozy hug for little kids and a cute decoration for your shelf.
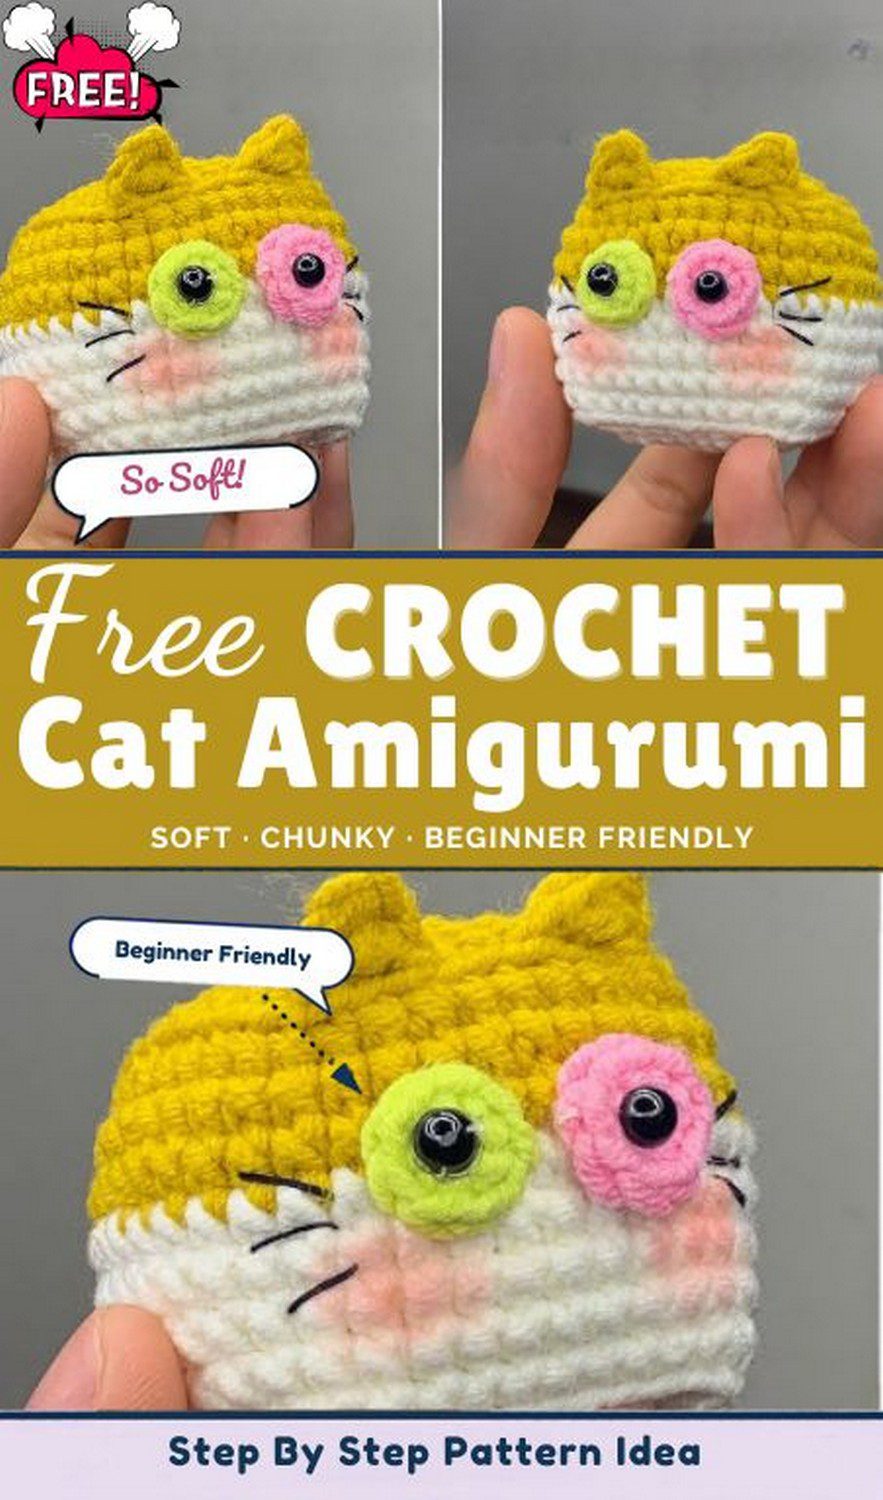
Free Crochet Cat Amigurumi Pattern for Beginners: Squishy Cube Cat
Have you ever seen a cat that looks like a tiny pillow with ears? Well, this one does. First, you make a flat square. After that, it grows into a chunky little cube. Best of all, every round lists the stitch count, so you will never wonder if you missed one.
Project Overview of the Crochet Cat Amigurumi
This little cat is soft, squishy and very forgiving for new crocheters. First, you work from the bottom up in joined rounds. Next, the corners give it that cute boxy shape. Finally, the ears and eyes are made separately and sewn on at the end.
- Skill level: Beginner
- Finished size: About 5 cm wide and tall with a 2.5 mm hook (it grows with thicker yarn)
- Construction: One body worked in rounds, two eyes, two ears
Materials for This Crochet Cat Amigurumi Pattern
- Cotton or milk cotton yarn in sport/DK weight, in two colours for the body (this pattern uses white for the base and yellow for the top)
- Small amounts of pink and light green yarn for the eye patches
- A little black yarn or embroidery thread
- 2.5 mm crochet hook
- Yarn needle
- Fiberfill stuffing
- Two small black beads or safety eyes
- Stitch marker (very helpful for this pattern)
- Pink blush or pink thread for the cheeks (optional)
Abbreviations Used in This Crochet Cat Amigurumi Pattern (US Terms)
- MR = magic ring
- ch = chain
- sc = single crochet
- sl st = slip stitch
- st(s) = stitch(es)
- BLO = back loop only
- 3 sc in next = work three single crochets into one stitch (this makes a corner)
- dec3 = work three stitches together into one
Stitches and Techniques for the Cube Cat
Before you begin, read these short tips. In fact, they make the whole crochet cat amigurumi pattern much easier to follow.
Magic Ring
First, wrap the yarn around two fingers to make a loop. Next, put your hook through the loop, pull up the working yarn and chain 1 to lock it. Then work your stitches inside the ring. Finally, pull the tail to close it tight.
Single Crochet and Corners
First, insert the hook into the stitch, yarn over and pull up a loop. After that, yarn over again and pull through both loops. For a corner, work three single crochets into the same stitch. In other words, each corner adds two stitches, and four corners give you the square shape.
The 3-Stitch Decrease (dec3)
First, put your hook into the next stitch and pull up a loop. Then do the same in the next two stitches, so you have four loops on the hook. Finally, yarn over and pull through all four loops. As a result, three stitches become one.
Joined Rounds and Colour Changes
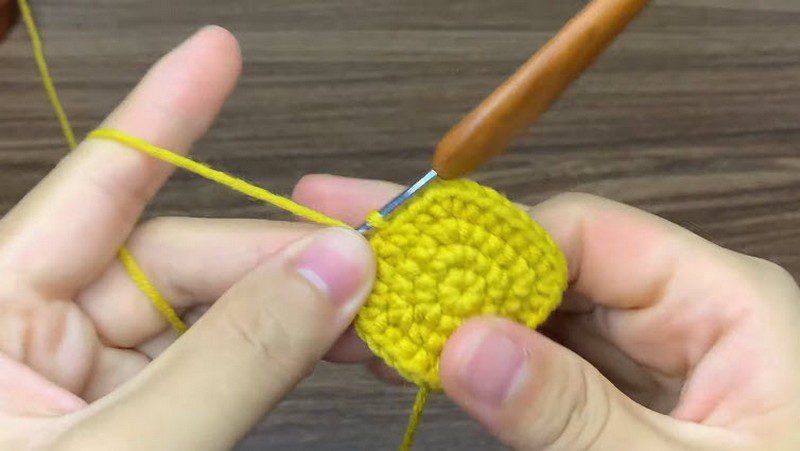
Each round ends with a slip stitch into the first stitch, and then you chain 1. Remember, that chain does not count as a stitch. Next, to change colour, pull the new yarn through on the last slip stitch of the round. Afterwards, tuck the old tail inside the body so it stays hidden under the stuffing.
Back Loop Only
Work only into the loop at the back of the V. As a result, you get a neat ridge. Moreover, in this pattern, it helps the flat base turn upward into walls.
Crochet Cat Amigurumi Pattern: The Body
First, start with your colour (white in my version). Also, mark the first stitch of every round. Then count when you finish each one.
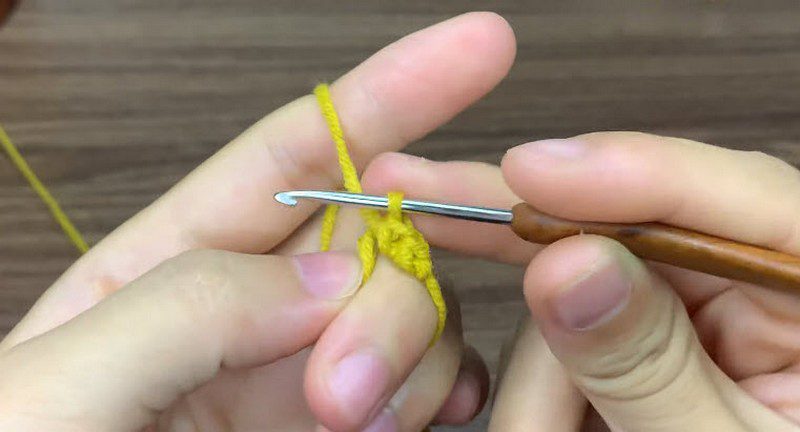
Round 1: Magic Ring
MR, 8 sc into the ring. Pull tight and join with a sl st. (8 sts)
Round 2: First Corners
Ch 1. [1 sc, 3 sc in next st] repeat 4 times. Join. (16 sts)
Round 3: Growing the Square
Ch 1. 2 sc, 3 sc in next st, [3 sc, 3 sc in next st] repeat 3 times, 1 sc. Join. (24 sts)
Round 4
Ch 1. 3 sc, 3 sc in next st, [5 sc, 3 sc in next st] repeat 3 times, 2 sc. Join. (32 sts)
Round 5
Ch 1. 4 sc, 3 sc in next st, [7 sc, 3 sc in next st] repeat 3 times, 3 sc. Join with a sl st into the back loop of the first stitch. (40 sts)
Round 6: Turning the Base Upward
Ch 1. Work 1 sc in the back loop of every stitch around. Join through both loops. (40 sts)
Rounds 7 to 14: The Walls
Ch 1. 1 sc in each stitch around. Join. Repeat for 8 rounds. (40 sts each round)
Then, at the end of Round 9, change to your second colour (yellow) on the slip stitch join. After that, carry on with it for the rest of the body.
Round 15: Corner Decreases Begin
Ch 1. Working in the back loops: 4 sc, dec3, [7 sc, dec3] repeat 3 times, 3 sc. Join. (32 sts)
Round 16
Ch 1. 3 sc, dec3, [5 sc, dec3] repeat 3 times, 2 sc. Join. (24 sts)
Round 17
Ch 1. 2 sc, dec3, [3 sc, dec3] repeat 3 times, 1 sc. Join. (16 sts)
Stuffing and Closing Your Crochet Cat Amigurumi
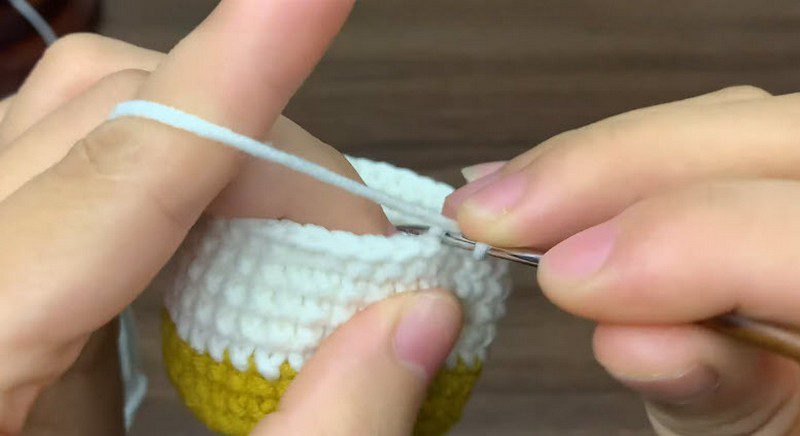
First, stuff the cat firmly before you close it. Also, push stuffing into all four corners so the cube holds its shape. Then cut the yarn with a long tail and thread it on your needle. Next, go through the front loop of each of the 16 stitches, pull tight to close the hole, and weave the end inside. Finally, squeeze and shape the body with your hands until it sits nicely.
Crochet Cat Amigurumi Pattern: The Eyes (Make 2)
First, make a magic ring with the colour, work 8 sc into it and pull it tight. Next, instead of a slip stitch, pass the tail up through the first stitch from underneath and back through the ccentre As a result, you get a neat, flat circle. Then make one in light green and one in pink. Lastly, fasten off and keep a tail for sewing.
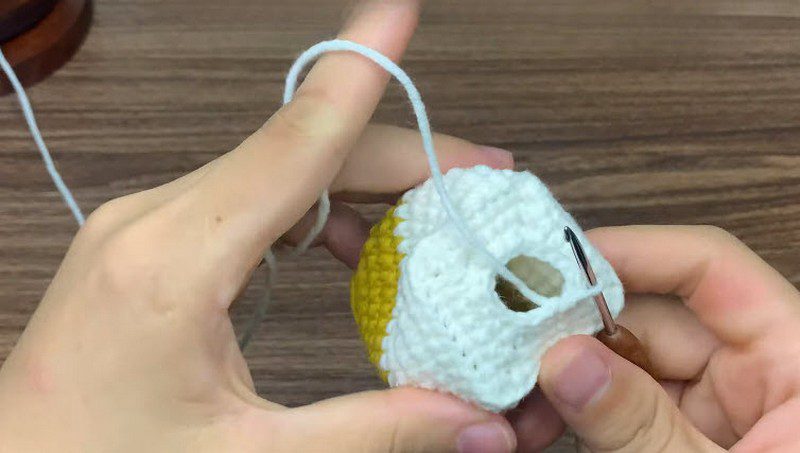
Crochet Cat Amigurumi Pattern: The Ears (Make 2)
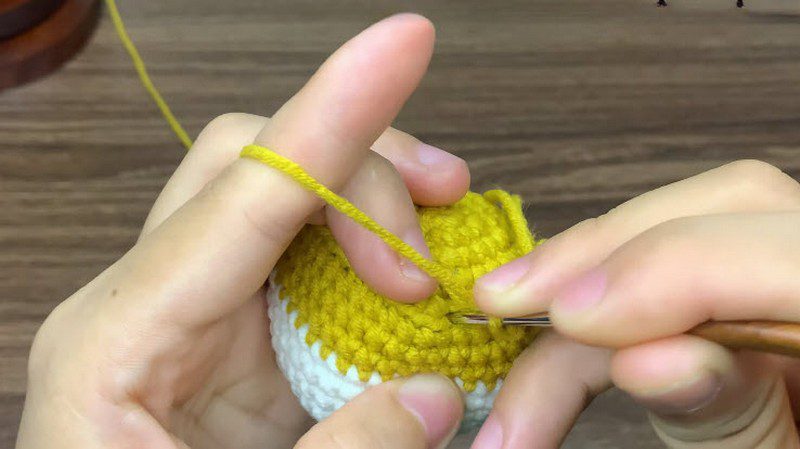
To begin, count two stitches in from a top corner and join your top colour there.
- Row 1: Work 4 sc along the top edge.
- Row 2: Ch 1, turn, sc2tog twice. (2 sts)
- Row 3: Ch 1, turn, sc2tog. (1 st)
After that, fasten off and weave in the end. Then repeat on the other corner so the ears match.
Putting Your Crochet Cat Amigurumi Together
Attaching the Eyes
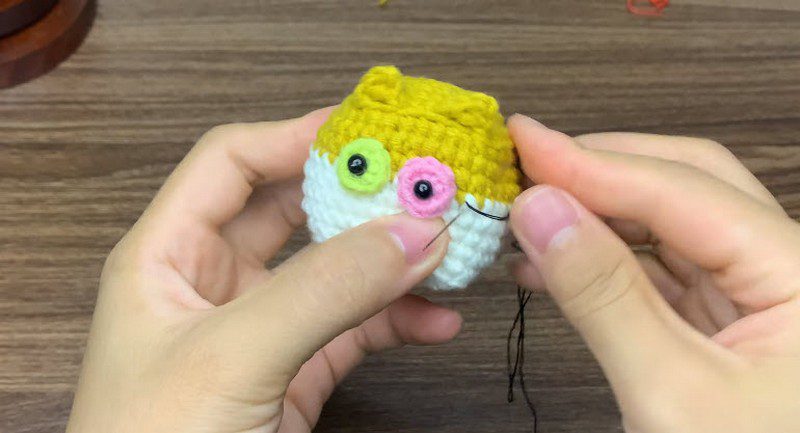
First, sew the eyes onto the upper part of the face, close to the colour-change line. Also, keep a gap of two or three stitches between them. Then place both on the same round. Finally, sew a bead in the middle of each eye patch.
Whiskers and Cheeks
First, use black yarn to stitch a few short whisker lines on each side, going freehand. In addition, add a little pink blush on each cheek if you like a rosy face.
Final Shaping
Next, press the sides gently and check that all four corners are equal. However, if one side looks flat, open a small gap near the seam. Then add a bit more stuffing.
Stitch Count Check for the Crochet Cat Amigurumi Pattern
Use this quick list to check yourself. First, Round 1 has 8 stitches, Round 2 has 16, Round 3 has 24, Round 4 has 32 and Round 5 has 40. Next, Rounds 6 to 14 all stay at 40. Then Round 15 drops to 32, Round 16 to 24 and Round 17 to 16. Overall, the increase rounds each add 8 (four corners, two extra stitches each). Likewise, the decrease rounds each remove 8 (four decreases, two stitches fewer each).
Common Beginner Mistakes to Avoid
Even an easy crochet cat amigurumi pattern has a few small traps. For example, watch out for these:
- Forgetting a corner, which makes the square lopsided
- Not marking the first stitch, which makes counting hard
- Stuffing too little, so the cube looks sunken
- Starting the decrease round on the wrong stitch, which twists the corners
- Sewing the eyes too low, which changes the whole expression
Bonus SectionColouror Combination Ideas
This cat looks great in lots of colours. For instance, try orange and cream for a ginger look. Similarly, grey and white give a calm kitten, and black and pink feel a little playful. Above all, pick colours with good contrast so the colour-change line stays clear.
Safety Note for Gifts
If this cat is for a baby or a young child, skip the beads and safety eyes. Instead, embroider the eyes with yarn. Also, sew the ears on tightly so nothing can come off.
Wrapping It Up With Your Little Cat
Honestly, this one is a fun make. It works up fast, and the shape is cute even if your stitches are not perfect. So I would make a few in different colours and line them up on a shelf. Once you finish one, you will probably want another.


