Crochet Doll Mushroom Amigurumi Pattern Toy
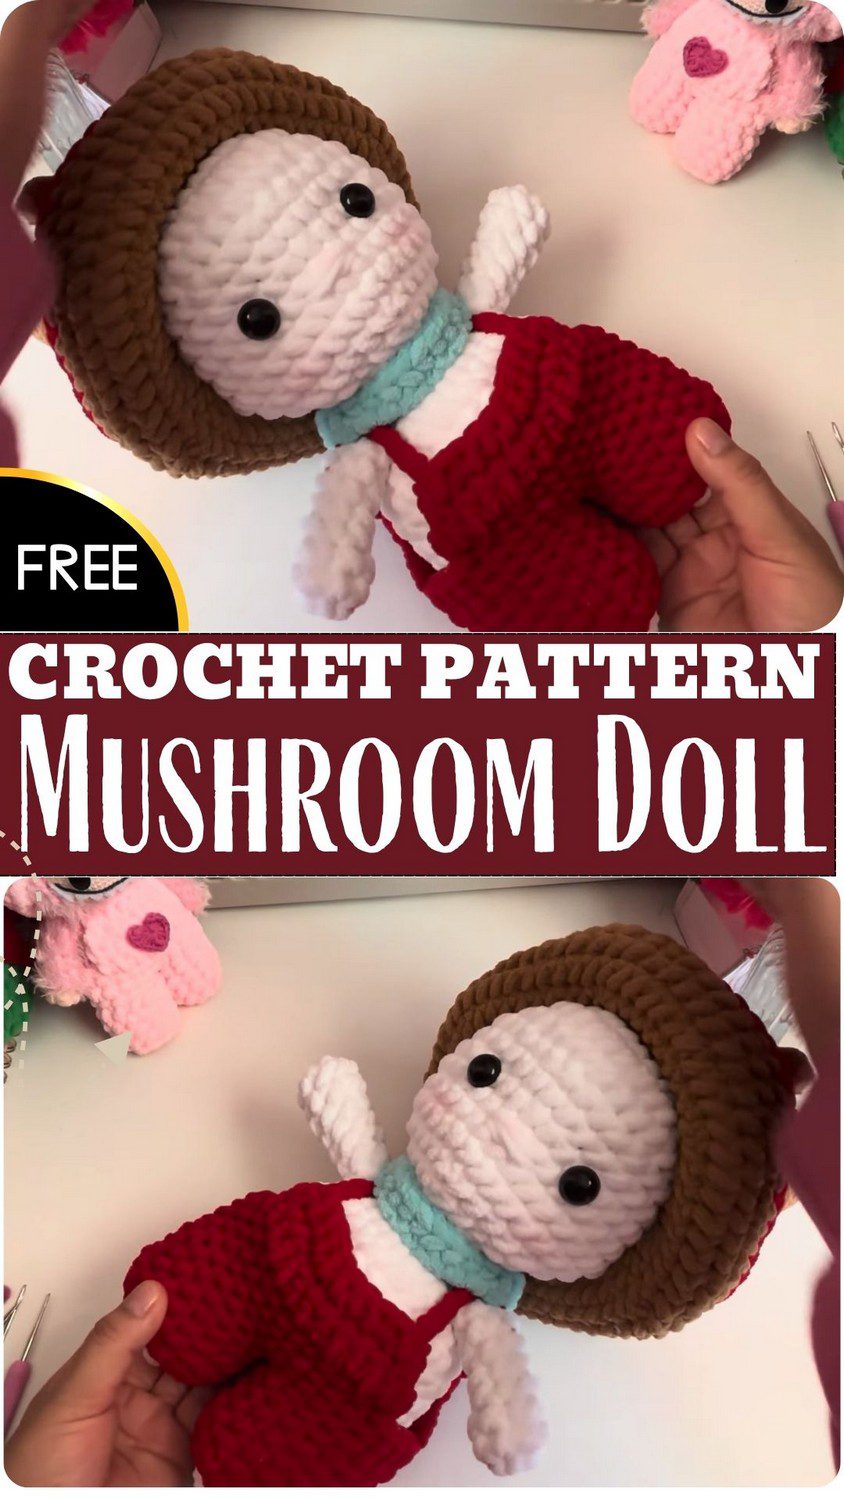
This crochet mushroom doll amigurumi pattern gives you a cute, cozy toy that is surprisingly simple to make. Meet Señor Honguito, the little mushroom man with a red spotted cap, a soft white face and a pair of removable overalls. Because the head and body are worked as one piece, you sew far less than on most amigurumi toys.
Below, you will find the materials, abbreviations, techniques and every round, so you can make your crochet mushroom doll without searching anywhere else. Also, each part comes with a photo step, which makes the pattern easy to follow.
Project Overview: Your Crochet Mushroom Doll
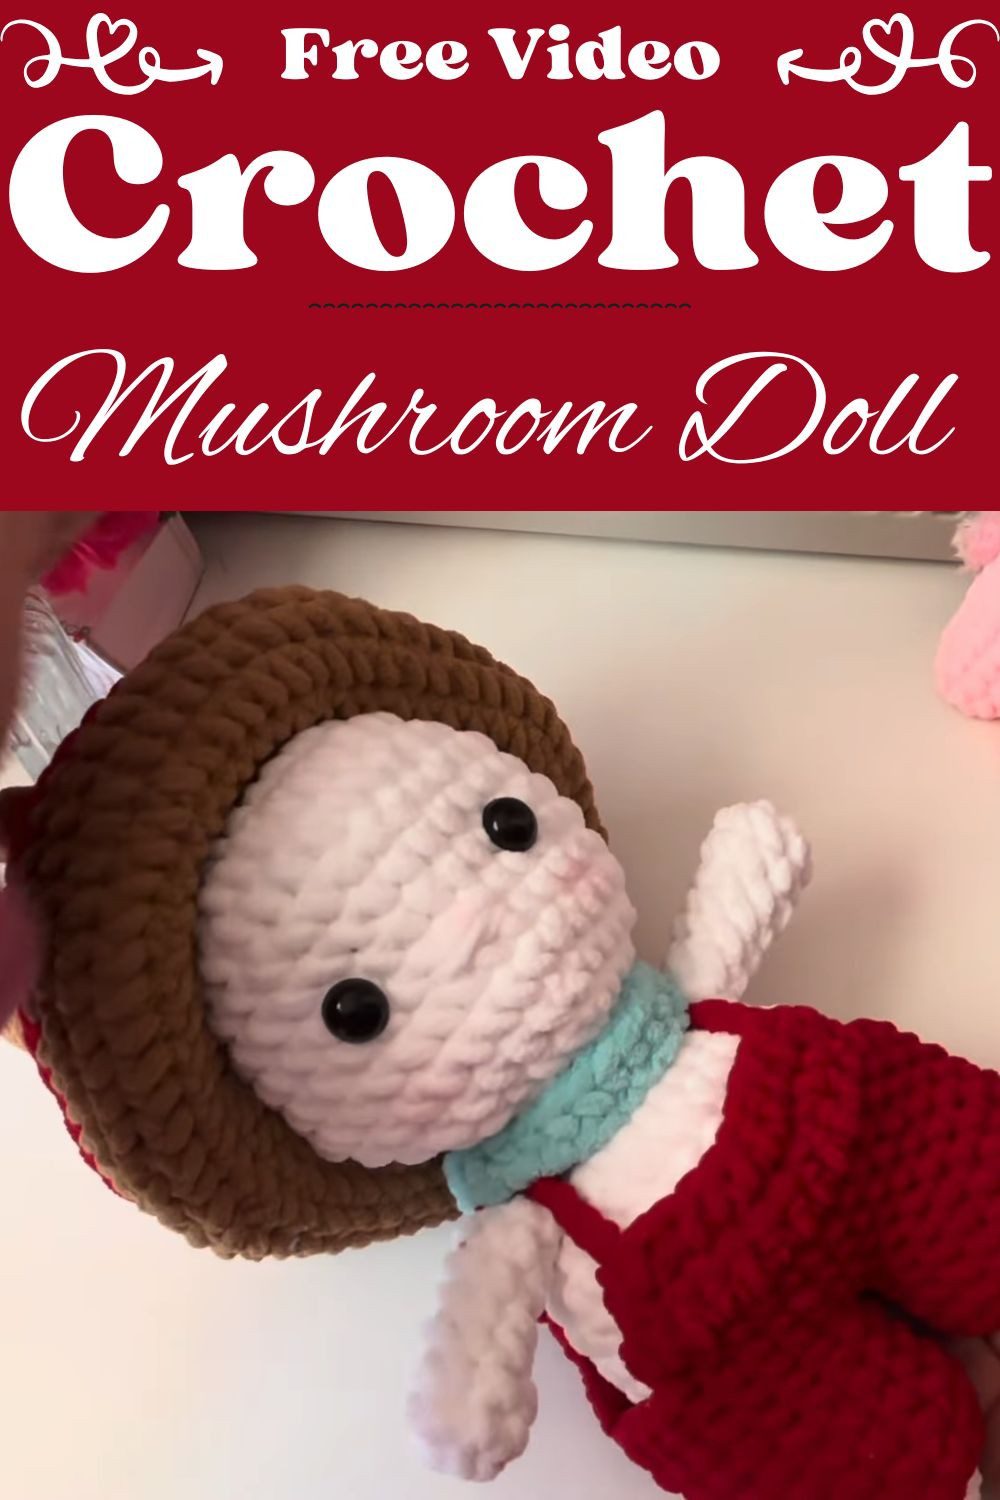
Señor Honguito has a round red cap with white spots and a brown brim that frames his soft white face. In addition, he wears light pink cheeks, a collar, short white arms and removable overalls.
To begin with, the best part is how he is built. The head and body are crocheted as one continuous piece, and the legs grow straight out of the body. As a result, only the arms, cap and spots need to be attached later.
Skill level: Beginner-friendly, as long as you are comfortable with continuous spiral rounds and basic shaping. So, if you can make a magic ring and work increases and decreases, you can make this doll.
Finished size: Medium plush size, approx. 22–25 cm (9–10 in). However, it changes slightly with your yarn and hook.
Gifting and decor: He makes a lovely gift for anyone who likes cute, cozy things. Moreover, he looks right at home on a shelf, a bed or a reading nook, and the plush chenille makes him very huggable.
Materials and Tools for the Crochet Mushroom Doll
You only need small amounts of each colour. Therefore, this is a good way to use up leftover plush yarn. The designer used Wenso brand chenille.
- Plush chenille yarn (Wenso brand used), small amounts of each colour:
- White: head, body, legs, arms, spots
- Red: mushroom cap
- Brown: cap brim/underside
- Light green: overalls
- 6.0 mm hook (5.5 mm also works, depending on your tension and yarn thickness)
- Safety eyes
- Polyester fiberfill
- Stitch markers
- Embroidery thread or yarn (nose and face details)
- Small buttons (for the overall back straps)
- Pink blush (cheeks)
- Yarn needle
Before you start, gather everything. Chenille is slippery and fluffy, so keeping your needle and markers close saves a lot of fuss.
Abbreviations
Please note that this pattern uses US terms.
- MR: magic ring
- ch: chain
- sl st: slip stitch
- sc: single crochet
- inc: increase (2 sc in same stitch)
- dec: invisible decrease
- BLO: back loop only
- FLO: front loop only
- (12): stitch count at end of round
Special Techniques Used in This Amigurumi Pattern
None of these moves are hard. Still, it helps to read them once before you begin.
Basic Stitches
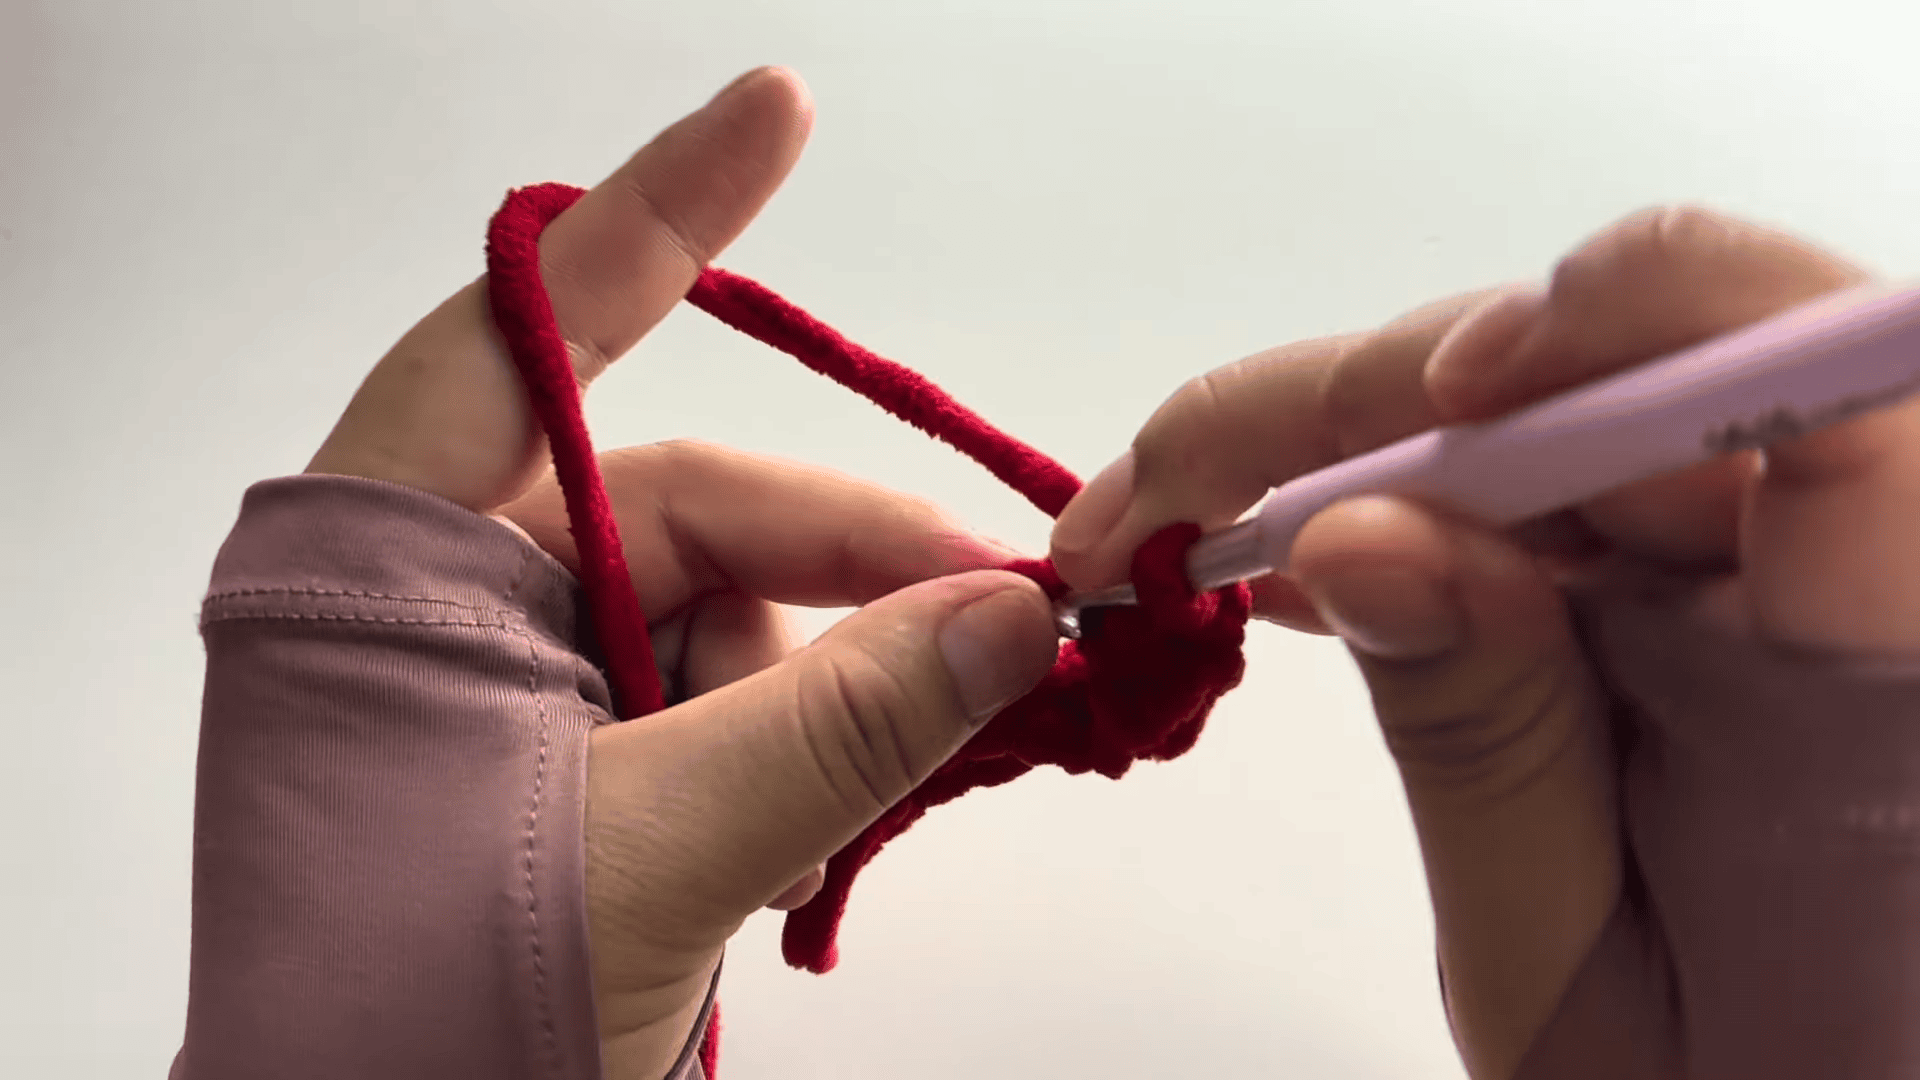
- Magic ring: First, wrap the yarn around your fingers to make a loop. Next, put the hook through the middle, pull up the working loop and lock it with your first stitches.
- Single crochet (sc): First, put the hook into the stitch, yarn over and pull up a loop, so you have two loops on the hook. Then yarn over again and pull through both.
- Increase (inc): Work two sc into the same stitch. As a result, your piece gets bigger.
- Invisible decrease (dec): First, go into the front loop of the first stitch, then the front loop of the next stitch. Then yarn over and pull through both front loops. Next, yarn over and pull through the two loops left on the hook. Because of this, your piece gets smaller.
- Chain (ch): Simply yarn over and pull through the loop that is already on your hook.
- Slip stitch (sl st): Put the hook into the stitch, yarn over, and pull through the stitch and the loop on the hook together.
Shaping, Colour and Finishing Methods
- FLO and BLO: FLO means you use only the front loop of the stitch below. BLO means you use only the back loop.
- Continuous spiral rounds: You do not join at the end of a round. Simply keep going straight into the next round.
- Stitch markers: Place one in the first stitch of every round and move it up as you go. That way, you can check your count easily.
- Colour change: For example, on the cap, to change from red to brown, make the last pull-through of the final red stitch with the brown yarn.
- Fastening off: First, cut the yarn and pull the tail through the last loop.
- Closing and weaving in: Thread the tail onto a needle and pass it through the front loops of the last stitches. Then pull tight to close the hole and hide the tail inside.
Complete Crochet Mushroom Doll Pattern
Everything is worked in continuous spiral rounds. Therefore, keep a marker in your first stitch and check the number in brackets at the end of each round. Each photo step sits under the part it belongs to, so you can follow along visually as you go.
Head and Body (white)
- Rnd 1: MR, 6 sc (6)
- Rnd 2: 6 inc (12)
- Rnd 3: [1 sc, inc] x6 (18)
- Rnd 4: [2 sc, inc] x6 (24)
- Rnd 5: [3 sc, inc] x6 (30)
- Rnd 6: 2 sc, inc, [4 sc, inc] x5, 2 sc (36)
- Rnds 7–14: 1 sc in each st around, 8 rounds (36)
- Rnd 15: 2 sc, dec, [4 sc, dec] x5, 2 sc (30)
- Rnd 16: [3 sc, dec] x6 (24)
- Rnd 17: [2 sc, dec] x6 (18)
- Rnd 18: [1 sc, dec] x6 (12)
- Rnd 19: 12 sc in FLO (12)
- Rnd 20: 12 inc, both loops (24)
- Rnd 21: [3 sc, inc] x6 (30)
- Rnds 22–27: 1 sc in each st around, 6 rounds (30)
Once Rnd 27 is done, stuff the head and body firmly before you split for the legs.
Legs (make 2)
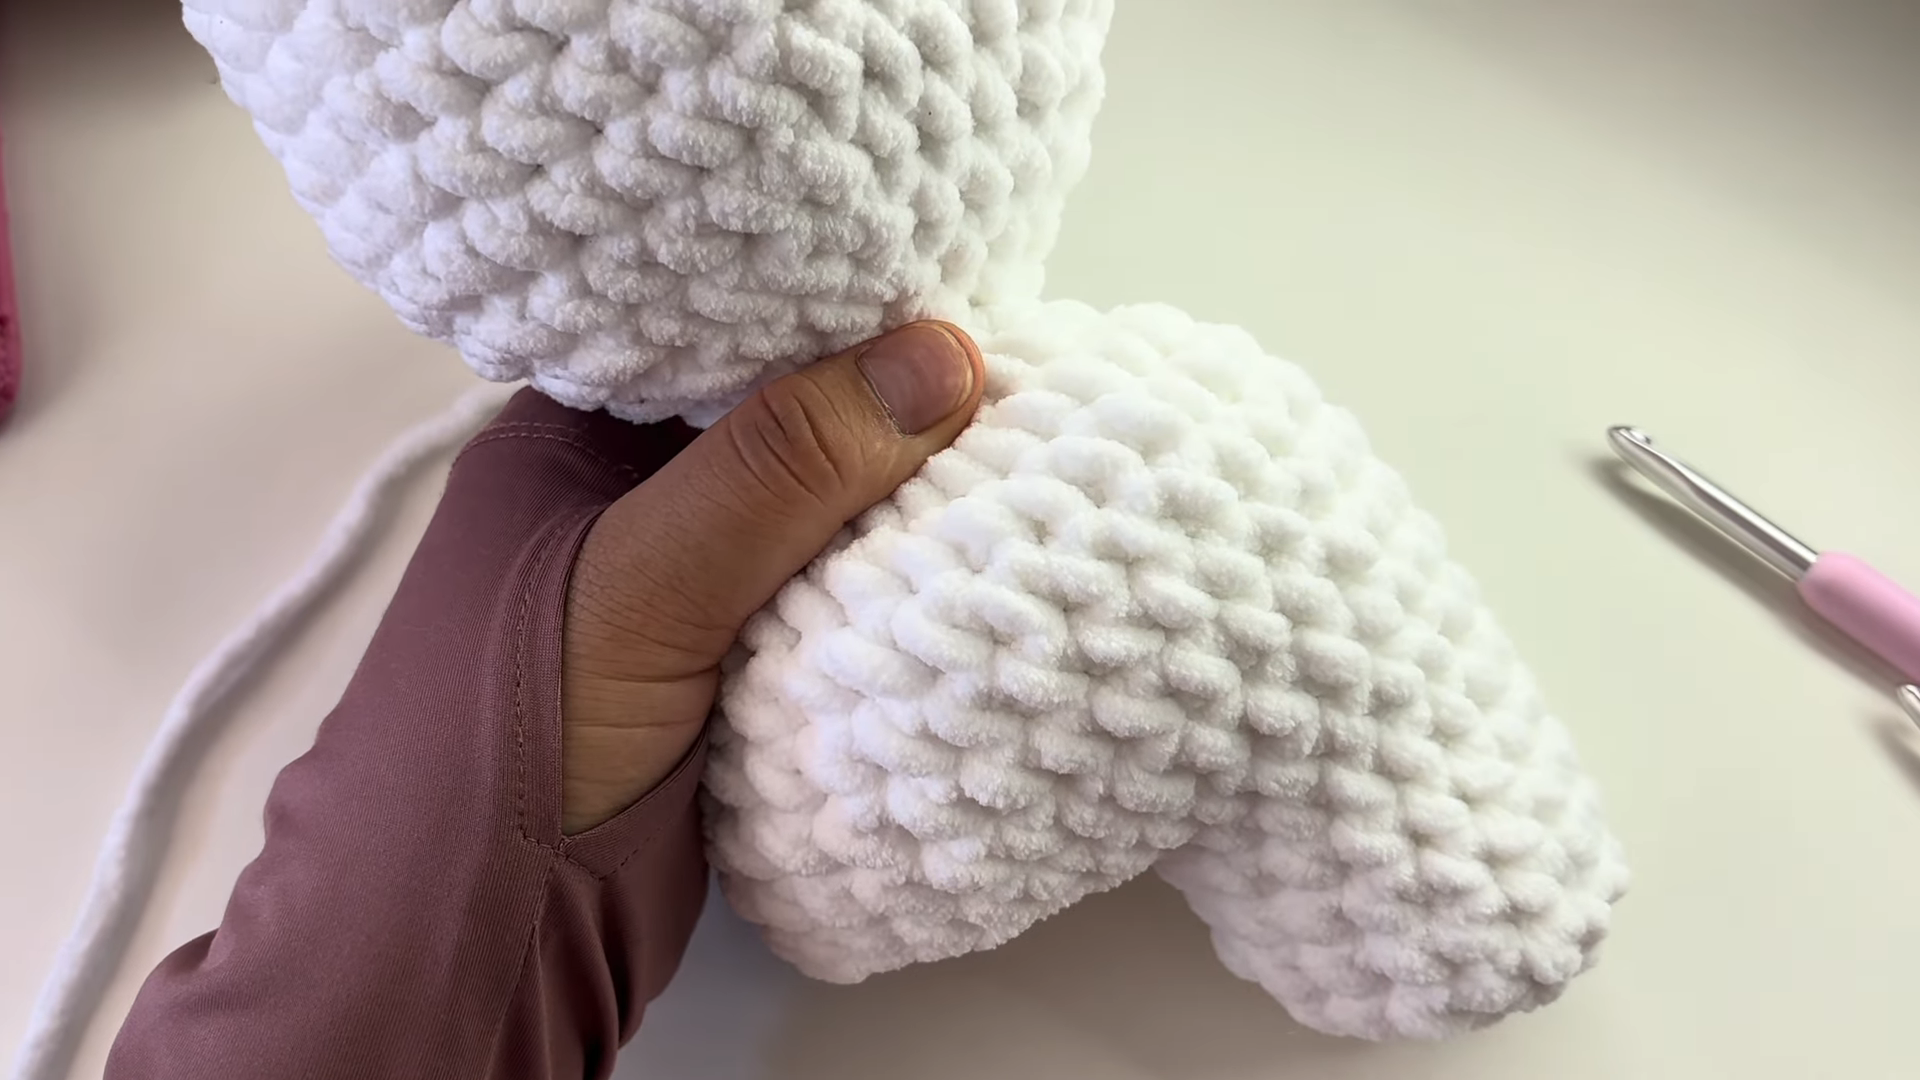
Step 1: Make the legs from the body. After Rnd 27, divide the 30 stitches evenly into two sets of 15.
First leg
- Rnd 1: Ch 1 (does not count as a stitch), 15 sc around the leg opening. With the chain space the total is 16 (16)
- Rnds 2–4: 1 sc in each st around, 3 rounds (16)
- Rnd 5: 8 dec (8). Sl st in the next st, fasten off, leave a tail and sew the hole closed.
Second leg
Join yarn in the remaining 15 stitches and repeat the same rounds (16 sts). Then work 8 dec and close the hole securely.
Arms (white, make 2)
Step 2: Make the arms. For this reason, keep the body firmly stuffed so the arms sit neatly later.
- Rnd 1: MR, 8 sc (8)
- Rnds 2–8: 1 sc in each st around, 7 rounds (8)
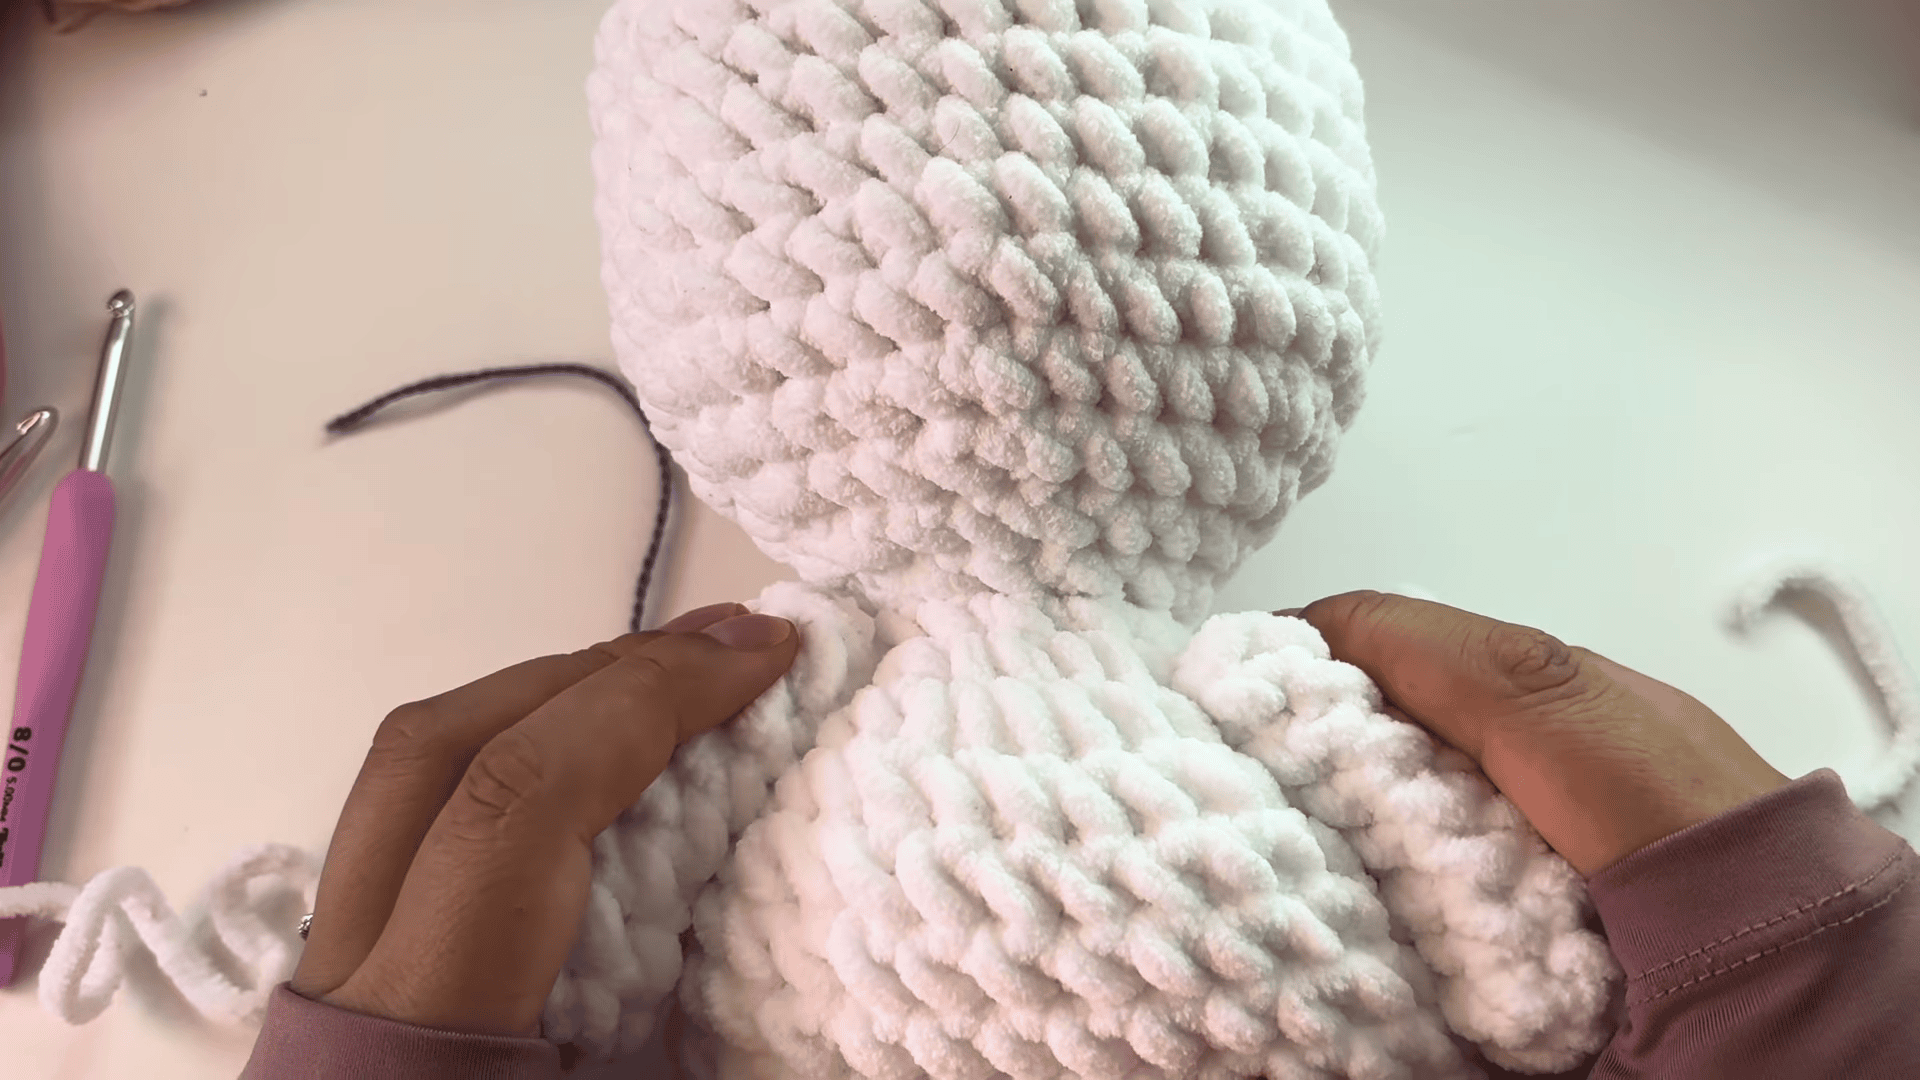
Fasten off and leave a tail for sewing. After that, attach each arm at the neck area, near the increase zone of the body.
Mushroom Cap (red, then brown)
Step 3: Start the cap in red. First, make a magic ring with the red yarn and keep a stitch marker in the first stitch of every round.
- Rnd 1: MR, 5 sc (5)
- Rnd 2: 5 inc (10)
- Rnd 3: 10 sc (10)
- Rnd 4: [1 sc, inc] x5 (15)
- Rnd 5: [2 sc, inc] x5 (20)
- Rnd 6: [1 sc, inc] x10 (30)
- Rnd 7: 30 sc (30)
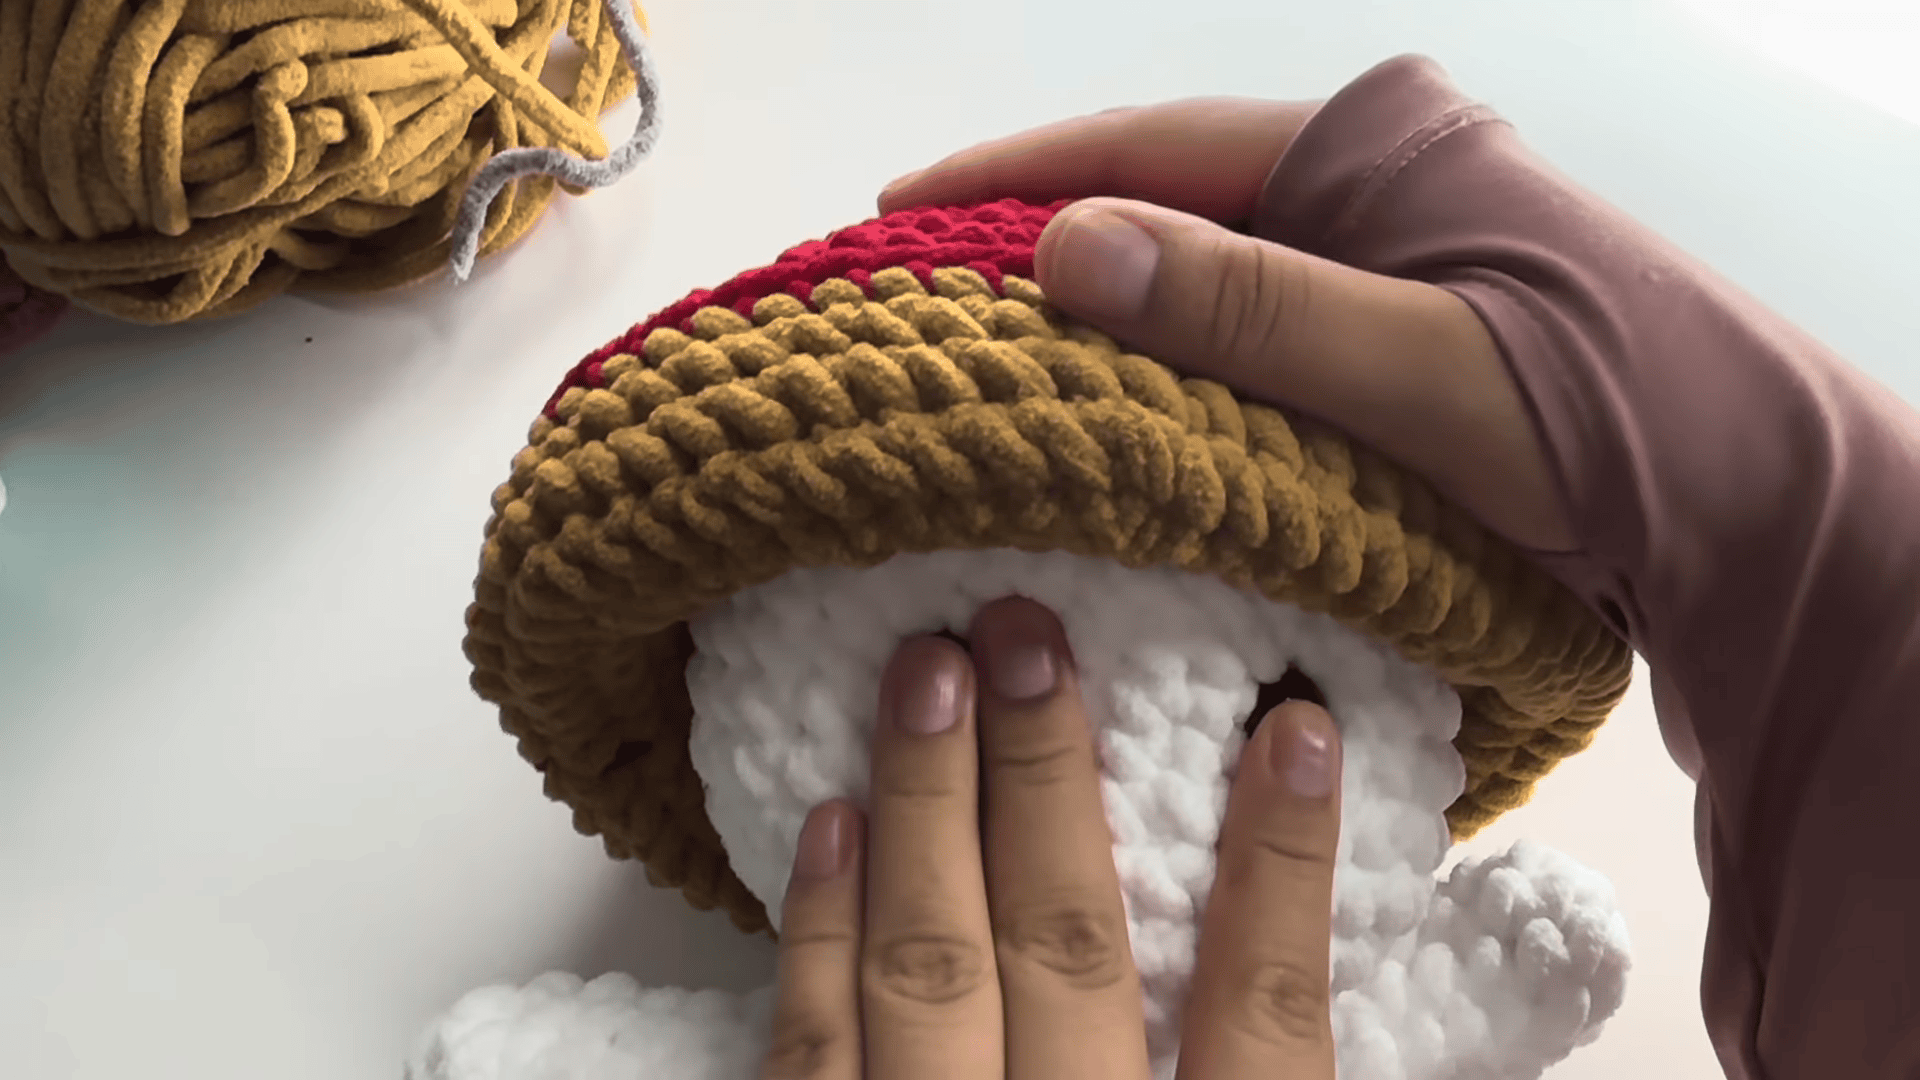
Step 4: Grow the cap and change to brown. Continue with the red rounds, and then switch colour.
- Rnd 8: [4 sc, inc] x6 (36)
- Rnd 9: [5 sc, inc] x6 (42)
- Rnd 10: [6 sc, inc] x6 (48)
- Rnd 11: [7 sc, inc] x6 (54)
- Rnd 12: [8 sc, inc] x6 (60)
- Rnd 13: 60 sc (60)
- Rnd 14: Change to brown yarn, 60 sc in BLO (60)
- Rnds 15–17: 60 sc, 3 rounds (60)
- Rnd 18: [8 sc, dec] x6 (54)
- Rnd 19: [7 sc, dec] x6 (48)
- Rnd 20: [6 sc, dec] x6 (42)
For the colour change on Rnd 14, make the last pull-through of the final red stitch with the brown yarn. Finally, after Rnd 20, fasten off and leave a long tail for sewing.
Cap Spots (white, make 14–15)
Make a magic ring and work 5 sc (5). Then sl st in the next st, fasten off and leave a tail. Then sew or glue the spots onto the red cap.
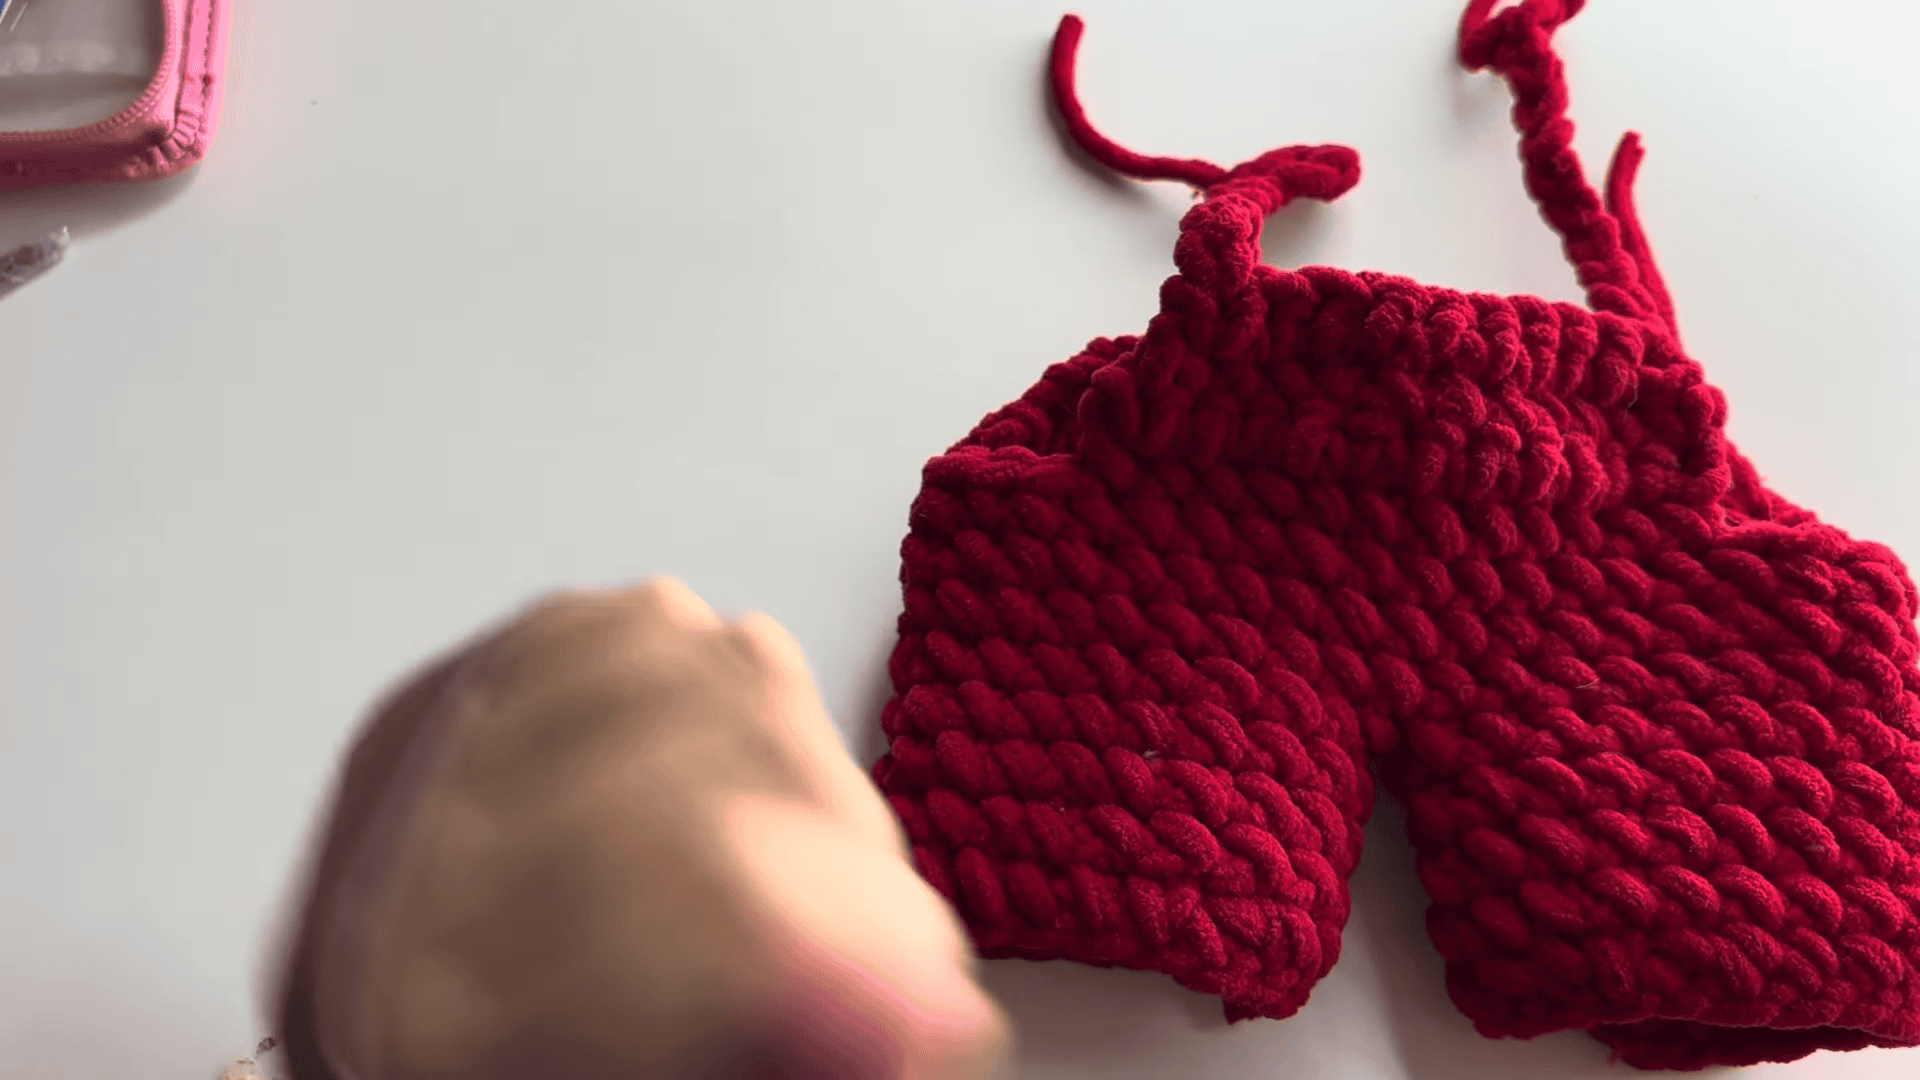
Overalls (light green)
Step 5: Make the overalls. Ch 18, join in a ring and work 4 rounds of 18 sc. Then split for the legs as you did for the body, and add rows to shape the bib and straps. Finally, sew small buttons on the back straps.
Collar
Ch 19, then sl st in all the chains. Afterwards, wrap it around the neck.
Assembly and Finishing Your Crochet Mushroom Doll
Finally, this is the part where he starts to look like a little person, so go slowly.
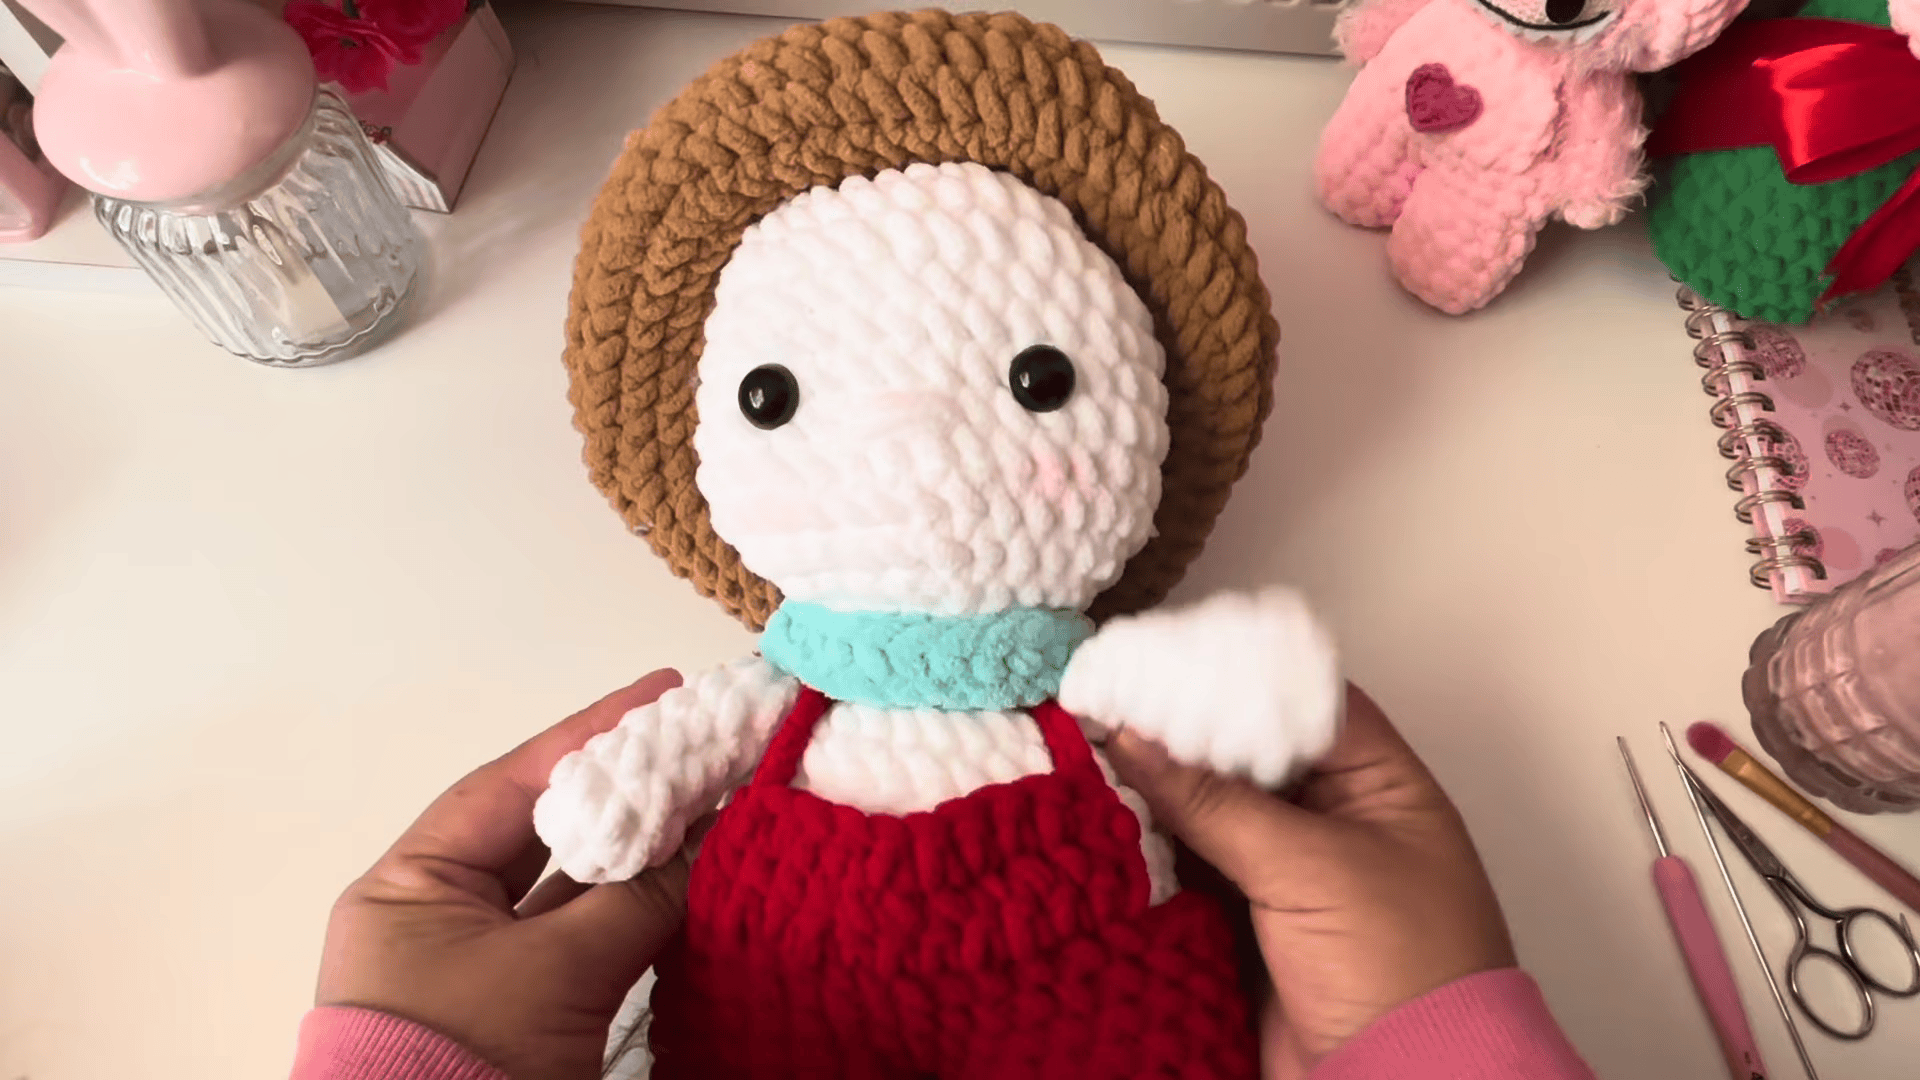
Step 6: Assemble the doll.
- Stuff the cap lightly, then use the long tail to sew it onto the head. Neat stitches matter here, because the brown brim frames his whole face.
- Next, place the safety eyes on the head between rounds 11 and 12.
- Embroider the nose one row below the eyes, then brush a little light pink blush onto the cheeks.
- Then sew the arms to the neck area, near the increase zone of the body.
- After that, sew or glue the 14–15 white spots onto the red cap and spread them out however you like.
- Finally, dress him in the overalls and place the collar around his neck.
- Last of all, hide all the tails inside.
Child safety: If the doll is for a baby, embroider the eyes instead of using plastic safety eyes. This way, you avoid a choking risk.
Helpful Tips for Making a Crochet Mushroom Doll
- Use your stitch markers. Clip one into the first stitch of every round and move it up. Since 30, 36 and 60 stitches in a round, it keeps you from losing your place.
- Count at the end of every round. The numbers in brackets are there to help you. In fact, a quick check now saves you from pulling back rows later.
- Match your hook to your tension. To begin, use the 6.0 mm hook. However, if your fabric feels too loose or too stiff with your yarn, try the 5.5 mm hook.
- Stuff firmly. Fill the head and body well before you split for the legs, because it is very hard to add more filling afterwards.
- Choose your yarn with care. Plush chenille gives him that soft, cuddly look. Also, since you only need a little of each colour, leftover balls work well.
Photo Ideas for Your Crochet Mushroom Doll (Bonus Section)
Once he is done, though, take a few photos before he goes anywhere. Natural light by a window makes the plush yarn look extra soft, and a plain white or cream background lets the cap stand out.
Try sitting him on a stack of books or in a small basket. Also, take one photo with the overalls on and one without, so people can see how the outfit comes off. Above all, a close-up of the face with the pink blush and the brown brim is always a favourite shot.
FAQs About the Crochet Mushroom Doll Pattern
Is this pattern good for beginners?
Yes, as long as you are comfortable with continuous spiral rounds and basic shaping.
Do I join the rounds?
No, because you work in continuous spiral rounds and go straight into the next round without joining.
Which hook should I use?
Use a 6.0 mm hook. A 5.5 mm hook also works, depending on your tension and yarn thickness.
How many white spots do I need?
Make 14 to 15 spots, then sew or glue them onto the red cap.
Can I make this for a baby?
Yes, but for a baby toy, embroider the eyes instead of using plastic safety eyes, to avoid a choking risk.
A Little Mushroom Man Worth Making
So, that is Señor Honguito from start to finish. It looks like a lot of parts when you read it all at once, but each piece is small and works up fast. So, just take it one bit at a time.
Honestly, a crochet mushroom doll gets a smile out of almost everyone. Whether you keep him, give him away or stick him on a shelf, you will be happy with how he turns out.