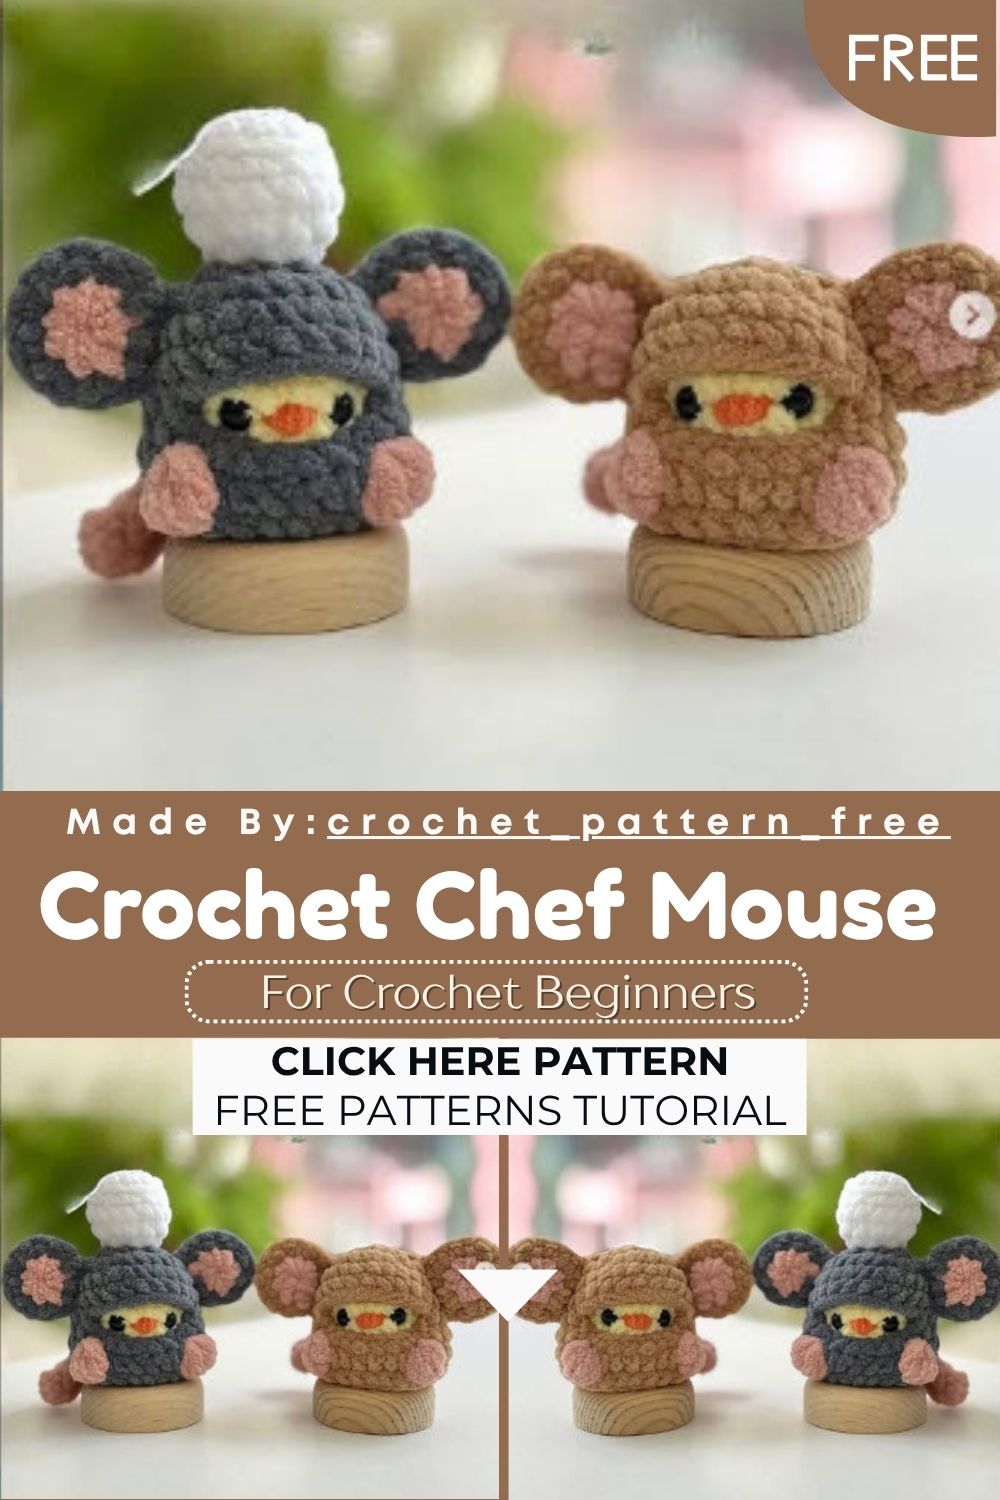
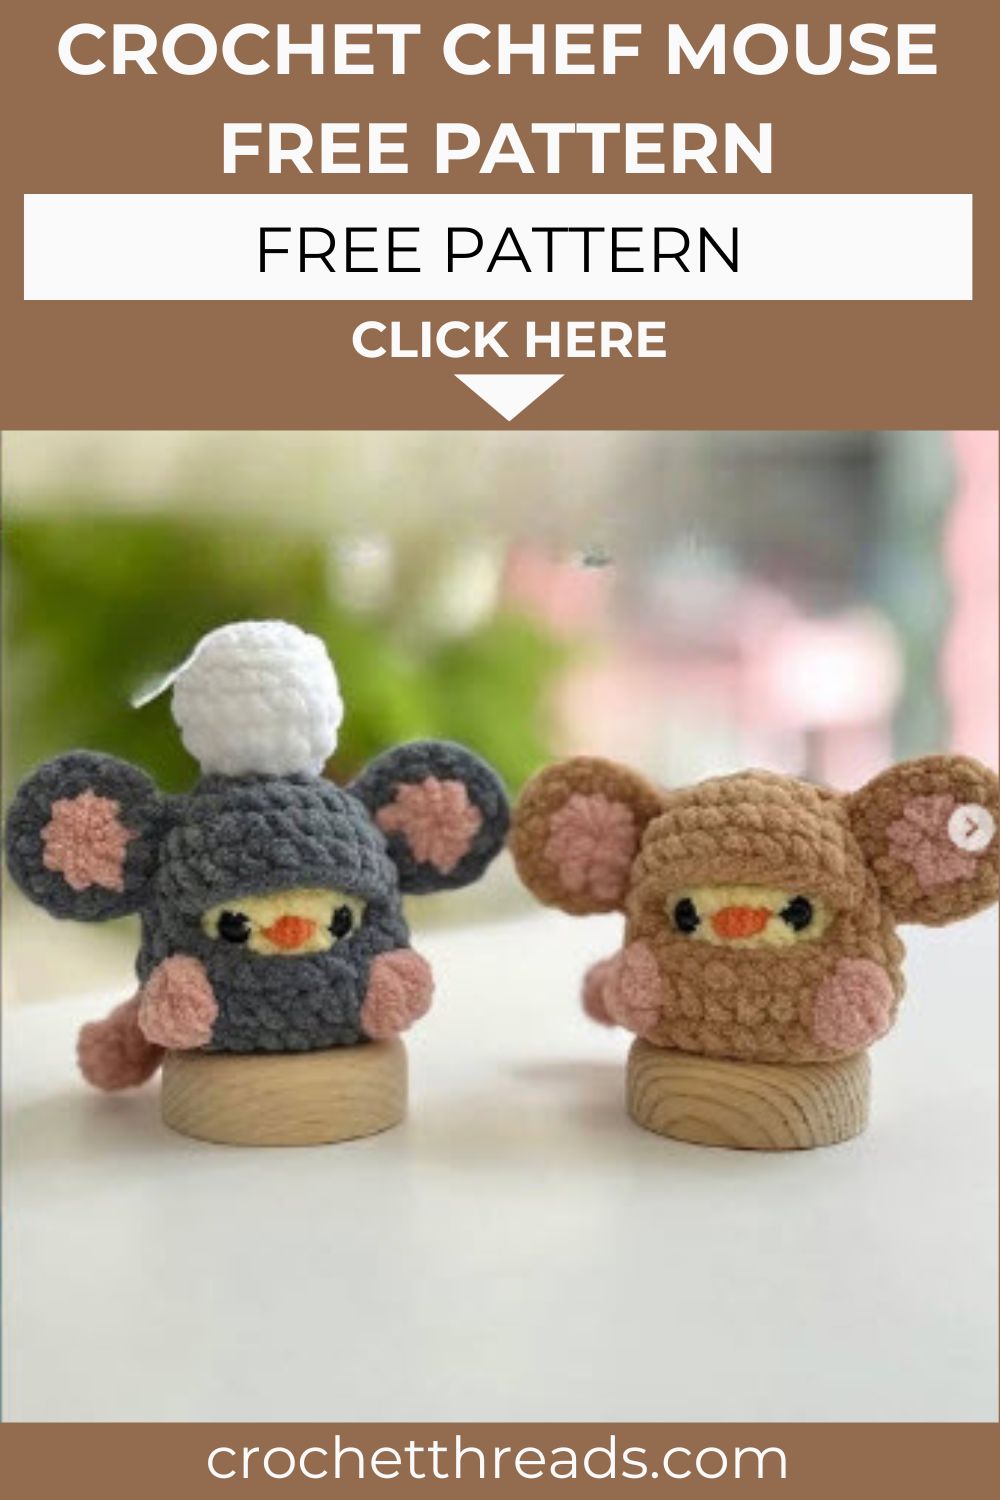
Awesome Crochet Chef Mouse Free Pattern with Fluffy Pom Hat
Grab your hook because this Crochet Chef Mouse is about to become your next favorite make. Velvet yarn gives it a soft, huggable finish, while the fluffy pom hat adds instant charm. Real talk, it works up faster than most amigurumi projects, and the round shaping keeps every stitch simple to follow from start to finish.
Amigurumi lovers, get ready for a project that’s equal parts charming and quick to finish. This Crochet Chef Mouse comes with a rounded body, floppy ears, a soft tail, and a chef’s hat detail that gives it real personality. Trust me, once you start the first magic ring, you won’t want to put the hook down.
Skill Level
This Crochet Chef Mouse pattern suits confident beginners and intermediate crocheters alike. You’ll need basic single crochet, increases, and decreases. No joke, if you’ve made one amigurumi before, this one will feel familiar and manageable.
Materials
- 3mm crochet hook
- Yarn needle
- Velvet yarn (colors listed further below in the pattern notes)
- Stuffing for shaping the body, hat, and tail
- Stitch marker to track rounds
Abbreviations
- sc: single crochet
- inc: increase
- magic ring: magic ring
- sl st: slip stitch
- rb / R: round
- ch: chain
- dec: decrease
- bubble st: bubble stitch
- back loop: back loop only
- front loop: front loop only
Pattern Overview
- The body starts flat with a magic ring and grows through steady increase rounds until it reaches 24 stitches.
- A gap of 8 chain stitches on round 6 forms the arm openings, so the shape stays open there before closing up again.
- The hat builds separately using a mix of magic rings, working from a wide base down to a narrower top for that classic poofy chef look.
- Ears come in two pieces, an inner and an outer layer, joined together for a fuller, more dimensional shape.
- The tail is a simple straight tube, worked over five rounds at a steady four stitches per round.
- Every piece uses velvet yarn, which low-key makes the finished mouse feel extra soft and huggable.
Special Techniques
- The magic ring start keeps the center of each piece tight, with no visible hole once you pull the tail.
- Chain-8 gaps, used on round 6 of the body, create clean openings without cutting yarn or rejoining mid-round.
- Working through the back loop or front loop only, where noted, adds subtle texture and helps pieces curve naturally.
- Leaving long yarn tails after finishing a piece saves time later, since you can use that same strand for seaming instead of starting fresh.
- Joining the outer ear piece by working single crochet directly into each stitch of the inner piece skips the need for extra sewing.
Instructions
Body (Costume)
1: 8 sc in a magic ring. 2: 8 inc = 16 sc. 3: (1 sc + inc) repeated = 24 sc. Rb 4– 5: 24 sc, worked even for 2 rounds. Rb 6: 8 sc, then 8 ch (skip the next 8 sc), then 8 sc = 24 sc total. 7: 24 sc, working the chain space as regular stitches. 8: 8 sc, sc, 6 sc, sc, 8 sc = 24 sc. Rb 9: 24 sc.
Fasten off and leave a tail for stuffing and closing later. For real, this is the point where the mouse shape really starts to show.
Inside Ear Loops
R1: 8 sc in a magic ring.
Cut a short yarn tail and set it aside. You’ll join this to the matching gray outer piece in the next step.
Hat
R1: 8 sc in a magic ring. R2: 16 sc in a magic ring. R3: 16 sc in a magic ring. R4: 16 sc, worked even. R5: (2 sc + dc) around, decreasing the round to 12 sc. R6: (1 sc + dc) around, decreasing the round to 8 sc.
Leave a long yarn tail so you can join the hat to the top of the head later.
Outside Ear Loops
R1: 8 sc in a magic ring.
Take the first pink piece, join it to the gray inner ear, and work 16 sc evenly into each stitch around the join. Leave a long tail for attaching the finished ear to the head.
Tail
R1: 4 sc in a magic ring. R2–R6: 4 sc, worked even for 5 rounds.
Leave a long tail for attaching the finished tail to the back of the body.
Body (Second Costume Piece)
1: 8 sc in a magic ring. 2: 8 inc = 16 sc. 3: (1 sc + inc) repeated = 24 sc. 4–5: 24 sc, worked even for 2 . 6: 8 sc, then 8 ch (skip the next 8 sc), then 8 sc = 24 sc. 7: 24 sc. 8: 8 sc, sc, 6 sc, sc, 5 sc = 24 sc. 9: 24 sc.
Inside Ears (Second Set)
Round 1: 8 sc in a magic ring.
Cut the tail, keeping it short, and set it aside. You’ll attach it to the matching gray piece shortly.
Outside Ears (Second Set)
Round 1: 8 sc in a magic ring.
Take the first pink piece, join it to the inner ear, and work 16 sc into each stitch around. Leave a long tail for attaching the ear to the costume.
Customization and Variation
- Swap the velvet yarn for cotton if you prefer a firmer, more structured mouse body.
- Try a different hat color to match a specific kitchen theme, like red and white for a bakery vibe.
- Add a tiny embroidered mustache or apron detail for extra chef personality.
- Use a smaller hook and thinner yarn to make a mini keychain version of the same pattern.
- Mix pastel shades instead of gray and pink for a softer, nursery-friendly color palette.
Common Mistakes
- Skipping the stitch marker often leads to losing track of where each round starts, which throws off the whole count.
- Pulling the magic ring too loose leaves a small gap at the center that shows once the piece is stuffed.
- Overstuffing the body before closing round 9 can distort the chef mouse’s rounded shape.
- Forgetting to leave long tails on the ears and tail means extra yarn needs joining later, which adds visible seams.
- Rushing the chain-8 gap on round 6 without counting stitches carefully throws off the arm opening size.
Finishing Tips
- Weave in ends securely with a yarn needle before attaching any pieces, so nothing unravels during assembly.
- Use the long tails left after each piece to sew directly, skipping extra cutting and threading.
- Steam the velvet pieces lightly before assembly to smooth out any curling edges from the increase rounds.
- Position the ears slightly forward on the head for a more alert, expressive look.
- Attach the tail low on the back so the finished mouse can sit flat without tipping over.
Gifting Ideas
- Pair the chef mouse with a mini wooden spoon or rolling pin for a playful kitchen-themed gift set.
- Add a small gift tag with the recipient’s name tucked into the chef hat for a personal touch.
- Bundle it with a real kids’ apron for a fun matching gift for young bakers.
- Wrap it in a clear box alongside cookie cutters for a housewarming or holiday present.
- Attach a tiny bell or ribbon to the tail for a festive seasonal version.
Important Remarks
This Crochet Chef Mouse pattern is shared for personal use and gifting only, not for mass production or resale. Always credit the original designer if you share photos of your finished chef mouse online. Double-check color names against your chosen yarn brand, since shade names vary between manufacturers.
Conclusion
This Crochet Chef Mouse pattern proves that a few simple rounds can turn into something genuinely charming. Between the fluffy pom hat, the layered ears, and that sweet little tail, every part adds character without making the project feel complicated. Ngl, it’s the kind of pattern that keeps you hooked from the very first magic ring to the last stitch.
Whether you’re making this as a gift, a shop item, or just a fun weekend project, the chef mouse delivers a lot of charm for a fairly quick make. Keep your stitches even, follow the round counts closely, and don’t rush the assembly stage. Once it’s stuffed and finished, this little chef will easily become one of your favorite amigurumi makes yet.