Crochet Egg Tomato Pattern Breakfast Buddy
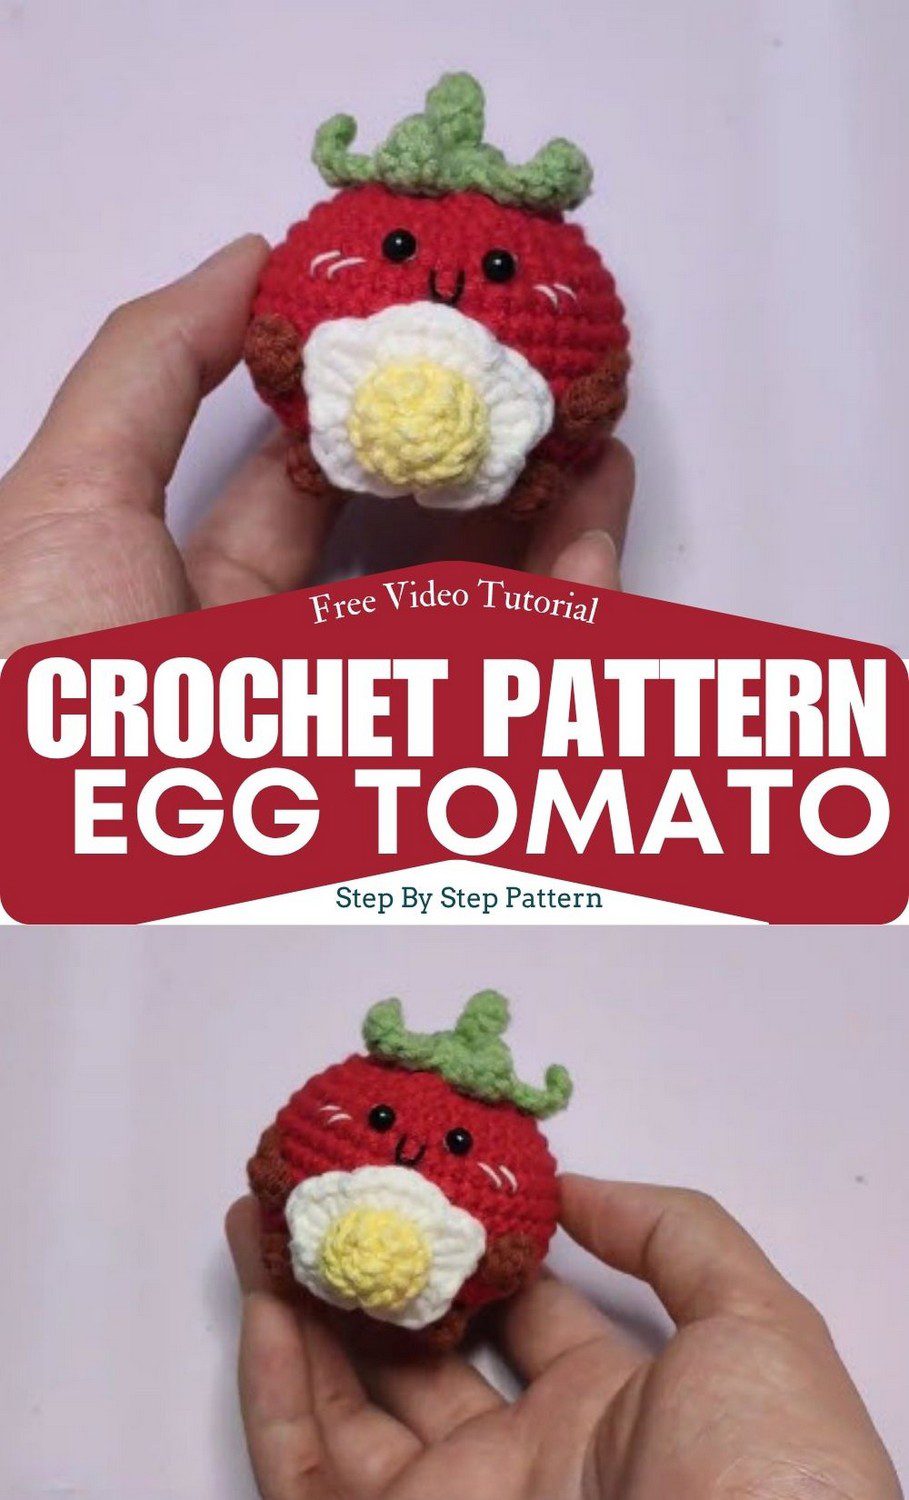
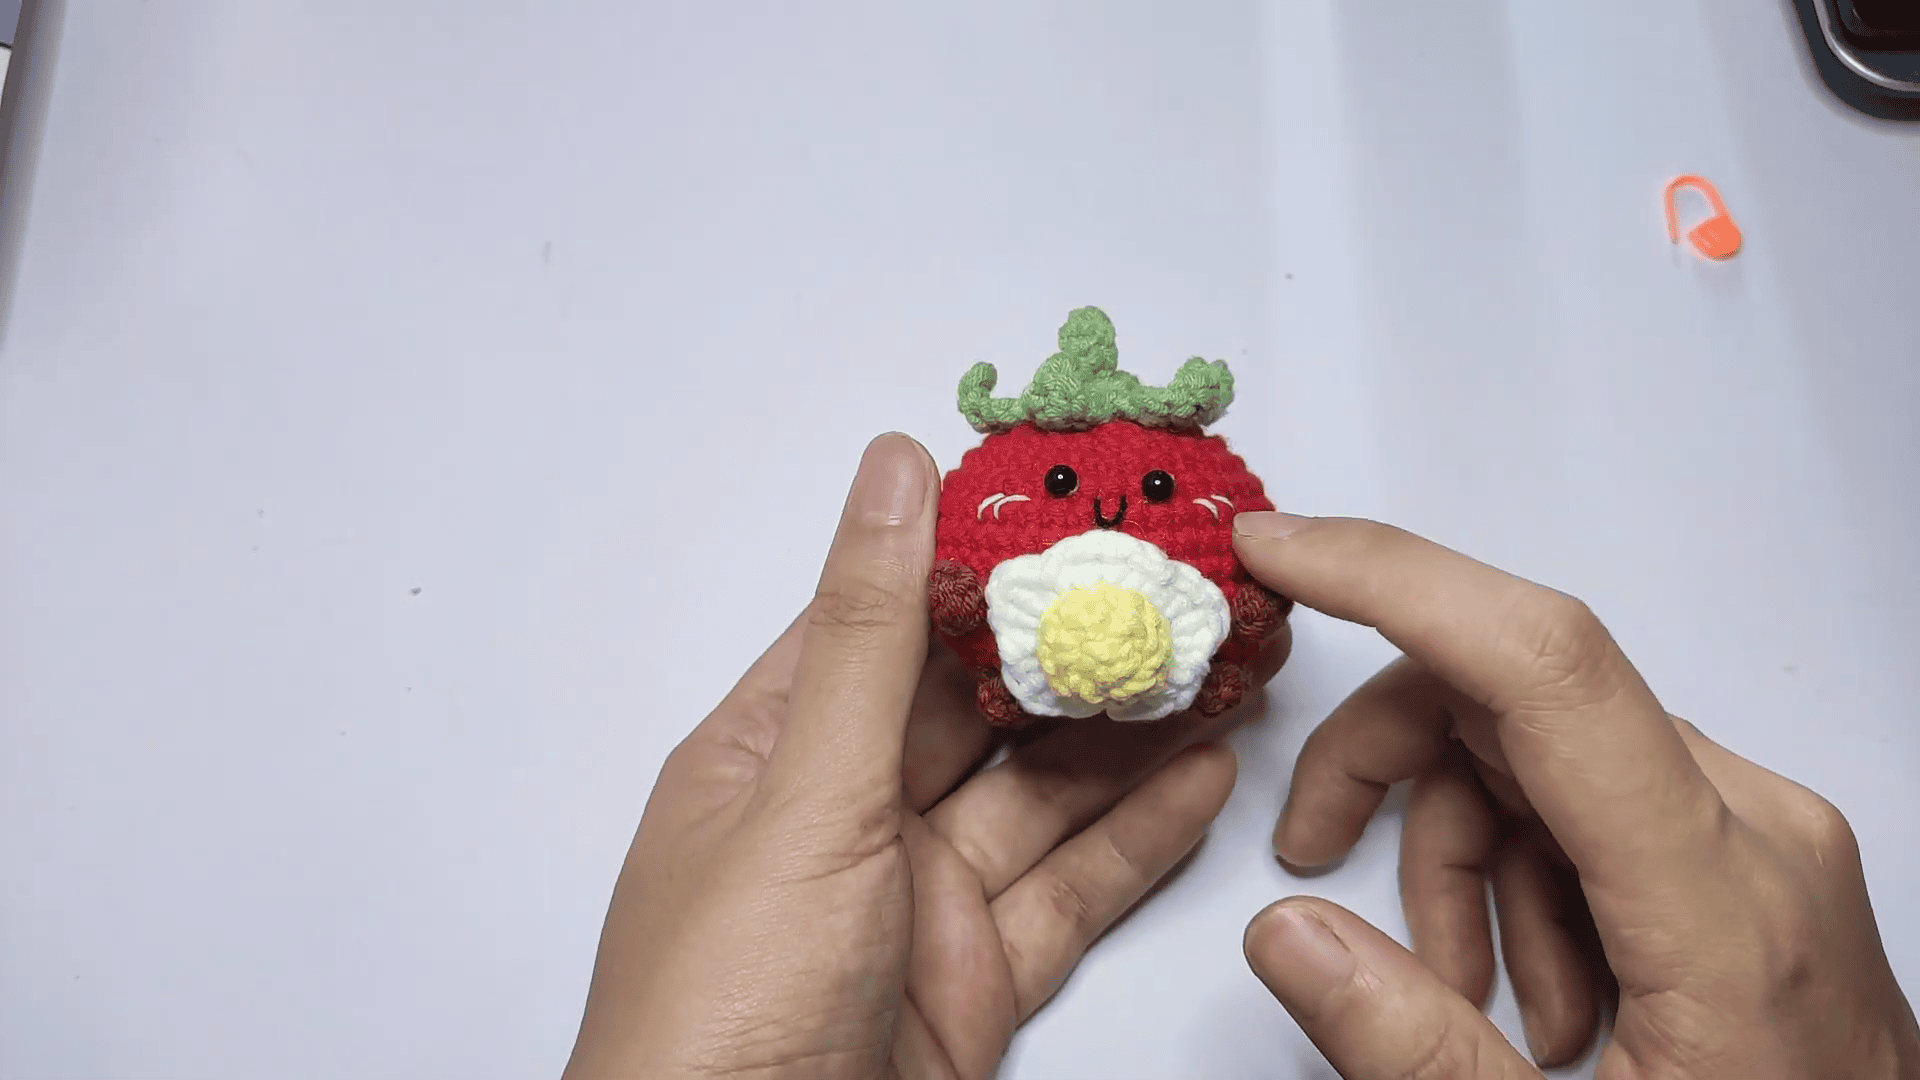
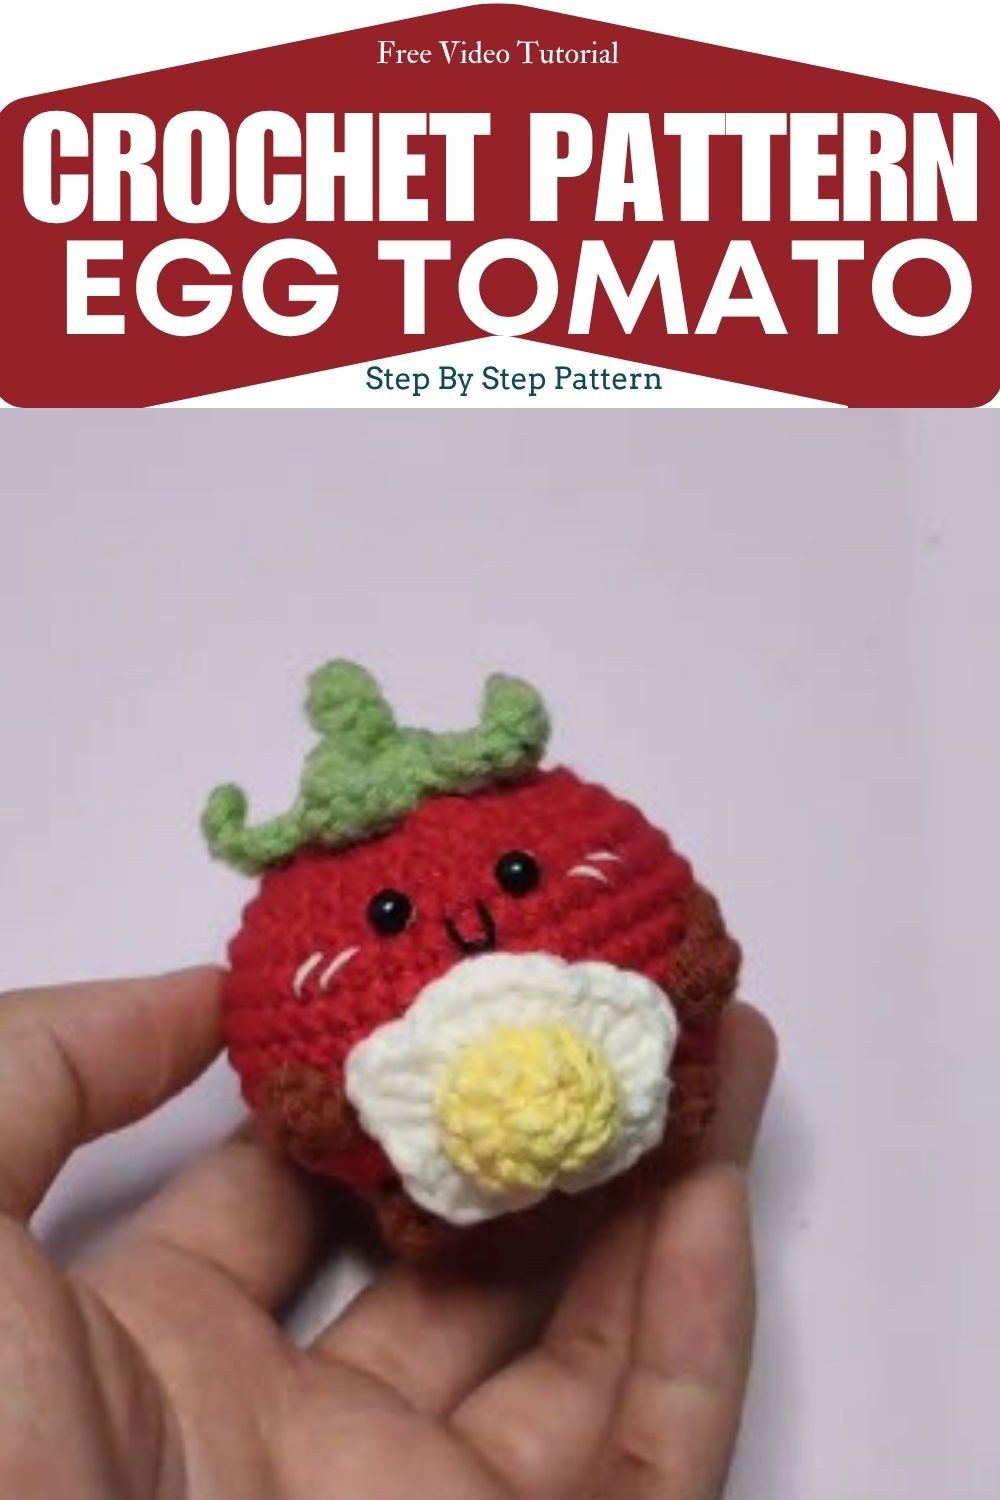
Picture a smiling red tomato with green leaves and a fried egg sitting right on its belly. That is the fun idea behind this crochet egg tomato pattern. It is a cute fried egg amigurumi and a happy little crochet breakfast toy that turns breakfast into a hug. You can make it from yarn scraps, so it is a great way to use up leftovers.
The stitches are simple, so beginners can work this pattern with confidence. It also makes a sweet handmade gift. You can start planning Christmas crochet gifts and stocking stuffer ideas now. After that, you can move on to cozy winter crochet and New Year crochet projects.
Crochet Egg Tomato Pattern Overview
- Skill level: Beginner-friendly
- Finished size: About 2.5 to 3 inches (6.5–7.5 cm) tall, with sport-weight yarn and a 2.0 mm hook
- Parts: Tomato body, leaf crown, egg yolk, egg white, 2 arms, 2 legs
- Construction: The body is worked in joined rounds. Every other part is made separately and attached at the end.
- Terms: US crochet terms
This little buddy suits anyone trying beginner amigurumi for the first time, or anyone who loves cute crochet breakfast toys. You can give it as a gift, set it on a shelf, or let it brighten a kitchen display. As a mini stuffed toy, it also uses up leftovers.
Materials for the Crochet Egg Tomato Pattern
Yarn
- Type: Cotton or acrylic amigurumi yarn
- Weight: Sport or DK weight
- Texture: Smooth, matte, tightly plied yarn
- Colours: Red (body), green (leaves), white (egg white), yellow (egg yolk), brown or rust (arms and legs)
- Quantity: Small scrap amounts, under 50 g per colour
- Black embroidery thread for the face
Hook Size for the Crochet Egg Tomato Pattern
- Use a 2.0 mm to 2.5 mm crochet hook.
- Amigurumi needs tight stitches so the stuffing doesn’t show through. Therefore, if your fabric looks gappy, go down one hook size.
Other Supplies
- Fiberfill stuffing
- Small black beads for the eyes (or black French knots)
- Tapestry needle
- Stitch markers
- Scissors
- Hot glue gun
Abbreviations (US Terms)
- MR = magic ring
- ch = chain
- sc = single crochet
- hdc = half double crochet
- dc = double crochet
- inc = increase (2 sc in one stitch)
- dec = decrease
- sl st = slip stitch
- st(s) = stitch(es)
Pattern Notes for the Crochet Egg Tomato Pattern
- Magic ring: an adjustable loop to start a round. Crochet into it, then pull the tail to close it.
- Chain: a string of simple loops, used to start the leaves, arms and legs.
- Slip stitch: a small, flat stitch that joins rounds and works back along a chain.
- Single crochet: your short, basic stitch.
- Half double crochet: a little taller than a single crochet.
- Double crochet: taller again.
- Increase: work 2 single crochets in the same stitch.
- Decrease: join two stitches into one.
- Joined rounds: at the end of each round, slip stitch into the first stitch, then chain 1. That chain 1 does not count as a stitch. Also, put a stitch marker in the first stitch of every round.
- Colour changes: each part has its own colour, so fasten off, then start with fresh yarn.
- Fastening off and hiding ends: cut the yarn, pull the tail through the last loop, weave it through stitches, then hide it inside the body.
Crochet Egg Tomato Pattern (Step by Step)
Step 1: Crochet Egg Tomato Pattern Body (Red Yarn)
Increase Rounds for the Tomato Body
First, work the increase rounds to shape the round top of the tomato.
- Rnd 1: Make a MR and work 6 sc into the ring, then join and ch 1. (6)
- Rnd 2: Work 6 inc, then join and ch 1. (12)
- Rnd 3: [1 sc, 1 inc] x 6, then join and ch 1. (18)
- Rnd 4: [2 sc, 1 inc] x 6, then join and ch 1. (24)
- Rnd 5: [3 sc, 1 inc] x 6, then join and ch 1. (30)
- Rnd 6: [4 sc, 1 inc] x 6, then join and ch 1. (36)
- Rnd 7: [5 sc, 1 inc] x 6, then join and ch 1. (42)
Straight Rounds for the Tomato Body
Next, keep the width steady with the straight rounds.
- Rnds 8–12: Work 1 sc in each st around, then join and ch 1. (42 each round)
Decrease Rounds and Stuffing for the Tomato Body
After that, start the decrease rounds. Stop after Round 15 to stuff the body.
- Rnd 13: [5 sc, 1 dec] x 6, then join and ch 1. (36)
- Rnd 14: [4 sc, 1 dec] x 6, then join and ch 1. (30)
- Rnd 15: [3 sc, 1 dec] x 6, then join and ch 1. (24)
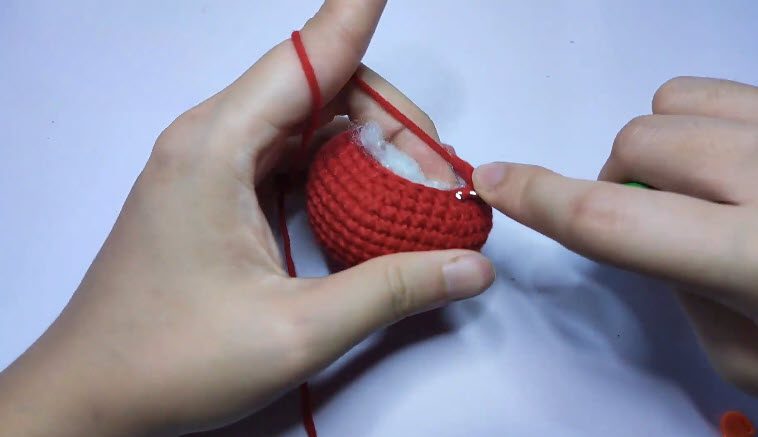
Stuffing: Stop here and stuff the body firmly with fiberfill. Add it in small pieces and shape as you go, so the tomato stays plump and round.
Then finish the closing rounds.
- Rnd 16: [2 sc, 1 dec] x 6, then join and ch 1. (18)
- Rnd 17: [1 sc, 1 dec] x 6, then join and ch 1. (12)
- Rnd 18: Work 6 dec, then join and ch 1. (6)
Finally, fasten off and leave a long tail. Thread the tail through the front loops of the last 6 stitches, pull tight to close the bottom, and hide the end inside.
Count check: Rounds 2 to 7 add 6 stitches each, going from 12 up to 42. Rounds 8 to 12, however, stay at 42. After that, Rounds 13 to 18 remove 6 stitches each, going from 36 down to 6.
Step 2: Crochet Egg Tomato Pattern Leaf Crown (Green Yarn)
- Rnd 1: Make a MR and work 5 sc into the ring, then join and ch 1. (5)
- Rnd 2: Work 5 inc, then join and ch 1. (10)
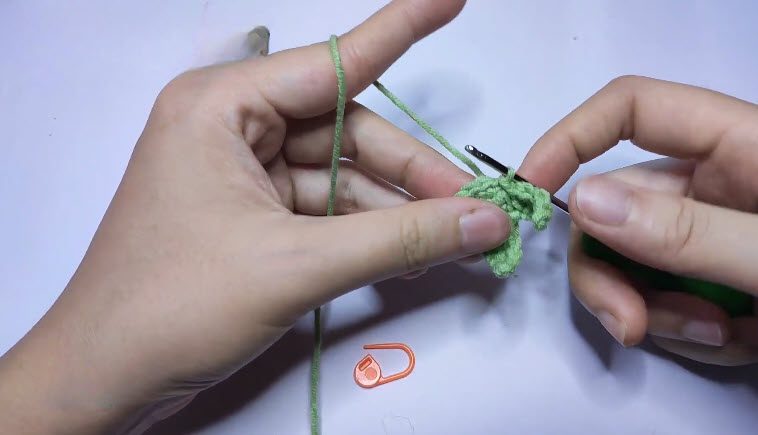
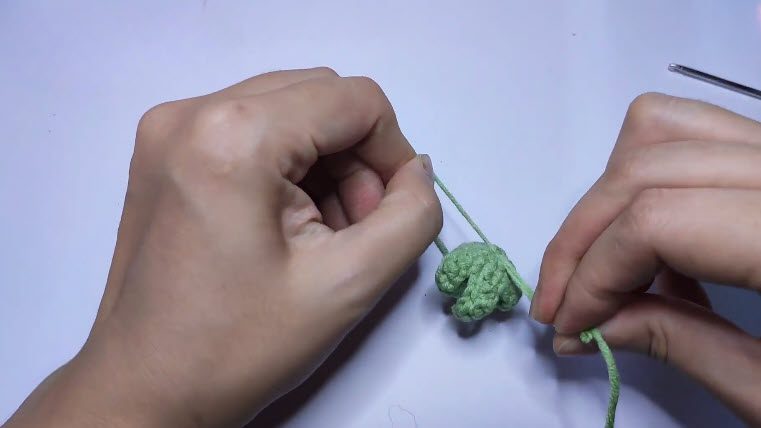
- Rnd 3 (leaf petals): Ch 6. Starting in the 2nd ch from the hook, work 1 sl st, 1 sc, 1 hdc and 2 dc down the chain. Next, skip 1 st on the base ring and sl st into the next st. Repeat 5 times in total to make 5 separate leaves.
Finally, fasten off and weave in the ends. This pattern has no separate stem, because the flat leaf crown sits directly on top of the tomato.
Step 3: Crochet the Fried Egg Amigurumi
Egg Yolk (Yellow Yarn)
- Rnd 1: Make a MR and work 6 sc into the ring, then join and ch 1. (6)
- Rnd 2: Work 6 inc, then join and ch 1. (12)
- Rnd 3: [1 sc, 1 inc] x 6, then join and ch 1. (18)
Fasten off and leave a short tail for sewing or gluing.
Egg White (White Yarn)
- Rnd 1: Make a MR and work 6 sc into the ring, then join and ch 1. (6)
- Rnd 2: Work 6 inc, then join and ch 1. (12)
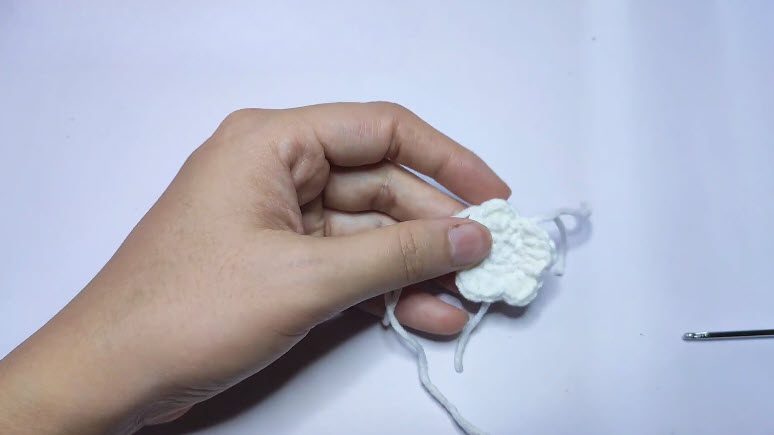
- Rnd 3 (wavy rim): 2 dc in 1 st, 2 hdc in the next st, 1 sl st in the next st. Repeat around the edge to make the wavy, uneven fried-egg shape.
Then fasten off. After that, glue or sew the yellow yolk onto the centre of the white.
Step 4: Make the Arms and Legs (Brown or Rust Yarn)
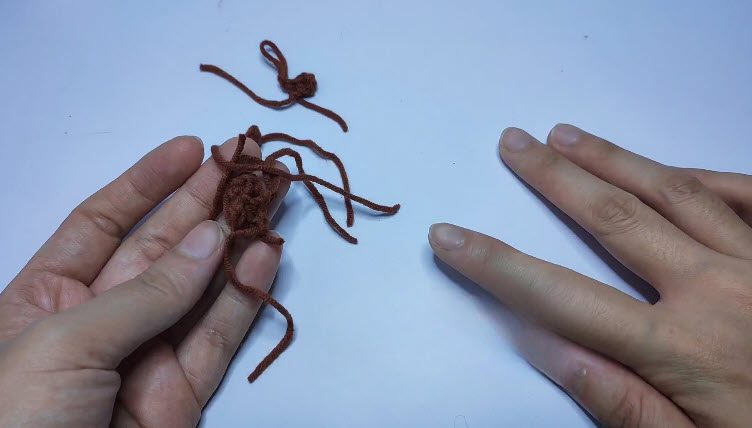
- Arms (make 2): Ch 6. Starting in the 2nd ch from the hook, work 5 sl st back down the chain. Then fasten off and leave a tail to attach the arm to the side of the body.
- Legs (make 2): Ch 7. Starting in the 2nd ch from the hook, work 6 sl st back down the chain. Then fasten off and leave a tail to attach the leg to the bottom of the body.
Step 5: Face and Assembly of the Crochet Egg Tomato Pattern
- Leaf crown: First, glue or sew the leaf crown onto the top centre of the tomato.
- Eyes: Next, attach the small black beads (or stitch French knots) on the upper front of the body, between rounds 9 and 11. Keep them level and evenly spaced.
- Smile: With black embroidery thread, stitch a small happy smile centred below the eyes.
- Highlights: Then add tiny white thread highlights under the eyes.
- Fried egg: After that, glue the finished egg flat on the lower front of the tomato, right beneath the smile.
- Arms: Sew or glue one arm to each side of the body.
- Legs: Likewise, attach the legs to the lower base.
- Ends: Finally, hide all remaining yarn tails inside the body.
- Symmetry: Use the magic-ring seam and your stitch markers as a centreline. Then line up the eyes, smile, egg, arms and legs from that line, and check the tomato from the front and sides before gluing for good.
Finishing Your Crochet Egg Tomato Pattern Toy
- First, massage the stuffed body gently so the filling sits evenly.
- Next, check that the beads, the egg and the leaves are all firmly set.
- Finally, turn the amigurumi tomato around and look at it from every side. It should be round and symmetrical, with the egg centred under the face.
Stitch Count Cheat Sheet for the Crochet Egg Tomato Pattern
Here is a quick list of every part and its stitch counts, so you can check your work at a glance.
- Tomato body (Rnds 1–7): 6, 12, 18, 24, 30, 36, 42.
- Tomato body (Rnds 8–12): 42 on every round.
- Tomato body (Rnds 13–18): 36, 30, 24, 18, 12, 6.
- Leaf crown: 5, then 10, followed by 5 separate leaves.
- Egg yolk: 6, 12, 18.
- Egg white: 6, 12, then a wavy rim round.
- Arms: ch 6 and 5 sl st back down the chain, made twice.
- Legs: ch 7 and 6 sl st back down the chain, made twice.
Helpful Tips for the Crochet Egg Tomato Pattern
- Count as you finish: Count your stitches after every increase and decrease round.
- Pull the ring tight: Tug the magic ring tail firmly so no hole is left.
- Stuff a little at a time: Add fiberfill in small pieces and shape as you go.
- Size down if you see stuffing: If fiberfill peeks through, drop to a hook one size smaller.
Safety Note for Young Children
The black beads are small parts. For a baby or young child, therefore, embroider the eyes with black thread or French knots instead, and sew the arms and legs on securely. Also, always supervise young children around handmade toys.
Make It a Tomato Family
Make several in different yarn weights for big and small ones, and give each a different face. Alternatively, you could swap the egg for a tiny crochet toast or bacon strip. Together, a row of them looks great on a kitchen shelf, like a kawaii food plushie crew.
Crochet Egg Tomato Pattern FAQs
Which yarn and hook suit the crochet egg tomato pattern?
Use cotton or acrylic amigurumi yarn in sport or DK weight, smooth, matte and tightly plied, with a 2.0 mm to 2.5 mm hook. If your fabric looks gappy, go down one hook size.
Why stuff the body before the last rounds?
The pattern has you stop after Round 15 and stuff the body firmly. Small pieces and shaping, then keep it plump and round.
Are the eyes safe for young children?
The black beads are small parts. For a baby or young child, embroider the eyes with black thread or French knots instead.
How is the fried egg attached?
The yellow yolk is glued or sewn onto the centre of the white. Then the finished egg is glued flat on the lower front of the tomato, right beneath the smile.
Does the crochet egg tomato pattern have a stem, and what colour are the limbs?
There is no separate stem, since the leaf crown sits on top. The arms and legs, meanwhile, are worked in brown or rust yarn.
Time to Dig Through Your Scrap Bin
Honestly, this little guy works up fast. Just keep your stitches tight, and the stuffing stays hidden. Also, take your time with the face, because that’s where the personality comes from. When it’s done, the egg on the tummy is the first thing everybody points at. So grab some scraps and try this crochet egg tomato pattern, and you’ll see what I mean.