Crochet Skull Collar Pattern Halloween Wearable
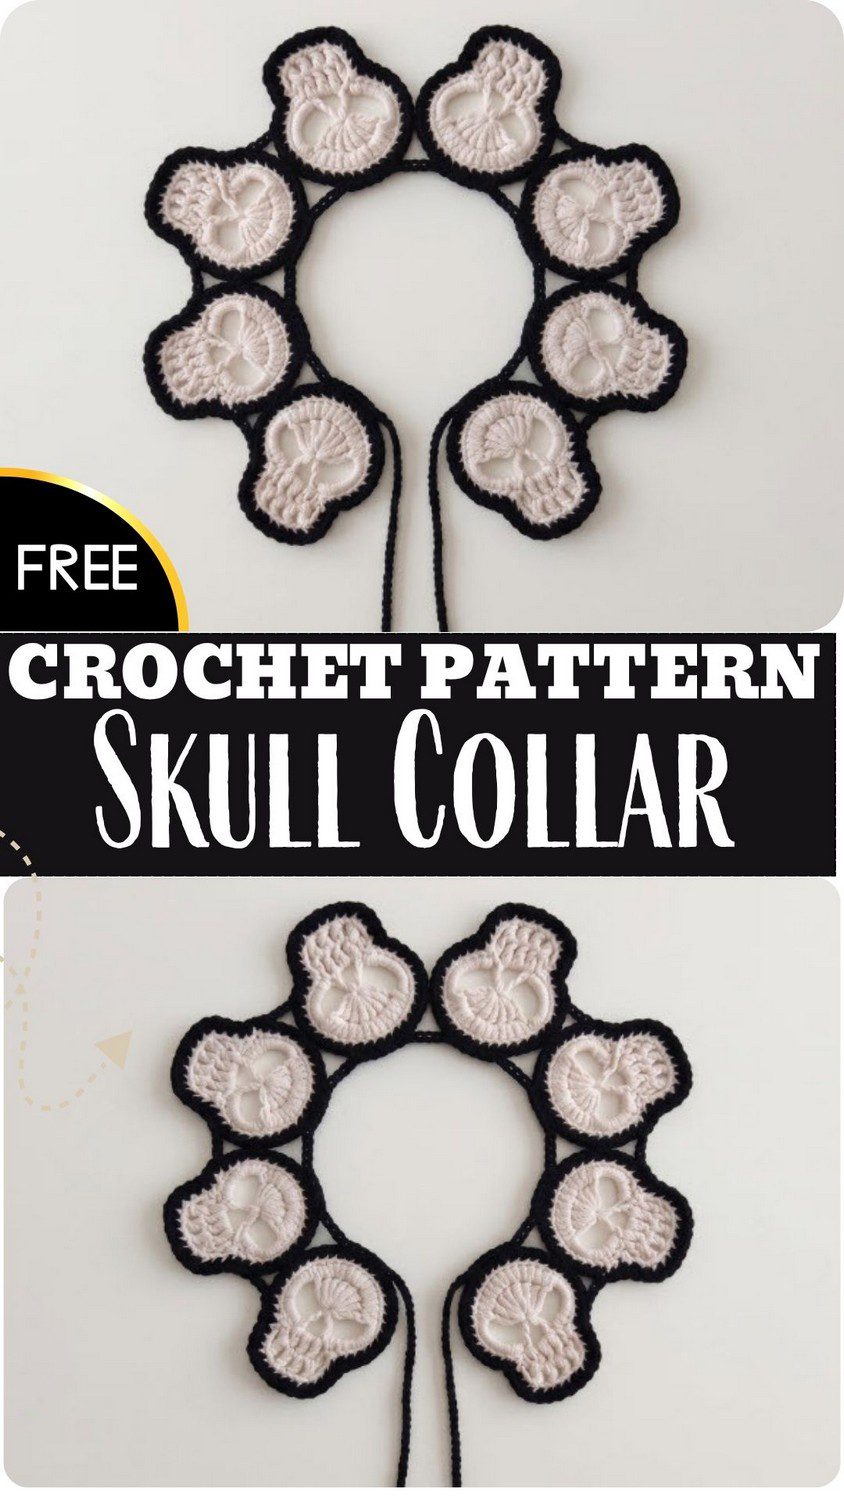
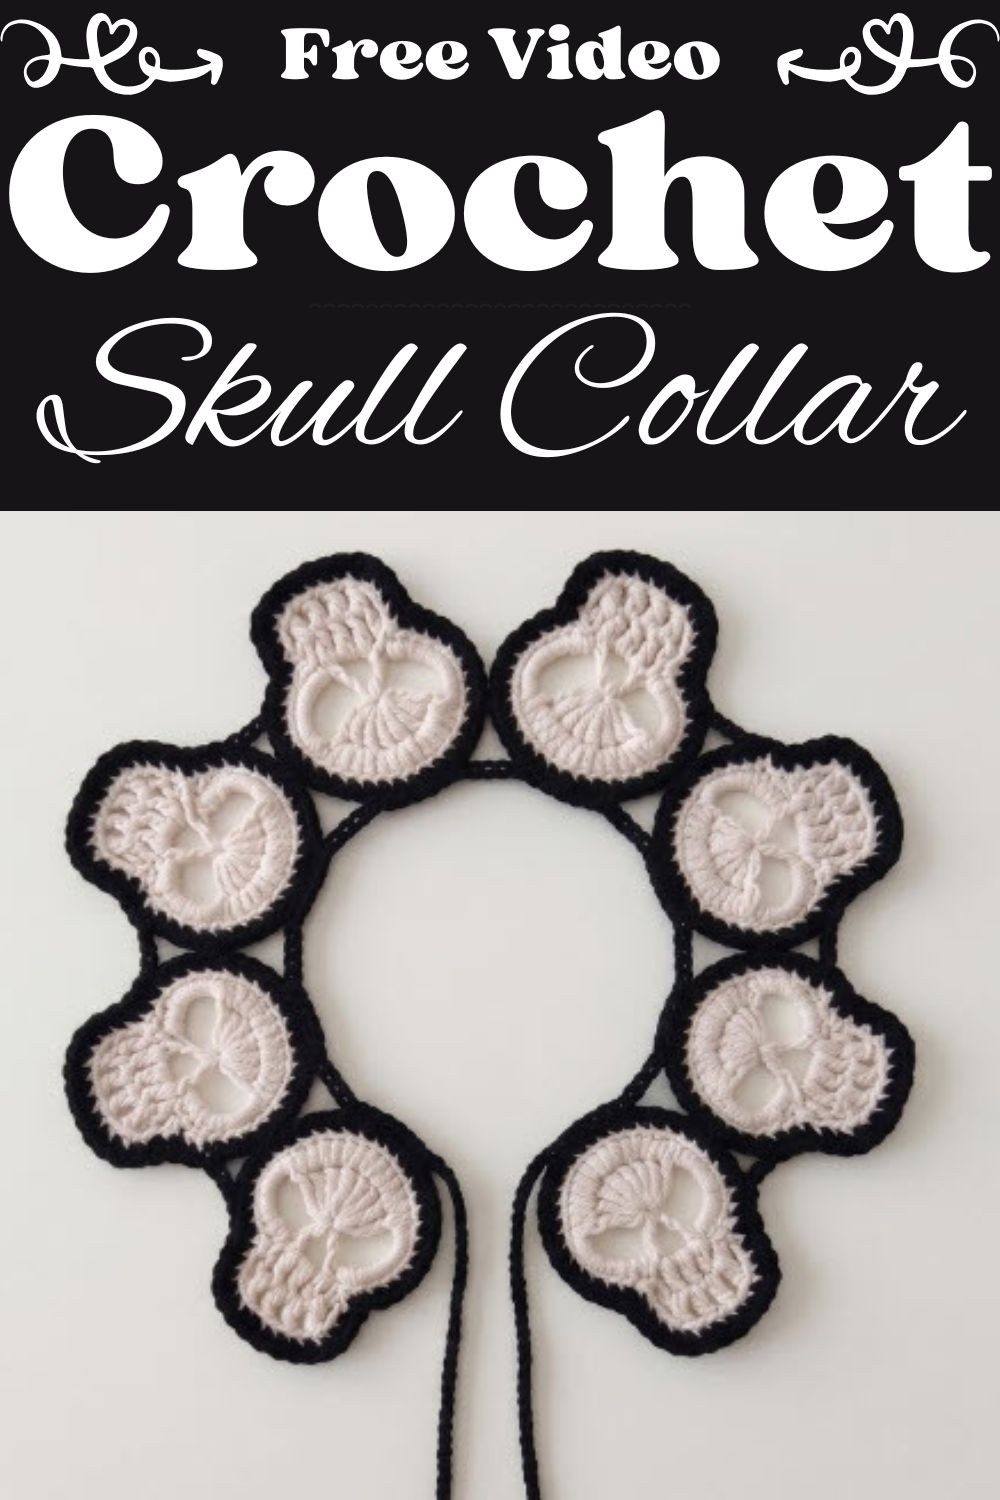
Dark, pretty and handmade, this crochet skull collar is made from cream skulls with black edges joined in a curve. Two long black ties hang at the front. The free intermediate pattern suits a plain shirt well and makes a great gift.
Gothic style is easy to wear with this crochet skull collar pattern. Start by making 8 to 10 cream skulls with black borders and sew them together in a soft curve. Finish the look with two long black ties at the front. The written steps are clear and simple but the skill level is intermediate. Pair the collar with a plain shirt or a dark dress for a stylish look. It is also a free Halloween crochet pattern and a lovely handmade gift for anyone who loves dark and pretty things.
Crochet Skull Collar Pattern Overview
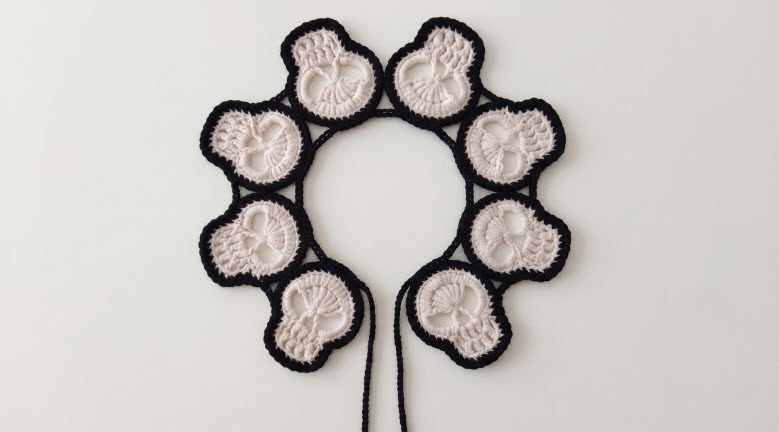
What you are making: This gothic crochet collar is built from separate skull motifs. First, you work them one at a time. Then, you sew them into a curved neckpiece. The photo shows a collar made of 8 cream skull motifs with black borders, joined side by side in a curve, with two long black ties hanging at the front. However, the crochet skull collar pattern lets you make 8 to 10 skulls, so the count in the photo is only one option. Think of it as a lace Peter Pan collar crochet project with a spooky twist, a wearable accessory that suits Halloween and plenty of darker outfits too.
Skill level: Intermediate. You work into a magic ring, change stitch heights, shape the skulls and then assemble them. Although each step is simple alone, together they ask for a steady hand and some patience with small details.
Finished size: Each skull is roughly 5 to 6 cm across with this yarn and hook. A collar of 8 to 10 skulls is about 40 to 55 cm long. Therefore, add or remove skulls to fit your neck.
Materials and Tools for the Crochet Skull Collar Pattern
First, gather these before you start:
- Yarn: mercerized cotton in sport or fingering weight. Standard DK cotton also works.
- Color A: cream or off-white, used for the skull body.
- Color B: black, used for the edging, border and ties.
- Quantity: only small scraps per skull. Since the exact yardage depends on how many skulls you make, buy a little extra.
- Hook: 2.5 mm. You can go up to 3.0 mm for a looser, lacier fabric. An aluminum hook is standard for lace and motif work.
- Tools: tapestry needle and scissors.
- Skulls needed: 8 to 10 for a standard adult collar.
Abbreviations
This pattern uses US crochet terms.
- MR: Magic Ring
- ch: Chain
- sl st: Slip stitch
- sc: Single crochet
- hdc: Half double crochet
- dc: Double crochet
- tr: Treble crochet
- inc: Increase (2 stitches worked into the same stitch)
- BLO: Back loop only
Pattern Notes
- Every skull begins with a magic ring, which forms the crown of the skull.
- hdc inc means working 2 hdc into the same stitch.
- Round 4 is worked in BLO once the black yarn is attached, so you get a clean frame around the cream skull.
- Close each round with a slip stitch. Later, join the finished motifs with a tapestry needle or slip stitches.
- Follow the stitch counts exactly, because they keep the eye sockets, nose cavity and jaw symmetrical.
- Each skull has 4 rounds. Rounds 1 to 3 are cream and Round 4 is black. After that, make 8 to 10 skulls and join them into the collar.
Skull Motif Pattern for the Crochet Skull Collar
Every skull motif is worked the same way, so once the first one is done, the rest feel familiar. Make 8 to 10.
Round 1 (Color A)
Start with a magic ring. Work: 10 ch, 8 tr, 7 ch, 1 dc, 3 ch, and then sl st into the ring to close. Next, pull the ring tight. You can fasten off here or keep going.
This round forms the arched base of the skull. Besides that, the 8 tr and the chain spaces open up the eye and nose cutouts.
Round 2 (Color A)
Work: 8 sc, 7 hdc inc (2 hdc in each of the next 7 stitches, giving 14 hdc), 8 sc, 3 ch, [1 dc, 1 ch] 3 times, 1 dc, 3 ch, sl st to join.
Here the cranium and jaw grow wider, while the dc and chain spaces on both sides keep everything balanced.
Round 3 (Color A)
Work 29 sl st evenly around the edge to clean up and define the shape. Then, add the small chain arches in the same round: 4 ch, dc, ch, dc, ch, dc, ch, dc, ch, dc, ch, dc, ch, dc, 4 ch, sl st.
Those little arches shape the teeth and jaw.
Round 4 (Color B, Black Border)
Join the black yarn in the back loop only of any stitch around the edge of Rounds 1 to 3. Then, work 1 sc in the BLO of every stitch around the whole outer edge. Finally, fasten off and weave in the ends.
As a result, you end up with a sharp black frame around each cream skull.
Stitch Count Check
- Round 1: 8 tr plus the chain spaces form the base arch and the eye and nose cutouts.
- Round 2: 8 sc, 14 hdc (from the 7 hdc inc), 8 sc, balanced by the dc and chain spaces.
- Round 3: 29 sl st frame the structure.
- Round 4: one sc in the BLO of every stitch, so the black border matches the stitch count of the edge underneath.
Steps at a Glance for the Crochet Skull Collar Pattern
Step 1: Frame the Skull in Black
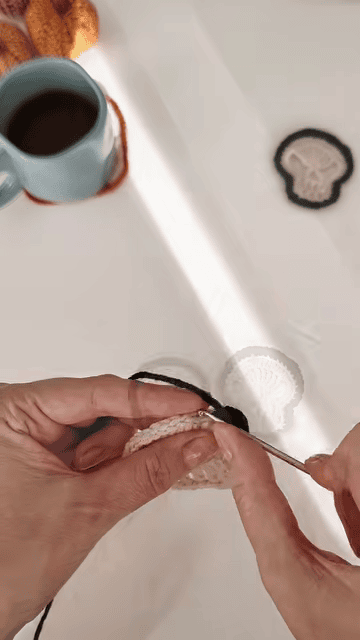
Once the cream skull is done, join the black yarn in the back loop only of any edge stitch. Then, work 1 sc in the BLO of every stitch around the outer edge. This is Round 4, and it gives the skull its black frame.
Step 2: Line Up Two Skulls
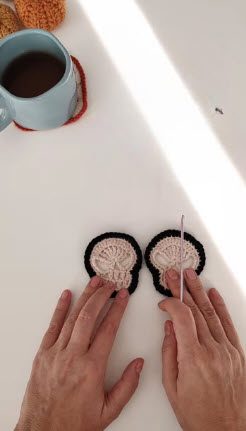
After you have made all your skulls, place two finished ones side by side with their black borders touching. Next, whipstitch them together through the border loops, using 2 to 3 stitches per join.
Step 3: Admire the Finished Collar
Keep joining until the skulls form one curved collar, and then add the two black ties. The photo shows a collar of 8 skulls with the ties hanging at the front.
Assembling the Crochet Skull Collar
Joining the Skulls for the Crochet Skull Collar
Before any sewing, take a moment to arrange things. Lay all the finished skulls flat in a gentle curve. Next, thread black yarn onto the tapestry needle. Then, whipstitch each pair of neighboring skulls together along their outer edges, going through the black border loops. Use 2 to 3 stitches per join, and repeat until the skulls form one continuous curved collar.
Neck Ties
Attach black yarn at one end of the collar. Then, chain a long tie, about 25 to 30 cm. Next, work sl st across the top neckline of every skull, which links them and keeps the neckline steady. Finally, chain a second tie of the same length at the opposite end, and you have a crochet collar with ties on both sides.
Finishing
Weave in the ends by threading each tail through the back of the stitches, and then trim close. After that, pin the collar flat on a blocking mat and lightly steam or wet-block it. Because blocking crisps up the skull features, it also gives a smooth curve.
Helpful Tips for the Crochet Skull Collar Pattern
- Want a lacier fabric? Swap the 2.5 mm hook for a 3.0 mm one, and then the motifs will loosen up, giving the whole collar a softer, airier feel.
- Count your stitches in every round, because the exact counts keep the eyes, nose and jaw even on both sides.
- Do not skip the back loop only in Round 4, since it creates the clean black frame.
- If the collar feels too short or too long, add or remove skulls instead of changing the pattern.
- Block the finished piece, because it sharpens the skull details and smooths the curve.
- Keep your joins steady with 2 to 3 whipstitches between each pair of skulls.
Care and Storage Ideas for Your Lace Collar
A lace-style piece likes gentle handling, and a little care keeps those skull details sharp for a long time. In short, these simple habits help it stay neat:
- Store it flat in a box or drawer, with the ties folded loosely beside it.
- Keep it away from rough surfaces or sharp jewelry, since they could catch on the stitches.
- If it gets dusty, clean it gently by hand rather than rubbing hard.
- Check the joins now and then and mend any loose stitch early, before a small gap turns into a bigger one.
- If the curve loses its shape, pin it flat again and block it the way you did the first time.
How to Wear Your Skull Collar
- Layer it over a plain black or white shirt, so the cream skulls stand out.
- Wear it over a simple dress for a gothic look.
- Use it as a stand-alone accessory with a dark jacket or blouse.
- Tie the ties in a neat bow at the front, or else leave them hanging long.
Whichever way you go, the cream skulls and black borders do the talking. Therefore, keep the rest of the outfit quiet and let the collar be the star.
Bonus: Gift and Display Ideas for the Crochet Skull Collar Pattern
- As a gift: Make one for a Halloween fan, because a handmade neckpiece feels special.
- For a party: Lay it flat on a dark table beforehand, so you can check the curve and the ties.
- With a matching mood: Pair it with an all-dark outfit, and then let the cream skulls pop.
FAQs About the Crochet Skull Collar Pattern
How many skulls does the crochet skull collar pattern need?
For a standard adult collar, make 8 to 10 skulls. The photo shows 8, but you can go higher.
What yarn should I use?
Mercerized cotton in sport or fingering weight is the first choice. Also, standard DK cotton works. You only need small scraps of cream and black.
Which hook size works best?
A 2.5 mm hook is the starting point. However, a 3.0 mm hook gives a looser, lacier fabric.
How do I make it fit my neck?
Add or remove skulls until the collar suits you. Then, the long ties finish the fit.
How are the skulls joined?
Whipstitch neighboring skulls together with black yarn through the border loops, using 2 to 3 stitches per join. Then, work slip stitches along the neckline to link them.
Start With Just One Skull
So that’s the collar. Honestly, it looks way harder than it is. You make one skull, then another, and soon there’s a little row of them sitting on your table. My advice is to make just one first and see how you feel about it. If you like it, keep going. Pick how many skulls fit you, sew them together, add the ties and throw it on with something dark. That’s really all the crochet skull collar pattern asks of you. And if the first skull comes out a bit wonky, don’t stress. Just pull it apart and try again, because it only takes a little yarn. Have fun with it.