Crochet Flower Crown Elephant Amigurumi Pattern
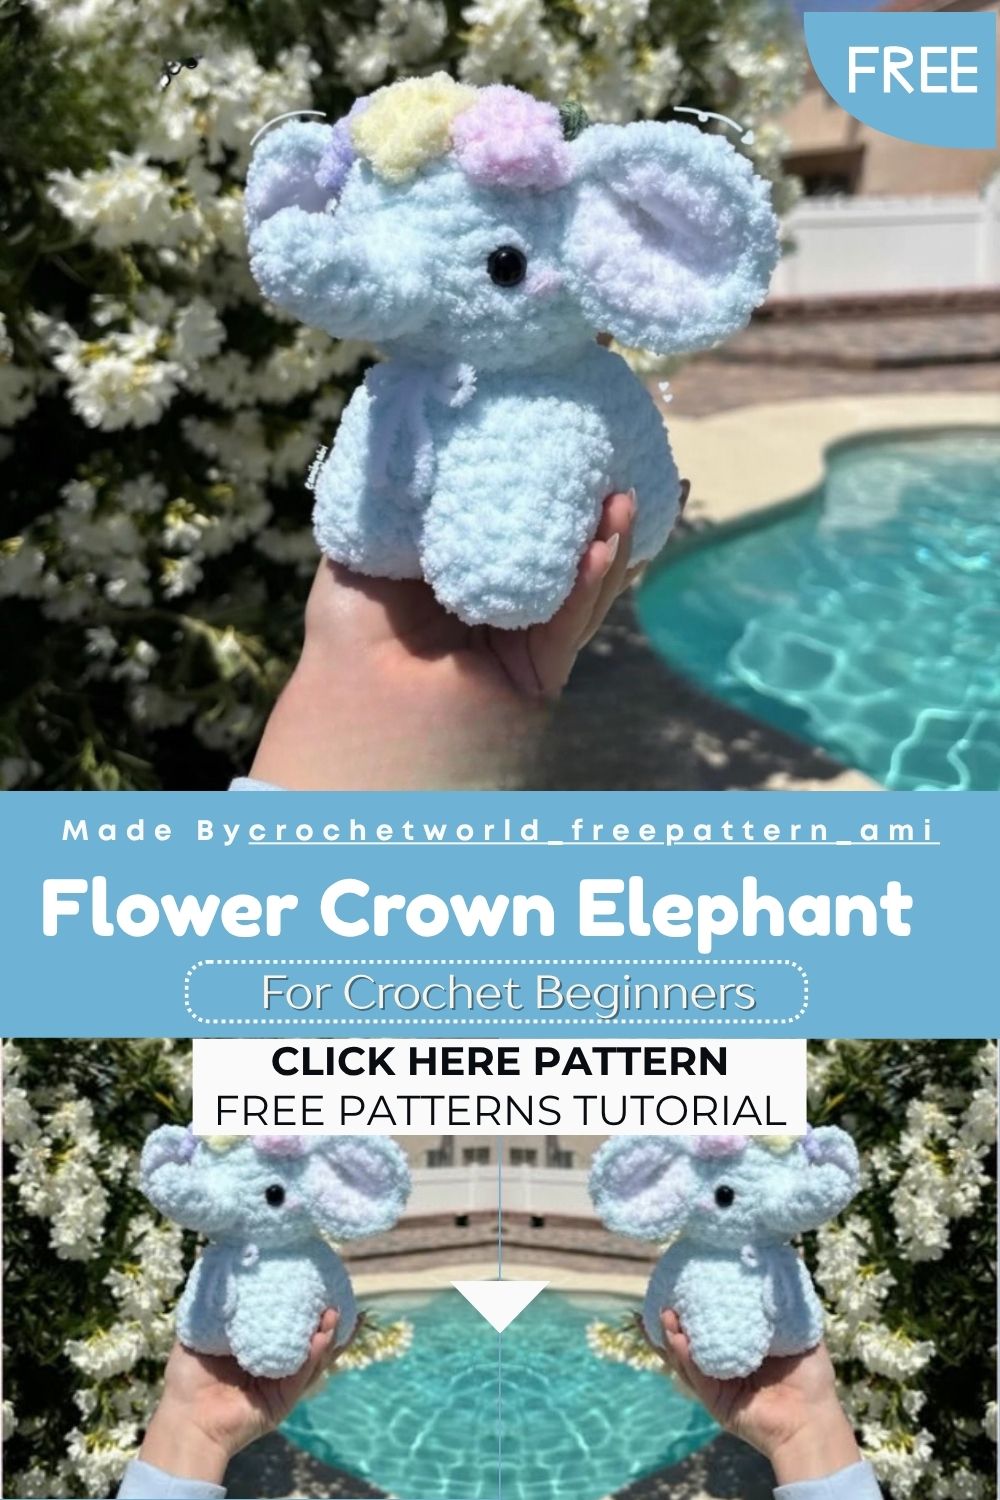
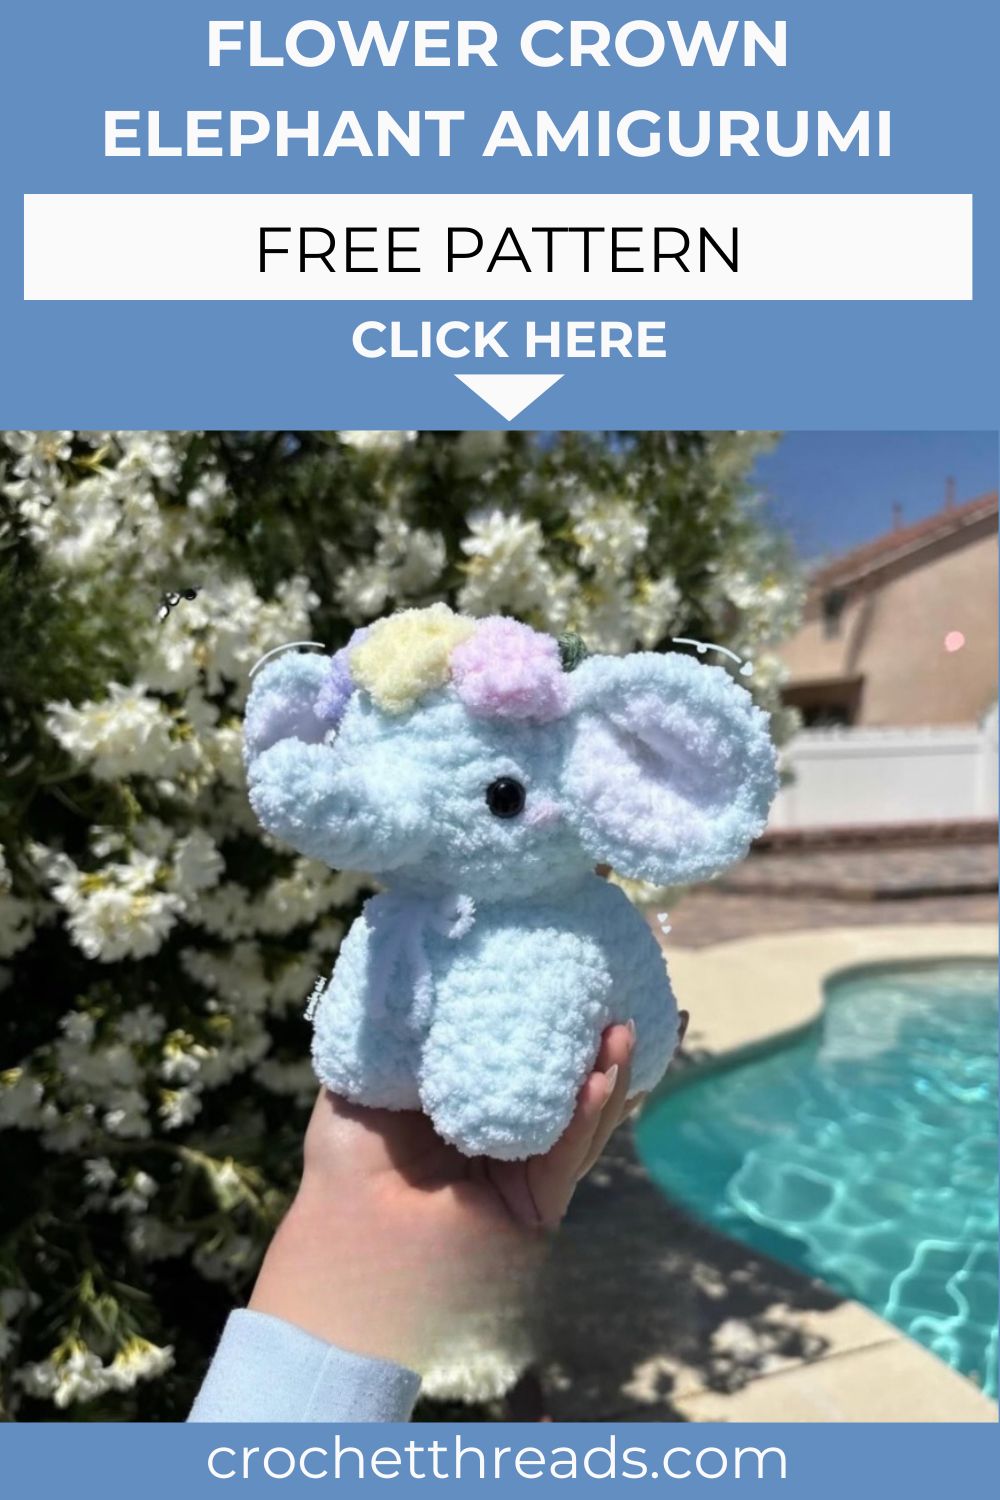
Few things melt hearts faster than a little elephant wearing a flower crown. This Crochet Flower Crown Elephant gives amigurumi’s soft beauty an adorable shape with its floppy ears, curved trunk, and leafy crown. Made from soft yarn, this cute elephant is perfect for nurseries, gifts, and cozy shelves.
Crocheting this little elephant feels like making a friend from scratch. You shape a round head, a sturdy four-legged body, and those signature floppy ears in easy single crochet. A curved trunk and a leafy crown add all the charm. No joke, the finished elephant works beautifully as a baby shower gift, a nursery decoration, or a soft companion that any little one will happily reach for again and again.
Skill Level
This Crochet Flower Crown Elephant suits adventurous beginners. You will use the magic ring, single crochet, increases, and decreases throughout. A single double crochet shapes each tiny leaf for the leafy crown.
Pattern Overview
Before you reach for your hook, here’s how this little one comes together.
- You crochet the head and a four-legged body, then sew them into one round elephant.
- Four little legs join the belly first, giving the body a steady, seated base.
- Floppy ears use a two-layer design for that soft, droopy look.
- A short, curved trunk sits right between the eyes for instant character.
- Tiny green leaves and a ribbon bow finish off the sweet flower crown.
Special Techniques
This Crochet Flower Crown Elephant leans on a few key skills. Nail these, and every piece falls into place.
- Joining legs to the belly: You crochet through both layers to attach all four legs.
- Two-layer ears: You stack a white inner ear onto the main color, then crochet around.
- Floppy folding: You fold and seam the ear tops for that classic droop.
- Shaping a curved trunk: You pull the tail through the middle to lock in the curve.
- Making leaves: You combine a dc, sc, and sl st along a short chain for each leaf.
Materials Needed
A short supply list keeps your setup quick and easy.
- 5 mm crochet hook
- Yarn of your choice (Alize Softy Plus works well)
- 12 mm safety eyes
- Stuffing
- Stitch marker
- Darning needle
- Green acrylic yarn for the crown leaves
- A ribbon or piece of yarn for the neck bow
Abbreviations
Keep this list handy while you read the rounds.
- sc – single crochet
- inc – increase (two single crochets in one stitch)
- dec – decrease
- dc – double crochet
- ch – chain
- sl st – slip stitch
- fo – fasten off
- mr – magic ring
The Pattern
Work each piece in order, and count your stitches after every round.
Head
- R1: 7 sc in a MR (7)
- R2: inc x7 (14)
- R3: (sc, inc) x7 (21)
- R4: (2 sc, inc) x7 (28)
- R5–11: sc around (28)
- R12: (2 sc, dec) x7 (21)
- R13: (sc, dec) x7 (14)
Sl st and fo, leaving a long tail for sewing. Attach the eyes between R8 and R9, at least 5 to 6 stitches apart, then stuff.
Body
Start with the legs (make four):
- R1: 5 sc in a MR (5)
- R2: inc x5 (10)
- R3: (sc, inc) x5 (15)
- R4–5: sc around (15)
Fo, leaving a long tail. Repeat for all four legs.
Now make the belly:
- R1: 10 sc in a MR (10)
- R2: inc x10 (20)
Do not fo. You will now attach the legs.
Attaching the Legs
With your hook still in the belly, take a leg and insert your hook through both the leg and the belly. Sc 5 for each leg, using the long tail end as the first stitch you connect, with your hook going through both layers. If gaps appear between the legs, use the long tail ends to sew them closed.
Body Continued
- R6: 10 sc around each leg (40)
Mark the first stitch as the front of the body, so you know where to sew the head.
- R7–8: sc around (40)
- R9: (4 sc, dec) x6, 4 sc (34)
- R10: sc around (34)
- R11: (3 sc, dec) x6, 4 sc (28)
- R12: (2 sc, dec) x7 (21)
Start stuffing here.
- R13: (sc, dec) x7 (14)
- R14: 7 dec (7)
Finish stuffing and fo, leaving a long tail to sew the hole closed. Sew the finished head to the front of the body, right on top.
Ears (Make 2)
Inner part, in white:
- R1: 6 sc in a MR (6)
- R2: inc x6 (12)
- R3: (1 sc, inc) x6 (18)
- R4: (2 sc, inc) x6 (24)
Sl st and fo. There is no need to leave a long tail.
Now, in your main color, repeat rounds 1 to 4. Do not fo. Stack the white part on top of the main part, then crochet around, going through both layers.
- R5: sc around through both parts (24)
Sl st and fo, leaving a long tail. Fold the top of the ear and sew the first two stitches shut for that floppy look. Sew the ears between R4 and R5 of the head. Sewing the ear down to the head also keeps it nicely floppy.
Trunk
- R1: 5 sc in a MR (5)
- R2–4: sc around (5)
- R5: (sc, inc) x2, 1 sc (7)
- R6: sc around (7)
- R7: (sc, inc) x3, 1 sc (10)
- R8: sc around (10)
Sl st and fo, leaving a long tail for sewing. Stuff lightly. Sew the trunk between R8 and R10 of the head, between the eyes. To curve the trunk, bring the tail out in the middle, wherever you want the bend, and sew it back into rounds 7 to 8 of the trunk.
Leaf Crown and Bow
With your green acrylic yarn, ch 4. In the second chain from the hook, make a dc, then sc in the next stitch, and sl st in the last stitch. Fo, leaving a long tail for sewing. Make as many leaves as you like, then sew them around the crown wherever you desire. Finally, take a piece of yarn or ribbon and tie a bow around the elephant’s neck.
Common Mistakes to Avoid
A few small slip-ups can throw off your elephant. Watch for these as you go.
- Sewing the head off center, which leaves the trunk and ears looking lopsided.
- Stuffing the body too late, after the opening grows too tight to fill well.
- Leaving gaps between the legs, then skipping the tails meant to close them.
- Placing the eyes too close together, which crowds the little face.
- Forgetting to mark the front, then sewing the head onto the wrong side.
Assembly
With your pieces ready, the elephant comes together quickly. Take it slow and pin first.
- Sew the head firmly to the front top of the body, facing forward.
- Fold and seam each ear, then sew them between R4 and R5 of the head.
- Stuff the trunk lightly, then attach it between the eyes and shape the curve.
- Scatter the green leaves around the head to form the crown.
- Tie a ribbon bow around the neck for the finishing touch.
Important Remarks
Keep these in mind while you work. They make a big difference in the final look.
- Place the safety eyes before stuffing the head, since you cannot move them later.
- Work in a continuous spiral, using your stitch marker to track each round.
- Crochet with snug tension, so no stuffing peeks through the stitches.
- Sew the ears down slightly for that signature floppy droop.
- Add as many or as few leaves as you like to suit your own style.
Conclusion
And there she is, your very own Crochet Flower Crown Elephant, ready to charm everyone who sees her. This little sweetheart shines as a baby gift, a nursery accent, or a keepsake to treasure for years. Pick your softest yarn, follow the rounds at your own pace, and enjoy every adorable stitch along the way.