
Crochet Cat Ear Beanie Pattern in Two Colors
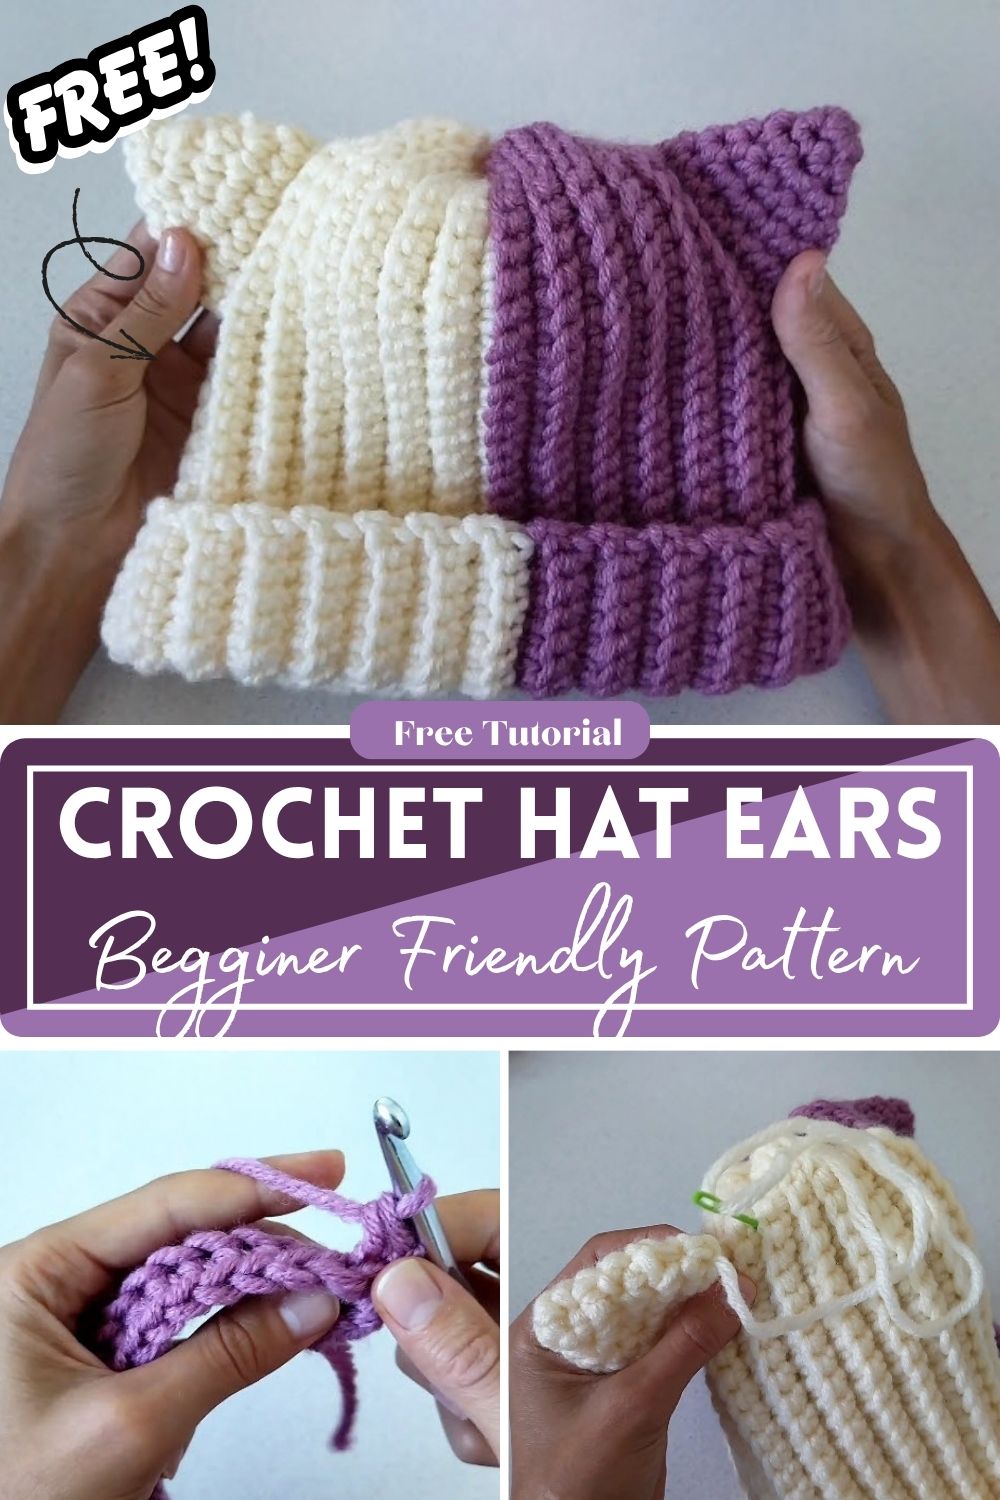
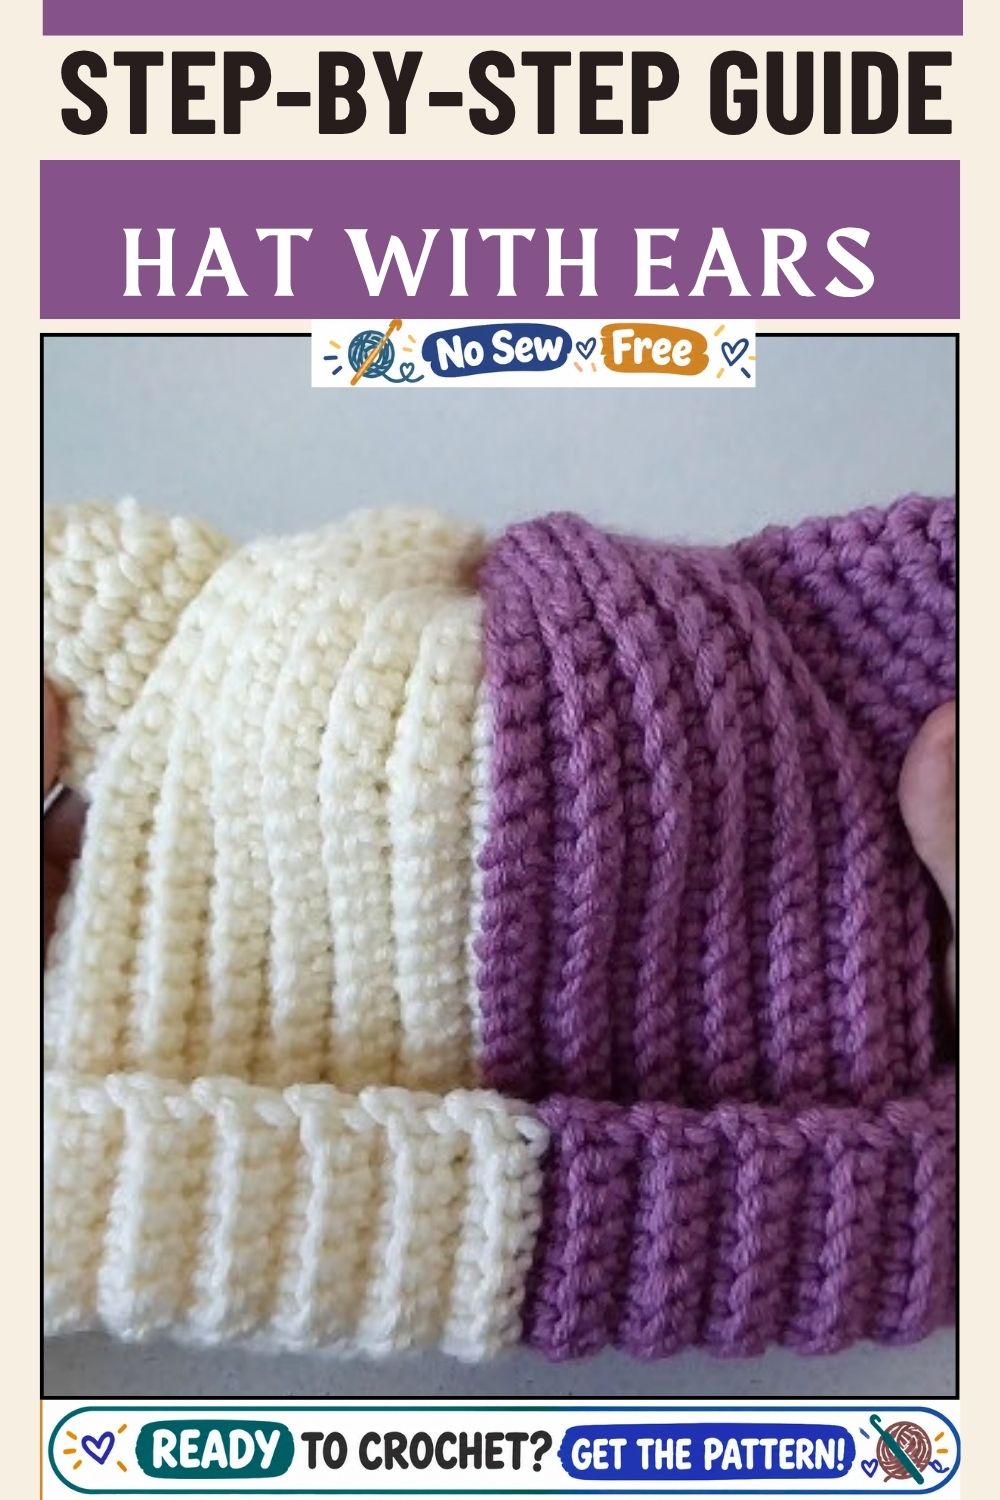
A crochet cat ear beanie is a two-colour hat with a ribbed look and two small ears on top. You work it flat, in rows from side to side, then seam the edges into a tube and gather the top closed. The ears are made separately and sewn on at the end.
In this tutorial, you will chain a foundation, work slip stitches and single crochet in the back loops, and switch colours partway through. Then you will cinch the crown, join the side seam, and attach the ears. Because the pattern uses a foundation chain and a row count, you can also adjust the size to fit a different head.
Why Make a Crochet Cat Ear Beanie?
This project teaches several skills in one hat. For example, you practice working into the back loops, changing colours, seaming a flat piece into a tube, and shaping small crocheted pieces. As a result, it makes a good project once you are comfortable with single crochet and slip stitches.
Also, the rows are short, so you can see the hat grow quickly.
Materials for Your Crochet Cat Ear Beanie
- Yarn: bulky or chunky weight in two colours. Use Colour A as the main colour and Colour B as the contrast.
- Crochet hook: 7.0 mm.
- Tools: a tapestry needle with a large eye, stitch markers, and scissors.
Yarn amounts depend on your yarn, your size, and your tension, so start with a skein of each colour and add more if you need it.
Sizing and Measurements for a Crochet Cat Ear Beanie
The standard adult size in this pattern uses these numbers:
- Head circumference: 54 to 56 cm (about 21 to 22 in).
- Hat depth: about 20 cm (8 in).
- Fold-over brim: about 6 cm (2.4 in).
- Assembly margin: about 1 cm (0.4 in).
- Foundation chain: about 27 cm (10.6 in), which is 35 chains.
To change the size, remember that the foundation chain sets the hat’s height, while the number of rows sets how far it wraps around the head. First, chain until the foundation equals your desired depth plus the brim plus 1 cm for assembly, measured flat and unstretched. Then, as you crochet, wrap the work around the head to check the fit, and add or remove rows until it fits snugly.
Stitches and Terms You Will Use (US Terms)
- ch (chain): a row of linked loops that forms a foundation.
- sc (single crochet): a short, dense stitch. In UK patterns, this same stitch is called double crochet.
- sl st (slip stitch): a very short stitch used to join or move across your work.
- inc (increase): two single crochets in the same stitch.
- BLO (back loop only): working into only the loop farthest from you at the top of the stitch. This leaves a ridge and gives the fabric its ribbed look.
- Back bump: the small bump on the back of each chain. Working into it gives a neat foundation edge.
- Ridge: the horizontal line that BLO rows leave on the fabric.
- MR (magic ring): an adjustable loop that lets you start a round and pull the centre closed.
- Right side: the side of the fabric that will face out when you wear the hat.
- Whip stitch: a simple sewing stitch that goes over the edge of two pieces to join them.
- st(s): stitch or stitches.
Make the Foundation and First Rows in Colour A
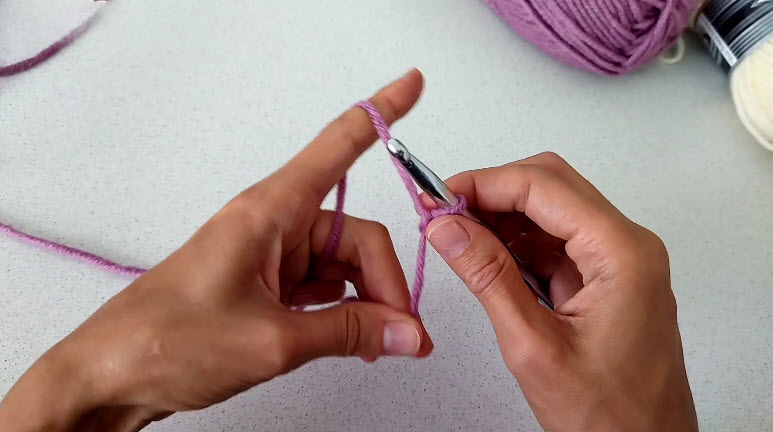
- Foundation chain: With Colour A, chain 35, or chain until it measures about 27 cm (10.6 in).
- Row 1: Turn the chain over to find the back bumps.
- First, starting in the 2nd bump from the hook, work 5 sl st. Place a stitch marker in the first sl st, so you can find this edge later.
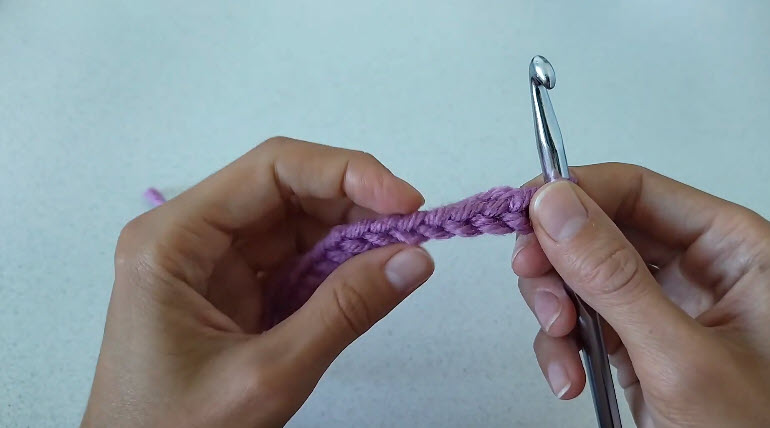
- Next, work 29 sc in the remaining bumps across to the end of the chain. (34 sts)
- Row 2: Ch 1, turn.
- First, work 1 sc in the back loop of each of the first 29 stitches.
- Then work 4 sl st in the back loops.
- Finally, work the 5th sl st through both loops of the last stitch. This keeps the crown edge clean. (34 sts)
- Row 3: Ch 1, turn.
- First, work 5 sl st in the back loops across the slip stitch section.
- Then work 29 sc in the back loops across the rest of the row, working the final sc through both loops. (34 sts)
- Rows 4 to 33: Repeat Rows 2 and 3, so that Row 4 matches Row 2, Row 5 matches Row 3, and so on. Stop after you complete Row 33. After 33 rows in Colour A, the piece measures about 23 cm (9 in) across when stretched slightly.
Switch to Colour B
- Change colour: On the last stitch of Row 33, work the final yarn over of the stitch with Colour B, and pull it through.
- Row 34: With Colour B, ch 1 and turn. Then work the row the same way as Row 2.
- Rows 34 to 63: Keep alternating the two rows for 30 rows in Colour B, with 5 sl st at the crown end and 29 sc at the brim end, all in the back loops. Then fasten off, leaving a tail of about 40 cm (16 in).
Cinch the Crown and Seam the Hat
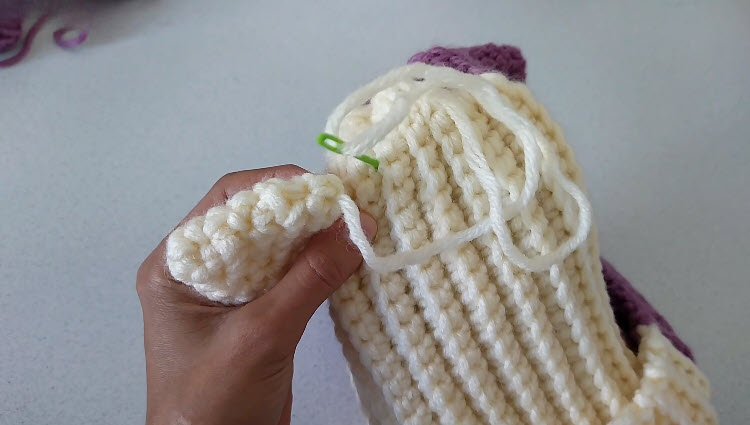
- Cinch the crown: Thread the tail onto a tapestry needle. Weave the needle in and out of the loops along the slip stitch edge, around the whole crown opening. Next, pull tightly to gather the top shut, and stitch through the gathered centre a few times to lock it in place.
- Side seam: Turn the hat inside out, with right sides facing each other, and line up the two side edges. Then use a separate length of yarn to stitch through the outer loops of both edges, working down to the brim.

Crochet the Cat Ears (Make 2)
Work each ear in rounds, and join every round with a sl st.
- Round 1: Make a magic ring and work 6 sc into it. Join with a sl st to the first sc. (6 sts)
- Round 2: Ch 1, then work 1 sc in each stitch around. Join with a sl st. (6 sts)
- Round 3: Ch 1, then inc in every stitch around. Join with a sl st. (12 sts)
- Round 4: Ch 1, then work 1 sc in each stitch around. Join with a sl st. (12 sts)
- Round 5: Ch 1, then [1 sc, inc] repeat 6 times. Join with a sl st. (18 sts)
- Round 6: Ch 1, then work 1 sc in each stitch around. Join with a sl st. (18 sts)
Fasten off, leaving a tail of about 30 cm (12 in) for sewing.

Attach the Ears and Finish
- First, fold the brim upward.
- Next, count 6 to 7 ridges down from the crown along the side of the hat.
- Then pin the ears symmetrically on each side, between the 6th and 7th ridges.
- After that, use the yarn tail and a tapestry needle to whip stitch the base of each ear to the hat.
- Finally, weave in all the loose ends on the inside.

Common Crochet Cat Ear Beanie Mistakes
- Wrong stitch count: count the stitches at the end of every few rows and fix any difference right away.
- Rows that start at the wrong end: the stitch marker in Row 1 helps you tell the crown end from the brim end.
- Uneven edges: work the last stitch of each row through both loops.
- Ears that sit unevenly: pin both ears and check from the front before you sew.
- A tail that runs out: leave the long tails the pattern asks for, and use a new length for the side seam.

Troubleshooting Your Crochet Beanie
If the hat feels too tight, add a few rows, because the rows run around the head. Similarly, if it feels too loose, remove rows or go down a hook size. When the hat looks too short, a longer foundation chain adds height. Finally, if the seam feels bulky, pull your stitches a little looser and work only through the outer loops.

Tips for a Neater Crochet Cat Ear Beanie
- Keep your tension even, because the ribbed look depends on matching stitches.
- Also, keep the stitch marker in place until the end.
- Count rows in groups of five to avoid losing your place.
- Before sewing the ears, try the hat on and mark the placement with pins.
Bonus: Try a Plain Version Without Ears
Skip Step 4 and Step 5 to make a simple two-tone beanie. As a result, you can use the same pattern for a hat that suits anyone who prefers a plain style.
Frequently Asked Questions About the Crochet Cat Ear Beanie
Is this crochet cat ear beanie good for beginners?
It suits crocheters who are comfortable with single crochet, slip stitches, and working in the back loops. Because it also uses seaming and a colour change, practice those on a small swatch first.
How do I make the hat bigger or smaller?
Change the number of rows to adjust the circumference, and change the foundation chain to adjust the height. Check the fit by wrapping the work around the head as you go.
Why work in the back loops only?
This leaves a ridge on each row, which gives the fabric its ribbed look and its stretch.
Can I use a different yarn?
Yes, but the size will change. In addition, you may need a different hook size to get a fabric you like.
Can I make the hat without ears?
Yes. Skip the ears, and the hat works as a plain two-tone beanie.
Cozy Hat, Playful Ears
You’ve chained a foundation, worked a ribbed fabric in two colours, and seamed it into a hat with ears. Now try it on, adjust the ears if you need to, and wear it or wrap it as a gift. When you want another quick hat, try a different colour pair for the same pattern.


