Simple Crochet Flower Necklace Pattern for a Fresh Look
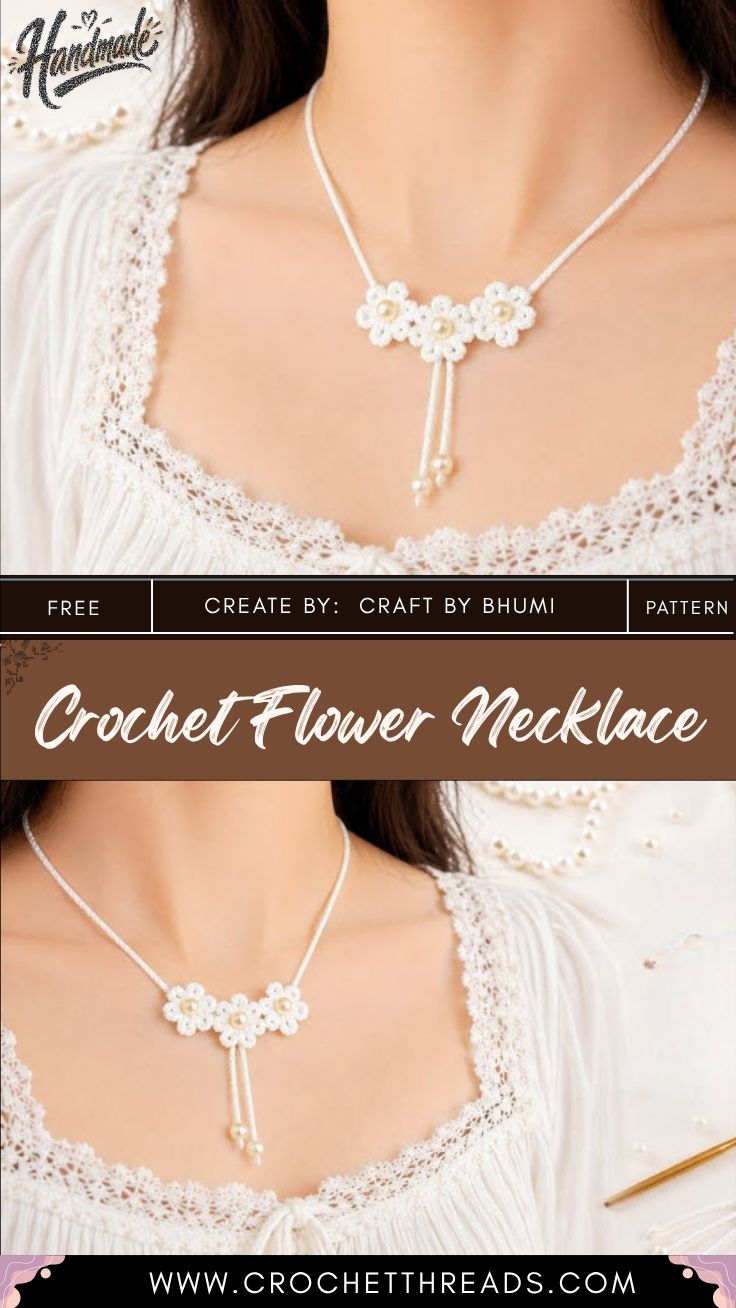
Three tiny white flowers with pearl centers sit on a slim chain cord. This is the Simple Crochet Flower Necklace Pattern for a Fresh Look. You will make each flower, link them, and finish the cord.
This piece works as a light summer necklace or a quick gift. It uses a small amount of fine white yarn and three pearl beads. In this crochet flower necklace pattern, you will learn to form a tight ring, shape five petals, and join the flowers. Your crochet flower necklace can also match small crochet flowers on clips.
Crochet Flower Necklace Pattern Overview
Each flower starts from a magic ring and grows into five rounded petals. Next, you link three flowers with short chains. Finally, a pearl bead goes in each center, and a doubled cord finishes the piece.
The design has no shaping, so the steps stay short. It also uses very little yarn, which makes it a good scrap project.
- Skill level: Beginner. You should know how to chain and make a magic ring.
- Flower size: About 1 inch across
- Finished length: About 18 inches, including the flowers
- Time: About 1 hour
Supplies for a Crochet Flower Necklace
This pattern uses US crochet terms.
- White cotton yarn, fingering weight (Category 1), about 15 yards [Outbound Link: Craft Yarn Council yarn weight chart]
- 2.25 mm (B-1) crochet hook
- 3 pearl beads, 6 mm each
- Sewing needle and white thread
- Yarn needle
- Small scissors
Abbreviations
ch – Chain
sl st – Slip Stitch
dc – Double Crochet
st – Stitch
Before You Begin
Before you start this crochet flower necklace pattern, make one test flower. Fine yarn shows every loose loop. So a test tells you right away if your hook fits the yarn.
For example, if the petals flop open, switch to a 2.0 mm hook. Also, leave a 6-inch tail at the start. You will use it later to close the ring.
How to Crochet the Flower Necklace
Step 1: Wrap the Yarn Around Your Fingers
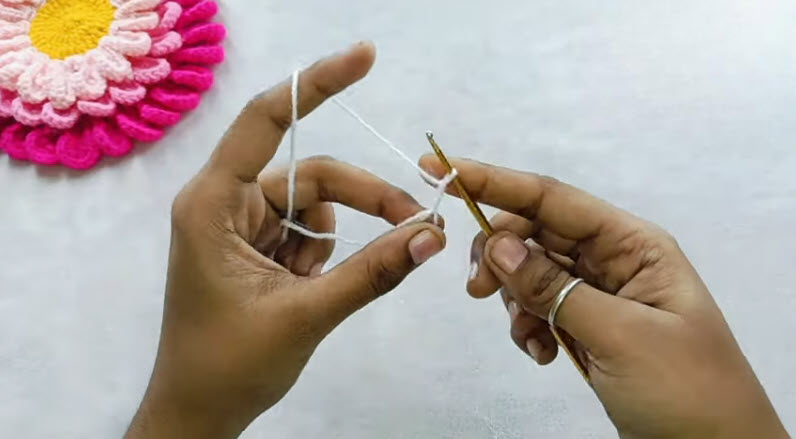
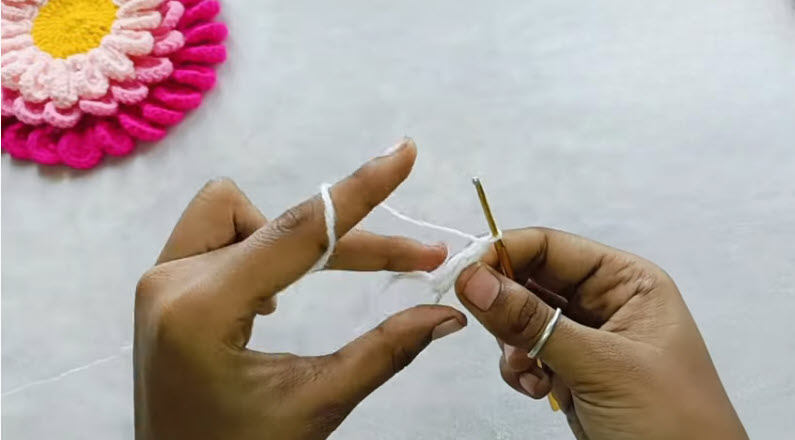
Hold the yarn tail against your palm. Next, wrap the working yarn twice around your index and middle fingers. This forms the magic ring.
Check that the yarn crosses over itself on the front of your fingers. Without that cross, the ring comes apart when you pull the hook through.
Step 2: Pull Up the First Loop
Slide the hook under the strands on your finger. Then catch the working yarn and pull up a loop. After that, ch 2 to start the first petal.
Keep the ring snug on your finger but not tight. At this point, one loop sits on your hook, and the ring stays open.
Step 3: Work the Petals Into the Ring
Now work the petals into the ring with this repeat:
Rnd 1: [Ch 2, 2 dc, ch 2, sl st in ring] 5 times. (5 petals)
Each ch 2 at the start of a petal counts as its first step up. The sl st at the end locks the petal to the ring.
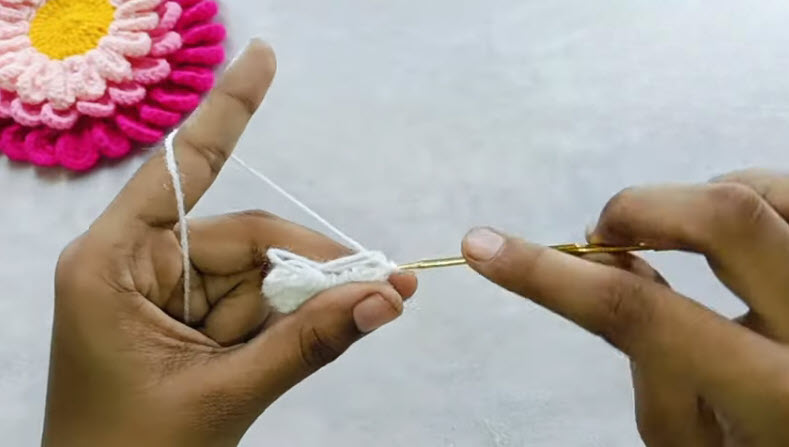
The stitches bunch up on the ring as you go, and that’s normal. Still, push them close together so the petals come out even. Before you close the ring, count five petals.
Step 4: Close the Ring and Check the First Flower
Slip the ring off your finger. Next, pull the start tail slowly until the center hole closes. Then sl st into the first ch to join, and cut the yarn with a 6-inch tail.
Lay the flower flat and look at the shape. Each petal should match in size, and the center should have no gap. Keep both tails for now.

Now join the yarn to the tip of the last petal on the first flower. Ch 4 to link. Then make a magic ring and work Rnd 1 again for the second flower.
Keep the gap between flowers the same each time. Counting the 4 chains helps more than judging by eye. After that, link a third flower the same way, so you have three in a row.

Step 6: Add the Pearl Beads and Finish the Cord
First, sew one pearl bead into the center of each flower with white thread. Pass the needle through the bead and the flower center three times, then knot it on the back.
Next, build the left cord. Join the yarn to the outer petal of the first flower and ch 120. Then sl st back into the same petal to form a long doubled loop.
For the right cord, join the yarn to the outer petal of the third flower. Ch 60 and fasten off, then repeat once more for a second strand. To wear it, pass both right strands through the left loop and tie a small bow. Finally, weave in all ends on the back of the flowers.

Tips for a Neat Crochet Flower Necklace
Most tips for any crochet flower necklace pattern come down to tension. So keep a steady grip on the working yarn, but don’t yank each loop.
- Pull the ring tail in two short tugs, not one hard pull. This keeps fine yarn from snapping.
- Press each flower flat with your fingers once it’s done.
- Stick with 6 mm beads. A larger bead can hide the petals.
- Mist the flowers lightly with water and let them dry flat. This helps the petals open.
Small matching flowers also work well on hair pins. [Internal Link: small crochet flower hair clip pattern]
Common Mistakes to Avoid
A gap in the center. You likely pulled the tail before the last petal. Instead, finish all five petals first, then close the ring.
Petals of different sizes. This often comes from tight and loose stitches in the same flower. Try to wrap the yarn the same way for each dc.
Loose beads. One pass of thread isn’t enough for daily wear. Go through the bead three times and knot it well.
A twisted cord. Long chains tend to spin. Let the hook hang now and then so the yarn untwists.
Bonus: Keeping White Yarn Bright While You Work
White yarn picks up dirt fast. That matters more on a piece worn near the face. A few habits keep it clean.
- Wash and dry your hands before each session. Also skip hand lotion, since it leaves marks.
- Work over a clean pale towel. The light surface in the photos keeps lint off the piece.
- Keep the yarn ball in a zip bag, and feed the strand out through a small gap.
- Wipe your hook with a dry cloth. Metal hooks can leave gray streaks on white yarn.
- For a spot, dab with cold water and a drop of mild soap. Don’t rub, because rubbing makes the stitches fuzzy.
FAQs: Crochet Flower Necklace Pattern
What yarn works best for a crochet flower necklace?
Fingering weight cotton works best. It holds the petal shape and feels soft on the skin. Acrylic also works, but it can look fuzzy after a few wears.
Can I turn this flower necklace pattern into a bracelet?
Yes. Cut the cord chains to about ch 40 on each side. Also, one or two flowers may suit a small band better. [Internal Link: crochet flower bracelet ideas]
How do I wash a crochet flower necklace?
Hand wash it in cool water with a little mild soap. Then press out the water in a towel and dry it flat. Sewn beads handle washing well.
Can I make the flowers in other colors?
Yes, any color works. For example, try pastel petals on a white cord. Keep the yarn weight the same so the flowers stay the same size.
Wearing Your Crochet Flower Necklace
Once the bow is tied, the three pearl flowers sit right at the base of the neck. The soft cotton cord stays light all day. As a result, it works well with summer tops and simple dresses.
After your first one, try a longer cord or five flowers instead of three. You can also make a matching bracelet from the same yarn. This crochet flower necklace pattern uses so little yarn that a single ball covers a full set.