Precious Crochet Pink Bird Toy Amigurumi Pattern
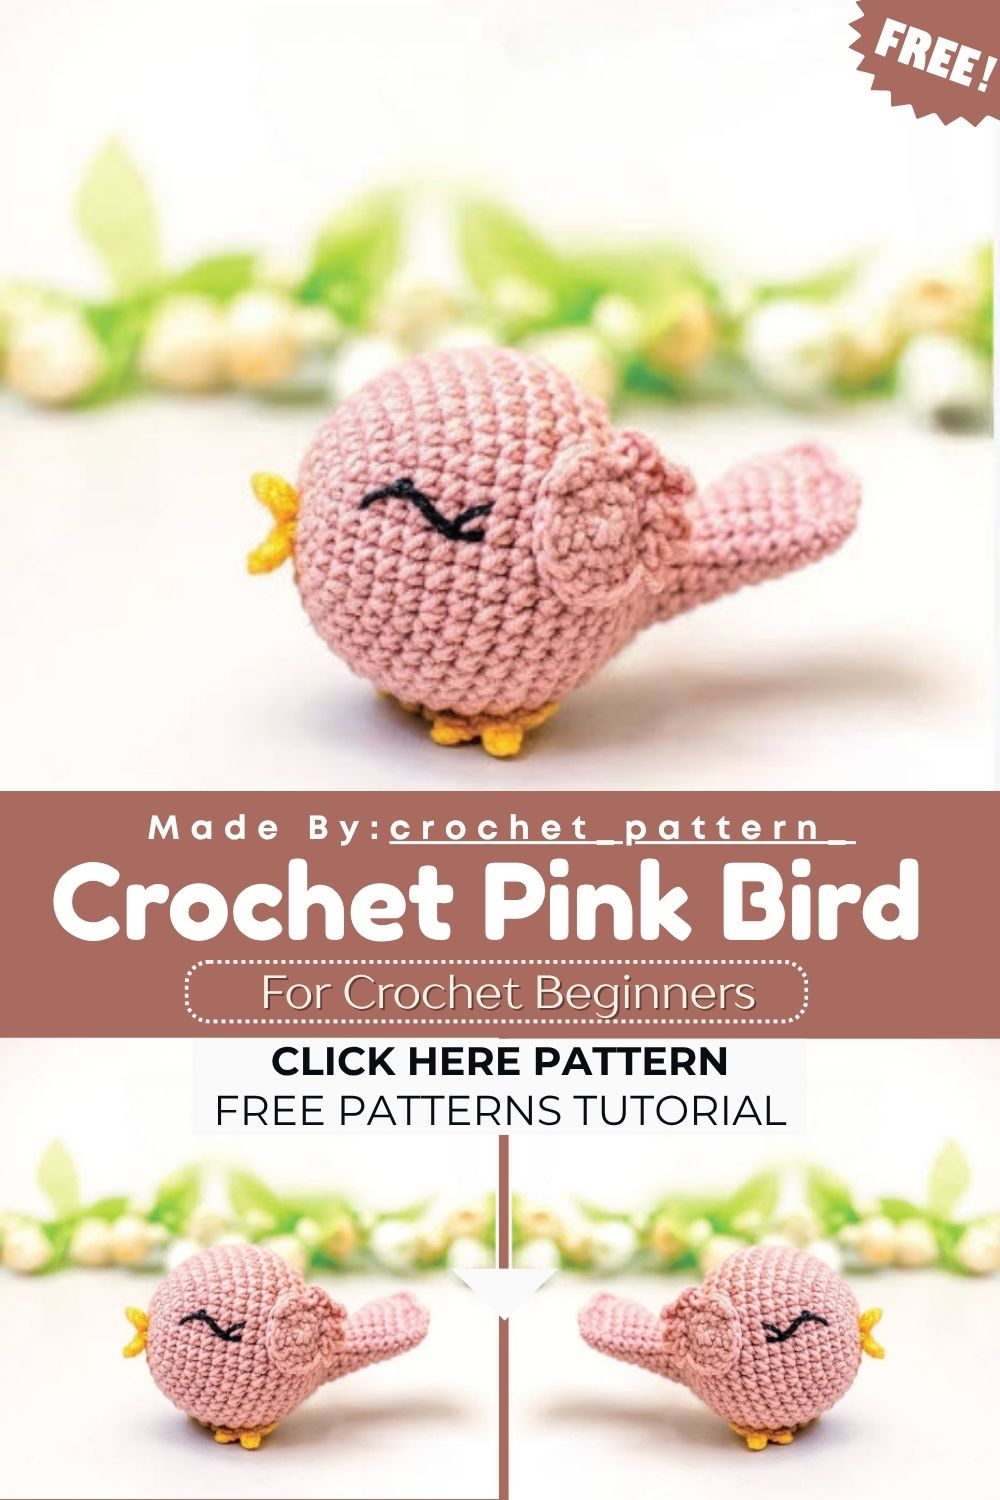
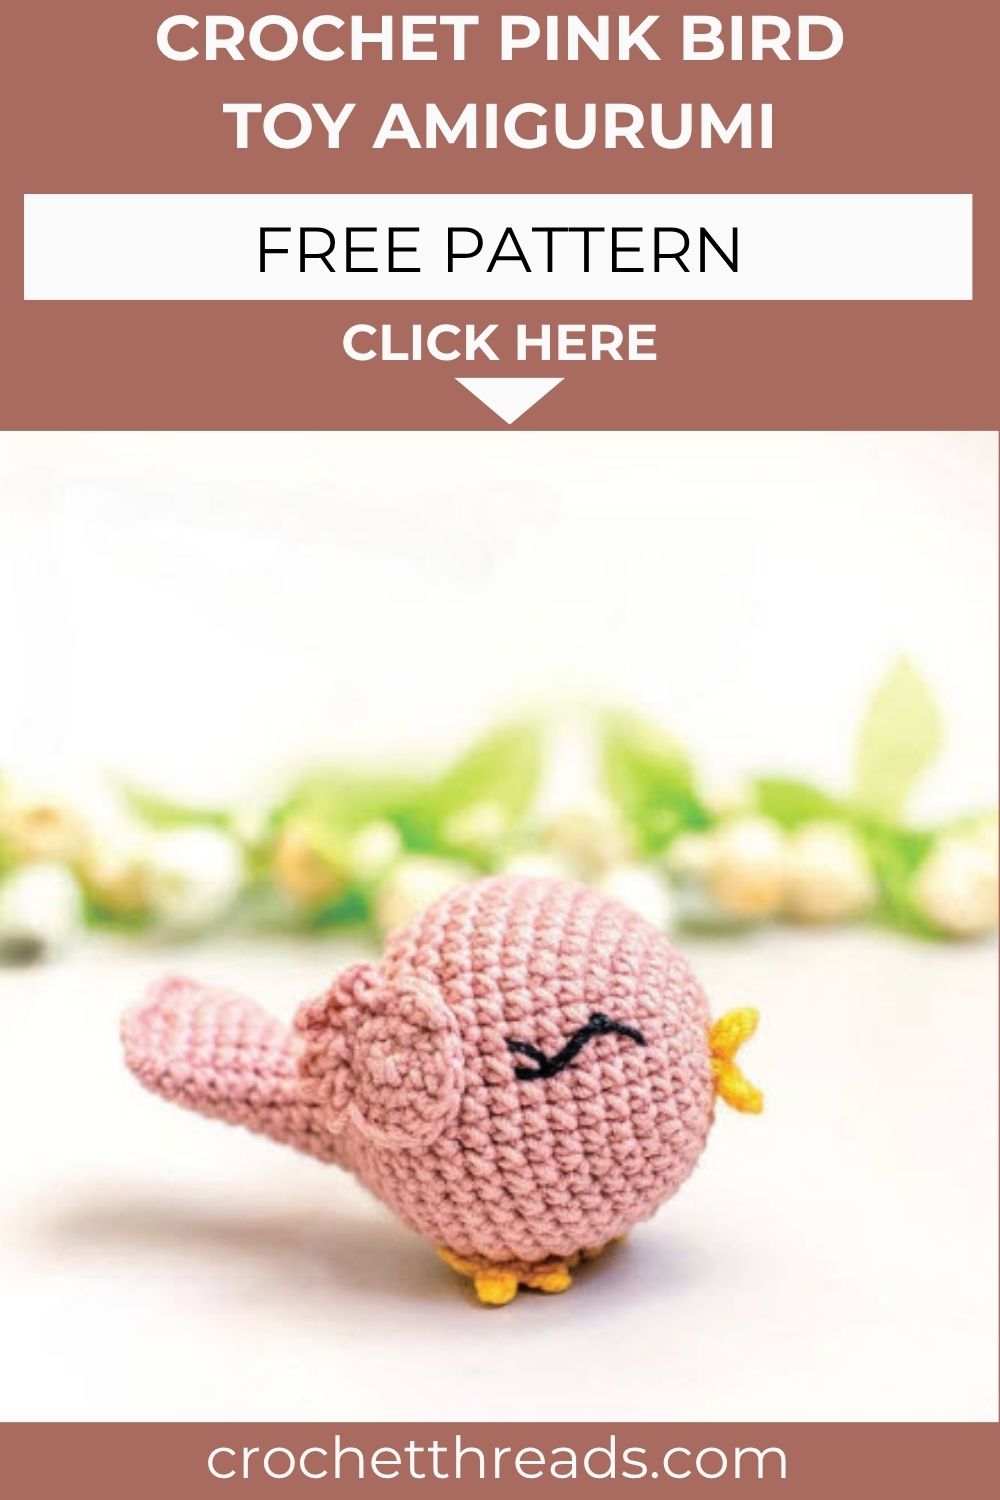
Tiny, sweet, and bursting with color, say hello to a pink bird amigurumi you’ll want to make again and again. Standing just 2.5 inches tall, it’s a quick weekend project with a cute beak, wings, and a curled little tail.
Made with soft cotton yarn and a small 2.25 mm hook, the pink bird amigurumi comes together fast thanks to a simple round body, two tiny wings, a pair of sweet slip-stitch legs, and a two-piece beak. The rounded shape and pastel palette give it a nursery-friendly charm, while the curled tail adds a playful detail. Perfect as a shelf decoration, baby gift, or handmade little surprise for animal lovers.
Skill Level
Beginner-friendly overall, the pattern uses basic increases and decreases with simple slip-stitch shaping for the tiny legs and beak. Small pieces mean frequent color changes throughout the entire project.
Pattern Overview
- A rounded body worked in continuous increasing and decreasing rounds, split at the base into a small stuffed tail
- Two matching wings finished with a decorative slip-stitch and chain edge
- Two tiny legs shaped with slip stitches and chains to form little feet
- A two-piece beak worked as a small double crochet cluster shape
- Embroidered eyes added directly onto the body after assembly
Special Techniques
- Tail shaping: the last rounds of the body are flattened and crocheted through both layers to close the tail neatly
- Slip-stitch toes: the legs use short chains and slip stitches to create individual little foot shapes
- 2dc cluster: two double crochets sharing one top stitch, used to shape the beak
- Embroidered eye placement: eyes are stitched directly onto the body rather than worked as a separate piece
Common Mistakes
- Skipping the second stuffing step before closing the tail, which leaves the shape lopsided
- Sewing the legs and wings too high or too low, which throws off the bird’s balance when it sits
- Rushing the slip-stitch toe details, causing the legs to curl instead of sitting flat
- Placing the eyes unevenly, since the spacing between them matters for a balanced face
Materials
Cotton yarn in a light fingering or sport weight works best for a smooth, sturdy finish.
- Yarn:
- Color A – Soft Pink, 10g / 32m (about 35 yards)
- Color B – Yellow, 5g / 16m (about 17 yards)
- Small amount of black yarn or embroidery floss (for the eyes)
- Hook: 2.25 mm (size B)
- Stuffing: Polyfill
- Tapestry needle
- Stitch markers
- Pins
- Scissors
Finished size: approximately 2.5 inches (6 cm) tall.
Abbreviations
A – Soft Pink | B – Yellow | MR – Magic Ring | Ch – Chain | Sc – Single Crochet | Hdc – Half Double Crochet | Dc – Double Crochet | Sl St – Slip Stitch | Inc – Increase (2 sc in one stitch) | Dec – Decrease (2 sc together) | 2dc Cluster – two double crochets sharing one top | Rnd – Round | St/Sts – Stitch/Stitches | ( ) x – repeat the bracketed instructions the stated number of times | [ ] – total stitch count at end of round
Instructions
Body (Color A)
- Round 1: 6 sc in magic ring [6]
- Round 2: (Inc) x 6 [12]
- Round 3: (Sc, inc) x 6 [18]
- Round 4: (2 sc, inc) x 6 [24]
- Round 5: (3 sc, inc) x 6 [30]
- Round 6: Sc around [30]
- Round 7: (4 sc, inc) x 6 [36]
- Round 8: Sc around [36]
- Round 9: (5 sc, inc) x 6 [42]
- Rounds 10–14: Sc around [42] (5 rounds total) – embroider the eyes onto the body between rounds 5 and 10, spacing them 10 sc apart along round 5
- Round 15: (4 sc, dec) x 6, 6 sc [36]
- Round 16: (3 sc, dec) x 6, 6 sc [30]
- Round 17: (2 sc, dec) x 6, 6 sc [24] – add the first round of stuffing here
- Round 18: (Sc, dec) x 6, 6 sc [18]
- Round 19: (Dec) x 6, 6 sc [12]
- Rounds 20–24: Sc around [12] (5 rounds total)
- Round 25: (Inc, 5 sc) x 2 [14]
- Round 26: (Inc, 6 sc) x 2 [16]
- Round 27: (Inc, 7 sc) x 2 [18]
- Round 28: (Inc, 8 sc) x 2 [20]
- Round 29: 6 sc, stop the round here [6] – you’ve reached the side of the tail; add a second round of stuffing before closing
- Closing round: Flatten the tail and crochet through both layers: (sc, hdc, dc, hdc, sl st) x 2. Fasten off, cut the yarn, and weave in the end.
Wings (Make 2, Color A)
- Round 1: 6 sc in magic ring [6]
- Round 2: (Inc) x 6 [12]
- Round 3: (Sc, inc) x 2, sc, sl st, ch 3, sl st in first ch of the chain, (sl st, ch 5, sl st in first ch of the chain) x 2, sl st, ch 3, sl st in first ch of the chain, sl st, sc, inc [15]
Fasten off, cut the yarn, and leave a long tail for sewing.
Legs (Make 2, Color B)
- Round 1: 6 sc in magic ring [6]
- Round 2: 2 inc, (sl st, ch 3, continuing in the 2nd ch from hook work 2 sl st) x 3 [15]
Fasten off, cut the yarn, and leave a long tail for sewing.
Beak (Color B)
- Round 1: In an adjustable magic ring: (ch 2, 2dc cluster, ch 2, sl st) x 2. Pull the tail to close the ring [6]
Fasten off, cut the yarn, and leave a long tail for sewing.
Assembly
- Sew the beak onto the starting point of the body (round 1).
- Sew the legs in a circle to the bottom of the body, between rounds 11 and 14, leaving the little toes unsewn.
- Sew the wings in a circle to the sides of the body, between rounds 11 and 16, leaving the feather tips unsewn.
- Take a piece of black yarn or embroidery floss and stitch the eyes onto the sides of the body, between rounds 5 and 10, spacing them about 10 sc apart along round 5.
Important Remarks
- The bird’s small overall size makes it unsuitable as a toy for children under three
- Any pastel or bright cotton yarn works well as a substitute for the colors listed
- Keep stuffing firm but not overpacked, since the tail and body rely on smooth, even shaping
- Weave in tail ends carefully, as the wings and legs both leave long working tails for sewing later
Conclusion
Real talk, a project this small still packs in plenty of technique, from the flattened tail closure to the slip-stitch toes on each leg. Once the wings, legs, and beak are sewn on, the little pink bird makes a charming shelf piece, nursery accent, or handmade gift for anyone who loves collectible amigurumi animals.