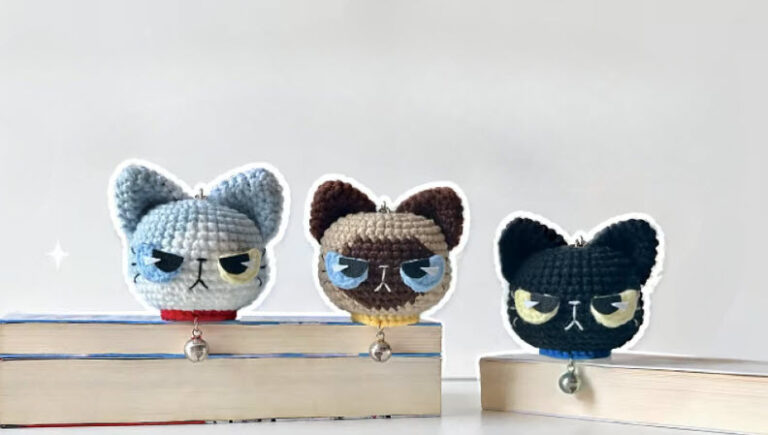
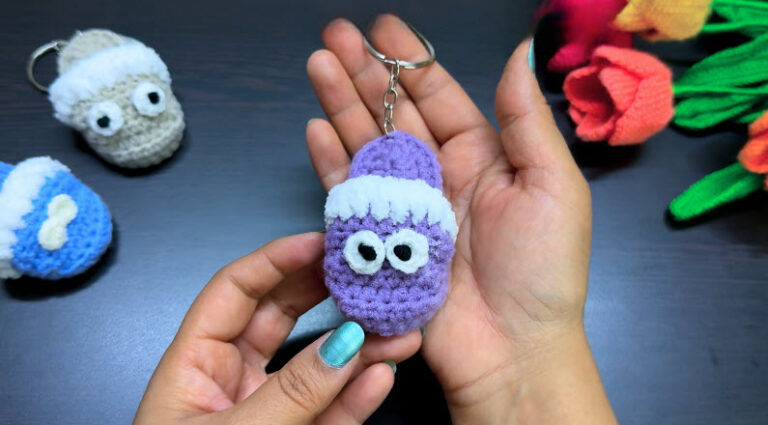
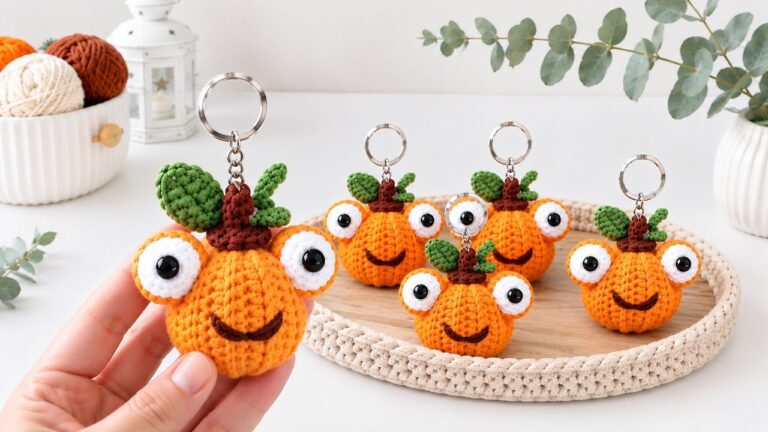
Crochet Small Pouch Keychain Coin Purse Pattern for Beginners
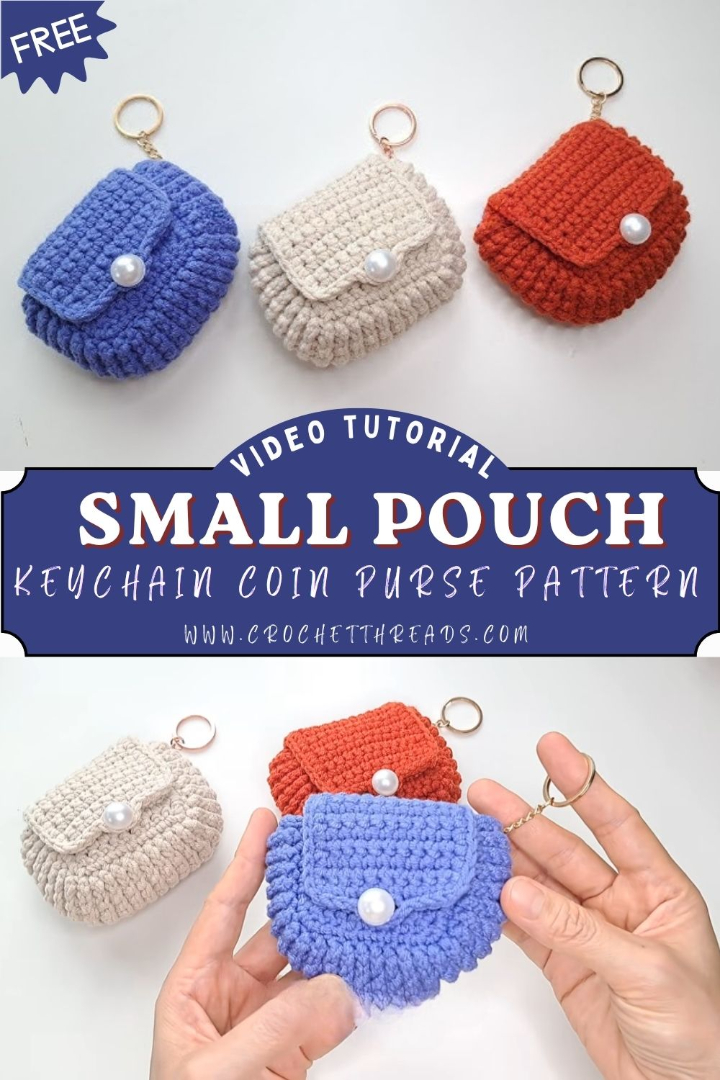
A crochet coin purse keychain makes for a compact, beginner-friendly project that comes together in just a few short sessions. You’ll work up a small pouch using simple single crochet stitches, then attach it to a keychain ring so it can double as a lovely, practical accessory for your bag or keys.
This project works especially well for holding keys, coins, and other small essentials, and it also makes a lovely handmade gift. Beyond teaching basic crochet techniques, it hands you something charming and genuinely useful right away.
Skill Level
Beginner. This pattern uses only single crochet, along with basic increase and decrease stitches, so it’s perfect if you’re still building confidence. There’s no complicated shaping and no tricky finishing work, just simple, repeatable rounds that come together quickly.
Materials and Supplies List
Gathering your supplies ahead of time makes the whole process smoother. Here’s what you’ll need:
- Yarn colors: worsted weight (medium #4) cotton or acrylic yarn in your main pouch color, plus a small amount of a contrast color for accents if you’d like a two-tone look
- Crochet hook size: 3.0mm–3.5mm hook (size matters for a tight, coin-safe fabric)
- Safety eyes: optional 6mm safety eyes if you’re adding a face or character detail to your pouch
- Stuffing: a small amount of polyester fiberfill, only needed if you’re adding a shaped accent piece (the pouch body itself stays unstuffed so it can hold coins)
- Needle and scissors: a yarn/tapestry needle for weaving ends and sewing, plus sharp scissors
- Keychain ring or accessories: a metal keyring or lobster clasp, plus an optional button, bead, or small charm for decoration
Crochet Techniques Used
This pattern relies on a handful of core amigurumi-style techniques, so it’s a great practice project if you’re newer to the craft:
- Magic ring – to start your pouch base without a hole in the center
- Single crochet (sc) – the main stitch used throughout the pouch
- Increase and decrease – to shape the rounded base and taper the top opening
- Sewing parts together – to attach the flap, loop, and any small accessories
Step-by-Step Crochet Pattern Instructions
Base Creation (Starting the Pouch)
Begin with a magic ring and work 6 single crochet stitches into it, then pull the ring closed. From here, increase evenly around each round until your circle reaches the width you want for the bottom of your pouch — usually 3 to 4 rounds is enough for a small keychain-sized purse.
Body Making
Once your base circle is the right size, stop increasing and work even rounds of single crochet straight up without adding stitches. This forms the sides of the pouch. Keep going until the body reaches your desired height, usually around 6 to 8 rounds for a mini coin purse.
Flap or Closure Detail
For a simple flap-style closure, work a half-circle shape by single crocheting back and forth across roughly half of the top opening stitches, decreasing slightly toward the outer edge so the flap tapers into a soft curve. Sew a button opposite the flap if you’d like a working closure.
Facial Details or Decorative Accents
If you’re turning your pouch into a little character or adding decorative charm, this is where safety eyes, small embroidered details, or a tiny appliqué shape get attached. Keep details simple and centered for the cleanest look.
Assembly Process
Weave in all loose ends first, then attach the flap to the back edge of the pouch opening using your yarn needle. Sew any accessories, buttons, or charms in place next, checking that everything sits evenly before securing tightly.
Finishing Touches
Attach your keychain ring or clasp to the top edge of the pouch using a short chain or a few sturdy stitches. Give the whole piece a gentle steam or light block if your yarn allows it, so the stitches sit flat and neat.
Helpful Beginner Tips
A few small habits make a huge difference in how your finished pouch looks and holds up:
- Keep your stitches tight. Amigurumi-style crochet should be dense and firm, especially for a coin purse. Loose stitches let coins peek through.
- Use stitch markers. Since this pattern works in a continuous spiral, a stitch marker on your first stitch of each round keeps you from losing track.
- Mind your tension consistently. Try to keep the same tension throughout so your rounds stay even and your pouch doesn’t flare or pucker.
- Count as you go. Checking your stitch count at the end of every round catches mistakes early, before they’re harder to fix.
Design Customization Ideas
Once you’ve made one, you’ll probably want to make five more. Here are a few fun ways to switch it up:
- Different colors. Try pastel shades for a soft look, or bold contrast colors for something eye-catching.
- Cute accessories. Add tiny bows, flower appliqués, tassels, or beaded charms to personalize each pouch.
- Mini size variations. Scale the pattern down for an even tinier charm-style pouch, or size it up slightly for a small wallet that fits a few cards.
Frequently Asked Questions
What is the best yarn for amigurumi-style projects like this?
Cotton yarn is a popular choice because it creates a firm, structured fabric with clean stitch definition, which is ideal for small shaped pieces. Acrylic worsted weight yarn also works well and tends to be more budget-friendly, especially for practice pouches.
How do I make my crochet plush or pouch firm instead of floppy?
Using a hook size slightly smaller than what’s recommended for your yarn weight is the biggest trick, since it tightens up your stitches and closes any small gaps. Consistent tension and firm single crochet stitches throughout also help keep the fabric sturdy.
How long does this Crochet Small Pouch Keychain project take to finish?
Most beginners can finish a small coin purse keychain in one to two relaxed sessions, roughly two to three hours total. Once you’re familiar with the pattern, later pouches often go even faster.
Wrapping Up
This little Crochet Small Pouch Keychain is proof that small projects can bring great satisfaction. It’s quick, practical, and endlessly customizable, making it a wonderful pick whether you’re crocheting for yourself, a friend, or a handmade gift table. Grab your hook, pick a color you love, and give this easy crochet pattern a try today. Once you finish your first one, you’ll want to make a whole matching set.