Crochet Lace Milkmaid Top Pattern with Scalloped Lace Edges
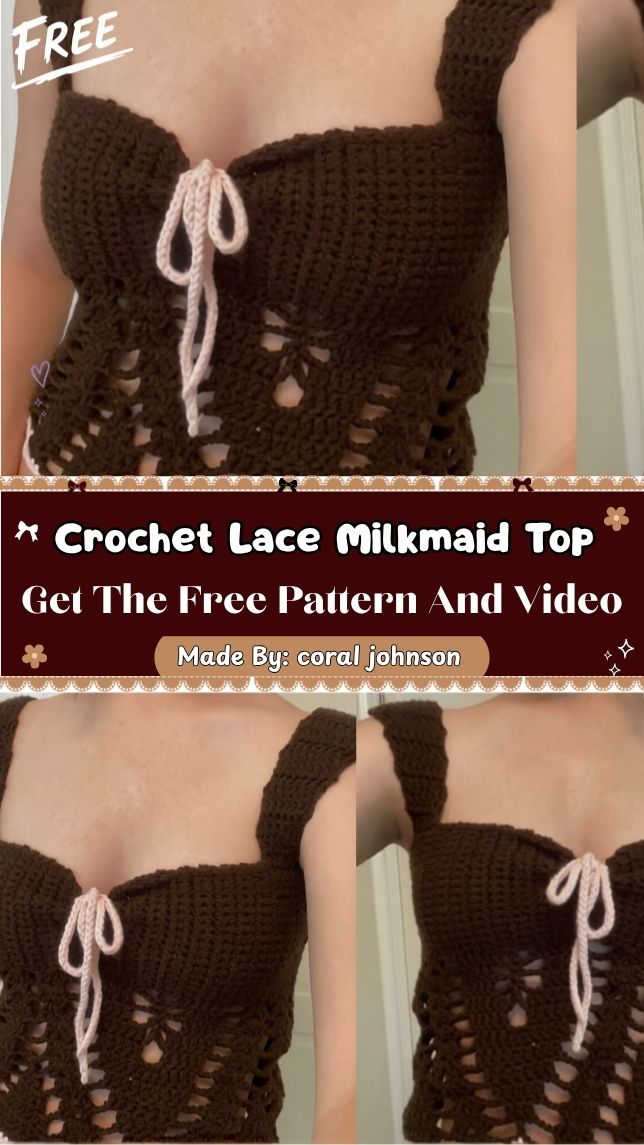
Feminine, corset-style tops rarely feel this achievable at home, but this Crochet Lace Milkmaid Top Pattern with Scalloped Lace Edges proves otherwise. Built from a soft shell stitch, it forms delicate scalloped edges while keeping the overall shape simple to follow. Anyone drawn to romantic, cottagecore-style pieces will want this one in their queue.
This crochet milkmaid top stands out because of its lace-up bow detail, which turns a basic band into a fitted, corset-inspired silhouette. What makes this particular pattern special is how the scalloped lace edging adds texture along the top and bottom without requiring separate trim pieces.
The ribbed body construction also keeps the fit snug and flattering.
Pattern Overview
- A fitted, corset-style top built from a ribbed panel
- Scalloped lace edging along the top and bottom borders
- Lace-up bow front for adjustable fit
- Lightweight construction suited to warm weather
Materials Needed
- Worsted weight yarn in your main color
- Contrast color yarn for the lace-up tie
- A crochet hook sized to match your yarn weight
- Tapestry needle for weaving in ends
- Sharp scissors
- Measuring tape
Special Techniques
- Slip knot foundation – sets the starting tension for the piece
- Foundation chain – establishes the base length for the panel
- Shell or scallop stitch – creates the decorative lace edge detail
- Ribbed row construction – builds the fitted, textured body
- Lace-up tie finishing – adds the adjustable bow closure
Time Box
- Prep Time: 10 minutes for yarn prep and hook selection
- Stitching Time: 3–4 hours for the main panel and lace edging
- Finishing Time: 20–30 minutes for the tie and weaving in ends
Common Mistakes to Avoid
- Starting the foundation chain too tight, limiting stretch across the bust
- Losing count within the scallop repeat, causing uneven edging
- Skipping a fit check before finishing the lace edges
- Pulling the tie too tight, distorting the front opening shape
Uses and Benefits
A handmade milkmaid top works beautifully as a standalone summer piece, a layering top under overalls, or a beach cover-up paired with high-waisted bottoms. Because the ribbed construction stays fitted, it flatters a range of body shapes without needing complex shaping. Making this piece also builds confidence with scallop stitch patterns, a skill that transfers well into other lace-edged garments.
Helpful Beginner Tips
- Count your scallop repeats at the end of every row.
- Try the piece against your body periodically to check fit.
- Keep your ribbed rows snug but not overly tight for the best stretch.
- Use a stitch marker to track your row starts on longer sections.
Instructions
Step 1: Starting Your Foundation Loop
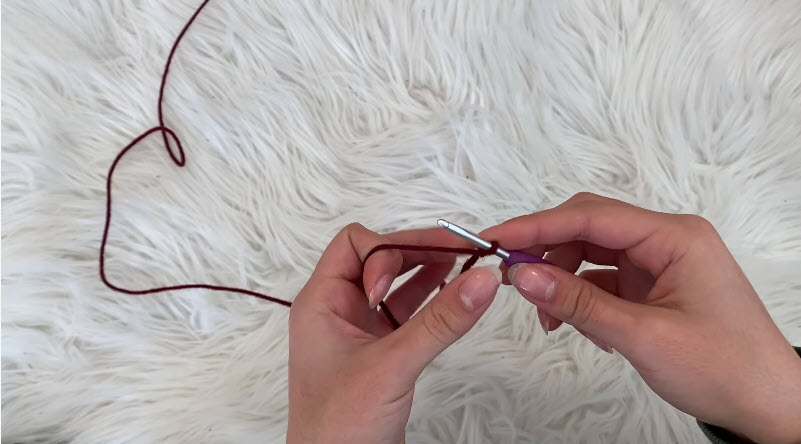
Place a slip knot on your hook and hold it with a relaxed grip. This starting loop sets the tension for your entire piece, so keep it snug without pulling too tight.
Step 2: Building the Foundation Chain
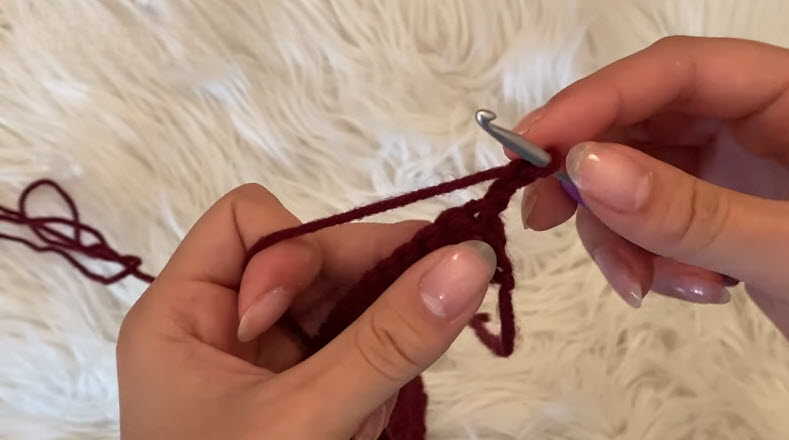
Work a foundation chain long enough to match your desired top width, keeping your tension even throughout. This chain becomes the base for the ribbed rows that follow.
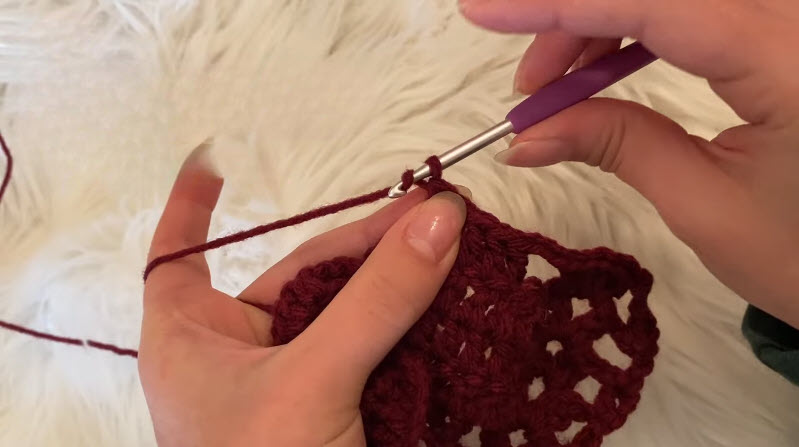
Step 3: Working the Scalloped Lace Edge
Continue into your shell or scallop stitch pattern, keeping your repeats consistent so the lace edging lines up evenly along the border. This stage builds the decorative detail that defines the design.
Step 4: Completing the Top and Adding the Tie
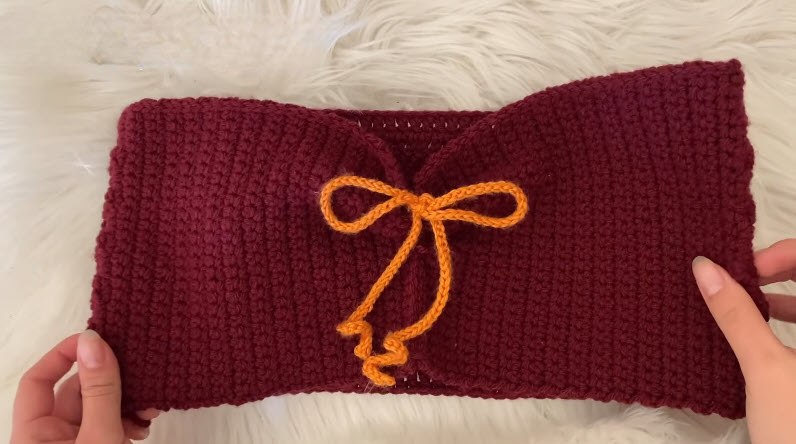
Once your panel reaches full length, fasten off and attach your contrast color tie through the front opening, finishing with a neat bow. Lay the piece flat to check that the scalloped edges sit evenly on both sides.
Tips and Tricks for Success
- Block the finished piece lightly to help the scallop edges lie flat.
- Use a smooth yarn for the cleanest stitch definition along the lace border.
- Try the top on before fastening off to confirm length and fit.
- Weave in ends gradually rather than saving them all for the end.
Why This Pattern Is Trending
Corset-inspired crochet tops have grown popular among makers who want romantic, vintage-style pieces with a modern handmade twist. This scalloped lace design fits that demand well, combining a fitted silhouette with delicate edge detailing.
- The lace-up tie adds a customizable, adjustable fit.
- The scalloped edging gives a polished, boutique-style finish.
- It photographs beautifully for both everyday wear and styled shoots.
Choosing the Right Ribbon or Tie for the Bow
A contrast-color crocheted tie keeps the whole piece cohesive, but a satin ribbon can add extra shine for a dressier look. Avoid very thick cording, since it can overwhelm the delicate scalloped edges and make the front opening harder to cinch neatly.
Conclusion
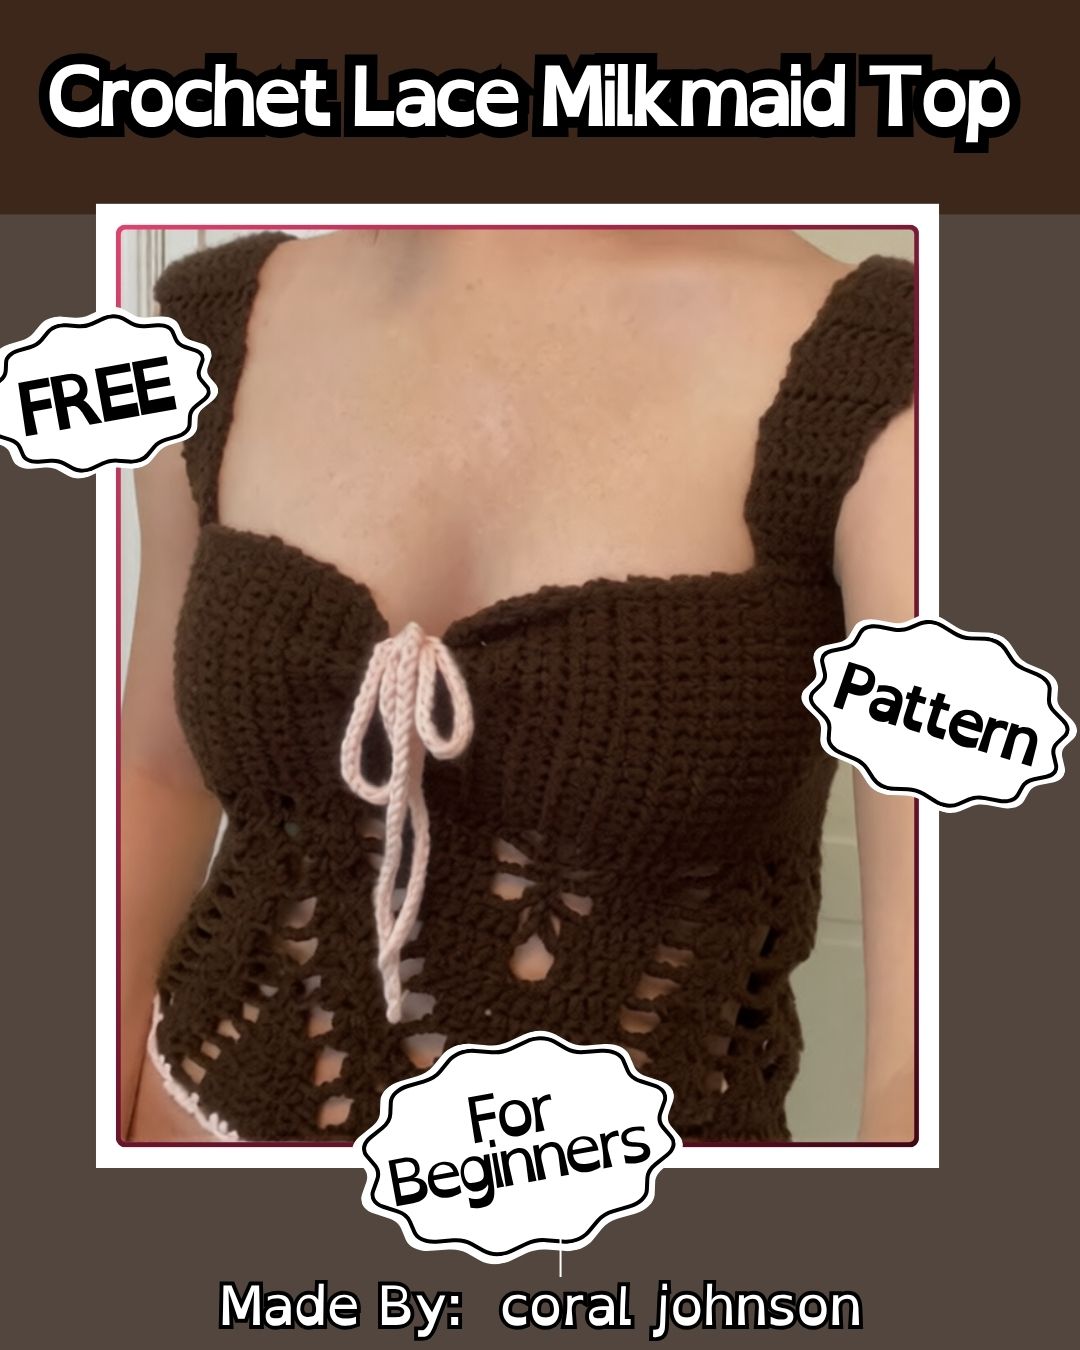
The Crochet Lace Milkmaid Top Pattern brings together a fitted ribbed body and delicate scalloped edging to create a piece worth wearing all season. Every step, from the first chain to the final bow, builds skills useful for future lace-edged projects. Take your time through the scallop repeats, since even spacing makes the biggest difference in the finished look. Once complete, this top is ready for warm-weather wear or gifting.