Popping Crochet Mushroom Cow Amigurumi Pattern with fidget head
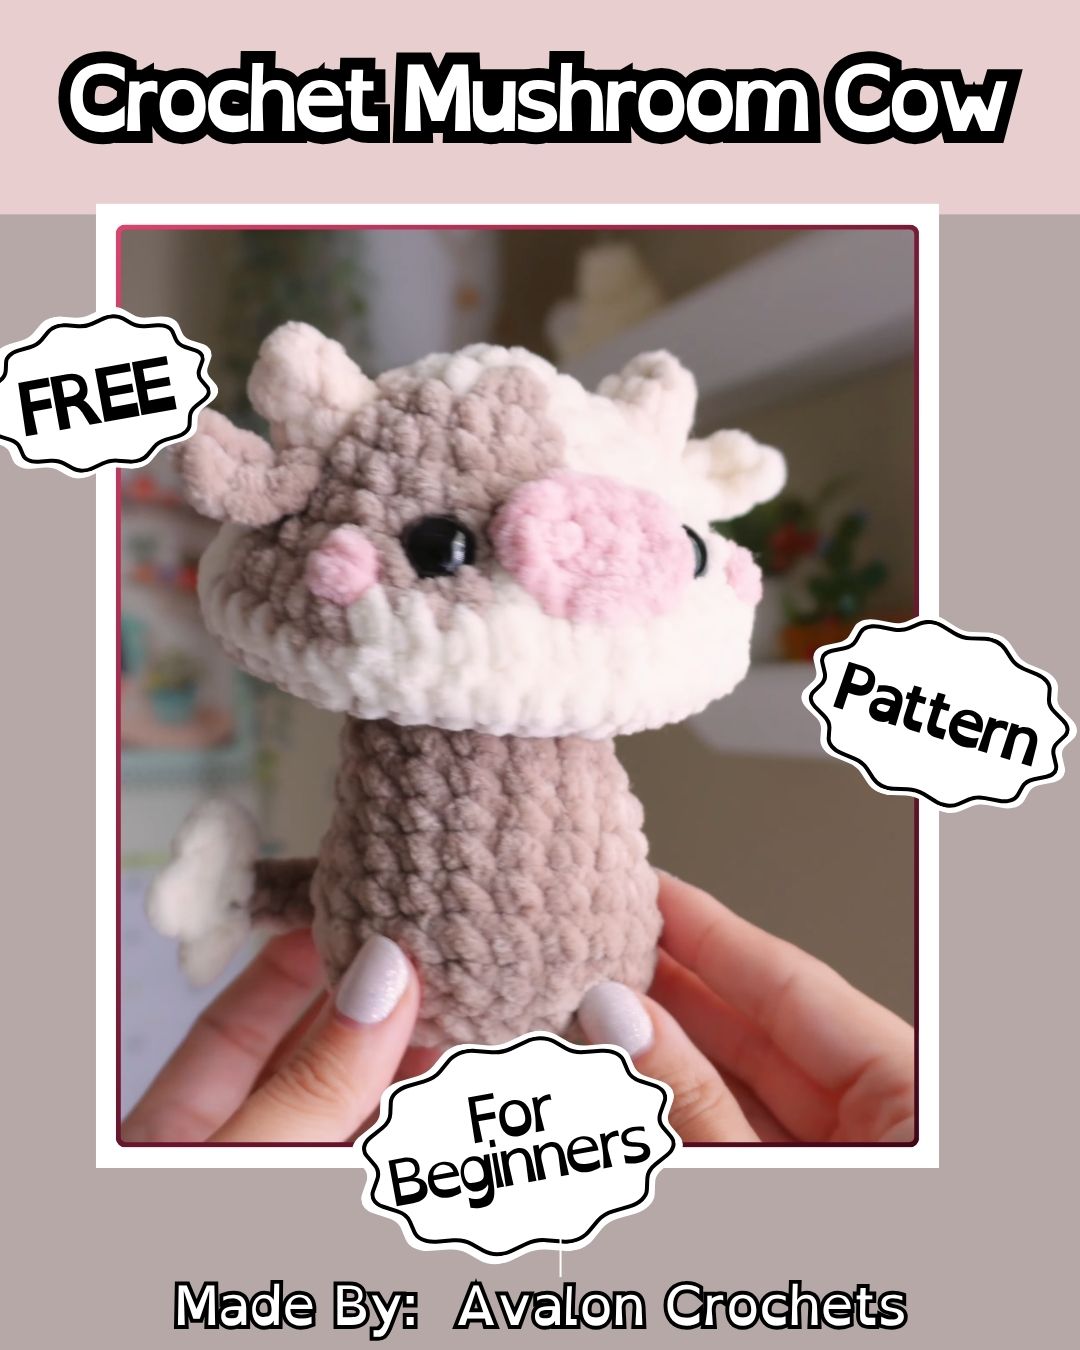
Cream velvet, taupe cow spots, and a pink snout decorate the head that pops under your thumb in the Popping Crochet Mushroom Cow Amigurumi Pattern with Fidget Head, a quiet plush fidget toy for busy hands.
Underneath the spotted face sits a double-layered cap that turns inside out and pops back, giving quiet fidget relief at a desk or in class. The Crochet Mushroom Cow Amigurumi guide below covers starting in cream chenille yarn, switching to taupe, shaping the popping head, placing the snout, and testing the amigurumi fidget toy before closing.

Pattern Overview
The cow is built in two main parts: a taupe stem-style body and a mushroom-shaped head. The head works like a pop toy. When you press it, it flips inside out, and it snaps back when you pull it. Cow spots come from color changes inside the rounds rather than appliqué patches. The ears, snout, and cheeks are small separate pieces.
You should already be comfortable with working in the round, changing colors, and reading your stitch marker.
Materials
- Velvet or chenille plush yarn in cream, taupe, light beige (inner ears), and soft pink (snout and cheeks)
- A crochet hook matched to your yarn label (an ergonomic handle helps with slick velvet)
- Black safety eyes, or black yarn for embroidered eyes
- Fiberfill stuffing
- Locking stitch marker
- Tapestry needle
- Sharp scissors
Yarn and Hook Notes
Velvet yarn looks smooth, but it hides stitches and shows every loose loop. Use a hook size smaller than the label suggests so the fabric stays firm. A firm head pops cleanly. A loose one folds and sags.
Firm tension matters more here than on a regular plushie because the pop depends on fabric stiffness.
Abbreviations (US Terms)
- MR – magic ring
- sc – single crochet
- inc – two sc in one stitch
- dec – invisible decrease
- sl st – slip stitch
- BLO/FLO – back loop only / front loop only
Time Box
- Prep: about 10 minutes to wind yarn and lay out eyes and tools
- Stitching: roughly 2–3 hours for the head, body, ears, and snout
- Finishing: about 30–45 minutes for placing features, sewing, and testing the pop
Your pace with velvet yarn will vary, so treat these times as estimates.
Before You Start
Keep the stitch marker in the first stitch of every round and move it up each time. Velvet stitches are hard to count after the fact, so the marker is your main reference point. Leave long tails at every color change. You’ll weave them in later, away from the popping zone.
Step-by-Step Construction
1. Start the Head in Cream
[Step Image 1]
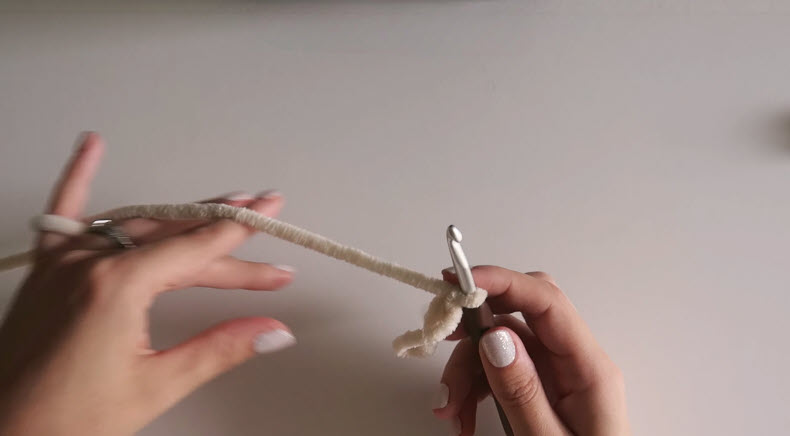
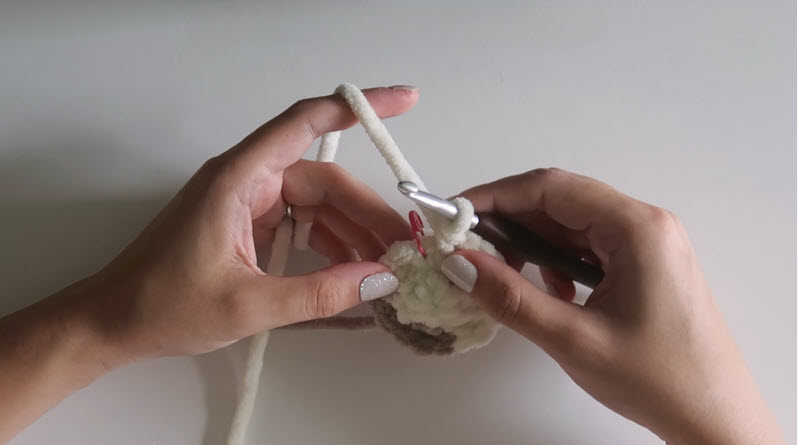
Make a slip knot or magic ring with cream yarn. Leave a tail of several inches. Wrap the working yarn over your index finger as shown so the thick velvet feeds evenly. Keep your first loops snug, because gaps at the center are hard to close later in chenille.
Pro-Tip: If your magic ring won’t cinch tightly, pull the tail slowly while pinching the center. Velvet can snap under a sudden hard tug.
2. Build the First Rounds and Track Your Start
Work the opening rounds in cream. Keep the red marker in the first stitch of each round. You can already see the first taupe section sitting below the cream stitches, which is where the cow markings begin to form.
Count now: Before each new round, count your stitches. A flat increasing circle should grow by the same number of stitches every round.
3. Switch to Taupe for the Cow Spots
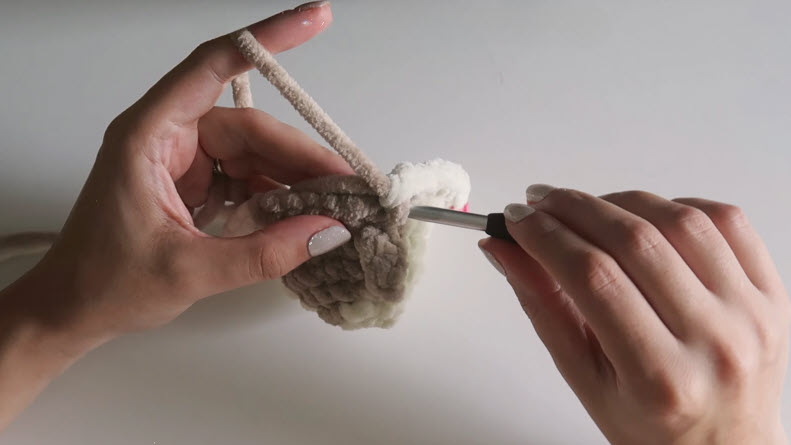
Here, taupe takes over and is worked directly into the cream stitches. To change colors, complete the last yarn-over of the previous stitch with the new color. Keep the unused strand at the back of the work. Hold the fabric firmly in your non-dominant hand, as shown, so the taupe stitches sit in line with the cream stitches.
A clean color change keeps the spots looking painted on instead of stepped.
4. Shape and Test the Popping Head
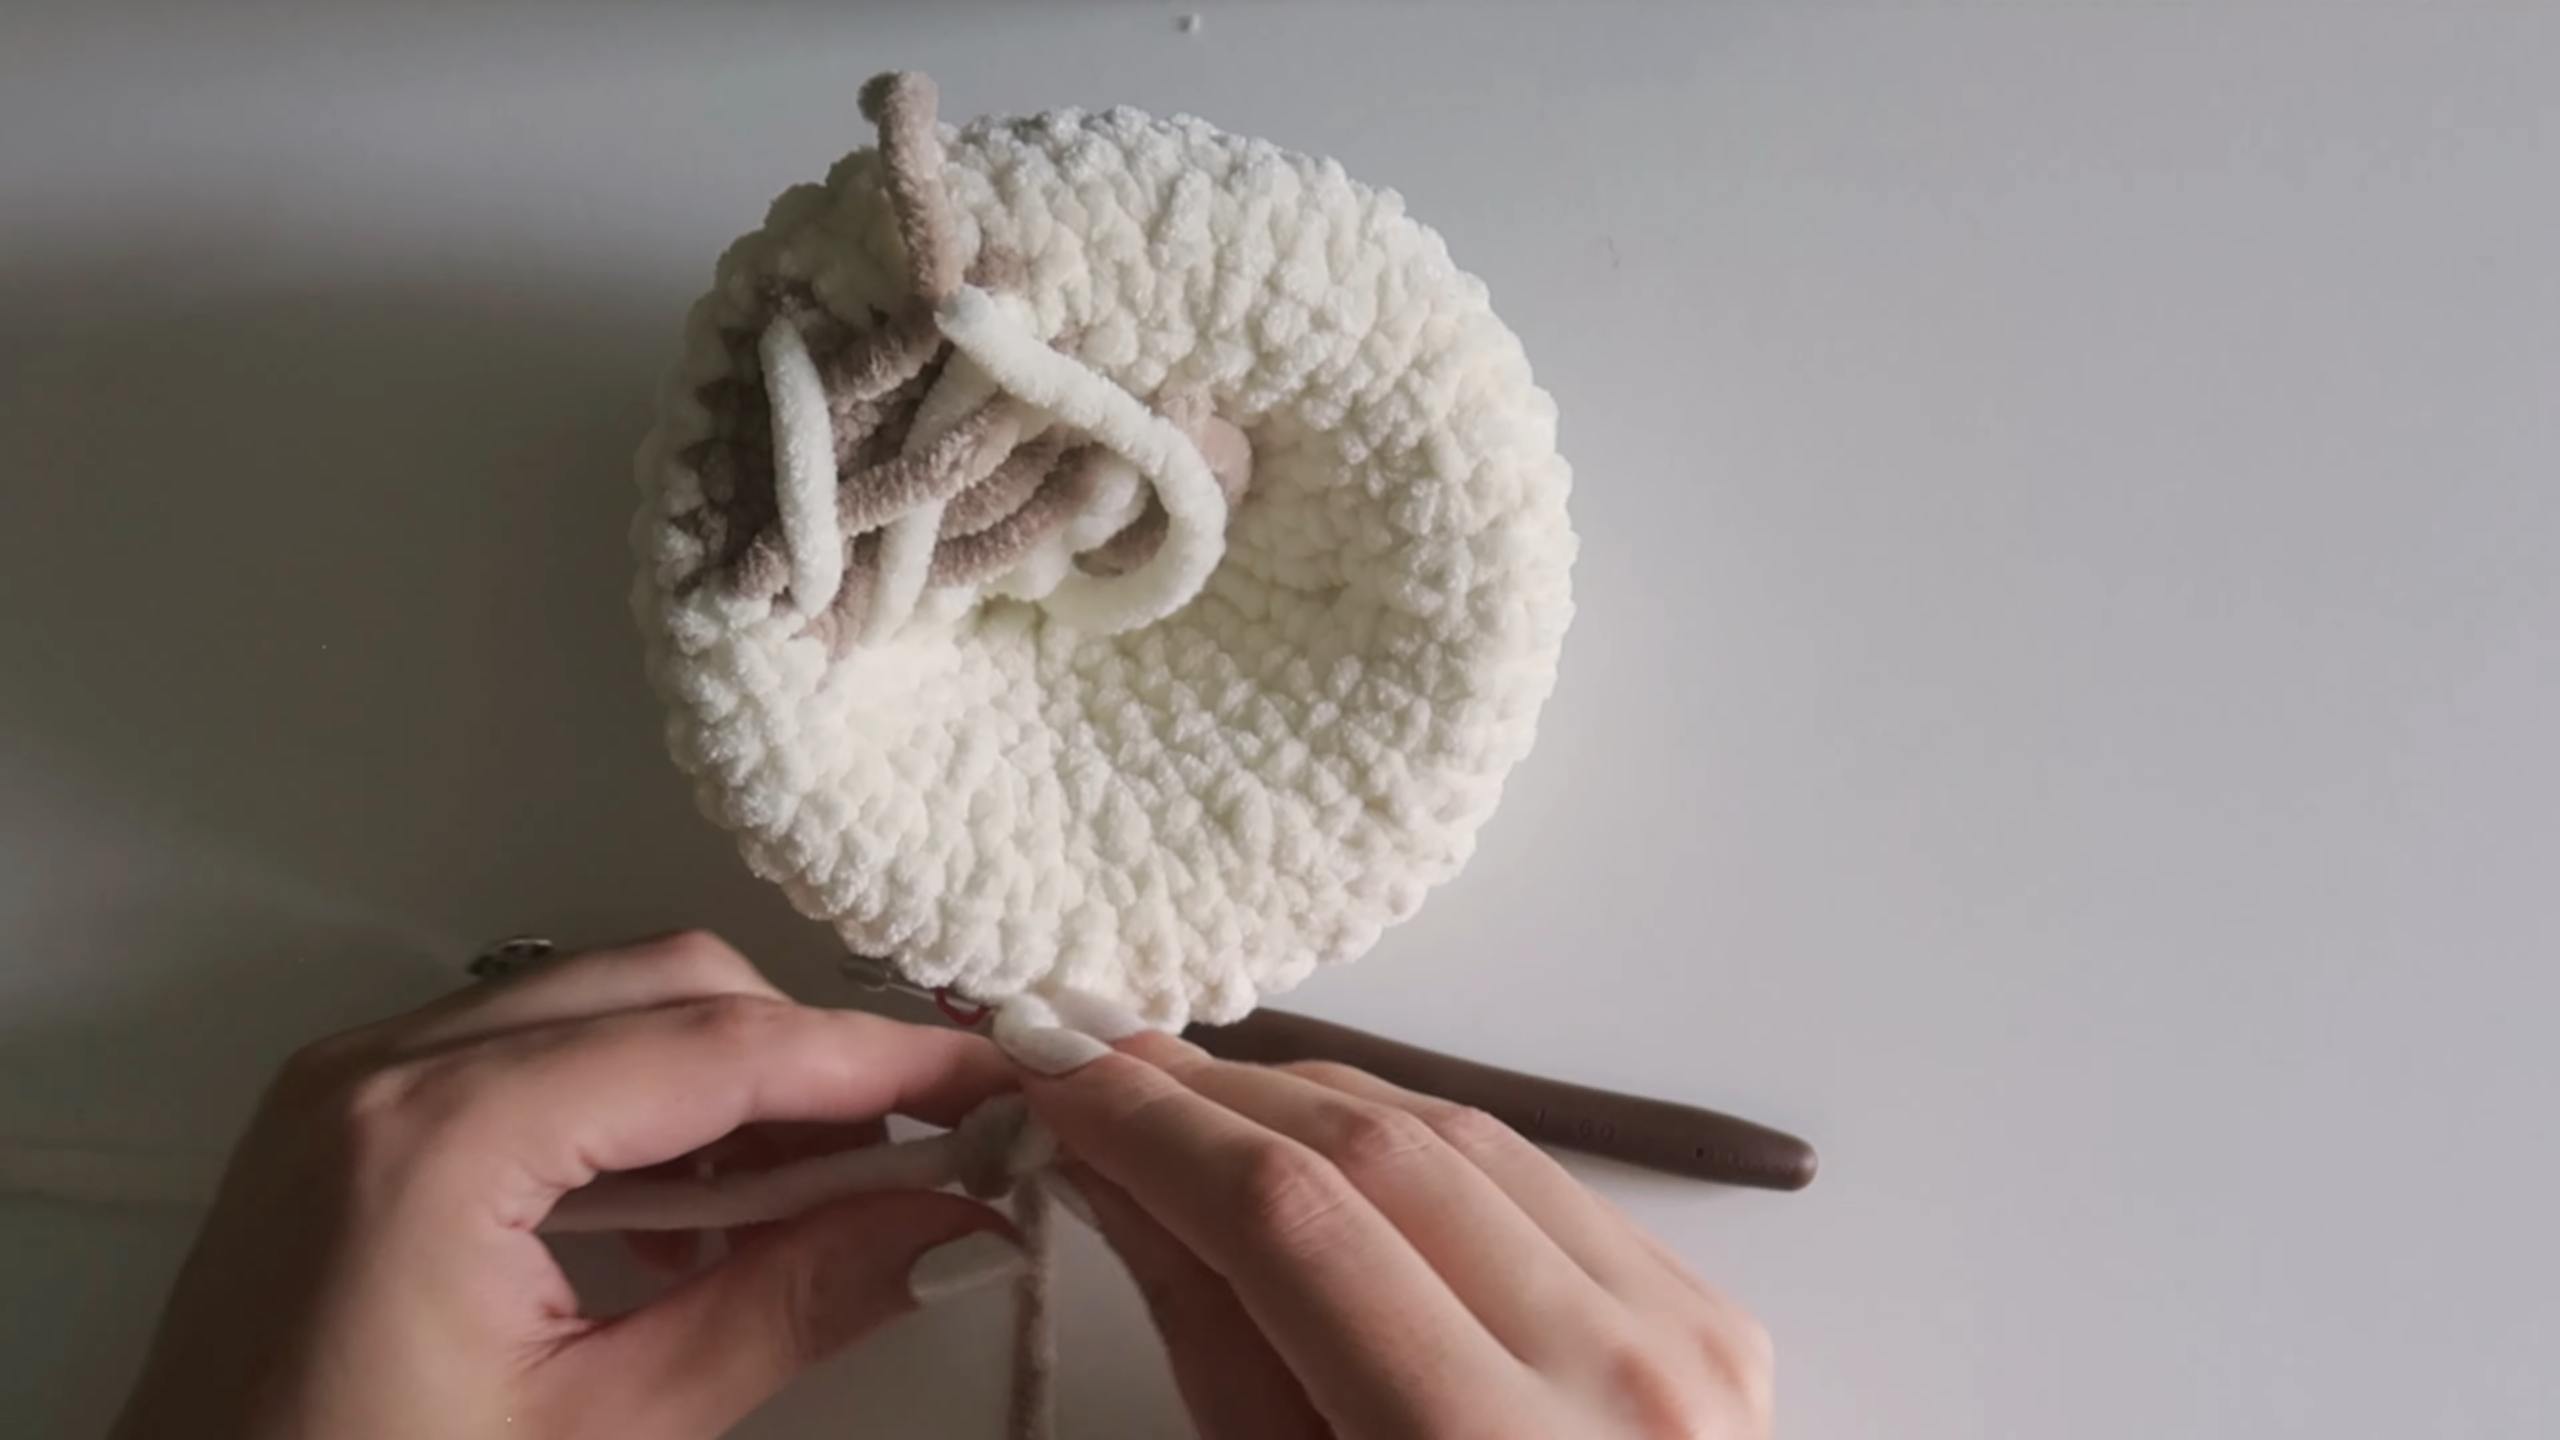
Flip the head so the cream inside faces up, like a bowl. Here is where the fidget action shows up: the layers should turn inside out smoothly without buckling. Gather the loose tails to one side, as shown, and weave them in along the edge rather than across the center.
Flip test: Press the center a few times before you continue. If it resists or dents unevenly, bunched tails or a loose round are usually the cause.
Pro-Tip: Never stuff the popping layer. The flip only works when the head is fabric, not filling.
5. Place the Eyes and Pink Snout
Insert the safety eyes on the cream face before closing any part that blocks the back of the washers. Next, set the pink snout just below and between the eyes. Pin it with a needle, as shown, before sewing. Place the ears along the top edge and check them from the front before attaching.
Symmetry check: Step back and look at the face straight on. Adjust the pins until both eyes sit evenly on either side of the snout.
For a smooth whipstitch on plush yarn, see our guide.

6. Join the Head to the Body and Test the Pop
Stuff the taupe body firmly so it holds the head upright. Attach the head so the cream underside and taupe top line up with the body seam. Add the pink cheeks. Then press the head with your palm, as shown, and let it spring back. A crisp return means your layers are balanced.
Test before weaving your final tail, since a small adjustment is still easy at that stage.

Common Mistakes
- Stuffing the head: The pop disappears. Only the body gets fiberfill.
- Loose velvet tension: The head flops rather than flips.
- Tails bunched in the center: They create a lump that blocks the inversion.
- Losing the round start: Velvet hides stitches, so keep the marker in place every round.
- Sewing features before pinning: You end up with a lopsided snout.
Troubleshooting
Head won’t stay popped: Your layers may be too loose. Rework the head with a smaller hook.
Visible color jogs: Change color one stitch early, or add a slip stitch at the join to smooth the step.
Safety eye washer won’t fit: Insert the eyes before the head is fully closed.
Personalization Ideas
Highland Cow Look
Add brushed fringe along the top of the head with cream or rust yarn.
Strawberry Cow
Swap the taupe spots for soft pink and add a light pink snout.
Keychain Size
Use fine cotton and a small hook for a pocket-size popper. Our [internal link: amigurumi keychain patterns] roundup has other small makes to pair with it.
Flower Crown
Stitch a small daisy near one ear.
Care Instructions
Spot clean with mild soap and cool water. If you must machine wash, place the toy in a mesh bag on a gentle cycle and air dry it flat. Chenille can shed or “worm” (loops pulling out) under heat, so skip the dryer.
FAQs
Can I make it safe for toddlers?
Embroider the eyes with black yarn instead of using safety eyes, and sew every piece down securely.
Why does my head pop only halfway?
Usually the tension is uneven or there are thick tails at the center. Flip-test after shaping.
Can I use regular worsted yarn?
Yes. The toy will come out smaller and the fabric firmer, which often gives a snappier pop.
Is the body stuffed?
Yes. Stuff the body firmly, but leave the popping head unstuffed.
One Last Squeeze
Before gifting it, press and release the head a dozen times. If it snaps back every time and the snout still sits centered, your spotted cow is ready.