Adorable Crochet Sugar Glider Pattern – Soft Toy for Kids
Crochet Sugar Glider Pattern calm creativity; rhythmic stitches reveal ears, curling tails, and smiles. A Sugar Glider pattern turns yarn into a huggable friend. Inspiration: amigurumi toy, stuffed animal, beginner-friendly crochet, handmade gift.

Because the shapes are bite-sized and forgiving, these patterns welcome beginners; yet, thoughtful colorwork and neat assembly still excite experienced makers. Additionally, you can practice increases, decreases, and finishing techniques at a relaxed pace. As a result, your sugar glider becomes a delightful keepsake. Consequently, this Crochet Sugar Glider Pattern offers both calm crafting and cheerful play.
Crochet sugar gliders add instant charm to shelves, nurseries, and playrooms. They make heartfelt gifts for kids, friends, teachers, and anyone who appreciates handmade art. Furthermore, they’re wonderfully beginner-friendly, since components work up quickly and assemble step by step. Ultimately, finishing a free crochet pattern like this builds skills, joy, and personal satisfaction in every stitch with the Crochet Sugar Glider Pattern.
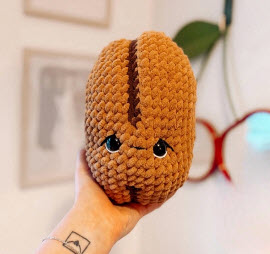
Luxurious Crochet Sugar Glider Amigurumi Pattern Toy
Luxurious and adorable, this sugar glider amigurumi pattern shines; perfect for gifts, nursery decor, desk buddies, market displays, and photo props. Easy shaping, tidy finishes, and delightful details please crafters.
First, start with an adjustable ring for the head, working tight single crochet rounds. Then increase evenly, insert safety eyes, and stuff firmly. Next, shape the body, adding decreases for a tapered tummy. Afterwards, attach ears, patagium wings, arms, and tail. Finally, embroider markings and close invisibly for a neat, secure finish.

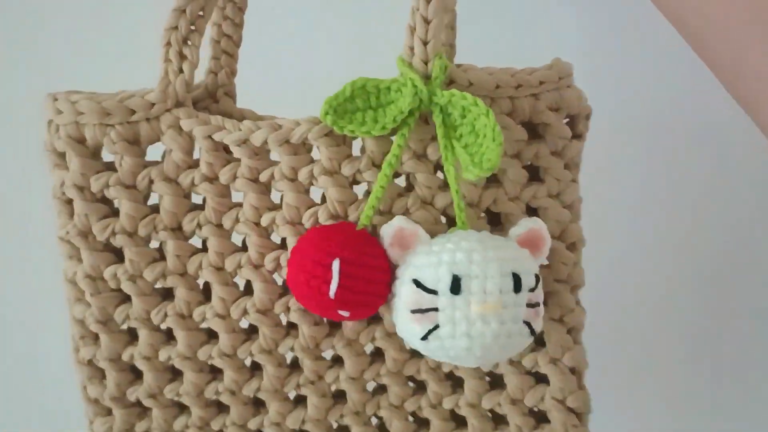
Impressive Crochet Cute Sugar Glider Amigurumi Pattern
Impressive and cute, this sugar glider pattern excels; ideal for birthday gifts, backpack charms, classroom rewards, craft-fair inventory, and shelf decor. Clear instructions, simple stitches, and secure assembly reward beginners.
Start the snout and head separately to keep features well placed. First, crochet two ear pieces each, then seam them together for structure. Afterwards, work a seamless body in continuous rounds. Next, add arm and leg tubes with light stuffing. Finally, sew wings along the sides and embroider sleepy whiskers today.

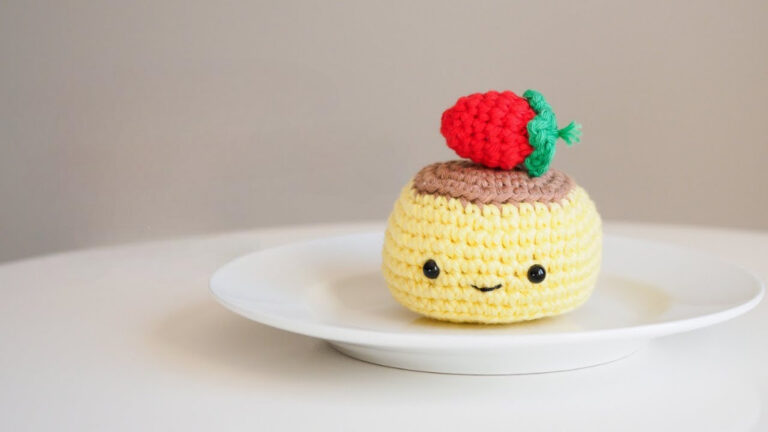
Fantastic Crochet Style Sugar Glider Hammock Pattern
Fantastic and cozy, this sugar glider hammock pattern impresses; perfect for cage comfort, travel carriers, and habitat upgrades. Sturdy stitches, secure straps, and a washable design keep companions comfy and safe.
Chain a sturdy base to fit the cage corner; then work dense single crochet rows. Next, reinforce edges with slip stitch borders. Afterwards, create two triangular side tabs for lift. Add metal rings or ties at corners. Finally, test the weight with books, wash gently, and hang securely for safety daily.

Conclusion
So, gather your yarn, choose cozy colors, and let these sugar glider ideas guide you stitch by soothing stitch. Because each project builds skill and delight, you’ll end up with snuggly toys and thoughtful gifts. Ultimately, a Crochet Sugar Glider Pattern delivers smiles, comfort, and handmade magic your loved ones will cherish.