Free Crochet Chubby Radish Daikon Amigurumi Pattern
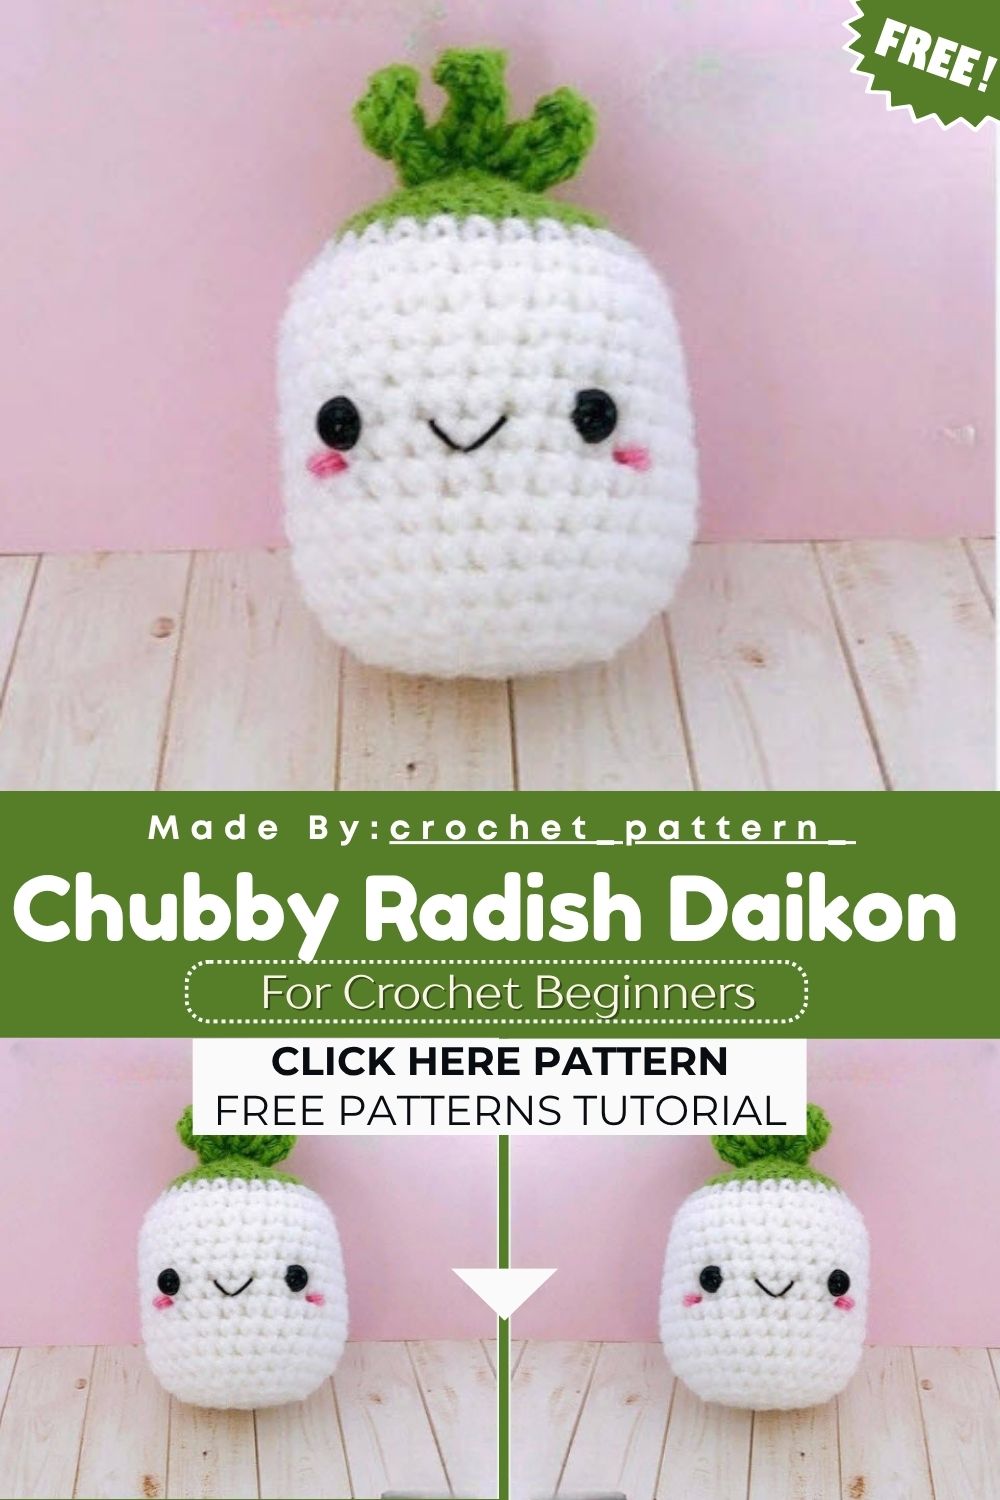
Cute food-themed amigurumi always grab everyone’s attention, and this little Crochet Chubby Radish Daikon is a perfect example. With its round, plump shape, tiny green leaves, and soft pastel colors, it wins hearts instantly. The simple design means it comes together quickly, and once you make one, you’ll want to complete an entire crochet vegetable collection.
This Crochet Chubby Radish Daikon amigurumi pattern is exactly the kind of project that turns beginner crocheters into amigurumi enthusiasts. The shaping is easy, the rounds are short, and your confidence grows with every stitch. Just grab some basic yarn and a hook, and before you know it, your adorable little daikon will be ready. It’s not only a great beginner amigurumi project but also a wonderful choice for a handmade gift, nursery decor, or a farmers-market-inspired photo prop. Free crochet patterns like this prove that simple amigurumi can be just as charming as more complex designs.
Skill Level
This Crochet Chubby Radish Daikon pattern suits confident beginners and intermediate crocheters. It uses basic single crochet, increases, decreases, and no complex stitches. The small leaves need patience, but it stays quick, beginner-friendly overall.
Pattern Overview
- The finished daikon radish stands as a rounded body worked bottom-up in continuous rounds, with no visible seam along the sides.
- Colour A (green) forms the top section, transitioning smoothly into Colour B (white) for the bulk of the main body.
- A separate three-piece leaf set is worked flat, giving the top of the radish extra volume and a realistic, leafy silhouette.
- 8mm safety eyes paired with embroidered details give the face a soft, friendly expression that suits both shelf display and play use.
- The whole make comes together from just two components the body and the leaves which keeps assembly quick and approachable.
- Finished size will vary slightly depending on tension and yarn weight, so gauge isn’t critical for this particular design.
- The rounded shape mimics a real daikon radish closely enough that it reads instantly recognisable, even without extra shading or texture.
- No wire or armature is needed anywhere in this pattern, so the finished radish stays soft and squeezable throughout.
- The design works equally well as a single statement piece or as part of a larger crochet vegetable basket set.
Special Techniques
- Colour switching mid-round: the pattern moves from green to white without fastening off, keeping the transition smooth and seamless rather than bulky.
- Magic ring start: the body begins with a magic ring for a tight, gap-free centre, which matters since this point stays fully visible.
- Flat leaf construction: each leaf uses a simple chain-and-half-double-crochet combination worked flat, not in the round, so it stays quick to repeat.
- Layered stuffing: stuffing is added gradually across rounds rather than all at once, which helps the radish hold its rounded shape evenly instead of bulging.
- Invisible fasten-off: closing the final round neatly at the base keeps the bottom of the radish flat enough to stand upright on its own.
- Consistent tension through colour changes: keeping stitches even as you switch yarn colours prevents any visible pulling or puckering along the transition line.
Materials
Before you start, gather everything on this list so you’re not pausing mid-round to search for supplies. To make this daikon radish amigurumi, you will need:
- Worsted weight yarn – Colour A (green)
- Worsted weight yarn – Colour B (white)
- 8mm safety eyes
- 3.5mm crochet hook
- Stuffing
- Yarn needle
- Scissors
- Stitch marker
- Black embroidery thread
Abbreviations
Keep this list handy as you work through the rounds below, especially if you’re taking breaks between sessions.
sc – Single Crochet
inc – Increase
dec – Decrease
hdc – Half Double Crochet
st – Stitch
ch – Chain
Instructions
BODY – GREEN
- R1 – sc 6 in a magic ring (6)
- R2 – inc x 6 (12)
- R3 – (sc, inc) x 6 (18)
- R4 – (sc 2, inc) x 6 (24)
- R5 – (sc 3, inc) x 6 (30)
SWITCH TO WHITE
- R6 to R17 – sc all around (30)
- R18 – (sc 3, dec) x 6 (24)
- R19 – (sc 2, dec) x 6 (18). Add eyes under R11. Add stuffing.
- R20 – (sc, dec) x 6 (12). Add more stuffing as needed.
- R21 – dec x 6 (6). Finish off, close hole.
LEAVES – GREEN (make 3)
- R1 – ch 5, hdc in second ch from hook, hdc in next st, sc in next 2 sts. Total of 4 sts – 2 hdc and 2 sc.
- R2 to R3 – Repeat R1. Leave a long tail for sewing.
For real, the leaf rounds go by fast once you get the hdc-and-sc rhythm down, so it’s worth making all three leaves in one sitting before moving on to assembly.
Common Mistakes
- Forgetting to place the eyes before closing up the body, which makes them nearly impossible to add later without unpicking stitches.
- Switching from green to white a round too early or too late, leaving an uneven, jagged colour line instead of a clean transition.
- Under-stuffing the lower rounds, which causes the radish to look flat and saggy instead of firm and rounded.
- Making the leaves too loose, so the hdc and sc stitches don’t sit neatly next to each other and the shape looks uneven.
- Skipping the stitch marker, which makes it easy to lose track of the round count on longer sections like R6 to R17.
- Pulling the yarn too tight during colour changes, which distorts the stitches right at the switch point and creates a visible bump.
- Rushing the final decrease rounds without keeping stitch count accurate, which leaves an oddly shaped or off-centre closing hole at the base.
Assembly
- Weave in the loose ends on the body once stuffing and shaping are complete, checking that the base sits flat.
- Position all three leaves evenly across the top of the green section before sewing, spacing them so none overlap awkwardly.
- Sew each leaf in place using the long tail left after crocheting, tucking the starting tail underneath for a clean finish.
- Add pink yarn or blush shading to the cheeks for a soft, finished look that brings warmth to the face.
- Embroider a small mouth using black embroidery thread for the final expression, keeping the stitches short and even.
- Double-check that the safety eyes sit level with each other before the washers are locked in place permanently.
- Fluff and reshape the leaves gently once sewn on, since they tend to flatten slightly during stitching.
Important Remarks
- Safety eyes are not suitable for children under three years old; use embroidered eyes instead for baby-safe versions.
- Always secure safety eye washers tightly on the inside before stuffing to prevent them from loosening or twisting later.
- Worsted weight yarn works best here, but a slightly thicker or thinner yarn will simply change the finished size, not the shape.
- Store any leftover yarn and stuffing scraps together, since small vegetable amigurumi like this one are easy to batch-make later.
Once assembled, take a moment to look over the whole piece from every angle. Small details like leaf placement and eye alignment are what separate an average amigurumi from one that genuinely looks polished, so a few extra minutes here go a long way toward the finished result.
Conclusion
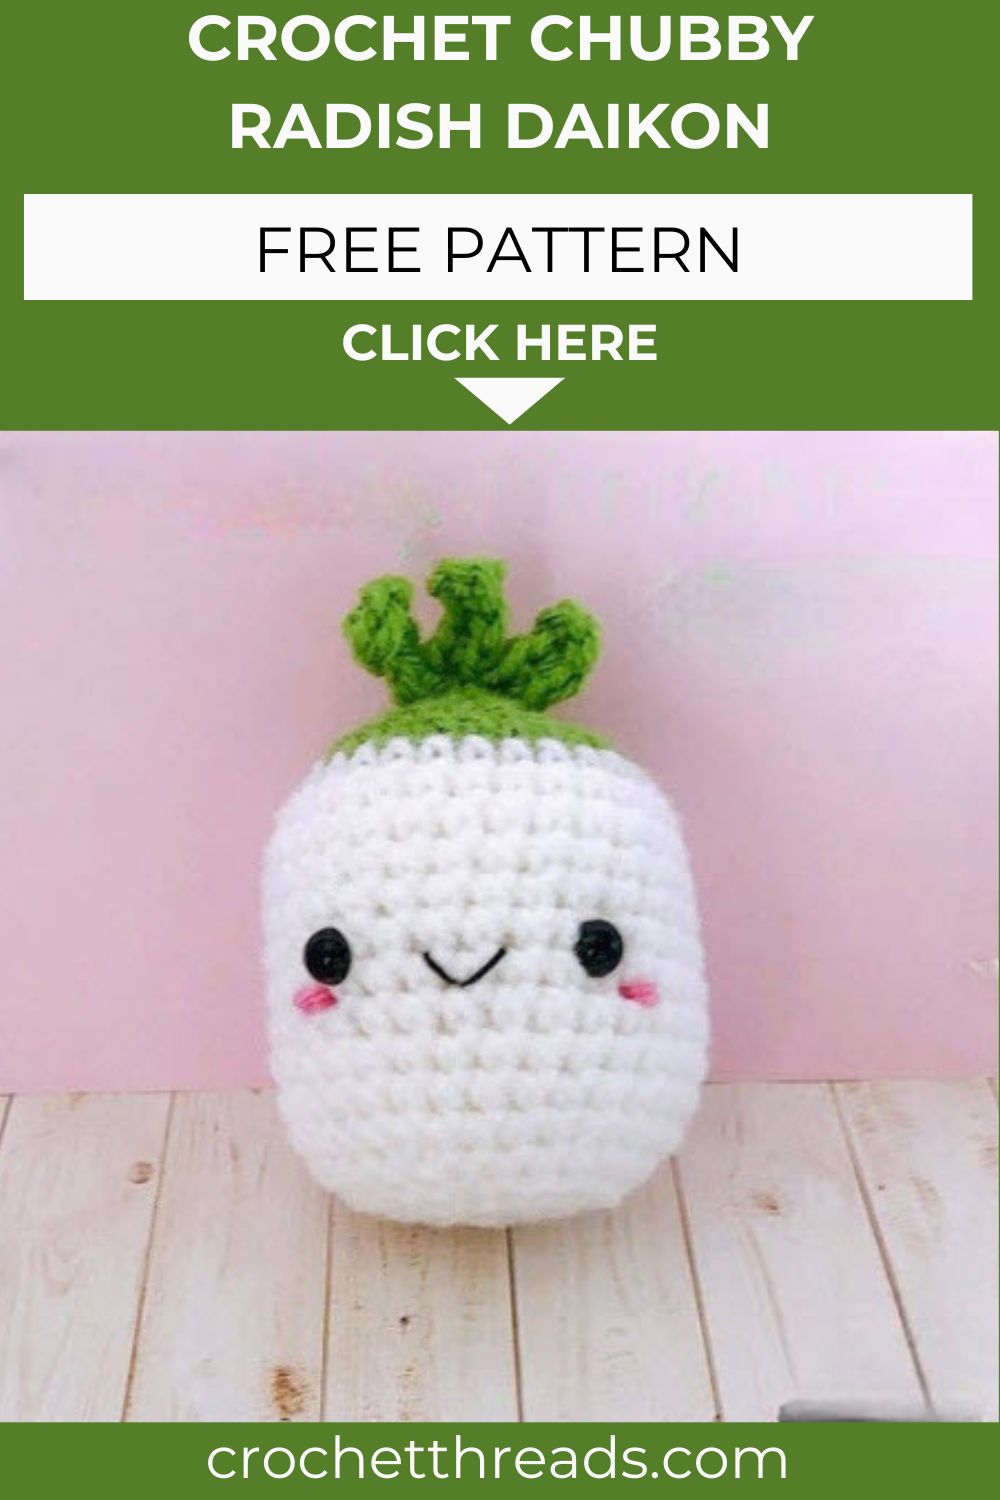
This Crochet Chubby Radish Daikon amigurumi is rewarding from the first round. Moreover, the colour change gives it a realistic look, while the small leaves add extra charm. It’s a quick and satisfying project that doesn’t require advanced skills. Finally, it’s perfect for using leftover green and white yarn. Give it a try, and share your finished radish with fellow crochet lovers online.