Inspiring Free Crochet Lovely Heart Soft Amigurumi Pattern
With its charming and soft shape, this Free Crochet Lovely Heart Amigurumi is an easy project to make. It does not require much time or complicated techniques. The heart is made almost entirely with basic single crochet stitches. This makes it a great project for beginners. You can easily finish it in a free afternoon. Use it as a keychain or give it as a sweet gift to someone special. You can also display it in your bedroom as a lovely decorative touch. Each round builds naturally on the previous one. Before long, your tiny heart will take on its beautiful shape and unique personality.
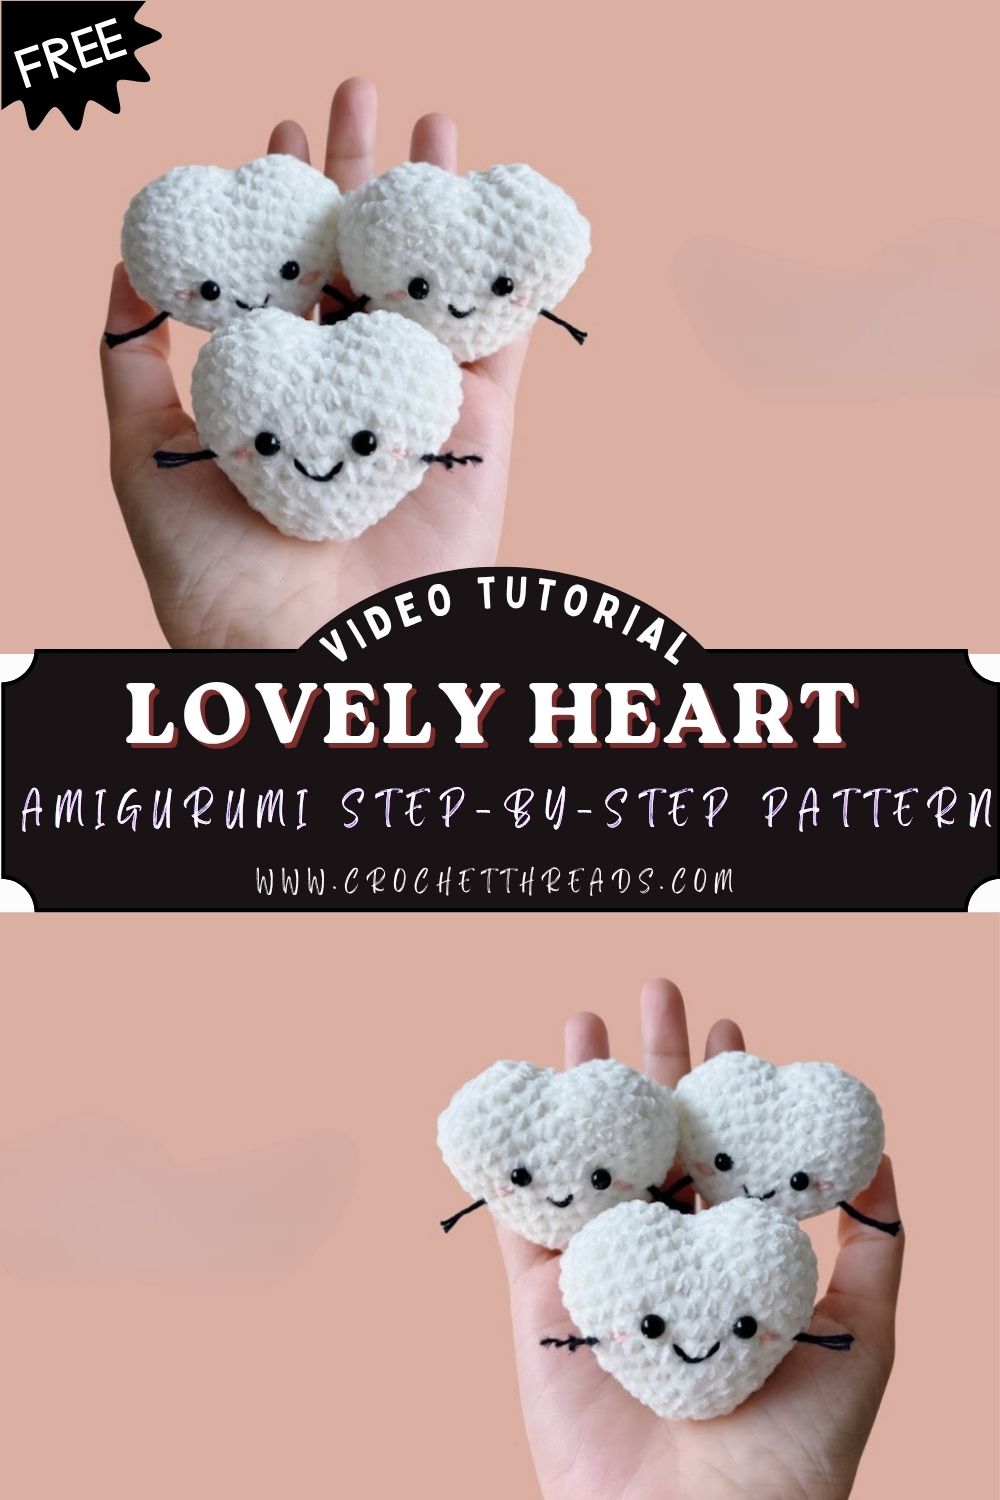
Yarn weight and color choice change the mood entirely; cotton in a blush pink feels romantic and soft, while a punchy red acrylic reads more playful and bold, almost like a Valentine’s charm someone would actually want to keep.
Skill Level
Beginner-friendly, with a note for anyone brand new to amigurumi: you’ll want to already know how to chain, work a magic ring, and single crochet before starting. Increases and decreases show up throughout the pattern, but they’re simple enough that most first-timers pick up the rhythm within a round or two. Intermediate crocheters will likely breeze through it as a quick, relaxing evening project.
Materials and Supplies List
Before picking up your hook, lay these out so you’re not hunting for supplies mid-round:
- Yarn: Worsted weight (Medium #4) cotton or acrylic in your main color, with a small amount of a contrast shade on hand if you want accents
- Crochet hook: 3.5mm or 4mm, matched to your yarn weight
- Safety eyes: 6mm or 8mm optional, since a heart looks charming with or without a face
- Stuffing: Polyester fiberfill, for that soft, huggable feel
- Yarn needle: for sewing pieces together and tucking away loose ends
- Scissors: small and sharp, for clean trims
- Stitch marker: a locking marker or even a bent paperclip works, just something to mark round one
- Keychain ring or hanging hardware: a metal keyring, bag clip, or simple ribbon loop, depending on how you plan to use the finished piece
Crochet Techniques Used
Nothing here is complicated, which is part of why this pattern works so well for newer crocheters:
- Magic ring – gets your starting circle tight, with no visible hole at the center
- Single crochet (sc) – the stitch you’ll lean on for almost the entire project
- Increase (inc) – two single crochets into the same stitch, to widen the round
- Decrease (dec) – two stitches worked together as one, to pull the shape narrower
- Sewing parts together – a simple whip stitch, used to join sections and attach any extras
Step-by-Step Crochet Pattern Instructions
Building the Two Top Lobes
Every Free Crochet Lovely Heart starts with its curves. Begin each lobe with a magic ring, then increase steadily until the rounds are wide enough to merge into one connected piece. This is what gives the top of the heart its two soft bumps instead of a single point.
- Round 1: 6 sc into a magic ring (6 stitches)
- Round 2: Increase in every stitch around (12 stitches)
- Round 3: 1 sc, inc repeated around (18 stitches)
- Round 4: 2 sc, inc repeated around (24 stitches)
- Crochet a second lobe the same way, then work across both in a single row to fuse them into the heart’s top curve
Shaping the Rest of the Body
Once the two lobes are joined, you’re working around the full heart shape from here on. The middle rounds stay even, and the decreases only start once you’re heading toward the bottom point.
- Work a few rounds with no increases or decreases, just to build height
- Start tapering gradually along the sides as the shape narrows toward the point
- Stuff as you go instead of waiting until the end; it’s the only way to keep the shape from looking lumpy or hollow in places
Ears, Bows, or Other Small Accents
A plain heart is lovely all on its own, but a small detail can turn it into something with real character:
- A tiny bow: chain a short strip, pinch the middle with a few wraps of yarn, then stitch it near the top dip
- A hanging loop: a folded strip of chain stitches attached at the peak, useful for threading onto a keyring
- A contrast round: switching colors for just one round adds an unexpected pop without much extra effort
Giving It a Face
Faces are entirely optional here; plenty of these hearts look just as sweet blank. If you want one anyway:
- Place safety eyes a few rounds below the top dip, spaced evenly so the face doesn’t look lopsided
- Stitch a small smile with a couple of straight stitches in contrasting yarn
- A touch of pink blush or a scrap of felt for cheeks adds warmth without much fuss
Putting It All Together
Once the body is stuffed and closed off, the last steps come together fast:
- Decrease the final round at the bottom point, fasten off, and weave in the tail so it disappears
- Whip stitch on any bows or loops you made earlier
- Attach the keyring securely; go over that stitch a few extra times, since it’ll carry the weight of the whole piece
Final Touches
Snip any stray yarn ends close to the fabric, then gently squeeze and reshape the heart by hand until the stuffing settles evenly. A light pass of steam from a distance can smooth out uneven stitches on acrylic yarn just don’t let the iron touch the yarn directly.
Helpful Beginner Tips
A handful of small habits make a noticeable difference in the finished piece:
- Keep your stitches tight. Amigurumi needs a firmer gauge than blankets or garments; otherwise, stuffing peeks through the gaps between stitches.
- Mark your first round. Since everything works in a continuous spiral with no joins, a stitch marker saves you from losing count halfway through.
- Stuff a little at a time. Packing it all in at the end rarely looks as smooth as adding small amounts round by round, pressing it into corners as you go.
Ways to Customize This Pattern
Once the first heart is off your hook, there’s a lot of room to play:
- Switch up the colors – deep red feels classic for Valentine’s Day, soft pink makes a gentler gift, and rainbow stripes bring a more playful energy
- Add small accessories -a tiny crown, a pair of felt wings, or a knit scarf turns a plain heart into a seasonal character
- Go mini – a smaller hook and thinner yarn shrink the whole pattern down to charm size, perfect for earrings or a zipper pull
Frequently Asked Questions
What’s the best yarn for amigurumi?
Cotton is a favorite among amigurumi crocheters. It holds stitch definition well and gives the fabric a little natural firmness. This can help hide small gaps. Acrylic works well too. You can simply use a slightly smaller hook than the size recommended on the yarn label.
How do you make a crochet plush feel firm instead of floppy?
It really comes down to two things: tighter stitches and enough stuffing. Dropping to a smaller hook than usual tightens up the fabric, and stuffing as you sew not just cramming it in at the very end keeps the shape dense all the way through instead of soft in the middle.
How long does a project like this actually take?
Most crocheters can finish this project in one to two hours. The exact time depends on how many extra details you add. First-timers may need a little longer while they get comfortable with counting stitches. That’s completely normal. Nobody’s first amigurumi is their fastest one.
Conclusion
Whether you are making your very first amigurumi or just enjoying a quick. a little Free Crochet Lovely Heart is hard not to love. Pick up your favorite yarn and settle in with your hook. Let this sweet project come together stitch by stitch. Once you’re done, share a photo with the crochet community. You might even start planning your next colorway before this one is off the hook.