Crochet Baby Seal Keychain Amigurumi Pattern for Everyday Charm
Holding a special place thanks to their gentle charm, sea-life-inspired amigurumi designs are always fan favorites, and the tiny Baby Seal is one of those beloved characters. The Crochet Baby Seal Keychain Pattern offers a charming, quick-to-complete project that instantly wins over any amigurumi enthusiast with its innocent look, cozy vibe, and collectible appeal.
Instantly stealing hearts with its soft round body, innocent expression, and storybook charm, the tiny Baby Seal carries a timeless appeal that sets it apart from everyday amigurumi designs. Its smooth construction and soft curved shaping create a snuggly, heartwarming keepsake that feels beautiful and collectible at once. Anyone familiar with basic amigurumi shaping can complete this pattern with ease, while clear step-by-step instructions keep every part balanced and neat.
A Quick Look at This Amigurumi Project
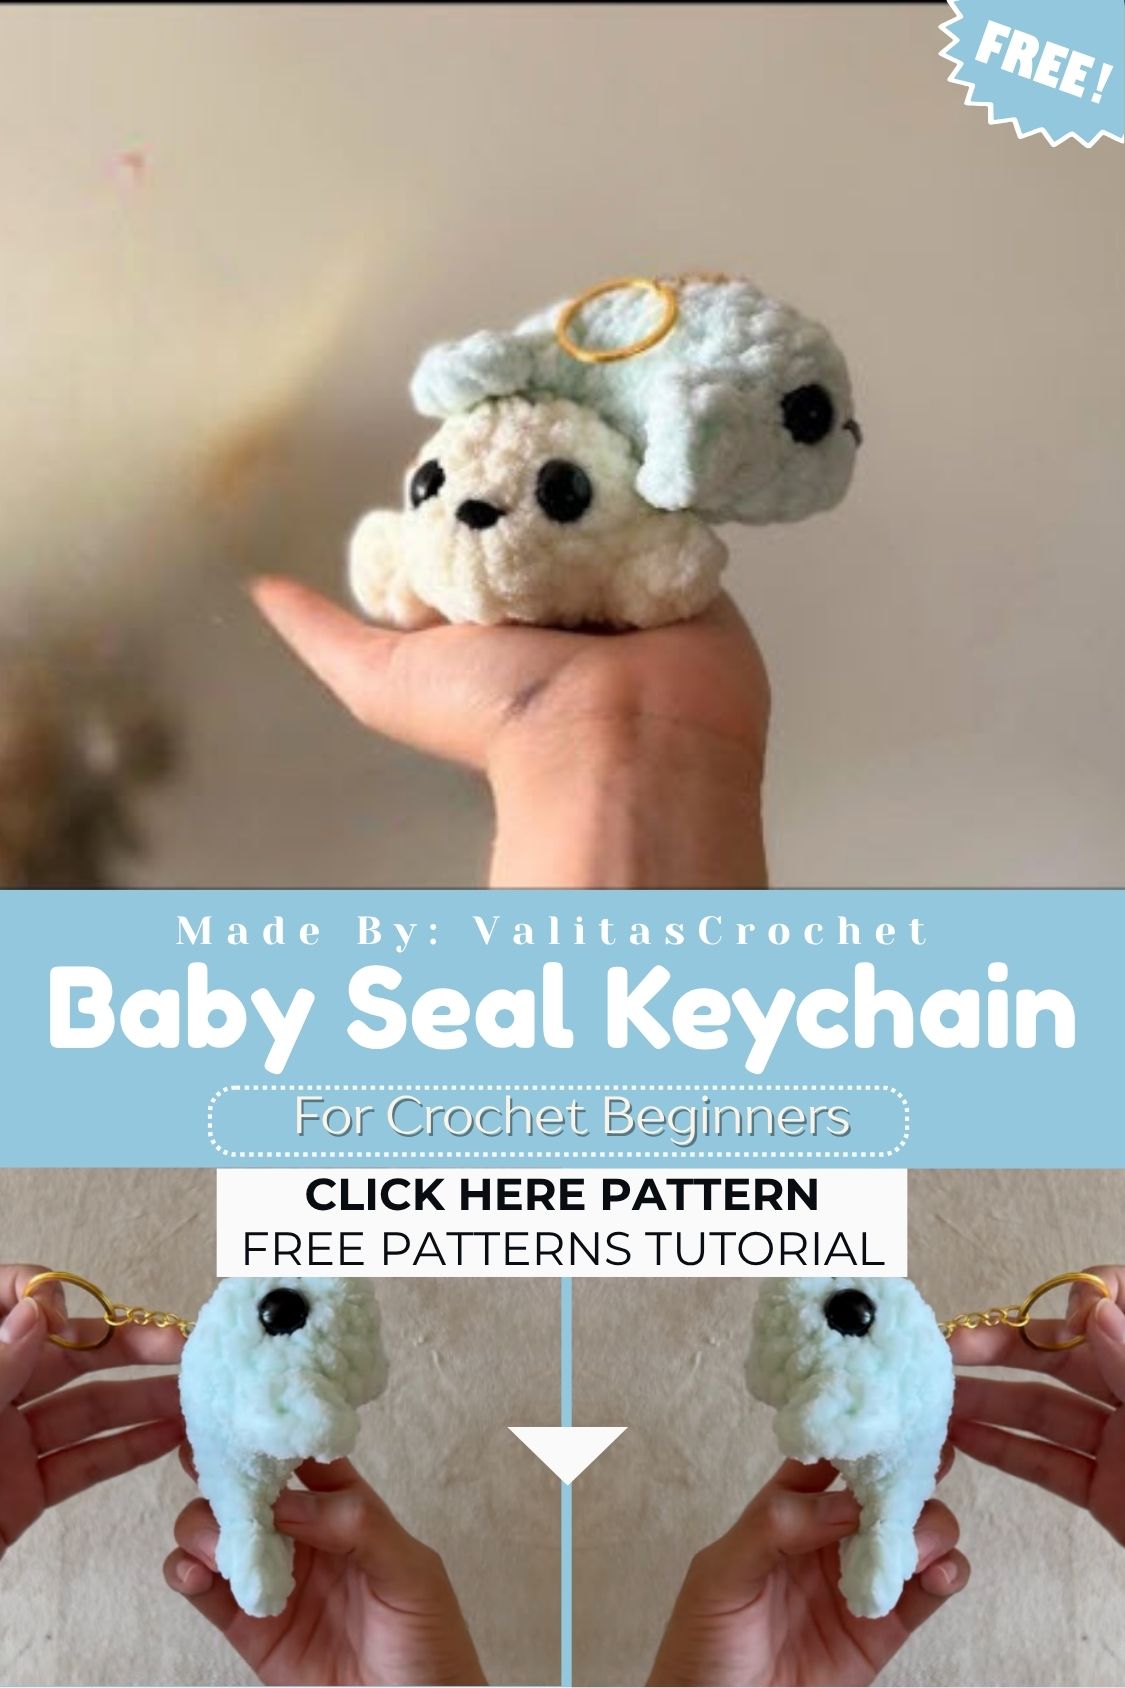
Grab a small ball of yarn and a spare hour or two, because this baby seal keychain amigurumi comes together fast. Perfect for gift bags, bag charms, or a cute little desk buddy, this pattern uses simple stitches that any beginner can master with a little patience.
Bright colors, a chubby tummy, and tiny flippers give this pattern its playful personality. Every stitch builds toward a keychain that feels genuinely handmade and full of character.
Skill Level
This pattern is rated Beginner to Beginner-Intermediate. It relies on basic amigurumi stitches like magic ring, single crochet, and simple shaping through increases and decreases, making it approachable even for someone who has only completed a few crochet projects. A bit of comfort with sewing pieces together will help the assembly stage go smoothly, but nothing here requires advanced technique.
Materials and Supplies List
Before diving into the stitches, gather these supplies so your crochet session flows without interruption:
Yarn Colors
- Light gray or white (main body color for the seal)
- Dark gray or charcoal (for shading on the back and flippers, optional)
- Black (small amount for facial details)
- Pink (tiny amount for cheeks, optional)
Tools and Notions
- Crochet hook size 2.5mm–3mm (matched to worsted or DK weight yarn)
- Safety eyes, 6mm–8mm size
- Polyester fiberfill stuffing
- Yarn needle for sewing and weaving ends
- Sharp fabric scissors
- Stitch markers (locking type work best)
- Keyring or lobster clasp keychain hardware
- Small jump ring (to attach the finished seal to the keychain hardware)
Crochet Techniques Used in This Pattern
This baby seal keychain relies on a handful of core amigurumi techniques:
Magic Ring
The magic ring, sometimes called a magic circle, starts most amigurumi pieces. It creates a tight center with no visible hole, which keeps stuffing from peeking through the middle of the head or body.
Single Crochet (sc)
Single crochet forms the backbone stitch of this entire pattern. Its dense, tight structure is exactly why amigurumi projects hold their shape so well.
Increase and Decrease
Increases (two single crochets worked into one stitch) shape the rounded curves of the head and body, while decreases (single crochet two stitches together, or sc2tog) bring pieces back in to close them off neatly.
Sewing Parts Together
A yarn needle and matching yarn thread the flippers, tail, and any small accessories onto the main body, giving the finished seal a polished, professional look.
Step-by-Step Crochet Pattern Instructions
Creating the Head
- Start with a magic ring and work 6 single crochets into it, then pull tight to close.
- Increase every stitch on the next round to reach 12 stitches total.
- Continue increasing every other stitch for a round or two, working toward 18–24 stitches depending on the size you’d like.
- Work several rounds even (no increasing or decreasing) to build the rounded shape of the head.
- Begin decreasing gradually over the following rounds, spacing the decreases evenly around the round.
- Insert safety eyes before the head closes up too much, spacing them a few stitches apart for that classic seal expression.
- Stuff firmly and close the last few stitches with a needle, weaving the tail end through the remaining stitches.
Making the Body
- Repeat a similar magic ring start as the head, working 6 single crochets to begin.
- Increase steadily over the first few rounds to widen the body into a teardrop or oval shape.
- Work several rounds without increasing to build length.
- Begin decreasing near the bottom to taper the shape, leaving an opening for stuffing.
- Stuff the body firmly, then sew it directly onto the base of the head.
Ears, Flippers, and Tail
Baby seals do not have visible outer ears, so this pattern skips ear shaping entirely, keeping the head smooth and rounded like a real seal pup.
- Flippers: Crochet two small flat pieces using single crochet rows, then fold and sew them onto each side of the body.
- Tail: Make one small triangular or rounded piece with a few rounds of single crochet, then attach it to the back end of the body.
- Optional Accessories: A tiny bow, scarf, or hat adds personality and works well as a customization option.
Facial Details
- Embroider a small black nose using a few horizontal stitches at the front of the face.
- Add a simple mouth line beneath the nose using straight embroidery stitches in black or dark gray yarn.
- Stitch small pink cheek accents beneath each eye for extra cuteness, if desired.
Assembly Process
- Sew the head onto the body securely, hiding the seam beneath a few extra stitches if needed.
- Attach the flippers to the sides of the body, positioning them symmetrically.
- Attach the tail to the back.
- Weave in all loose ends carefully so nothing unravels over time.
Finishing Touches
Attach a jump ring to the top of the head or back of the seal, then clip on the keyring hardware. Give the whole piece a gentle shape and fluff before it heads off to its new keychain life.
Helpful Beginner Tips
Keep Stitches Tight
Amigurumi projects need tension tighter than a typical crochet blanket or scarf. Loose stitches let stuffing show through, so aim for a snug, even tension throughout every round.
Use Stitch Markers
Since amigurumi works in a spiral rather than joined rounds, stitch markers help track where each round begins and ends. Move the marker up after finishing each round for accurate stitch counting.
Proper Stuffing Techniques
- Add stuffing gradually in small pieces rather than one large clump.
- Push stuffing into curves and edges first before filling the center.
- Avoid overstuffing, which can stretch stitches and distort the seal’s shape.
- Underfilled pieces sag, so aim for a firm, rounded feel.
Design Customization Ideas
Different Colors
Swap the classic gray for spotted patterns, seasonal colors, or pastel shades to match different gift occasions or personal style preferences.
Cute Accessories
- Tiny knitted-style scarves
- Small bow ties
- Mini beanies or Santa hats for holiday versions
- Ribbon collars with small charms
Mini Size Variations
Using a smaller hook and thinner yarn shrinks the whole pattern into a miniature charm, perfect for bag zippers, phone charms, or party favors.
Frequently Asked Questions
What is the best yarn for Crochet Baby Seal Keychain?
Cotton or acrylic worsted weight yarn works wonderfully for amigurumi because both hold stitch definition well and resist stretching. Cotton yarn tends to give the tightest, cleanest look, while acrylic offers a softer feel and comes in a wider color range.
How do I make my Crochet Baby Seal Keychain plush firm?
Firmness comes down to two factors: tight stitch tension and generous, even stuffing. Using a hook slightly smaller than the yarn label recommends naturally tightens stitches, and stuffing in small increments prevents lumps or gaps.
How long does this project take?
Most crocheters finish a keychain-sized amigurumi like this baby seal in one to two hours, depending on experience level and how much detail gets added to the face and accessories. Beginners might spend a bit longer perfecting even stitches.
Conclusion
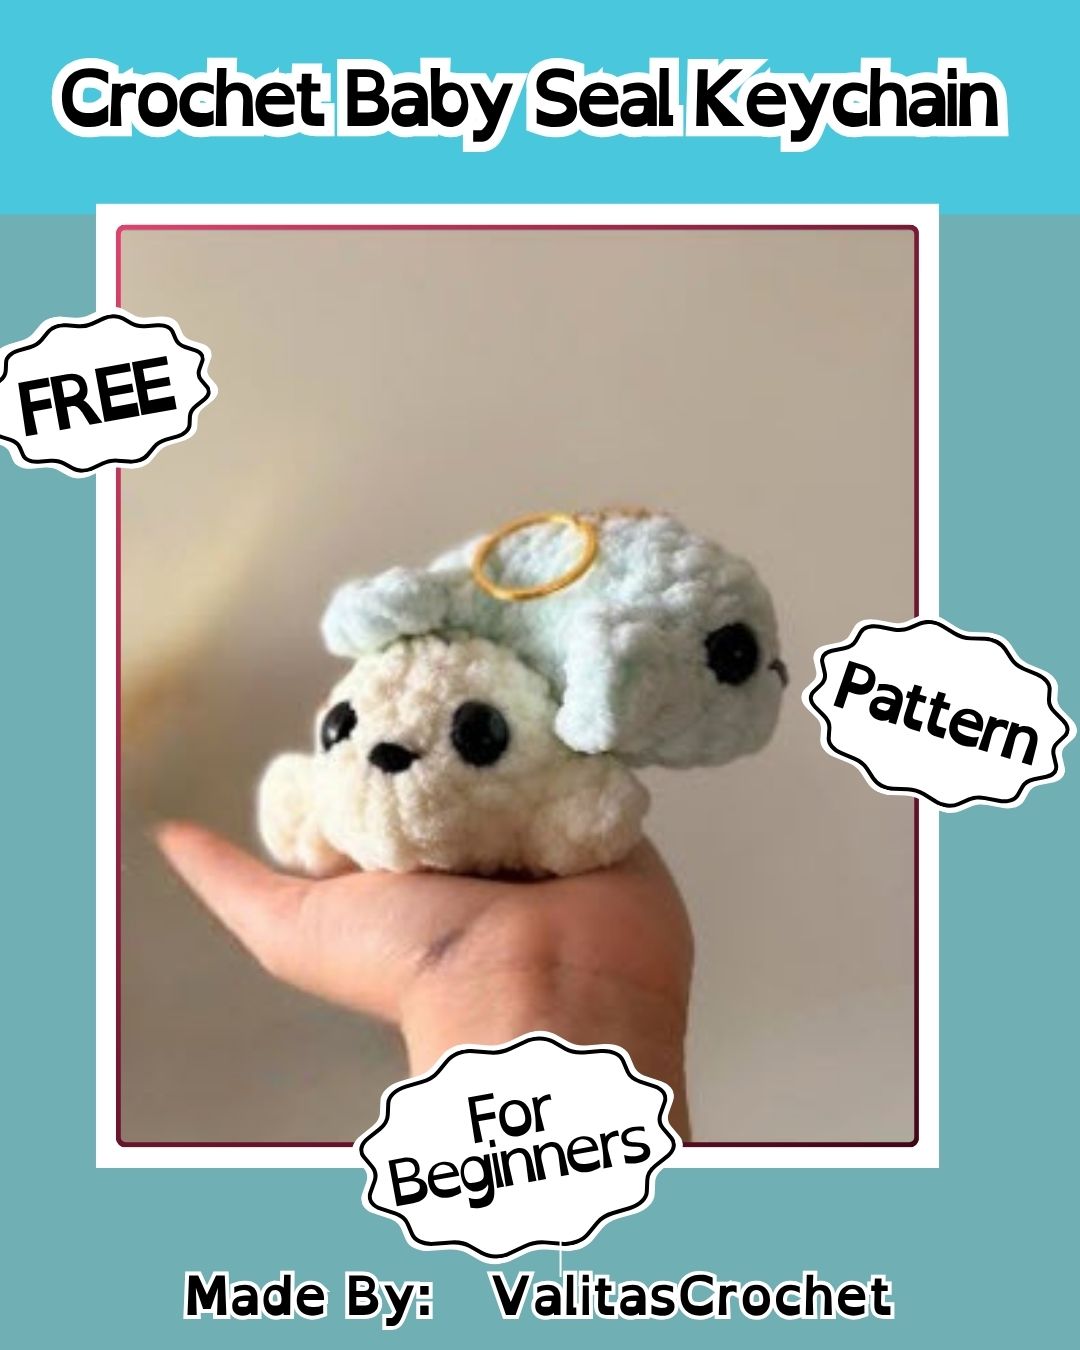
This baby Crochet Baby Seal Keychain brings a splash of ocean charm to any bag, keyring, or gift box, and it makes a wonderful practice project for building confidence with amigurumi basics. Grab a hook, pick a favorite yarn color, and start stitching your own tiny seal companion today. Once finished, this little pattern makes a fantastic handmade gift, a fun addition to a crochet shop lineup, or simply a joyful reminder of a fun crafting afternoon.