Free Crochet Penguin Amigurumi Pattern with Winter Scarf
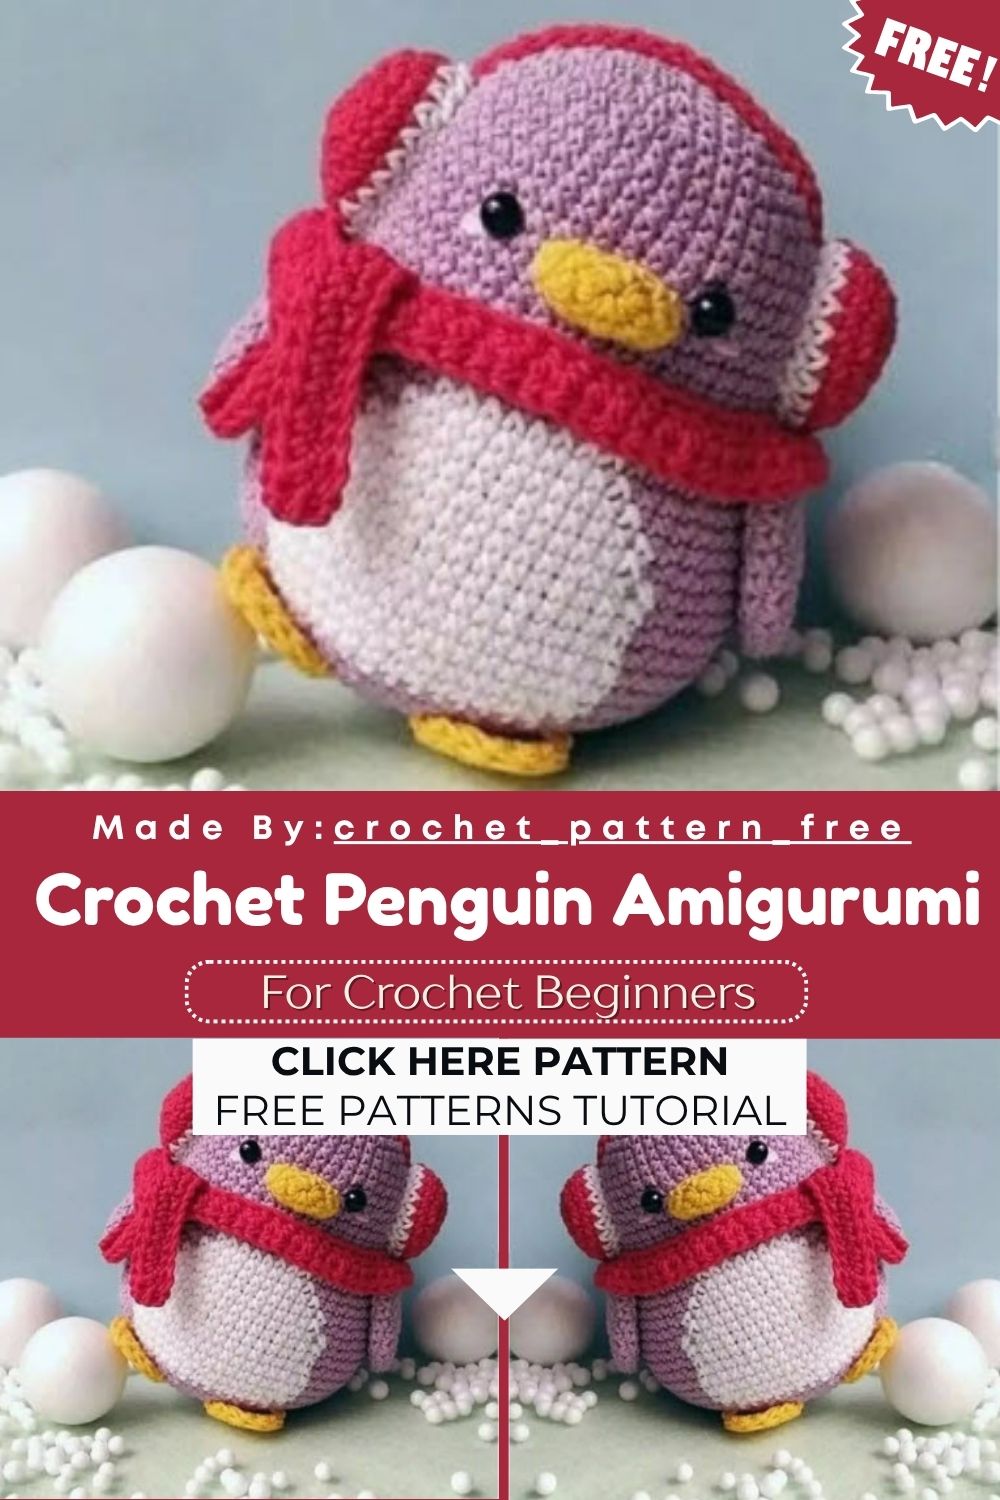
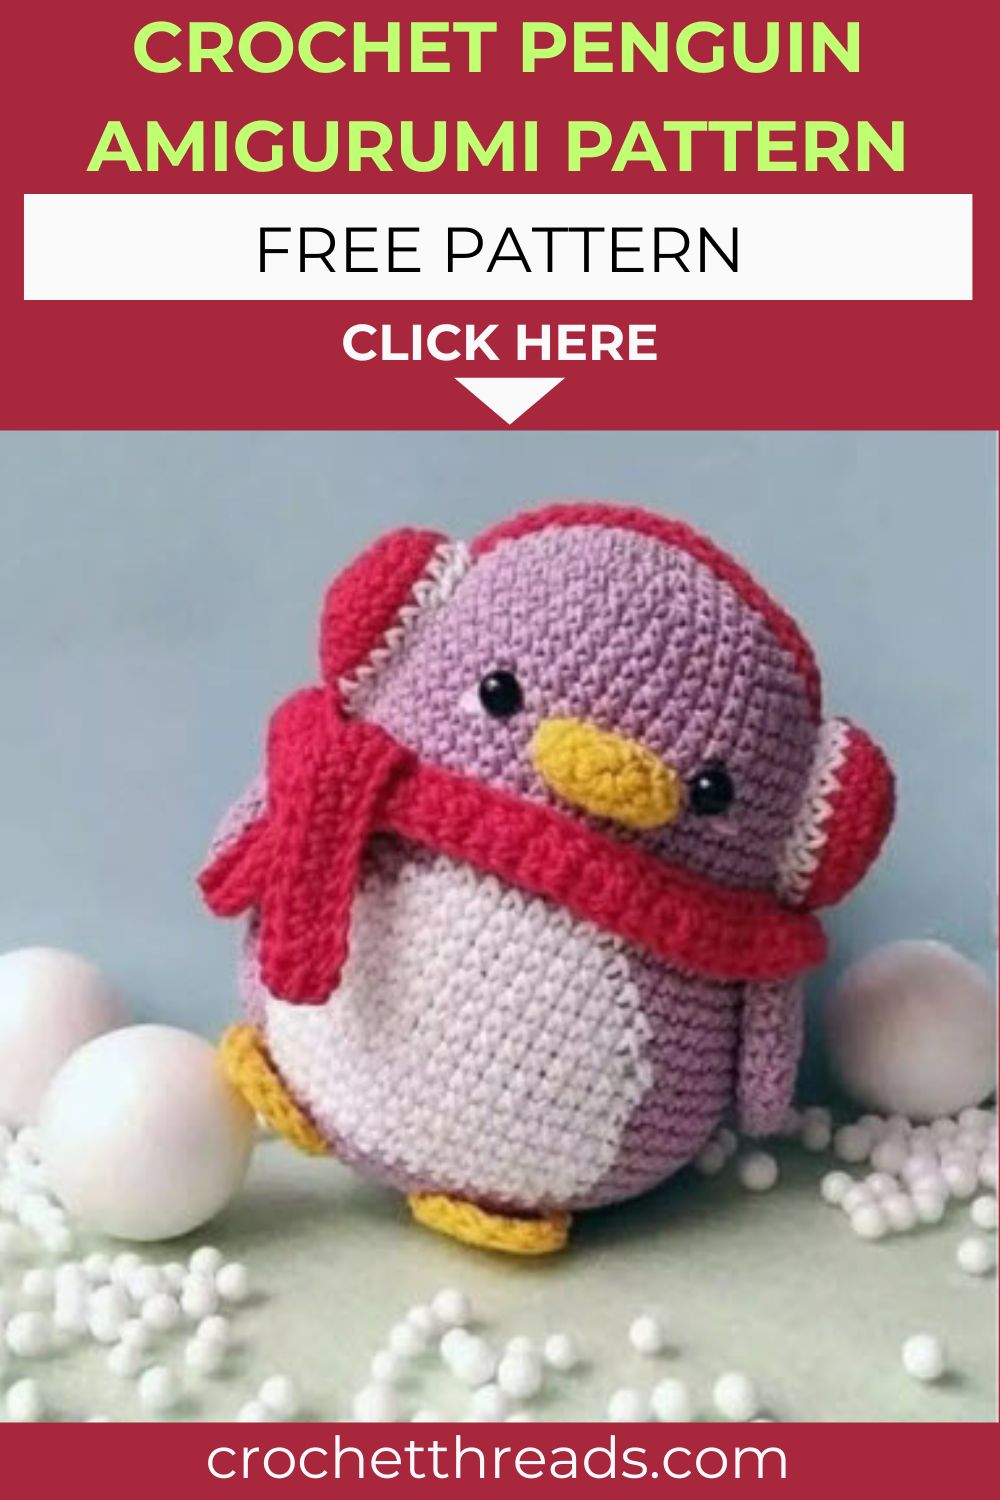
Few things in winter crochet projects are as charming as a tiny penguin. This adorable purple Free Crochet Penguin Amigurumi instantly brings winter vibes to life with its warm red scarf, matching earmuffs, and soft stuffed feathers. The bright yellow beak and pink cheeks add even more charm, making this handmade toy a perfect choice for Christmas decor, winter gifts, or any cozy shelf display.
Some amigurumi characters instantly refresh that winter feeling, and this little penguin is one of them. Penguins are adorable on their own, but their charm multiplies when they’re dressed up in tiny scarves and earmuffs. This amigurumi starts with a purple body, where a simple color change forms the white belly shape. Next come the yellow beak, tiny feet, and soft stuffed wings. Finally, the warm earmuffs and long scarf transform it into a charming winter character, making it a perfect choice for Christmas decor, handmade gifts, or any cozy shelf display.
Skill Level
Confident beginners comfortable with color changes and basic shaping handle this Free Crochet Penguin Amigurumi pattern well. Managing purple and white sections takes focus, but every other piece works quickly with simple stitches.
Pattern Overview
This Free Crochet Penguin Amigurumi comes together from six pieces, each quick to work up before the color-change body ties them together.
- Body and head: one piece in purple yarn, with a white belly panel shaped through color changes
- Wings: small flat purple pieces closed at the opening, no stuffing needed
- Beak: a tiny yellow ball, lightly stuffed for dimension
- Earmuffs: two round covers plus a connecting band, in red and white
- Feet: small yellow pieces using half double and double crochet
- Scarf: a long rectangle worked in rows, wrapped around the neck
Once each piece is finished, assembly comes down to careful placement.
Special Techniques
A few small techniques shape this penguin’s winter look.
- Color-change belly panel: shifting the white section gradually creates a smooth oval instead of a hard-edged patch
- Eye placement: setting the safety eyes between specific stitches, evenly spaced, keeps the face symmetrical
- Flattened wing closure: flattening the opening before closing gives a neat seam instead of a bulky edge
- Row-based scarf and band: working these in straight rows instead of rounds keeps them lying flat
Real talk, the color-change section looks harder on paper than it feels while actually crocheting it.
Materials
Gather these supplies before starting so the color changes go smoothly.
- 2.5 mm crochet hook
- Yarn in purple, white, yellow, red, and pink
- Safety eyes
- Sewing needle
- Stuffing
Abbreviations: ch (chain), sc (single crochet), hdc (half double), dc (double crochet), inc (increase), dec (decrease)
Body and Head (Purple, then White, back to Purple)
Starting the Body
Round 1: 6 sc in magic circle [6] Round 2: 6 inc [12] Round 3: (1 sc, inc) repeat 6 times [18] Round 4: (2 sc, inc) repeat 6 times [24] Round 5: (3 sc, inc) repeat 6 times [30] Round 6: (4 sc, inc) repeat 6 times [36] Round 7: (5 sc, inc) repeat 6 times [42] Round 8: (6 sc, inc) repeat 6 times [48] Rounds 9-18: sc around, 10 rounds [48] Round 19: (7 sc, inc) repeat 6 times [54] Round 20: (8 sc, inc) repeat 6 times [60]
Shaping the Belly Panel
Round 21: purple 26 sc, white 8 sc, purple 26 sc [60]. Insert safety eyes between stitch 13 and stitch 14, 8 stitches apart, keeping the white section centered between both eyes. Round 22: purple 25 sc, white 10 sc, purple 25 sc [60] Round 23: purple 24 sc, white 12 sc, purple 24 sc [60] Rounds 24-25: purple 23 sc, white 14 sc, purple 23 sc, 2 rounds [60] Rounds 26-28: purple 22 sc, white 16 sc, purple 22 sc, 3 rounds [60] Round 29: purple (sc, inc) repeat 2 times, 2 sc, white (17 sc, inc) repeat 2 times, purple 2 sc, 19 sc, inc repeat 2 times [66]
Rounds 30-31: purple 24 sc, white 18 sc, purple 24 sc, 2 rounds [66] Round 32: purple (sc, dec) repeat 2 times, 2 sc, white (17 sc, dec) repeat 2 times, purple 2 sc, 19 sc, dec repeat 2 times [60] Round 33: purple 23 sc, white 14 sc, purple 23 sc [60]. Cut the white yarn and work all remaining rounds in purple only.
Closing the Head
Round 34: (7 sc, dec) repeat 6 times [54]. Round 35: (7 sc, dec) repeat 6 times [48]. Begin stuffing the body and head. Round 36: (6 sc, dec) repeat 6 times [42] Round 37: (5 sc, dec) repeat 6 times [36] Round 38: (4 sc, dec) repeat 6 times [30] Round 39: (3 sc, dec) repeat 6 times [24] Round 40: (2 sc, dec) repeat 6 times [18] Round 41: (1 sc, dec) repeat 6 times [12] Round 42: 6 dec [6]
Fasten off, leaving a yarn tail. Using a sewing needle, weave the tail through the front loop of each remaining stitch and pull tight to close. Weave in the end.
Wings (Purple, make 2)
Round 1: 4 sc in magic circle [4] Round 2: 4 inc [8] Round 3: (1 sc, inc) repeat 4 times [12] Round 4: (2 sc, inc) repeat 4 times [16] Rounds 5-10: sc around, 6 rounds [16]
Flatten the opening of the wing so the stitches line up.
Round 11: sc in next 7 stitches through both layers to close [7]
Fasten off, leaving a long tail for sewing. Wings do not need stuffing.
Beak (Yellow)
Round 1: 6 sc in magic circle [6] Round 2: 6 inc [12] Round 3: 12 sc [12]
Fasten off, leaving a long tail for sewing. Stuff lightly.
Earmuffs
Ear cover (make 2, Red then White)
Round 1: 6 sc in magic circle [6] Round 2: 6 inc [12] Round 3: (1 sc, inc) repeat 6 times [18] Round 4: (5 sc, inc) repeat 3 times [21] Round 5: 21 sc [21] Round 6: change to white, 21 sc [21]
Fasten off, leaving a long tail for sewing.
Band (Red)
Start with a long yarn tail. Chain 25. Crochet in rows.
Row 1: starting in the 2nd chain from hook, sc in next 24 chains, ch 1, turn [24] Row 2: 24 sc [24]
Leave a long tail for sewing.
Feet (Yellow, make 2)
Round 1: 6 sc in magic circle [6] Round 2: 1 sc, inc, (2 hdc in 1 stitch) repeat 2 times, inc, 1 sc [10] Round 3: 3 sc, (2 hdc in 1 stitch, 1 hdc, 1 dc in 1 stitch), (1 dc, 1 hdc in 1 stitch), (2 hdc in 1 stitch), 3 sc [14]
Fasten off, leaving a long tail for sewing.
Scarf (Red)
Chain 90. Crochet in rows.
Row 1: starting in the 2nd chain from hook, sc in next 89 chains, ch 2, turn [89] Row 2: 89 hdc [89]
Leave a long tail for sewing.
Common Mistakes
A few slip-ups show up most with this pattern.
- Rushing the color-change rounds, which blurs the belly panel edges
- Placing the safety eyes unevenly, throwing off the whole face
- Skipping the flatten step on the wings, leaving a bulky seam
- Sewing the feet too far back instead of leaving a third visible
- Understuffing the earmuffs, leaving them looking flat once sewn on
Assembly
- Sew the earmuff band onto the inner part of the ear covers
- Sew the beak onto round 13 of the body
- Sew both feet under the body, slightly forward, wrong side up, leaving a third of each foot visible
- Sew the wings onto round 19 on both sides of the body
- Sew the earmuffs onto both sides of the head, bottom edge resting above the wings; stuff before closing, and pin first
- Add rosy cheek blush under the eyes with pink yarn
- Wrap the scarf around the neck and tie a simple knot
Important Remarks
- A couple of rounds in the scanned pattern were hard to read, so double-check the belly panel stitch placement before working through it
- Stuffing amounts are approximate; adjust based on your yarn weight and tension
Conclusion
A Free Crochet Penguin Amigurumi like this brings a soft, huggable take on winter style, scarf, earmuffs, and all. Low-key, the color-change belly panel is the most satisfying part once it clicks into place. Between the wings, beak, and tiny feet, every piece adds its own bit of personality. Whether it lands under a tree, on a shelf, or in a gift box, this little penguin makes chilly season crafting worthwhile.