Crochet Little Ghosts Amigurumi Pattern For Home Decoration
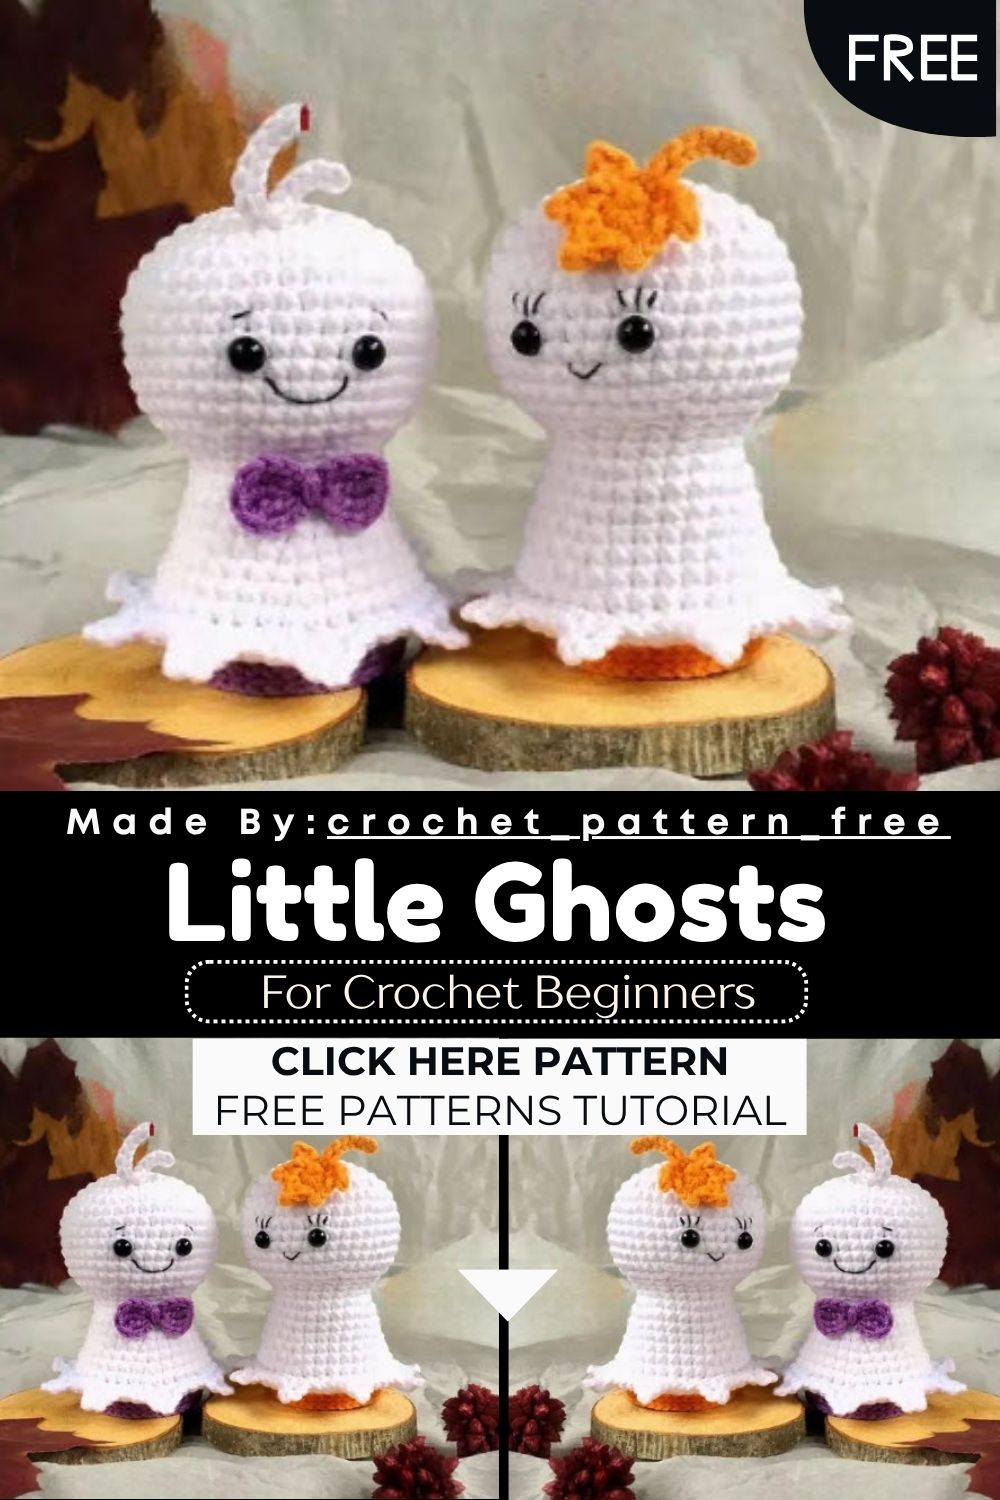
Little ghosts bring soft, spooky charm to any shelf or table. This Crochet Little Ghosts Amigurumi pattern uses simple stitches and beginner techniques. Perfect for fall decor, gifting, or cozy seasonal crafting projects.
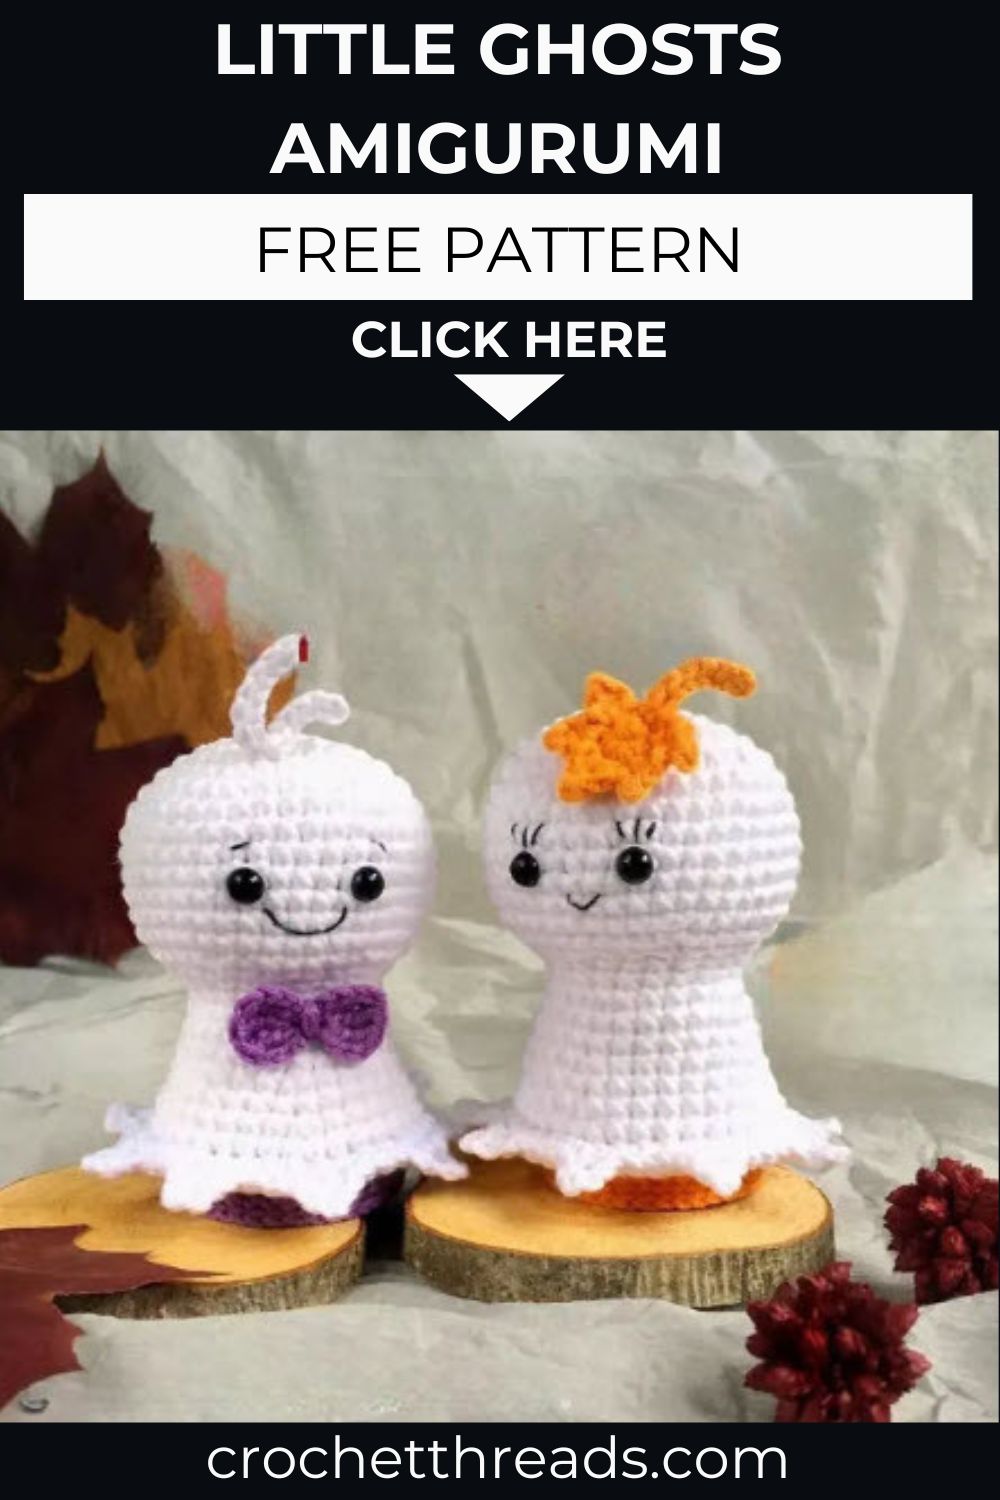
Amigurumi ghosts are a fun way to welcome autumn into your home. This Crochet Little Ghosts Amigurumi pattern combines a rounded body, a wavy bottom edge, and playful accents like a bow or maple leaf. Honestly, the whole project works up fast, even for newer crocheters. You will finish with a charming little ghost ready for shelves, garlands, or gift baskets.
Skill Level
This Crochet Little Ghosts Amigurumi pattern suits confident beginners and intermediate crocheters. It uses basic stitches like single crochet, increases, and decreases. The wavy edge technique adds a small challenge. No prior amigurumi experience is required to succeed.
Pattern Overview
- Finished size measures approximately 8-9cm, making it a quick, portable project.
- The body starts at the top of the head and works continuously in one piece.
- Safety eyes get inserted between rounds 11 and 12 for a classic ghost face.
- A color change at round 26 separates the head from the wavy ghost body.
- The wavy line detail forms the ghost’s signature scalloped edge using slip stitches and chains.
- Optional accents include a bow, maple leaf, or simple hair strands for personality.
- Toys stuffing happens gradually while crocheting, so no separate stuffing step is needed later.
Special Techniques
- BLO and FLO stitches: Working in back loops only or front loops only creates a clean edge for attaching the wavy line and bottom trim later.
- Picot-style points: The wavy edge combines slip stitches with a chain-2 picot, giving the scalloped ghost silhouette its texture.
- Magic ring starts: Nearly every piece, including the hair, bow, and leaf, begins in a magic ring for a tight, gap-free center.
- Color changes mid-round: Always switch yarn colors on the last stitch of the previous round to keep transitions smooth and neat.
- Treble crochet loops: The bow uses treble stitches inside a magic ring to create rounded, dimensional loops.
Materials
- Yarn of your choice (Alize Cotton Gold, 330m/100g works well) in white and one accent color
- 2mm crochet hook, or a size comfortable for your tension
- 6mm safety eyes
- Toy stuffing
- Scissors
- Stitch marker
- Sewing needle and dollmaking needle
- Optional rattle insert for added interactive fun
Abbreviations
mr – magic ring; ch – chain; sc – single crochet; hdc – half double crochet; tr – treble crochet; inc – single crochet increase; dec – single crochet decrease; BLO – back loops only; FLO – front loops only; st – stitch; sl st – slip stitch; (…)*x – repeat x times; (…) – stitch count at round end.
Tip: For pieces meant for young children, embroider the eyes instead of using safety eyes.
Head and Body
Start at the top of the head in white.
- 6sc in a mr (6)
- inc*6 (12)
- (sc, inc)*6 (18)
- (2sc, inc)*6 (24)
- (3sc, inc)*6 (30)
- (4sc, inc)*6 (36)
- (5sc, inc)*6 (42) 8-14. 42sc, 7 rounds (42)
Insert safety eyes between rounds 11 and 12, 5 stitches apart.
- (5sc, dec)*6 (36)
- (1sc, dec)*12 (24) 17-18. 24sc, 2 rounds (24)
- (5sc, inc)*4 (28) 20-21. 28sc, 2 rounds (28)
- (6sc, inc)*4 (32)
- 32sc (32)
- (7sc, inc)*4 (36)
- 36sc (36)
- BLO (8sc, inc)*4 (40). Change to your accent yarn color here. 27-28. 40sc, 2 rounds (40)
- BLO (3sc, dec)*8 (32)
- (2sc, dec)*8 (24)
- (sc, dec)*8 (16)
- dec*8 (8)
Keep the bottom of the body lightly stuffed to maintain a flat base. Fasten off, leaving a tail. Pull the thread inside the body to secure it.
The Wavy Line of the Ghost
Turn the body upside down. Locate round 25, where the FLO loops were left open. Attach white yarn there and crochet the wave line.
- (3sc, inc)*9 (45)
- ((4 sl st, work in one st: sc, ch 2, sc in the second ch from hook, sc)*9, sl st in the first stitch.
Pull the yarn tails tight and weave them inside the body.
The Bottom Line of the Ghost
Keep the body upside down. Find round 28, where the FLO loops were left open. Attach your accent color and slip stitch into each FLO loop around, closing with a slip stitch in the first loop. Fasten off and weave in the ends.
Hair
Using white yarn, work in a magic ring. Chain 6, starting in the second chain from the hook, work 5 slip stitches, then 1 slip stitch. Chain 8, starting in the second chain from the hook, work 7 slip stitches, then 1 slip stitch. Pull the ring closed. Fasten off, leaving a tail for sewing.
Bow
Using your chosen yarn color, work in a magic ring: (ch 3, 3tr, ch 3, sl st) twice. Pull the ring closed. Wrap the tail around the bow’s center a few times to shape it. Fasten off, leaving a tail for sewing.
Maple Leaf
- 7sc in a magic ring
- hdc, (work in one st: hdc, ch 2, sc in second ch from hook, sl st)*2, work in one st: hdc, ch 2, sc in second ch from hook, hdc, (work in one st: sl st, ch 2, sc in second ch from hook, hdc)*2, work in one st: sl st, ch 7, starting in the second chain from hook work 6 sl st, then sl st in the first stitch.
Pull the ring closed. Fasten off, leaving a tail for sewing.
Assembly
- Embroider the mouth, along with optional eyelashes or eyebrows, for personality.
- Sew the hair or maple leaf onto the head in your preferred spot.
- Sew the bow onto the body, centered or slightly off to one side.
- Weave in any remaining loose ends and trim neatly.
Customization and Variation
- Swap the accent color to match seasonal themes, from classic orange to deep purple.
- Add a mini pumpkin charm or fabric patch instead of the bow for variety.
- Try metallic or glittery yarn for a festive, eye-catching finish.
- Make a mini keychain version by adding a clasp instead of full stuffing.
- Skip the hair and leaf entirely for a clean, minimalist ghost silhouette.
- Use two accent colors on the wavy line for a striped, playful effect.
Common Mistakes
- Forgetting to change yarn color on the last stitch causes messy, visible transitions.
- Overstuffing the base makes the ghost tip over instead of sitting flat.
- Skipping the BLO or FLO instructions leaves no clean edge for attaching trims later.
- Placing safety eyes unevenly throws off the ghost’s expression, so measure stitches carefully.
- Rushing the wavy line often results in uneven scallops around the body.
Finishing Tips
- Steam-block the finished ghost lightly to help the wavy edges lay flat and even.
- Trim yarn tails close to the body before weaving them in for a clean look.
- Use a dollmaking needle to sink knots deep inside the stuffing, keeping seams invisible.
- Double-check safety eye placement before locking them in, since they cannot be repositioned easily.
- Add a small loop of yarn at the top if you plan to hang the ghost.
Gifting Ideas
- Pair the ghost with a handwritten fall-themed card for a cozy seasonal gift.
- Bundle three ghosts together in different colors as a mini decor set.
- Attach a keychain clasp and gift it as a bag charm for friends.
- Include it in a Halloween care package alongside candy and autumn treats.
- Offer it as a teacher or classmate gift during fall craft exchanges.
Conclusion
This Crochet Little Ghosts Amigurumi comes together quickly with simple, beginner-friendly stitches. Trust me, the wavy edge is easier than it looks once you try it. Customize the colors and accents to fit your own home decor style. Little ghosts like this make charming, handmade additions to any seasonal display.