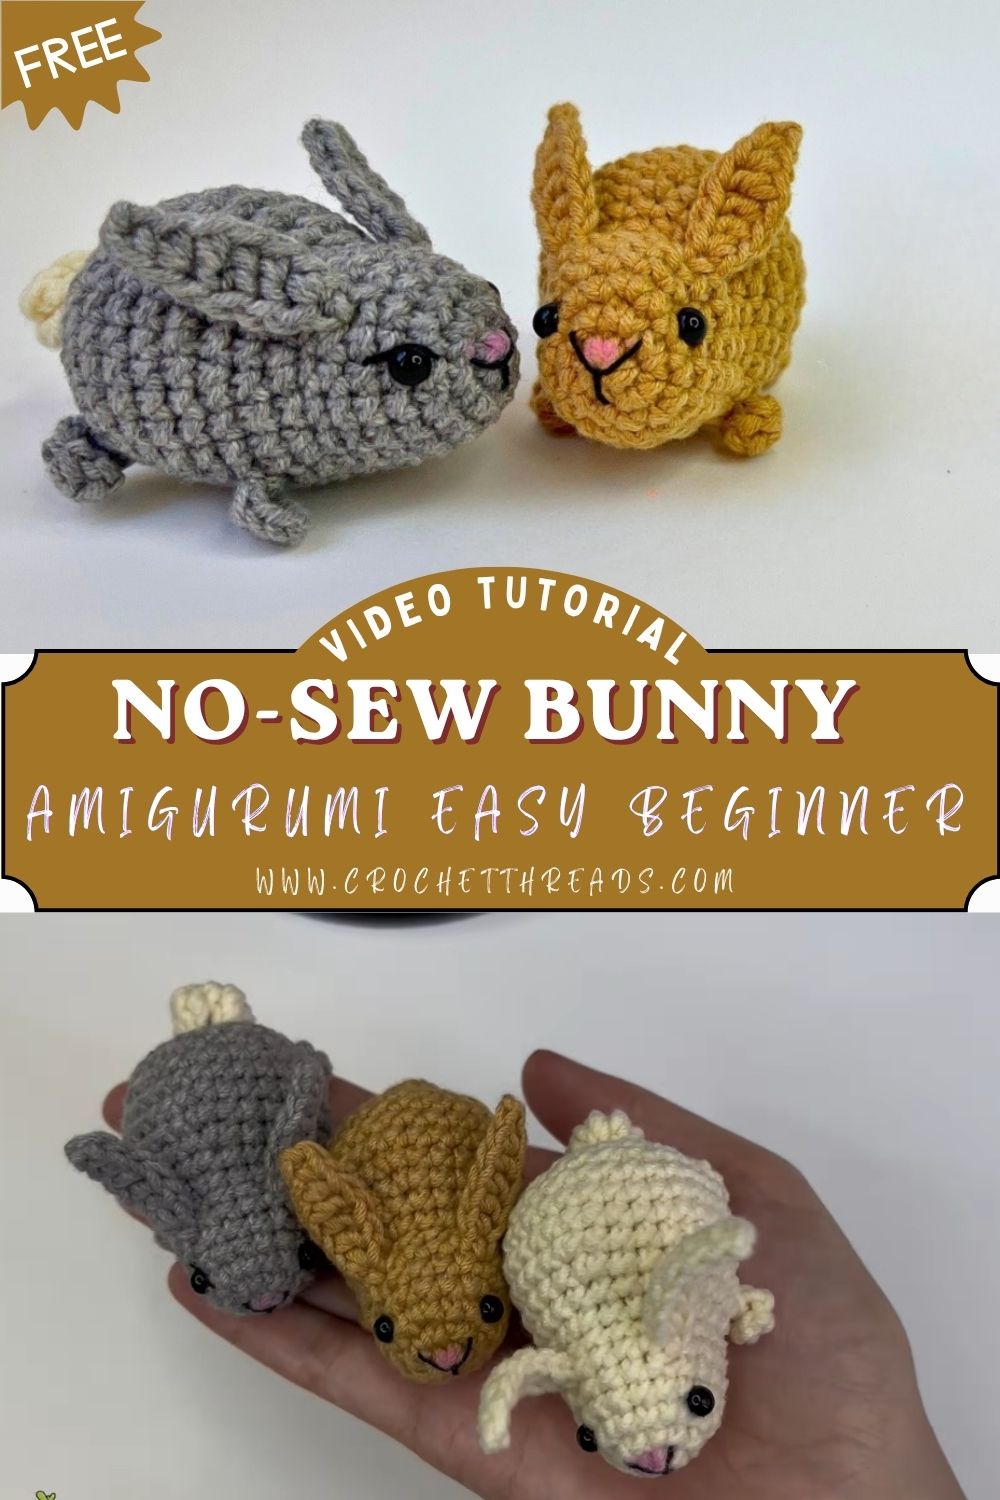
Immaculate Crochet No-Sew Bunny Amigurumi Easy Beginner Pattern
If you like quick projects, this Crochet No-Sew Bunny Amigurumi will give you instant joy and a beautiful result. Its no-sew style makes it even easier to make, and you can use it as a pocket toy, keychain, or nursery decor. In addition, you can easily make various amigurumi animals, dolls, and character plushies using the same method.
This cute no-sew bunny pattern is perfect for a relaxing weekend crochet session. Since this design doesn’t require you to piece together separate pieces, you can focus on neat, beautiful stitches instead of dealing with loose pieces. Plus, beginners can easily practice magic rings, single crochet, and simple increases without feeling overwhelmed. I also love that you can make this easy crochet bunny with any yarn you have on hand, allowing you to customize its size and softness. If you’re looking for a quick, easy, and gift-worthy amigurumi pattern, this bunny is a great choice.
Materials Needed
- Yarn: Worsted weight (or chenille for extra plush), main bunny color + tiny bits for details
- Crochet hook: Match your yarn (commonly 3.0–4.0 mm for worsted)
- Stuffing: Polyester fiberfill
- Needle: Yarn needle for minimal finishing or weaving ends
- Eyes: Safety eyes (6–10 mm) or black yarn/thread to stitch sleepy eyes
- Stitch marker or clip marker
- Scissors
- Optional: Pink yarn for nose/cheeks, embroidery thread for blush, keychain clasp for a bag charm
Procedure
Step 1: Start the body with a tight base
Begin with a magic ring and work in continuous rounds to build a firm, neat shape. Then increase gradually so the bunny looks rounded instead of pointy. Keep your tension consistent, and move your stitch marker every round.
Step 2: Shape the head and add facial placement
Continue with simple increases and a few even rounds to form the head portion. Next, decide where you want the eyes and face to sit before you stuff too much. If you use safety eyes, place them early so they lock securely.
Step 3: Form ears directly on the body
Crochet the ears as attached pieces, so you avoid sewing altogether. After that, taper the ear shape with decreases to create that classic bunny look. Although the steps stay simple, the attached construction makes the finish look extra polished.
Step 4: Stuff, close, and refine the silhouette
Add stuffing a little at a time, then shape it with your fingers so lumps don’t appear. Then close the opening tightly with decreases so the top looks smooth. For full stitch counts, round-by-round guidance, and pacing, follow the complete instructions in the video.
Step 5: Add tiny details to bring it to life
Stitch a small nose and optional mouth with embroidery or thin yarn. If you prefer a softer look, stitch eyes instead of using plastic ones. Finally, weave in ends carefully so the bunny looks seamless from every angle.
Customization Ideas & Color Variations
- Bunny ko different colors (pastels, neutrals, bright shades) mein easily make kar sakte hain.
- Extra accessories add ho sakte hain: chhota bow, scarf, ribbon, ya mini carrot.
- Yarn weight change karke size adjust ho jata hai (mini bunny ya big plush).
- Eye style (safety eyes ya embroidered) change karke expression customize hoti hai.
- Ye pattern gifts aur themes (Easter, nursery décor, birthdays) ke liye easily adapt ho jata hai.
Uses & Benefits
You can style this bunny in so many practical ways, which makes it a go-to project when you need something cute fast. For example:
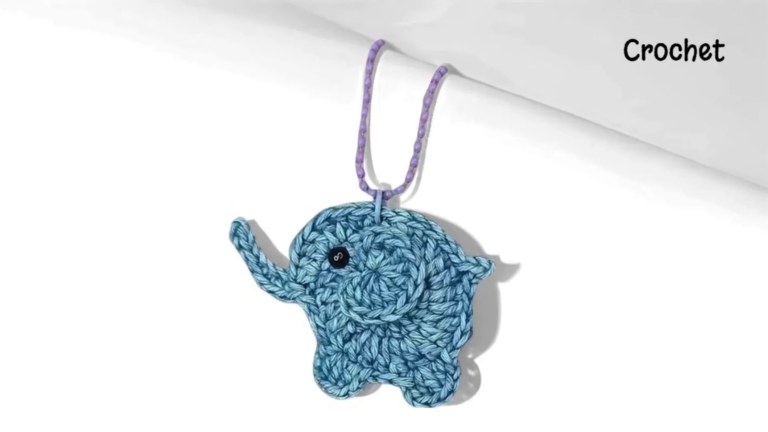
- Keychain or bag charm: Use smaller yarn and add a clasp for a lightweight accessory.
- Toy or comfort plush: Make it in soft yarn for little hands and bedtime snuggles.
- Gift idea: Create one for Easter baskets, baby showers, or “thinking of you” surprises.
- Decorative touch: Place a few bunnies on a shelf, desk, or nursery corner for instant charm.
Additionally, a no-sew plush helps you finish faster, so you can actually enjoy gifting without last-minute stress.
What Makes This Pattern Beginner-Friendly
- No-sew construction: You avoid sewing tiny limbs and trying to align them evenly.
- Crochet-in-place design: Attached pieces keep the bunny balanced and neat from the start.
- Easy stitches only: Single crochet, increases, and decreases make it simple to learn and follow.
- Quick to finish: The bunny works up fast, so beginners get a complete project sooner.
- Confidence booster: Fast, clean results help you feel successful and motivated to make more.
Creativity & Skill Development
- Boosts patience and focus: Counting stitches and tracking rounds trains steady attention in a calming way.
- Builds core amigurumi skills: Repeating increases/decreases improves tension, shaping, and cleaner stitch work.
- Encourages creativity: Yarn choice, color changes, and texture instantly change the bunny’s style and size.
- Develops personalization skills: Eye style, ear placement, and embroidered details help you create unique expressions.
- Gives faster progress than flat practice: One small bunny teaches multiple techniques while keeping the project fun.
Helpful Tips for Cleaner, Cuter Results
- Use a smaller hook than the label suggests so stuffing doesn’t show through stitches.
- Move your stitch marker every round, because amigurumi spirals can trick your eye.
- Count often, especially after increases, since one missed stitch changes the shape quickly.
- Stuff gradually and shape as you go; too much stuffing can stretch stitches and distort the head.
- If chenille yarn feels slippery, slow down and use a bright stitch marker so you don’t lose your place.
- Embroider details with thinner yarn or floss so the face looks delicate instead of bulky.
- Weave ends in multiple directions, because that method locks them in and keeps the bunny neat.
Common Mistakes & Fixes
- Stitches ke beech gaps (stuffing dikhna): smaller hook use karein + stitches tight rakhein.
- Rounds count miss ho jana: har round ke start par stitch marker lagayein aur count note karein.
- Shape uneven / bumpy ho jana: increases/decreases ko evenly spread karein; pattern follow strictly.
- Head/body wobble: neck area ko thoda firm stuff karein aur sew karte waqt strong stitches use karein.
- Stuffing lumps: stuffing ko chhote pieces mein bharain aur evenly distribute karein.
- Ears uneven / tilt: dono ears ko same rounds tak banayein; pin karke position set kar ke phir sew karein.
- Safety eyes placement wrong: attach karne se pehle dono sides mark karke symmetry check karein.
- Seam/closing messy: invisible decrease aur neat fasten-off (end ko andar weave) use karein.
Care Instructions for ( Crochet No-Sew Bunny Amigurumi)
- Best option: gentle hand wash with mild soap/detergent.
- Machine wash (agar zaroori ho): bunny ko mesh laundry bag mein, delicate cycle, cold water.
- Drying: air dry flat surface par; dryer avoid karein (shape kharab ho sakti hai).
- Reshape: dry hote waqt ears/body ko lightly reshape kar dein.
- Velvet/chenille yarn care: extra gentle wash; brushing/rough rubbing avoid karein.
- Safety eyes wali toy: wash karte waqt eyes ko pull na karein; baby ke liye embroidered eyes better.
- Storage: dust-free place, direct sunlight se door (colors fade na hon).
FAQs for ( Crochet No-Sew Bunny Amigurumi)
Q1: Can I make this bunny without safety eyes?
Yes. You can stitch eyes with black yarn or embroidery floss, which also works better for babies and toddlers. Additionally, stitched eyes give a calm, sleepy expression.
Q2: What yarn works best for a smooth amigurumi finish?
Worsted cotton or cotton-blend yarn gives crisp stitch definition, so beginners can see rounds clearly. However, plush yarn creates a softer toy, so choose it if you want a cuddly look.
Q3: How long does this no-sew bunny take to crochet?
Most beginners finish it in about 1–2 hours, depending on yarn choice and how often they pause to count. Since you skip sewing, you usually complete it faster than traditional amigurumi.
Q4: How do I turn it into a keychain?
Use lighter yarn, stuff firmly, and attach a small keyring loop at the top with strong thread or yarn. Then secure the loop with multiple passes so it handles daily use.
Conclusion
If you want an adorable Crochet No-Sew Bunny Amigurumi project that feels relaxing, this no-sew bunny delivers. You get a clean finish, fast progress, and a sweet plush that works as a toy, keychain, or gift. Furthermore, the simple shaping helps beginners build confidence while still producing a charming result. So grab your yarn, follow along, and enjoy the cutest little win.