Free Crochet Baby Cardigan Pattern with Pockets for Toddlers
Overview
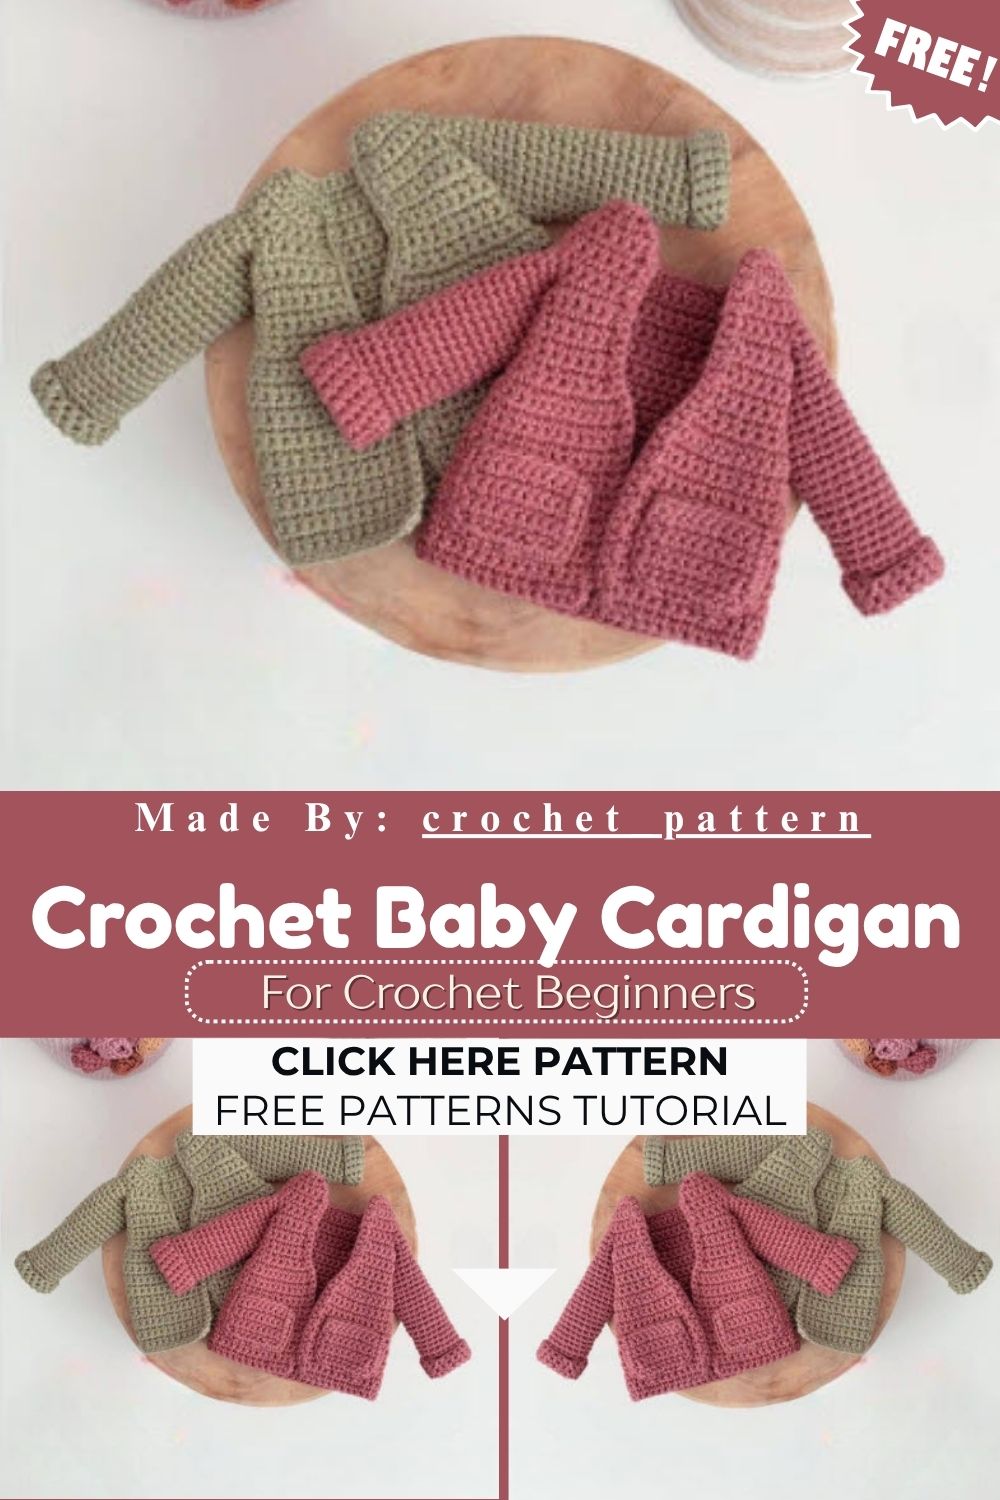
This free crochet baby cardigan pattern with pockets works up from the bottom in one continuous piece, then adds sleeves and pockets separately. Armhole openings are created directly in the body rows through a chain-and-skip technique, so there’s no separate seaming for that section. Pockets are stitched as flat rectangles and attached afterward, giving toddlers a spot to tuck away small treasures.
Because the piece grows from a simple foundation chain, beginners can follow along without needing to count complicated repeats. Rows build steadily, stitch counts stay consistent, and the shaping happens through clearly marked increase rounds.
Skill Level
Rated beginner to easy-intermediate, this project suits crocheters comfortable with chains, single crochet, and increases. Anyone who has finished a scarf or dishcloth should feel ready to tackle this cardigan without much trouble at all.
Materials and Tools
- Worsted weight yarn in your chosen color (amount depends on toddler size)
- Crochet hook sized to match your yarn’s gauge (test a small swatch first)
- Yarn needle for weaving in ends
- Stitch markers (optional, helpful for tracking rows)
- Scissors
Since exact yardage and hook millimeter aren’t fixed for every yarn brand, swatching beforehand saves frustration later and keeps the fit accurate.
Step-by-Step Guide
Building the Cardigan Body
Start with a foundation chain of 31. Working into the second chain from the hook sets the base for everything that follows.
Row 2: Beginning in the second chain from the hook, work an increase followed by single crochet in the next four stitches, repeating that sequence three times. Then work single crochet in four stitches followed by an increase, again repeating three times. This row finishes at 36 stitches total.
Rows 3–5: Chain one, then single crochet across every stitch. Stitch count stays at 36 for these three rows.
Row 6 (Armhole Row): Chain one, single crochet in the first five stitches, chain eight and skip the next eight stitches, single crochet across the following ten stitches, chain eight and skip eight stitches again, then single crochet in the final five stitches. This chain-and-skip method forms both armhole openings while keeping the row at 36 stitches.
Rows 7–12: Chain one, single crochet in every stitch across, maintaining 36 stitches.
Row 13 (Increase Row): Chain one, then work an increase in every single stitch across the row. This doubles the count to 72 stitches, giving the lower body its flare.
Rows 14–30: Chain one, single crochet across each row, holding steady at 72 stitches. Finish the final row with a slip stitch to close it off neatly.
Finishing the Side Edges
Work a border along the side edges by placing one slip stitch into every stitch, moving evenly around the opening. Fasten off once the edge feels smooth and secure.
Crocheting the Sleeves
Attach your yarn at the armhole opening and single crochet 18 stitches evenly around it. Continue in single crochet for rounds two through thirty, keeping 18 stitches in every round. Fasten off at the end of round thirty, then repeat the same process for the second sleeve.
Making the Pockets
Chain 11 to begin. Working into the second chain from the hook, single crochet across to create a row of 10 stitches. Repeat single crochet across for rows three through eight, keeping the pocket rectangle at 10 stitches throughout. Once both pockets are complete, position them on the cardigan front and stitch them into place using a yarn needle.
Usage Ideas
- Layer it over onesies or bodysuits for everyday toddler wear during cooler months
- Style it as a photoshoot piece paired with matching booties or a headband
- Dress it up for family gatherings, holidays, or seasonal portraits
- Pack it in a diaper bag as a lightweight extra layer for unpredictable weather
Helpful Tips
Counting stitches after every increase row prevents the shaping from drifting off track. Placing a stitch marker at the start of each row also makes long single crochet sections easier to track without losing your place.
Blocking the finished cardigan lightly can even out any uneven tension, especially around the armhole chains. Weaving in ends as you go, rather than saving them all for the finish, keeps the project manageable.
Customization and Variations
Swapping yarn weights changes the finished size dramatically, so a lighter fingering weight suits a smaller doll-scale project while worsted or aran weight better fits an actual toddler garment. Adding a row of contrasting single crochet around the collar or cuffs introduces a pop of color without altering the core pattern.
Buttons or ties down the front turn this piece into a closed cardigan instead of an open one. Striping the body in two or three colors also refreshes the look while keeping every stitch count identical to the original instructions.
Common Mistakes to Avoid
- Miscounting the increase repeats in row two, which throws off the entire stitch count
- Skipping the wrong number of stitches during the armhole row, leaving uneven openings
- Forgetting to chain one before turning on plain single crochet rows
- Attaching pockets before checking their placement against the toddler’s actual size
Finishing Tips
Steam blocking gently helps single crochet fabric lay flatter, especially around chained armhole edges. Trimming yarn tails close to the fabric, after weaving them securely, keeps the inside of the cardigan comfortable against sensitive toddler skin.
Gifting Ideas
A finished cardigan wrapped alongside a matching hat makes a thoughtful baby shower gift. Pairing it with a handwritten care card, noting the yarn fiber content, adds a personal touch that store-bought gifts rarely include.
Frequently Asked Questions
Can I resize this pattern for a newborn?
Adjusting the starting chain length and repeating fewer increase rounds can scale the cardigan down, though testing a small swatch first helps confirm proportions.
What stitch is used for most of the body?
Single crochet forms the bulk of the fabric, with increases worked only in the two designated shaping rows.
Do the pockets need to be sewn on, or can they be crocheted directly onto the body?
This pattern crochets the pockets separately as flat pieces, then attaches them afterward with a yarn needle for cleaner edges.
How long does this Free Crochet Baby Cardigan project typically take?
Timing varies by experience level, but many crocheters finish the body, sleeves, and pockets across a few evenings of steady work.
Conclusion
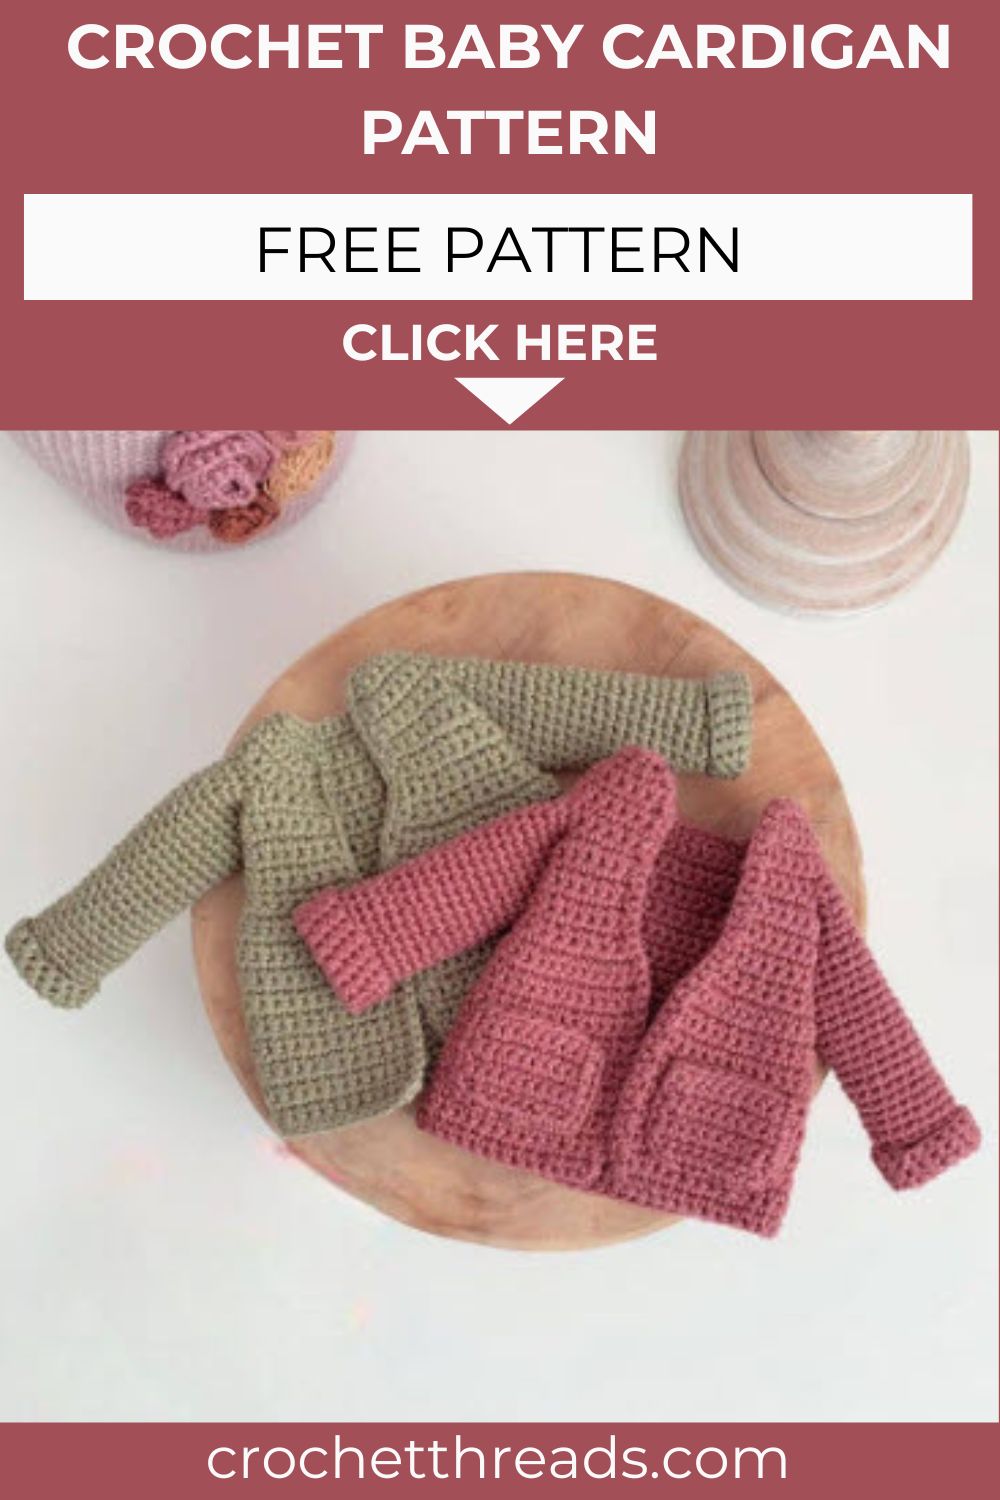
Bringing this free crochet baby cardigan pattern with pockets to life rewards patience with a genuinely charming result. Every row builds logically on the last, from the foundation chain through the increase rounds and into the finishing touches. Toddlers gain a cozy, functional layer, while makers gain a satisfying, achievable project. Whether stitched as a gift or a keepsake for your own little one, this cardigan proves that simple stitches can still produce something special. Grab your hook, pick a color, and start chaining.