Crochet Gingerbread Man Amigurumi Pattern for Christmas Decor
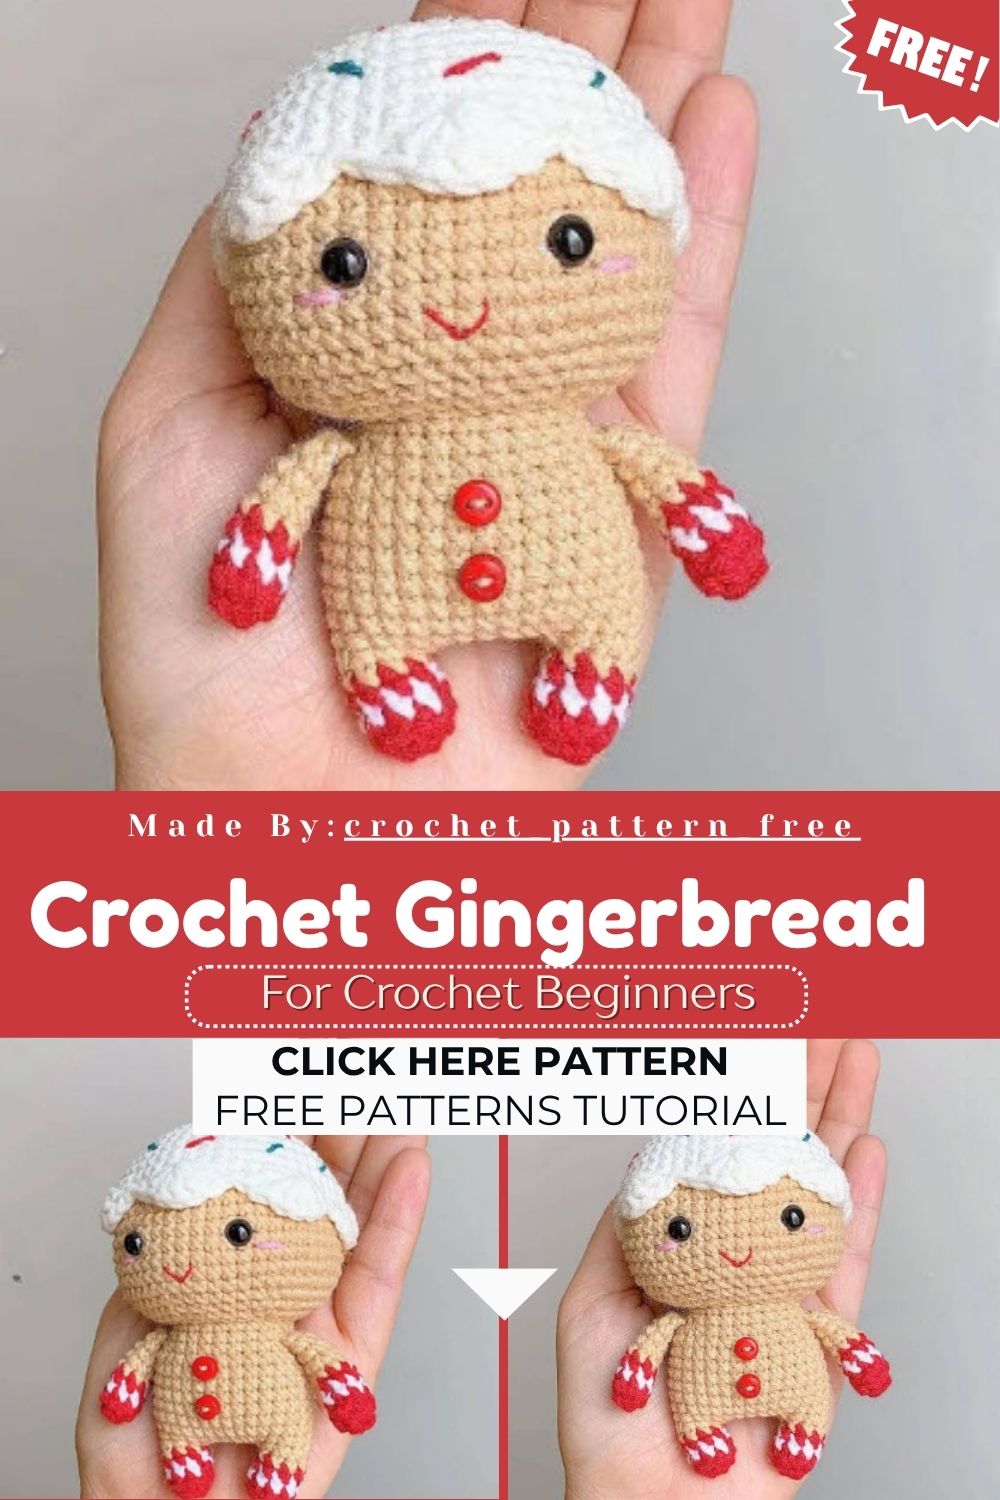
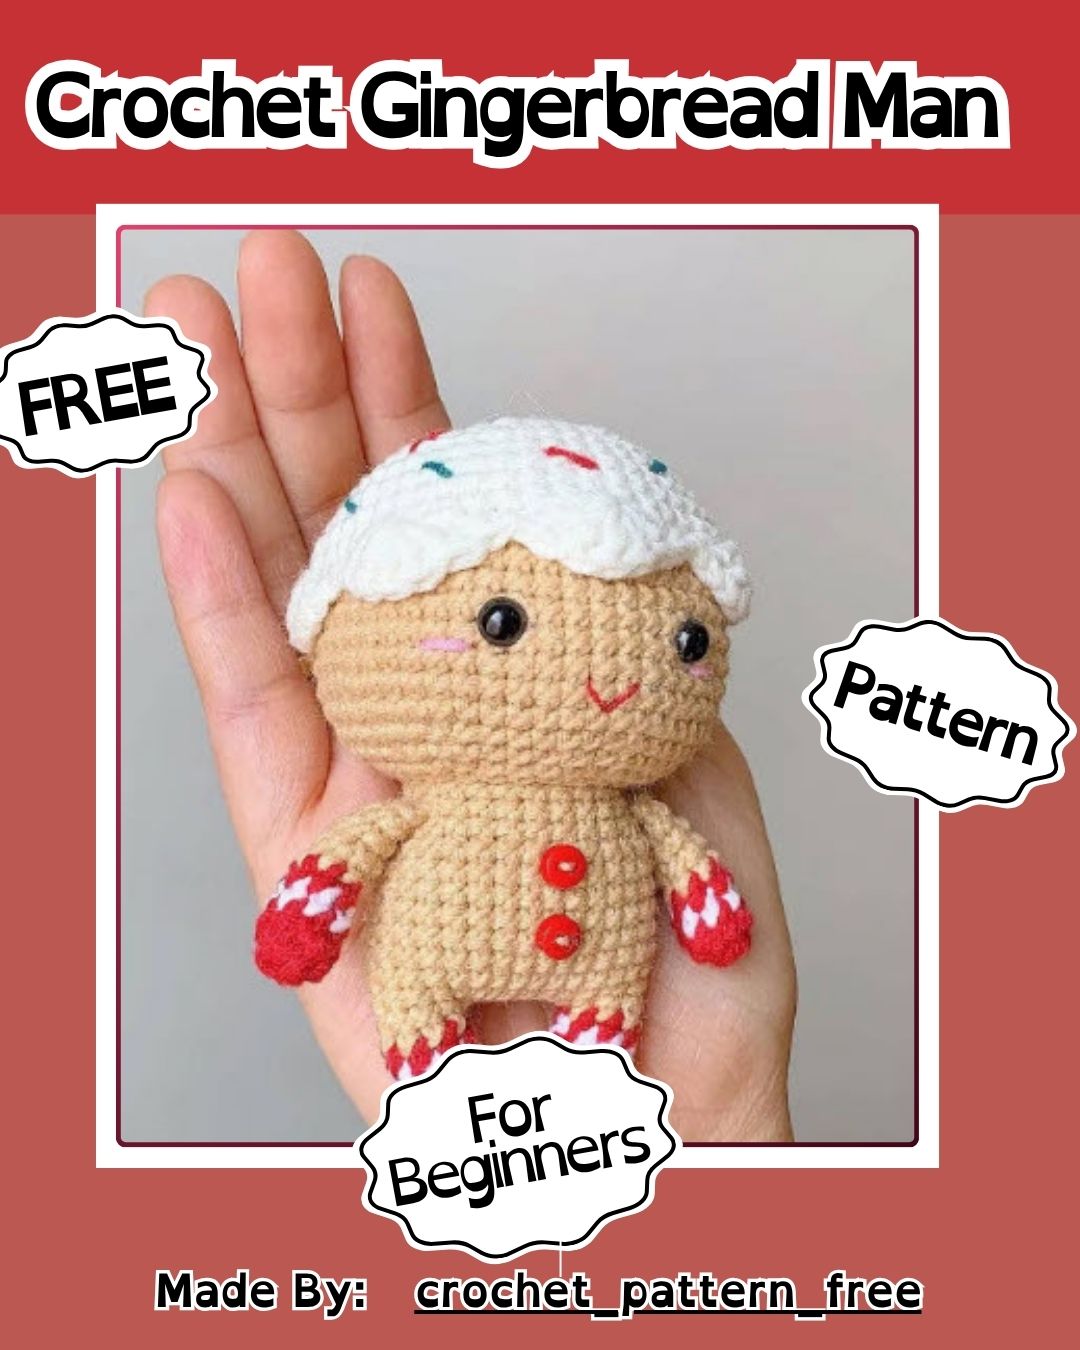
Christmas crafting gets a cozy upgrade with this Crochet Gingerbread Man Amigurumi, stitched in soft jeans yarn using warm red, cream, tan, and teal shades. Beginners and seasoned hookers will enjoy building him round by round for holiday shelves this year.
Gingerbread cookies inspire endless holiday crafts, and this Crochet Gingerbread Man Amigurumi version brings that classic charm into yarn form. Working with Yarn Art Jeans in red, white, tan, and teal creates rich color contrast against the icing-style topper. Safety eyes add personality, while the two-piece leg construction keeps proportions realistic. Hobbyists can finish this pattern in an evening, perfect for last-minute gifts or ornament swaps this holiday season with friends and family.
Skill Level
Confident beginners comfortable with magic rings, increases, decreases, and color changes will succeed here. Basic sewing skills help with safety eyes and assembly. Intermediate crocheters finish shaping steps easily.
Materials Needed
Grab these supplies before starting:
- 2.5mm crochet hook
- Two 6mm safety eyes
- Yarn Art Jeans yarn (50g), in Red (90), White (03), Tan (07), Teal (63)
- Polyfill stuffing
- Scissors, yarn needle, stitch markers
Honestly, gathering everything upfront saves so much back-and-forth once the rounds start piling up.
Pattern Overview
This gingerbread man amigurumi comes together in four main pieces:
- Head – worked in rounds with safety eyes inserted between rounds 13 and 14
- Legs (x2) – striped with red, white, and main color yarn changes
- Body – built directly from the joined legs without a separate seam
- Glaze topper – a textured round piece with scalloped edges for a frosted, sprinkle-dusted look
Each piece uses simple single crochet as its base, so the technical challenge sits mainly in color changes and the scalloped glaze edge rather than complicated stitch combinations. That balance makes this a satisfying project for crafters ready to level up past plain single-color amigurumi.
Trust me, working the pieces in this order keeps tension consistent and color changes cleaner throughout the whole build.
Special Techniques
A few techniques make this pattern stand out from basic amigurumi builds:
- Color changes — switching yarn mid-round for the striped legs without visible jog lines
- Magic ring starts — every piece begins with a tight, gap-free magic ring
- Scalloped edge shaping — the glaze round uses skipped stitches and clustered double crochets for a decorative wave
- Invisible decrease — keeps the head shaping smooth near the neck opening
Low-key, the scalloped glaze edge is the trickiest part, so slow down and count stitches twice.
Full Pattern Instructions
Head
Start with 6sc in a magic ring. Increase every round until reaching 48 stitches by round 8, then work rounds 9 through 17 even. Round 18 begins the decrease sequence, dropping stitch count gradually through round 21 to 24 stitches. Fasten off with a long tail for sewing. Insert safety eyes between rounds 13 and 14, spaced 8 stitches apart.
Legs (make two)
Begin with red yarn and 6sc in a magic ring, increasing to 8 stitches by round 2. Switch to white for round 3, back to red for round 4, then change to the main color for rounds 5 and 6. Leave the yarn attached and chain 5 to join both legs for the body.
Body
Combine both legs plus the connecting chains into 26 stitches for round 7. Increase to 30 stitches by round 8, then work rounds 9 through 14 even. Decrease gradually from round 15 through round 17 until 24 stitches remain, fastening off with a tail for sewing.
Glaze Topper
Work 6sc into a magic ring, increasing each round until reaching 48 stitches by round 8. Continue rounds 9 through 12 even at 48 stitches. For round 13, chain 1, then repeat skipping two stitches, working five double crochets into one stitch, skipping two more, and adding a slip stitch plus single crochet, seven times around before slip stitching to close. Fasten off, leaving a tail for attaching to the head.
Design credit for this pattern belongs to @rika.craft, so mention that when sharing finished photos.
Common Mistakes
Watch for these common slip-ups:
- Forgetting to leave long tails, which makes sewing pieces together frustrating
- Miscounting scalloped stitches on the glaze round, causing an uneven edge
- Placing safety eyes too close together, which shrinks the friendly gingerbread expression
- Skipping stitch markers, leading to lost round counts on longer sections
- Pulling color changes too tight, creating puckered stripes on the legs
- Rushing the fasten-off step, which leaves weak spots prone to unraveling
No joke, a stitch marker on round one saves major headaches by round twenty.
Customization and Variation Ideas
Make this gingerbread man your own with a few creative swaps:
- Swap teal for gold or green accents to match different holiday color themes
- Add embroidered “icing” lines across the head for a frosted button effect
- Attach a small fabric bow or bell around the neck for extra charm
- Use a smaller hook for a mini keychain-sized version
- Try brown yarn instead of red for a more traditional gingerbread cookie look
- Add a felt scarf or tiny buttons down the body for extra detail
Real talk, the mini version makes an adorable ornament once a hanging loop gets sewn on the back.
Finishing Tips
Nail the final assembly with these pointers:
- Stuff firmly but evenly, avoiding lumps near the neck and leg joints
- Pin pieces together before sewing to check proportions and symmetry first
- Use ladder stitch for nearly invisible seams between the head and body
- Weave in every yarn tail securely to prevent unraveling over time
- Steam-block the finished piece lightly to smooth out any uneven stitches
- Trim excess stuffing wisps poking through gaps before the final closing stitches
For real, taking an extra ten minutes on finishing touches elevates the whole final look, especially around visible seams.
Where Can You Use This Gingerbread Man?
This amigurumi fits naturally into holiday displays, from mantel arrangements to tiered tray decor. Crafters often tuck him into stockings, prop him on bookshelves, or line several up along a windowsill for a festive parade. He also works well as a photo prop for holiday cards or a cheerful desk companion during the December rush. Craft fair sellers frequently include gingerbread designs like this one in their seasonal lineup, since the recognizable shape sells quickly.
Care Instructions
Keep the gingerbread man looking fresh with gentle care. Spot clean using a damp cloth and mild soap, avoiding full submersion that could affect stuffing. Air dry away from direct heat sources, and store him in a breathable bag during off-season months to prevent dust buildup and yarn fading. Fluff the stuffing gently by hand after storage to restore his original shape before the next display season.
Gifting Ideas
This Crochet Gingerbread Man Amigurumi makes a thoughtful, handmade gift for several occasions:
- Stocking stuffer for kids who love soft, huggable toys
- Teacher or coworker gift paired with a handwritten holiday card
- Ornament exchange contribution when finished in the mini size
- Housewarming gift for a friend decorating their first holiday tree
- Care package addition for loved ones spending the holidays far from home
- Baby’s first Christmas keepsake, kept safely on a shelf rather than in reach
Ngl, handmade gifts like this one always get remembered longer than store-bought options.
Conclusion
Building this Crochet Gingerbread Man Amigurumi blends festive charm with genuinely satisfying stitchwork from start to finish. Every round, from the striped legs to the scalloped glaze topper, adds character worth the effort. Beginners gain real confidence tackling color changes, while experienced crocheters enjoy a quick, rewarding seasonal make. Keep this pattern bookmarked for a cozy weekend project or a thoughtful last-minute gift this season, and don’t hesitate to whip up a whole batch for extra holiday cheer.