Vibrant Crochet Snoozing Goose Amigurumi Pattern
Soft feathers and a peaceful pose make this sleeping Crochet Snoozing Goose such a charming project that you’ll want to start it the moment you see it. Built with easy crochet techniques, this short yet delightful project suits new crocheters too, and once complete, it adds a beautiful touch of farmhouse charm and cozy warmth to any corner.
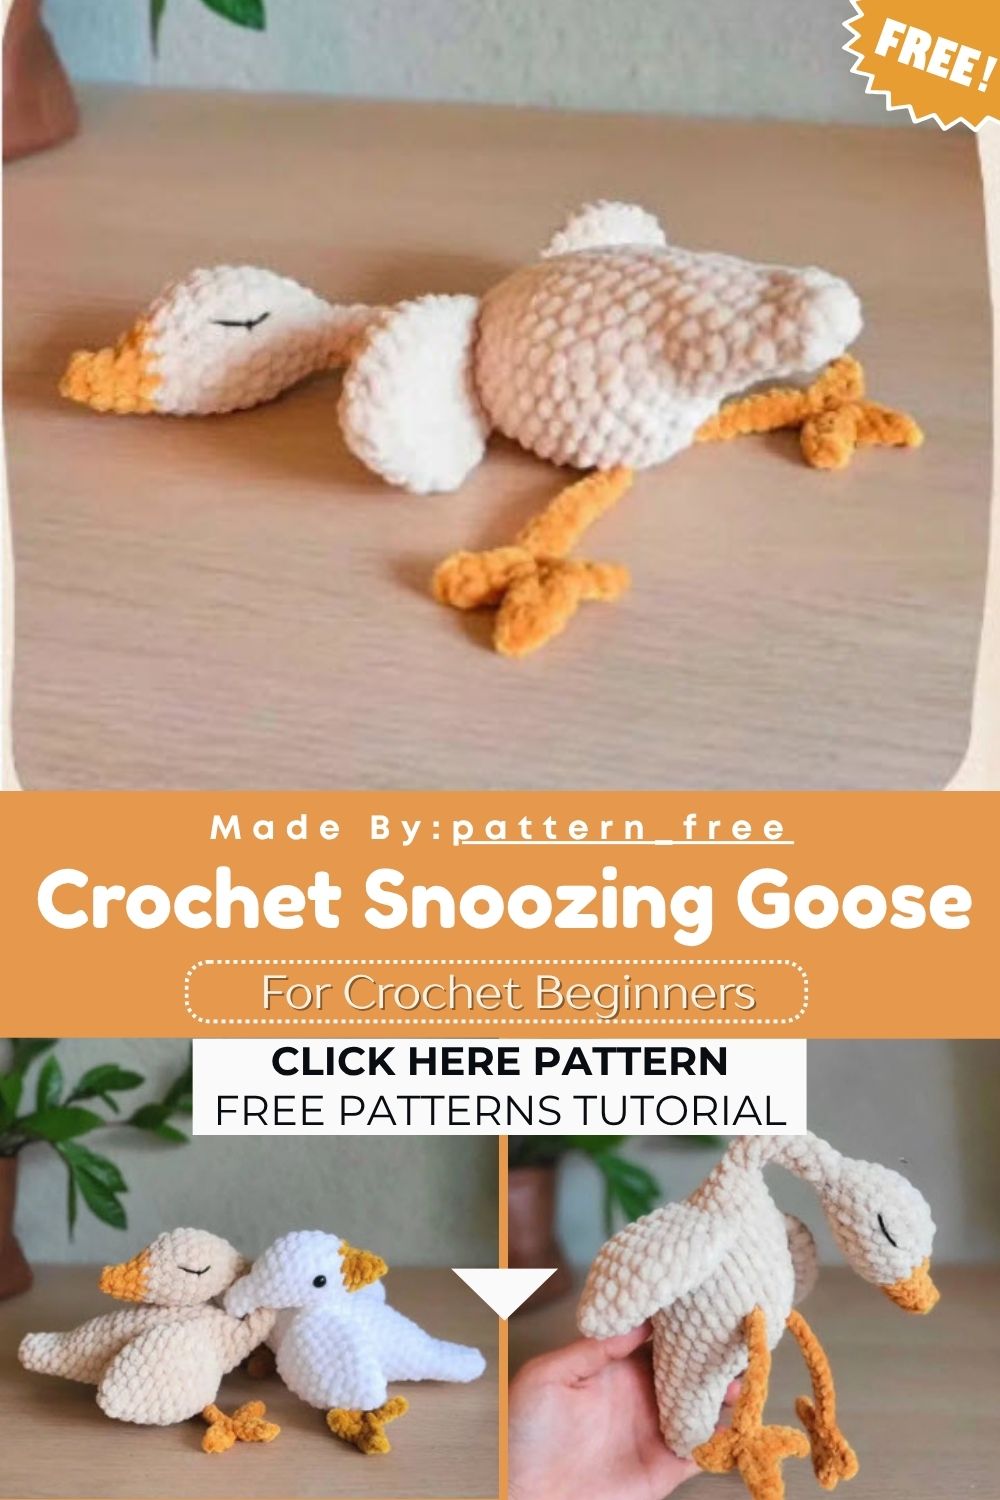
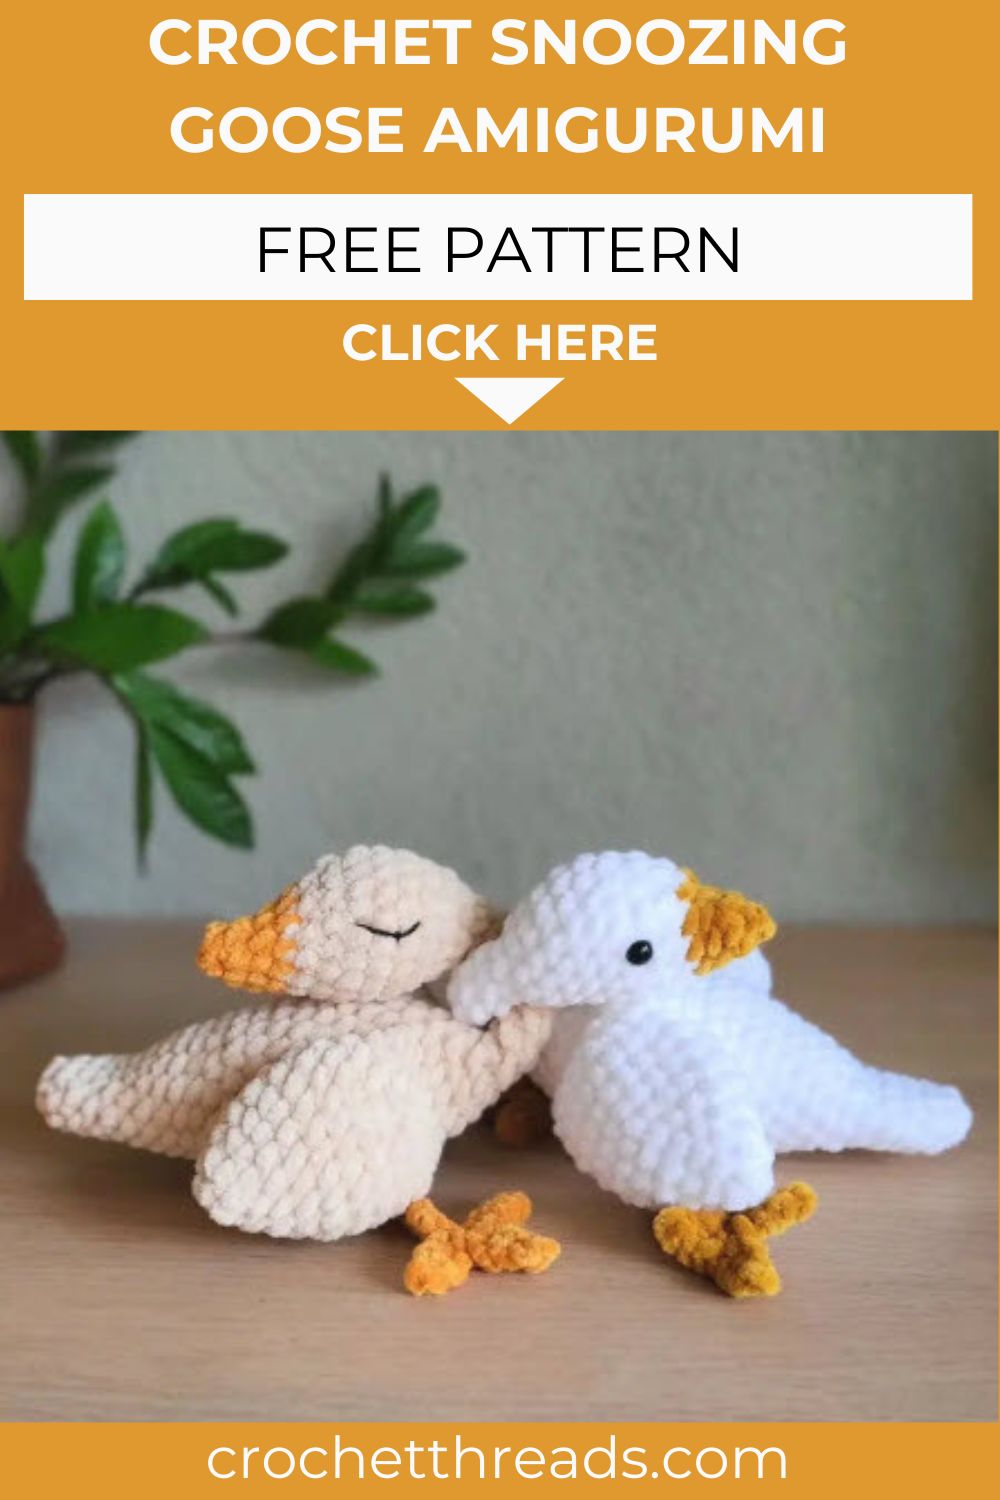
Amigurumi lovers know the joy of watching a plain ball of yarn transform into something adorable. A crochet snoozing goose brings that magic to life with its rounded body, tucked-in beak, and gentle color contrast. Beige and orange combine beautifully here, giving the finished piece a warm, rustic charm perfect for nurseries, shelves, or handmade gift baskets.
Overview
This amigurumi goose works up in continuous rounds, meaning no joining or turning is required between rows. Beginners appreciate this style because it keeps the shaping smooth and the seams nearly invisible. The wings crochet directly into the body during assembly, saving time on sewing while producing a sturdier finished shape.
Small details make a big difference here. The three-toed feet, formed from simple chain stitches, add personality without demanding advanced skill. Safety eyes or embroidered details give the goose its sleepy, contented look, while black yarn accents around the eyes deepen the “just dozed off” effect that makes this design so endearing.
Skill Level
Confident beginners and intermediate crocheters will feel right at home with this pattern. Basic single crochet, increases, and decreases carry most of the work, though color changes and toe shaping call for a bit of extra patience and care.
Requirements
Gathering supplies before starting keeps the process smooth and enjoyable. For this project, you’ll want:
- Worsted weight yarn in beige (main body color)
- Worsted weight yarn in orange (beak and legs)
- 5mm crochet hook
- 8mm safety eyes or embroidery thread for eye detail
- Black cotton yarn for eye accents
- Polyester stuffing
- Stitch marker
- Yarn needle for sewing finishing details
- Scissors
Quality yarn matters more than most beginners realize. A soft, evenly spun yarn creates cleaner stitch definition and a plumper, more polished goose once stuffed.
Building the Wings
Two identical wings form the base of this design, and they’re worked first since they attach directly into the body later. Starting with a magic ring, each wing grows through a series of increase rounds until reaching eighteen stitches, then holds steady for several straight rounds to build length.
Decrease rounds shape the wing tip, and rather than stuffing this section, the sides get folded together and single crocheted shut across the opening. Leaving a slightly longer yarn tail here pays off later, since it gets tucked inside the body and secured once both wings are joined.
Securing those tails loosely, instead of pulling tight, prevents the body from puckering or losing its rounded shape.
Shaping the Body and Tail
The tail-to-body section forms the heart of this amigurumi, growing steadily from a small magic ring into a full, rounded goose shape. Gradual increases build the base wide enough to support the bird’s signature plump silhouette, followed by several even rounds that establish the belly.
Positioning matters at this stage. Before adding wings, checking that the stitch marker sits directly above the belly ensures everything lines up symmetrically once the piece is complete.
Wings attach mid-round by crocheting straight through both wing openings, locking them permanently into the body wall. Stuffing typically begins around this point, filling the lower body firmly while leaving room to continue shaping upward.
Crafting the Neck and Beak
Once the body narrows into a slender neck, several straight rounds create the length needed for that classic “tucked in” snoozing posture. Checking that the marker sits at the base of the neck before continuing keeps later shaping accurate.
The head expands gradually through increased rounds, rounding out into a full, expressive shape. A quick color change from beige to orange signals the start of the beak, where decreases pull the stitches inward to form a neat, tapered point.
Finishing the beak involves closing the final gap with a needle, weaving in loose ends, and giving the whole head one last gentle shaping squeeze to smooth the stuffing evenly.
Attaching the Legs
Placement matters just as much as technique when it comes to legs. Marking the spot beneath the wing, roughly five to six rounds up and centered along the belly, keeps the goose balanced and able to “sit” properly once finished.
After anchoring the yarn with a slip stitch, a long chain forms the leg itself. Three small toes branch off along the way, each created with short chains and slip stitches looping back into the main leg strand. Working slip stitches back down the chain completes the leg, finishing right where it started at the body.
Usage Ideas
- Display as a nursery shelf accent alongside other amigurumi birds
- Wrap as a handmade baby shower gift
- Add to a farmhouse-themed home decor collection
- Use as a unique keychain or bag charm in a mini version
Helpful Tips
Working in continuous rounds without a stitch marker often leads to lost placement, so keeping one in constantly saves frustration. Counting stitches after every round, especially during increase and decrease sections, catches mistakes early before they compound.
Stuffing firmly, but not overly tight, keeps the goose’s rounded shape without straining the stitches or distorting the color-change lines.
Customization & Variations
This base pattern adapts beautifully into other bird designs with a few color swaps. A mallard version uses brown for the wings and lower body, transitioning into white just below the neck, then green for the head, with an orange beak and matching orange legs.
A flamingo variation keeps things simple, using light pink throughout the wings and body, switching only to black for the beak, paired with dark pink legs for a playful pop of contrast.
Experimenting with different yarn textures, like a fuzzy or self-striping option, also creates entirely new looks from the same stitch pattern.
Common Mistakes to Avoid
- Skipping stitch counts, which leads to lopsided shaping later
- Stuffing too early before wings are properly attached
- Pulling wing tail knots too tight, causing body distortion
- Losing track of stitch marker placement during color changes
- Rushing the beak shaping, resulting in an uneven point
Finishing Tips
A final steam or light blocking session helps relax the stitches and gives the goose a smoother, more polished finish. Trimming stray yarn fibers around the eyes and beak sharpens the overall look considerably.
Gently reshaping the neck and head by hand after stuffing also helps achieve that sleepy, tucked-in posture the pattern is known for.
Gifting Ideas
Handmade amigurumi pieces like this one make thoughtful gifts for baby showers, birthdays, or housewarming parties. Pairing the goose with a small handwritten care card describing the yarn and stitch details adds a personal, memorable touch that store-bought gifts simply can’t match.
Frequently Asked Questions
Can I sew the wings on instead of crocheting them in?
Yes, sewing offers a simpler alternative for those less comfortable joining pieces mid-round, though it may result in a slightly less secure attachment.
What yarn weight works best for this Crochet Snoozing Goose pattern?
Worsted weight yarn paired with a 5mm hook produces tight, even stitches that hide stuffing well.
How long does this project typically take?
Most crocheters finish within four to six hours, depending on experience level and how quickly the color changes are worked.
Can beginners really complete this pattern?
Absolutely. The stitch count stays manageable throughout, and the continuous round method eliminates confusing seam work.
Conclusion
This crochet snoozing goose amigurumi pattern proves that beginner-friendly projects can still deliver serious charm. Between the tucked wings, gentle color transitions, and sleepy expression, every stitch builds toward a finished piece that feels genuinely special. Whether displayed solo or crocheted alongside its mallard and flamingo variations, this little goose brings warmth and personality to any handmade collection. Grab your hook, and let this cozy project waddle its way into your next crochet session.