Crochet Sausage Dog Amigurumi Pattern with a Fun and Playful Style
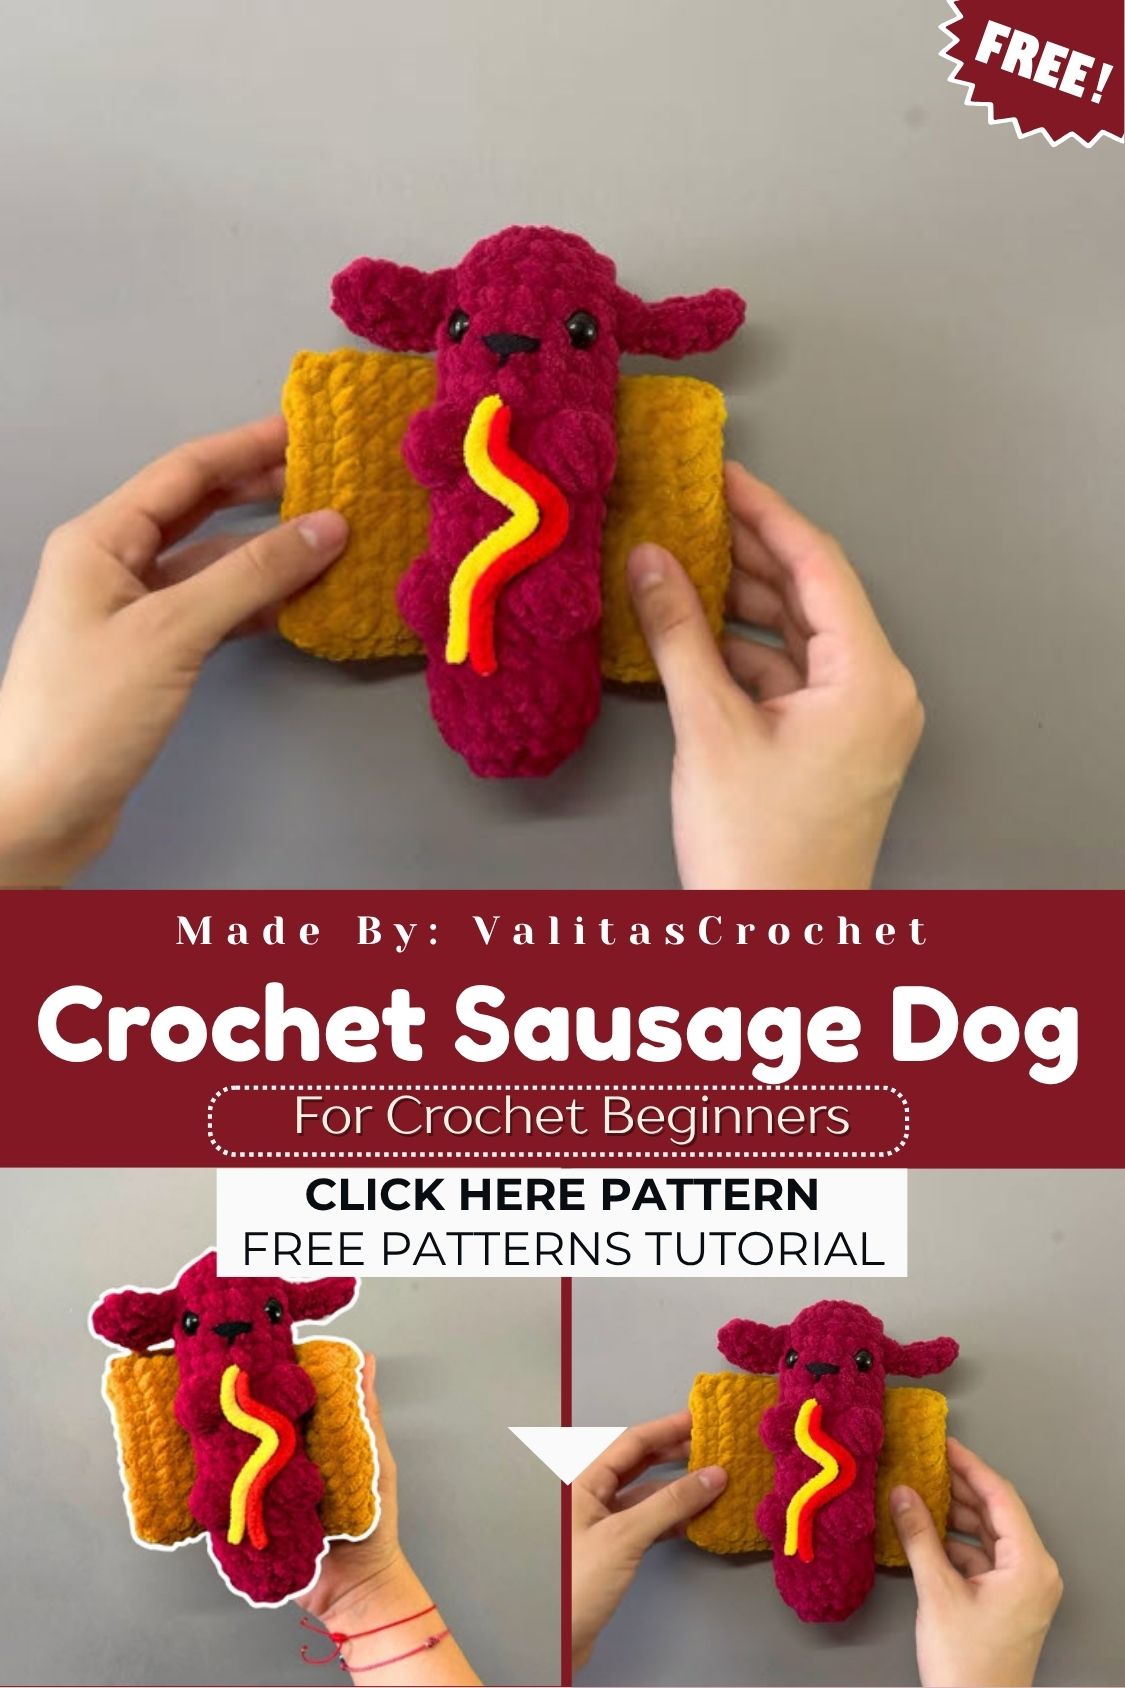
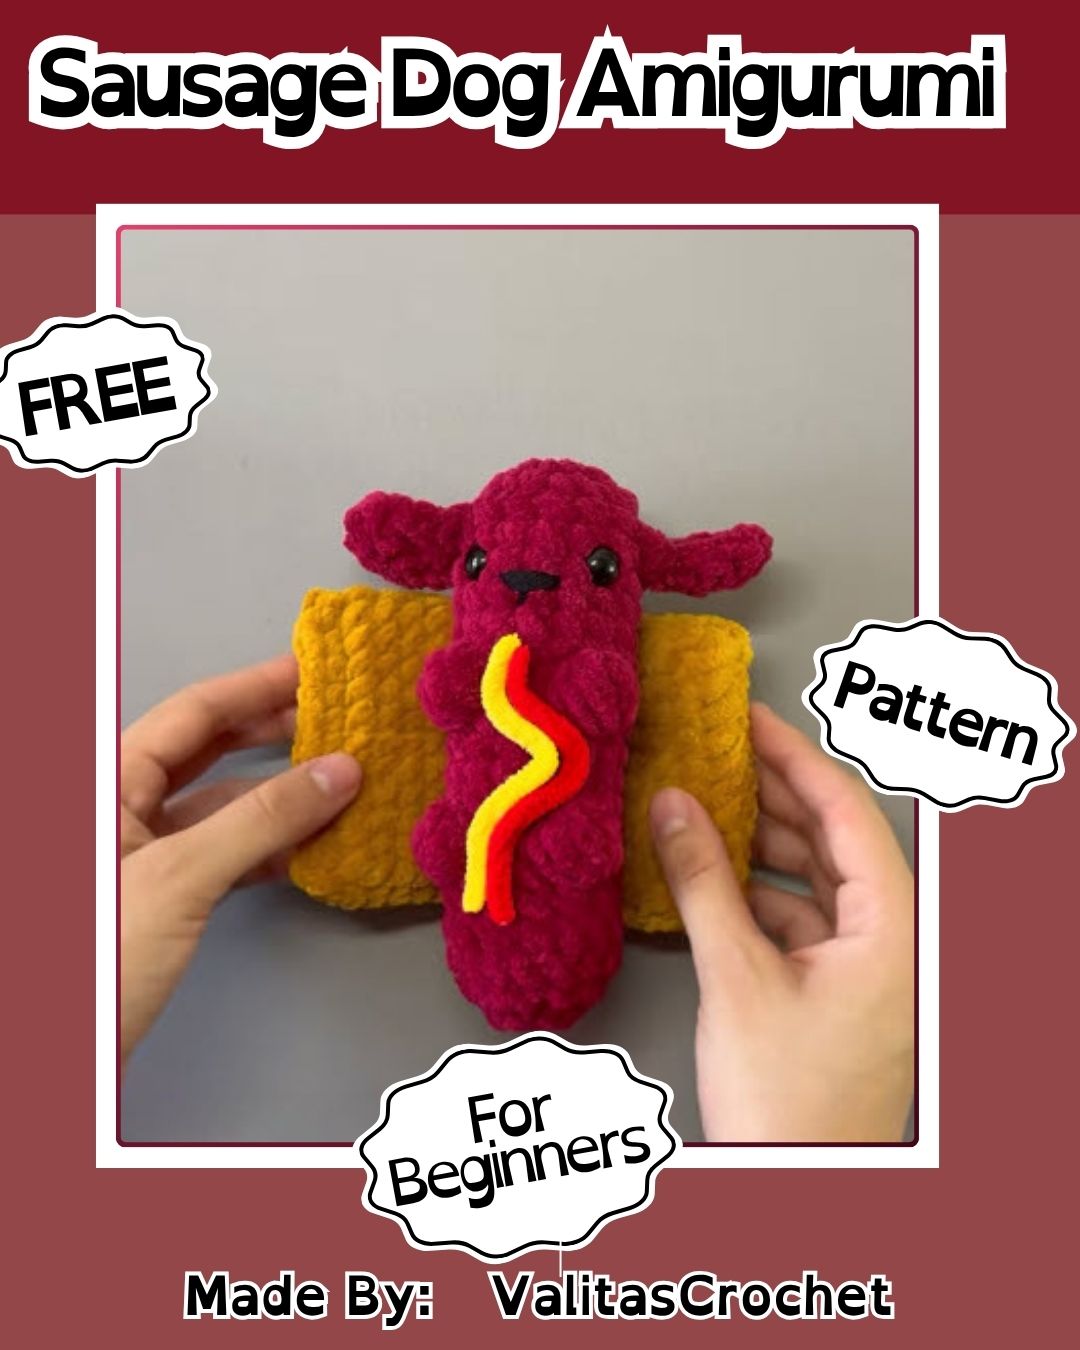
With its long body and tiny little legs, the Dachshund ranks among the dogs that are most fun to bring to life in yarn. The Crochet Sausage Dog Amigurumi Pattern beautifully captures this distinctive breed’s playful charm and instantly recognizable silhouette, setting it apart from everyday dog amigurumi. With its easy construction, this project delivers a stunning result even in a short amount of time.
Instantly recognized worldwide for its distinctive long build and tiny legs, the Dachshund carries a uniqueness that makes it special in the amigurumi world too. The Crochet Sausage Dog Amigurumi Pattern transforms this famous silhouette into a charming, collectible keepsake character, its beautiful details and soft texture making it a memorable part of any handmade amigurumi collection.
Giving the design a cozy, snuggly feel through soft curved shaping, the pattern still stays beginner-friendly thanks to its simple construction. Anyone familiar with basic amigurumi shaping can complete it with ease, and clear step-by-step instructions keep every part understandable, resulting in a heartwarming handmade creation at the end.
Project Details
- Skill Level: Beginner to Intermediate
- Finished Size: Approximately 10–11 inches long, 4 inches tall
- Estimated Time Required: 4–6 hours
- Recommended Yarn Weight: Worsted weight (Size 4)
- Crochet Hook Size: 3.5mm (E/4) or 4mm (G/6), depending on desired tightness
Materials Needed
- Worsted weight yarn in tan or light brown (main body color)
- Small amount of dark brown or black yarn (nose and details)
- White or cream yarn (optional, for muzzle accent)
- 9mm safety eyes (2)
- Fiberfill stuffing
- Crochet hook matching yarn weight
- Tapestry needle
- Stitch markers
- Scissors
- Optional: small bandana, bowtie, or collar accessory for personalization
Crochet Stitches & Techniques
A handful of core amigurumi techniques carry this entire pattern, so having them down beforehand makes the process smoother.
- Magic Ring: Used to start each piece with a tight, hole-free center.
- Chain Stitch (ch): Needed for the base of the snout and any foundation rows.
- Single Crochet (sc): The main stitch used throughout the entire project.
- Increase (inc): Two single crochets worked into one stitch, used to widen rounds.
- Invisible Decrease (dec): Keeps shaping smooth without visible gaps, especially important on the long body sections.
- Color Changes: A quick switch between yarn colors for the muzzle or paw details.
- Fastening Off: Securing the final stitch and weaving in the tail.
- Sewing Pieces Together: Attaching legs, ears, and tail to the finished body.
Pattern Instructions
Creating the Head
Start the head in tan yarn with a magic ring of 6 single crochets. Increase evenly over the next two rounds to reach 18 stitches, then work several rounds even to build roundness. Around round 6, insert the safety eyes with about 5–6 stitches between them, leaving room for a slightly elongated muzzle shape. Continue a few more rounds before beginning gradual decreases, stuffing firmly as the opening narrows. Fasten off and leave a long tail for attaching the head to the body later.
Shaping the Snout
Dachshunds have a distinctive narrow snout, so this section gets its own short piece. Starting with a small magic ring, increase gently over two rounds, then work even for a few rounds to form a tube shape. Stuff lightly and sew the snout onto the front of the head, positioning it just below and between the eyes. Add a few strands of dark brown yarn at the tip to form a small triangular nose.
Crocheting the Body
The body is where the sausage dog really earns its name. Begin with a magic ring and increase to about 18–20 stitches over the first two rounds. From there, work even for a long stretch — anywhere from 14 to 18 rounds, depending on how elongated the finished toy should look. Stuff continuously as the tube lengthens, adding small amounts every few rounds rather than all at once to keep the shape even. Decrease gradually at the tail end and close it off, leaving a small opening for the tail piece.
Making the Legs
Four identical legs give the sausage dog its stubby, low-to-the-ground stance. Each leg starts with a magic ring of 6, increasing to about 10–12 stitches, then working a few rounds even before fastening off. Keep stuffing minimal here, since the legs should look short and slightly squashed rather than plump. Sew all four legs evenly along the underside of the body, spacing the front pair and back pair a few rounds apart.
Ears and Tail
The ears should hang rather than stand, so these are worked flat instead of in the round. Chain a small foundation row, then single crochet back and forth for several rows to create a soft, floppy oval shape. No stuffing is needed. Fold each ear slightly at the top and sew it to the sides of the head so it drapes downward naturally.
For the tail, work a small tapering tube similar to the legs but slightly longer and thinner. Stuff lightly and attach it to the small opening left at the back of the body, curving it upward slightly for a playful look.
Joining All Pieces
Once every piece is finished, lay them out to check proportions before sewing. The head attaches to the front of the body, angled slightly upward so the dog appears to be looking ahead. Legs should sit flat against a surface when the toy rests, giving it a stable, standing pose. Take time here, since careful placement makes a noticeable difference in the finished character.
Final Assembly
After sewing everything in place, weave in any remaining yarn tails and trim them close to the surface. Fluff the stuffing gently through the fabric to smooth out any lumps, and give the whole toy a final shape check before setting it down for the first photo.
Tips for Success
- Count stitches at the end of every round, especially during increase rounds on the body.
- Use a stitch marker on the first stitch of each round to avoid losing track of where a round begins.
- Stuff gradually rather than all at once, particularly on the long body tube, to prevent lumpy sections.
- Keep tension consistent throughout, since tight and loose sections will show on such a long, smooth body shape.
- Hide yarn ends by weaving them through several stitches in different directions rather than just one line.
Personalization Ideas
- Swap the tan body color for black and tan, chocolate brown, or even a spotted pattern for a dapple dachshund look.
- Crochet a tiny bandana or bowtie from scrap yarn for extra personality.
- Make a mini version using a smaller hook and thinner yarn for a keychain or bag charm.
- Try a jumbo size with bulky yarn and a larger hook for a statement floor plushie.
- Change the facial expression by adjusting eye placement or adding a small embroidered smile.
- Turn the finished toy into a holiday-themed gift with a tiny knit sweater or festive collar.
Common Mistakes to Avoid
- Skipping stitch counts often leads to a lopsided body, since even one missed decrease shifts the whole shape.
- Overstuffing the body too early can make later rounds difficult to close evenly.
- Attaching the legs too close together can make the finished dog tip over instead of standing.
- Rushing the ear shaping sometimes results in stiff, upright ears instead of the soft, floppy look dachshunds are known for.
- Using safety eyes before deciding on final head shaping can leave them misaligned once stuffing is added.
Frequently Asked Questions
How much yarn does this Crochet Sausage Dog Amigurumi pattern use?
Around 100–150 grams of worsted weight yarn covers the entire project, depending on tension and finished size.
Can this pattern be made without safety eyes?
Yes, embroidered eyes or small yarn French knots work well as a safer alternative for gifts meant for young children.
What yarn weight works best for beginners?
Worsted weight yarn paired with a 4mm hook gives clear, easy-to-count stitches, making it a good starting point.
How long does the body need to be?
Anywhere from 14 to 18 rounds of the body tube works, so the length can be adjusted based on personal preference.
Can this pattern be turned into a keychain?
Absolutely. Using thread-weight yarn and a smaller hook shrinks the entire project down to a compact charm size.
Why does my dachshund’s body look lumpy?
Uneven stuffing is usually the cause. Adding small amounts gradually rather than stuffing all at once keeps the tube smooth.
Is this pattern suitable for a first Crochet Sausage Dog Amigurumi project?
Confident beginners who have practiced basic increases and decreases tend to do well with it, though it may feel slightly more advanced than a simple round animal.
Conclusion
Few amigurumi shapes are as instantly recognizable as the sausage dog, and finishing one brings a real sense of accomplishment. Give the Crochet Sausage Dog Amigurumi pattern a try, take it one round at a time, and don’t be afraid to adjust the body length or colors to make the toy uniquely personal. Once it’s done, sharing a photo of the finished plushie is a great way to celebrate the work that went into it.