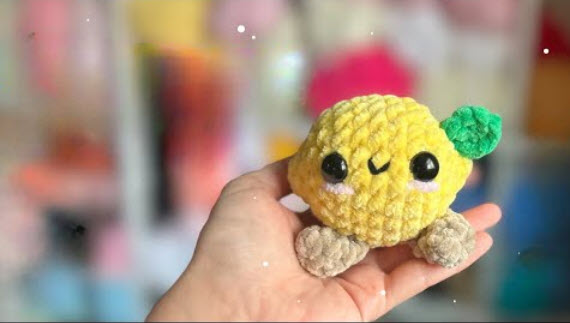
Free Crochet Little Frog Keychain Amigurumi Pattern
Getting instantly loved despite their simple shape, certain amigurumi characters have that special appeal, and the tiny crochet frog is one of them. The Crochet Frog Keychain Amigurumi Pattern offers a charming project with quick construction and easy shaping, delivering a beautiful result in no time and appealing equally to new and experienced crocheters alike.
Offering a chance to create a beautiful and practical handmade accessory for everyday use, the Crochet Frog Keychain Amigurumi can become a unique addition to keychains, bag charms, zipper pulls, or a handmade amigurumi collection. If you understand basic single crochet and easy increases and decreases, this pattern can be completed with confidence. The project requires green and pink yarn, a crochet hook, fiberfill, safety eyes, and a keyring along with a few basic amigurumi supplies. Clear step-by-step instructions and simple construction keep every part easy, making it simple to create a balanced, charming, and neat Frog Keychain.
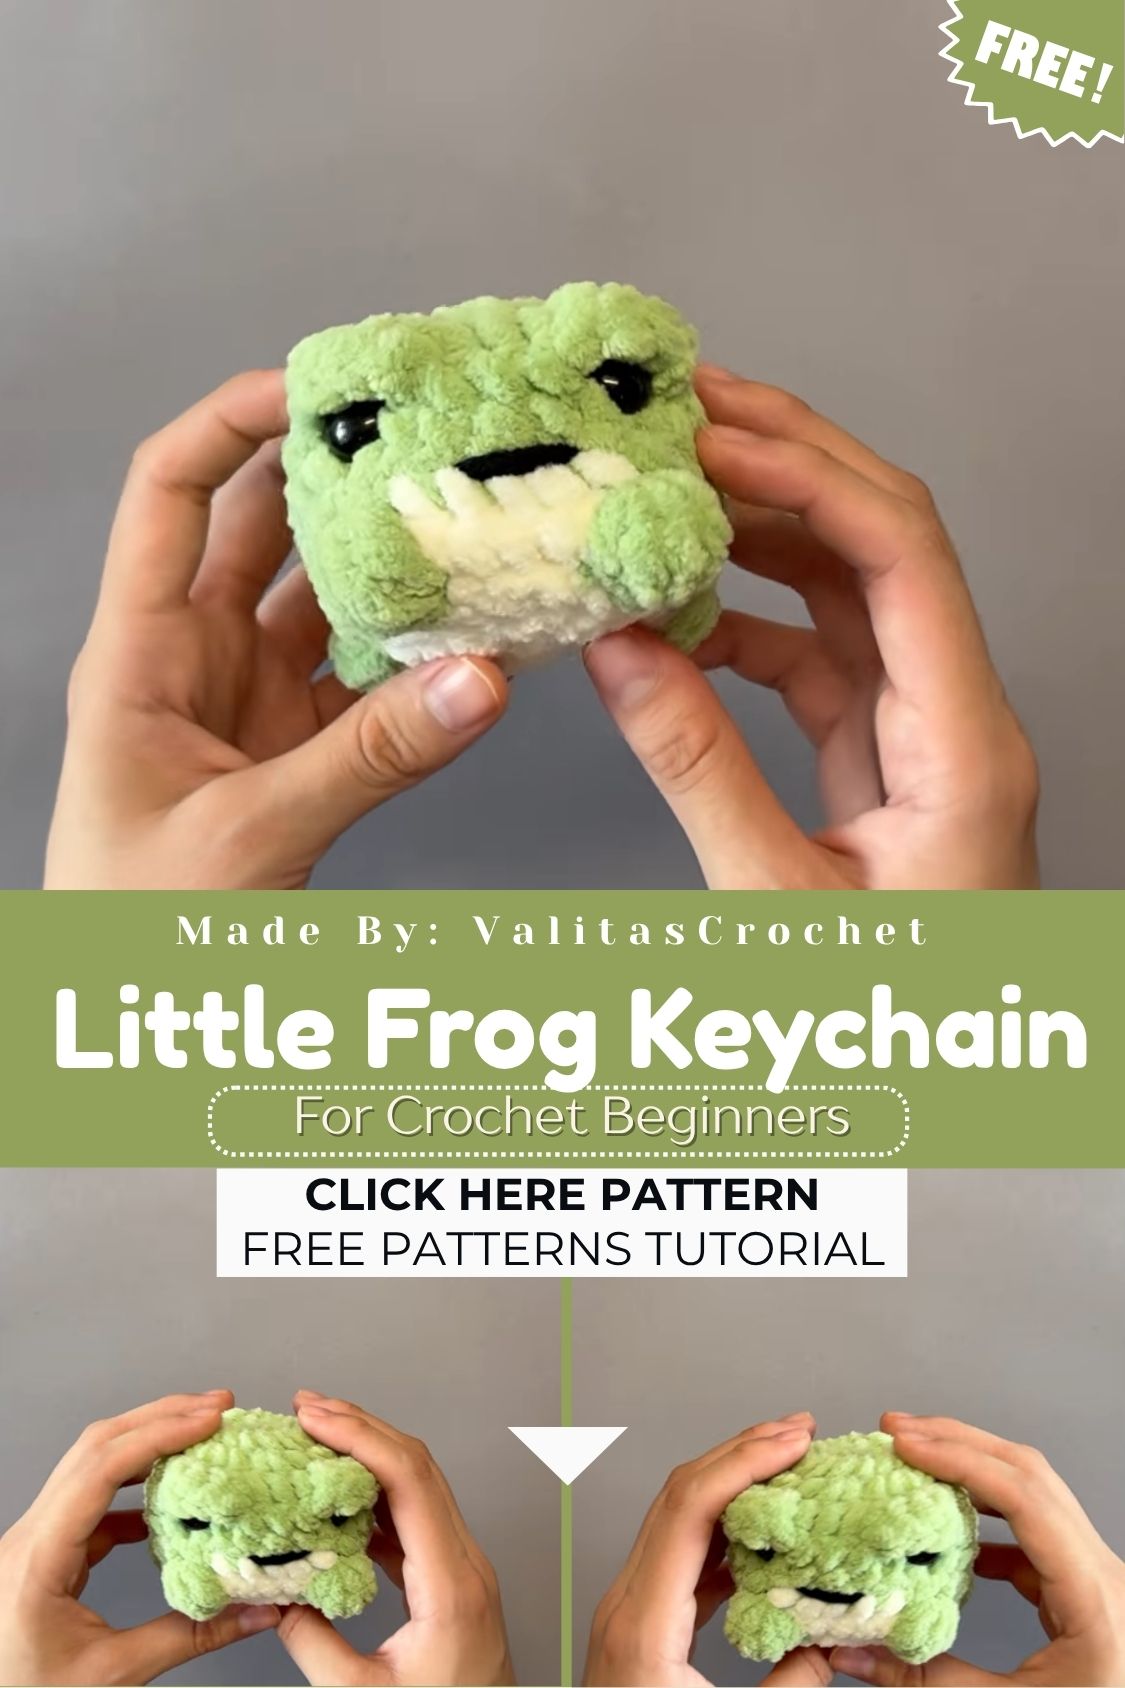
Pattern Overview
- Finished Size: Approximately 2.5 to 3 inches tall
- Difficulty Level: Beginner-friendly
- Estimated Completion Time: 2 to 3 hours
- Project Type: Amigurumi Keychain / Bag Charm
- Recommended Skill Level: No joke, this one’s forgiving. Confident beginners can finish this frog keychain without trouble, since it only calls for single crochet, basic increases, decreases, a magic ring start, and simple sewing at the end.
Materials Needed
- Worsted weight yarn in green (main body color)
- Small amounts of white and black yarn or felt for eyes
- Pink yarn or embroidery thread for cheeks and mouth details
- 3.5mm or 4.0mm crochet hook
- Polyester stuffing
- Yarn needle for weaving ends and sewing pieces
- Stitch markers
- Scissors
- Safety eyes, size 6mm (optional, felt circles work as an alternative)
- Keyring or lobster clasp hardware
- Small keychain jump ring or chain
Crochet Abbreviations
- MR – Magic Ring
- ch – Chain
- sc – Single Crochet
- hdc – Half Double Crochet
- dc – Double Crochet
- sl st – Slip Stitch
- inc – Increase (2 sc in one stitch)
- dec – Decrease (sc2tog, two stitches worked as one)
- BLO – Back Loop Only
- FLO – Front Loop Only
- FO – Fasten Off
- st(s) – Stitch(es)
Step-by-Step Crochet Pattern
Head and Body (worked as one piece)
Round 1: 6 sc in MR (6) Round 2: inc in each st around (12) Round 3: (sc, inc) repeat around (18) Round 4: (2 sc, inc) repeat around (24) Round 5–7: sc around, no increases (24) Round 8: (2 sc, dec) repeat around (18) Round 9: (sc, dec) repeat around (12), begin stuffing firmly Round 10: dec around (6) FO, weave tail through remaining stitches and pull closed.
Eyes
Attach safety eyes between rounds 4 and 5, spaced about 5 stitches apart, before stuffing the head. Felt circles work too just glue or sew them on after assembly if you’d rather skip the safety eyes.
Front Legs (make 2)
Round 1: 6 sc in MR (6) Round 2: sc around, no increases (6) Round 3: sc around (6), stuff lightly FO, leaving a long tail for sewing.
Back Legs (make 2)
Round 1: 6 sc in MR (6) Round 2: inc twice, sc around remaining (8) Round 3: sc around (8), stuff lightly and flatten slightly for a sitting frog shape FO, leaving a long tail for sewing.
Eye Bumps (make 2, optional raised eye detail)
Round 1: 5 sc in MR (5) FO, leaving a tail. Sew these directly onto the head before adding the safety eyes that’s what gives the frog its bulging-eye look.
Special Techniques
- Magic Ring Start: Keeps the center tight, no gap in the middle. Matters a lot on a piece this small.
- Color Changes: Switch colors on the last yarn over of the previous stitch so the new color pulls through cleanly.
- Flattening Legs: Press the back legs gently while stuffing lightly. That’s the trick behind the sitting posture most frog amigurumi have.
- Keychain Loop Attachment: Sew the jump ring into the top of the head while closing the final round, and go over it a few extra times with yarn so it actually holds up.
Common Mistakes
- Overstuffing the head, which distorts the round frog shape
- Placing eyes too close together, losing that wide-eyed frog look
- Skipping stitch markers, then losing count halfway through a round
- Sewing legs on unevenly, so the frog ends up sitting lopsided
- Leaving the keyring attachment loose it’ll pop off with regular use
Assembly Instructions
Sew both front legs onto the upper sides of the body, keeping them level with each other. The back legs go slightly lower and a bit wider apart, which gives the frog a balanced sitting pose. Position the eye bumps first, then push the safety eyes through them and secure everything on the inside of the head. For the face, embroider a curved smile in black or dark green thread, then stitch small pink cheek circles just below each eye. Last step: attach the keyring hardware through the top center of the head, and reinforce the stitching so it can survive being tossed around in a bag every day.
Beginner Tips
- Drop a stitch marker on round 1 of every piece so you don’t lose track
- Count stitches after each round, especially right after increases and decreases
- Stuff firmly but evenly check the shape from a few different angles
- Keep your tension steady throughout so there are no visible gaps
- Sew the limbs on before fully closing the body; it’s easier to position them that way
Customization Ideas
- Try bright pink, blue, or yellow instead of green for a fun twist
- Skip the keyring and glue on a magnet for a fridge charm instead
- Size it up into a jumbo plushie for nursery decor
- Add a tiny crochet lily pad underneath for a little display piece
- Swap the keyring for a hanging loop and turn it into a holiday ornament
Care Instructions
Hand wash the finished frog keychain gently in cool water with a mild soap, and avoid scrubbing too hard near the embroidered face. Reshape it while still damp, then lay it flat to air dry keep it away from direct heat or sunlight. Store it somewhere dry, ideally in a bag or drawer, so dust doesn’t build up on the yarn. It’s worth checking the keyring attachment now and then, just to make sure it hasn’t loosened up.
Frequently Asked Questions (FAQ)
Which yarn works best for this pattern?
Worsted weight acrylic or cotton yarn holds its shape well for small amigurumi pieces like this frog keychain.
Is this pattern beginner-friendly?
Yes it only uses basic stitches, increases, and decreases, so newer crocheters should be fine.
How long does this project take?
Most people finish the whole frog keychain in about 2 to 3 hours.
Which hook size should I use?
A 3.5mm or 4.0mm hook works well with worsted weight yarn for tight, even stitches.
Can I resize this Crochet Little Frog Keychain pattern?
Yes, switch to bulkier yarn and a bigger hook if you’d rather have a larger plush version instead of a keychain.
Can I sell finished items made from this pattern?
Many designers are fine with you selling finished products, as long as the written pattern itself isn’t resold or redistributed. Always double-check the specific designer’s terms before selling.
How do I make the frog softer?
Use less stuffing and a plush-style yarn for a squishier finished texture.
How should I wash the finished piece?
Gentle hand washing in cool water, then air drying, keeps the amigurumi looking its best.
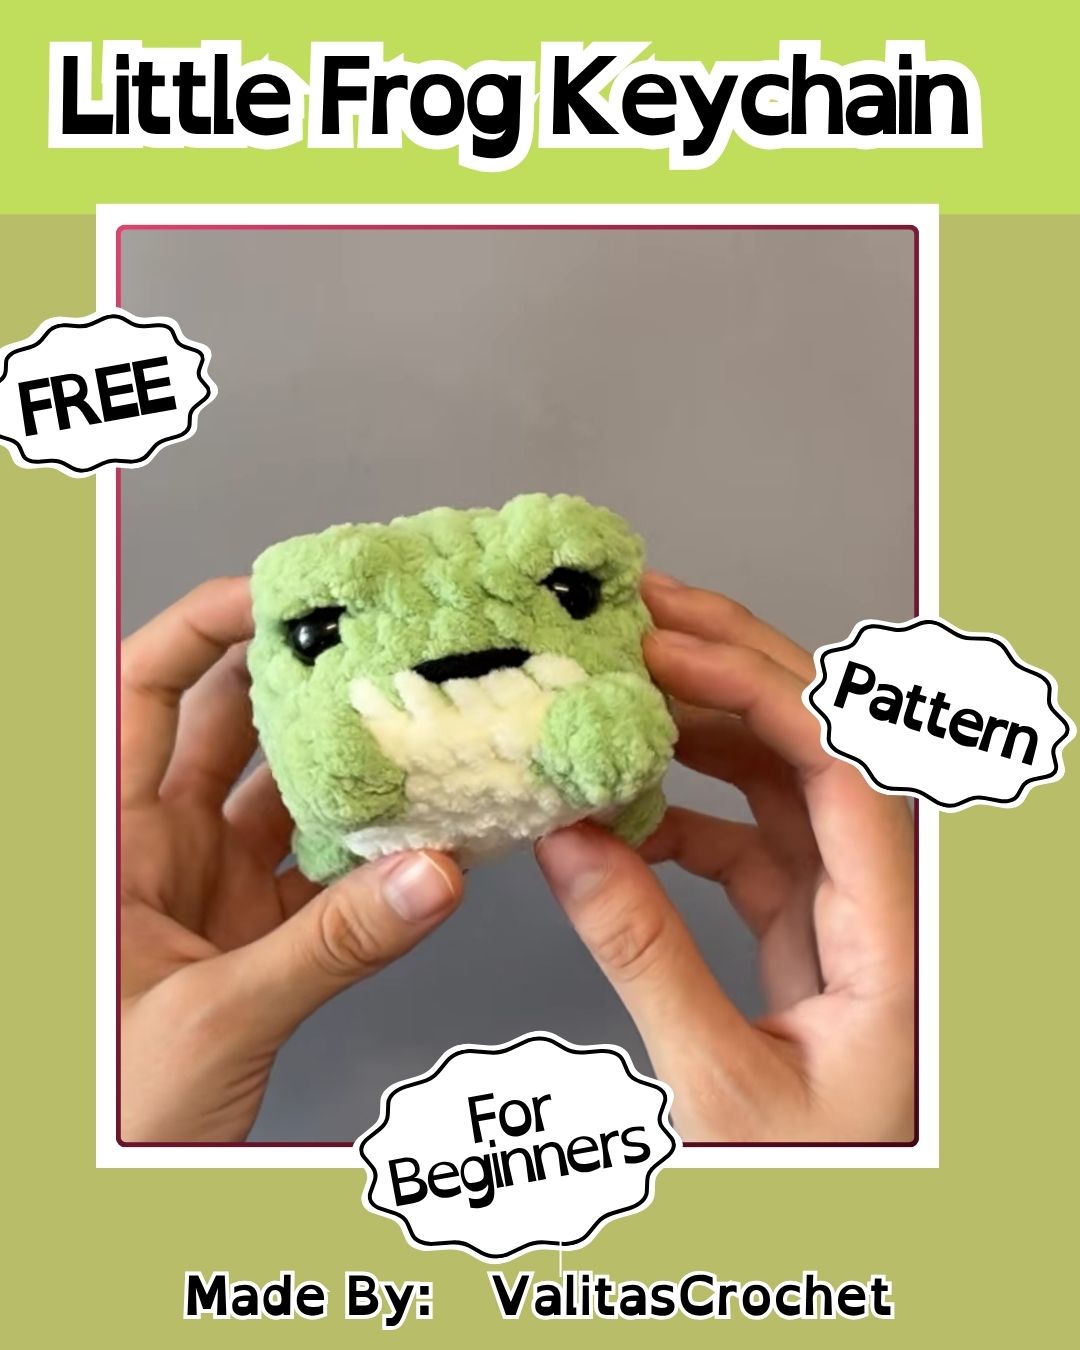
Conclusion
There’s something satisfying about how much personality a handful of rounds and a bit of stuffing can add up to. Once the first frog is done, swapping colors or resizing the pattern opens up plenty of options: gifts, bag charms, shelf displays- you name it. Grab a hook, pick a favorite shade of green, and let this little Crochet Little Frog Keychain hop its way onto a keyring.