Humble Crochet Grey Bat Toy Amigurumi Free Pattern
A tiny Crochet Grey Bat Toy with soft wings and round ears brings spooky charm without any real scare. This amigurumi suits Halloween decor, gift boxes, or a cuddly year-round companion piece.
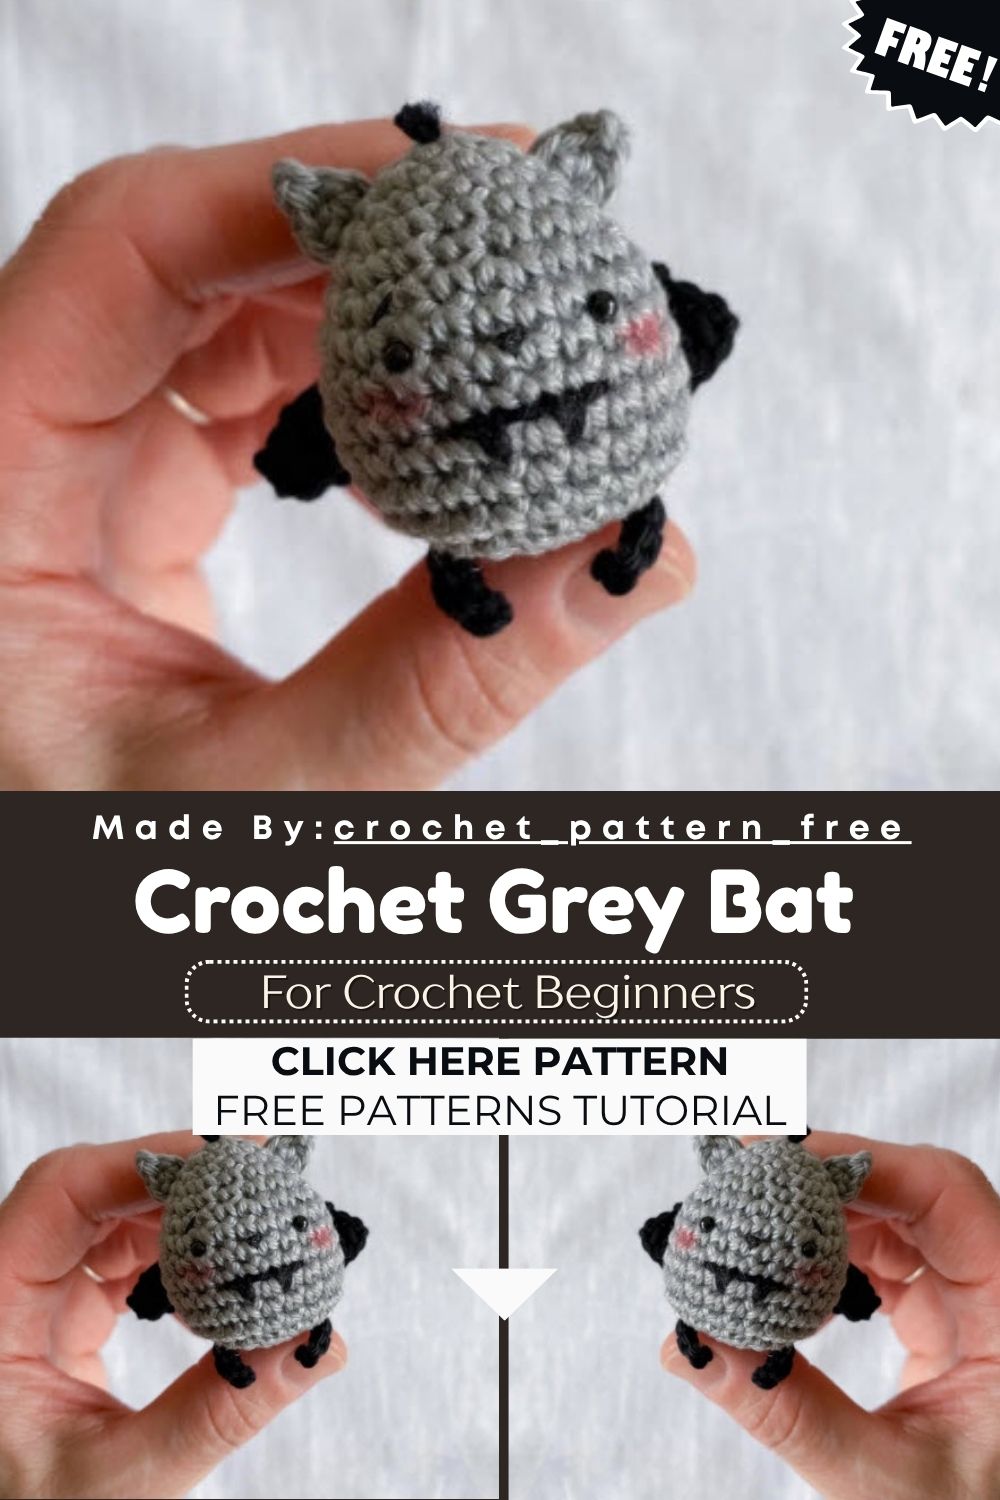
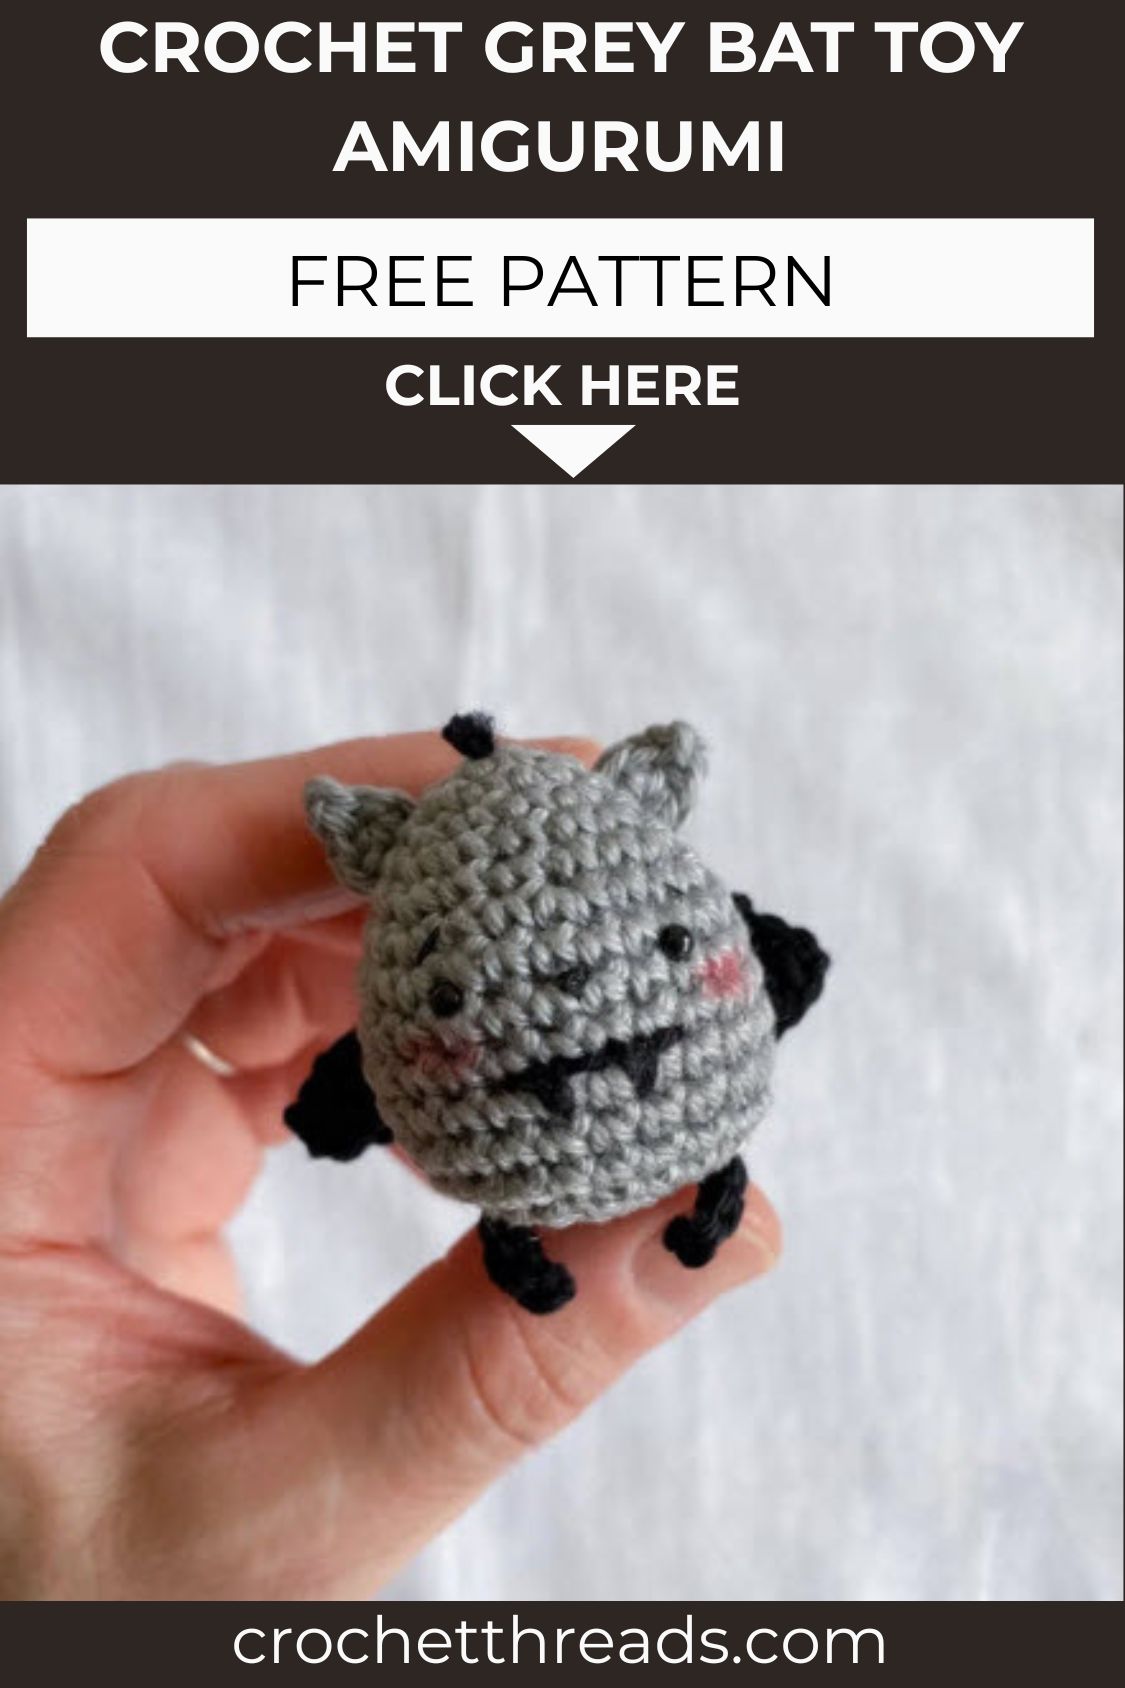
Honestly, bats do not have to look creepy, and this little Crochet Grey Bat Toy guy proves it easily. With a plump stuffed head, folded wings, tiny legs, and rounded ears, he feels more cuddly than spooky. Beginners finish him in an evening, and the finished size fits small hands or gift bags.
Skill Level
This pattern suits confident beginners who know magic circles, single crochet, and increases or decreases. The wings need short-row shaping, tricky-sounding but easy once you try the first row.
Pattern Overview
This little bat comes together in four separate pieces before assembly ties everything into one soft, huggable shape.
- Head and body: worked in one continuous piece using grey yarn, starting from a magic circle and shaping up to a rounded dome
- Wings: made flat in rows using short-row increases, giving them a natural curved, folded look
- Legs: two tiny black chains, simple and quick to whip up
- Ears: two small magic-circle pieces that add the final touch of personality to the face
Once every piece is ready, the whole toy comes together with a needle, thread, and a bit of patience for placement. Working the pieces in this order actually saves time, since the head and body take longer to stuff and shape while the smaller pieces work up in just a few minutes each. Keep the wings and ears nearby as you finish the head so the assembly stage feels quick instead of scattered across a whole afternoon.
Special Techniques
A couple of small techniques make this bat look polished instead of lumpy or uneven.
- Short-row wing shaping: turning the work at the end of each row without joining creates the curved wing edge
- 3-in-1 stitch combo: working an hdc, dc, and hdc into the same stitch on the wing tip rounds out the shape smoothly
- Bead-secured eyes: sewing beads through both layers of the head keeps the eyes locked in place, even with rough handling
- Chain-only legs: slip stitching back down a short chain avoids bulk while still giving the legs shape
None of these techniques require special tools or extra materials, just a little extra attention while working through the specific rows. Once you have done the short-row shaping once, repeating it for the second wing becomes almost automatic.
Materials
Gather these simple supplies before starting, since nothing on this list needs a special trip to a craft store.
- 2.5-3 mm crochet hook
- Grey and black cotton yarn
- Yarn needle
- Beads for the eyes
- Stuffing/padding
Full Pattern Instructions
Read through the whole pattern once before picking up your hook, since the wing shaping in particular makes a lot more sense once you see how the rows build on each other. All rounds use standard amigurumi abbreviations, and stitch counts appear in brackets after each row to help you keep track along the way.
Head and Body (Grey) – begin from the head
Round 1: sc6 in magic loop [6] Round 2: sc, inc x 3 [9] Round 3: sc2, inc x 3 [12] Round 4: sc3, inc x 3 [15] Round 5: sc4, inc x 3 [18] Round 6: sc2, inc x 6 [24] Rounds 7-12: [24] Round 13: sc2, dec x 6 [18]
STUFF the piece firmly before closing.
Round 14: sc, dec x 6 [12] Round 15: dec x 6 [6]
Fasten off, leaving a tail for closing.
Wings (Grey) – make 2
Row 1: ch 9 + 1 Row 2: inc in 2nd stitch from hook, sc7, inc, ch1, turn [11] Row 3: inc, sc9, inc, ch1, turn [13] Row 4: inc, sc11, inc, ch1, turn [15] Row 5: sc, hdc, inc dc, hdc, sc, sl st, sc, hdc-dc-hdc in the same stitch, sc, sl st, sc, hdc, inc dc, hdc, sc [19]
Cut off and secure.
Legs (Black) – make 2
Chain 5, sl st in 2nd chain from hook, sl st 2 more.
Ears (Grey) – make 2
Work all in a magic loop: sc, hdc, ch2, sl st in 2nd chain from hook, hdc, sc.
Finishing the Pattern
Sew on the bead eyes, embroider the nose and mouth, and sew the wings onto the back. Attach the legs and ears in their final positions. Take a moment to step back and check the placement from a distance before locking everything in with the final stitches, since small shifts in position change the bat’s expression quite a bit.
Customization and Variation
This little bat is friendly with color swaps and small tweaks, so no two need to look alike.
- Swap grey yarn for black, brown, or even pastel shades for a softer nursery-friendly version
- Use embroidery floss instead of beads for a safer option around toddlers
- Add a tiny bow or bandana around the neck for extra character
- Make the wings slightly larger for a more dramatic, dragon-like silhouette
- Try variegated yarn for a speckled, moonlit look on the body
- Add small felt fangs peeking out for a playful, cartoonish grin instead of a plain mouth
Common Mistakes
A few small slip-ups tend to show up again and again with this pattern, so keep an eye out for these.
- Skipping the stuffing step before round 14 leaves the head looking flat and floppy
- Miscounting the short rows on the wings, which throws off the curved shape
- Attaching the wings too high or too low, making the bat look lopsided
- Pulling the chain too tight on the legs, leaving them stiff instead of slightly bendable
- Forgetting to secure the tail ends well, which can lead to unraveling over time
- Overstuffing the head, which pulls the stitches apart and leaves visible gaps around the rounds
Finishing Tips
The last few steps make the biggest difference in how polished the final bat looks.
- Pin the wings in place before sewing to check symmetry from the front
- Use a longer strand of yarn for embroidering the face so you avoid extra knots
- Weave in all tails through the stuffing rather than just the surface stitches
- Fluff and reshape the head gently after stuffing to avoid any lumpy spots
- Steam-block the wings lightly if they curl more than expected
- Trim any stray fibers around the face so the eyes and mouth stay crisp and clear
Gifting Ideas
This little Crochet Grey Bat Toy works well beyond just a Halloween shelf decoration, and its small size makes it easy to slip into all kinds of gift situations without much extra planning.
- Tuck it into a trick-or-treat bag as a handmade surprise
- Pair it with a small book about bats for a themed kids’ gift
- Attach a loop and hang it as a spooky-cute ornament
- Include it in a care package for a friend who loves quirky plushies
- Offer it as a teacher’s gift during the fall season
- Bundle a few in different colors as a set for a kids’ Halloween party favor
Conclusion
This Crochet Grey Bat Toy amigurumi proves that spooky season crafts can still feel warm and huggable. With simple shaping, quick pieces, and plenty of room for customization, it works equally well as a gift, a decoration, or a keepsake toy. Once the pieces come together, this little bat earns a permanent spot on the shelf. For real, once you finish one, do not be surprised if you end up making a whole tiny colony in different colors, since the pattern works up fast enough for a weekend batch. Whether it lands in a trick-or-treat bag or on a windowsill year-round, this little guy brings a soft, friendly kind of spooky that suits almost any home.
Professional Tip
Trust me, tension matters more than speed here. Keep stitches tight enough to hide stuffing near the head. Loose gaps ruin the shape; tight stitches make wing shaping harder.